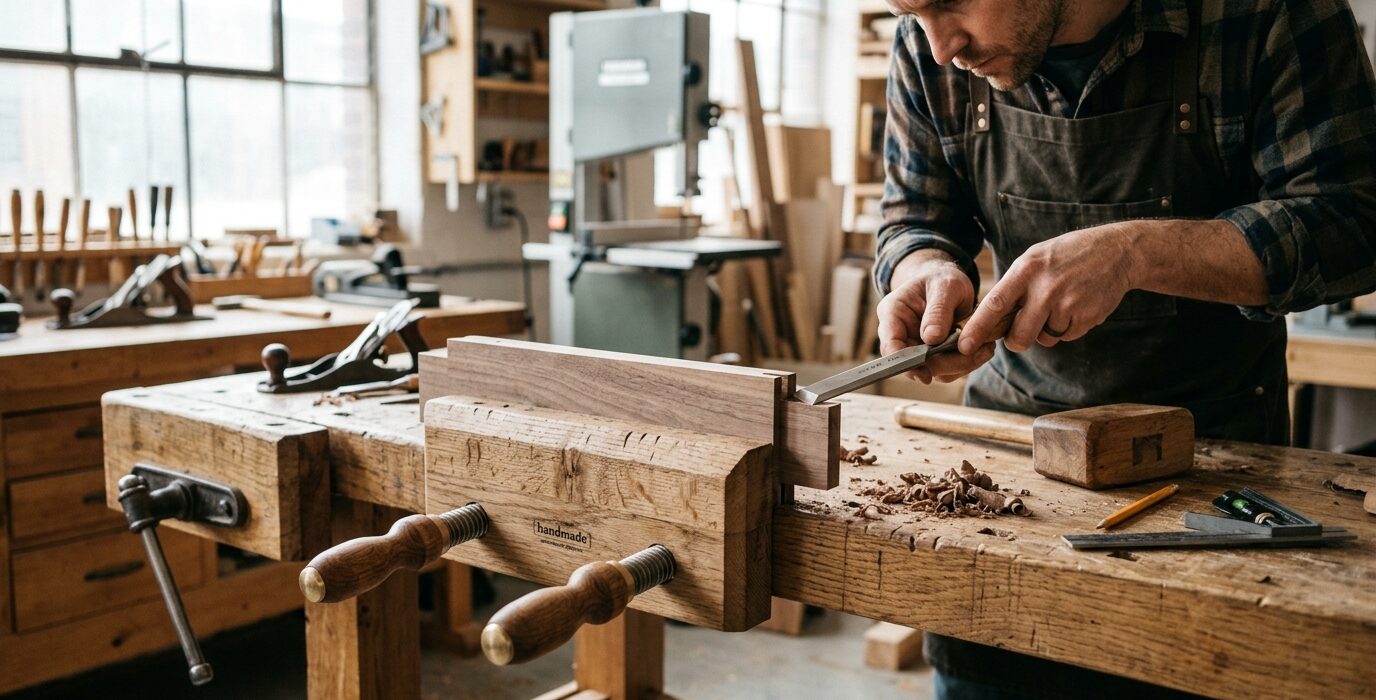
The Leg Vise – The Most Powerful Clamp on Your Bench
A leg vise is the original workbench vise and still the most capable design for hand tool woodworking. The rear jaw is the bench’s front leg – immovable and massive. The front jaw swings out on a wooden screw, gripping boards with hundreds of pounds of force. A leg vise opens to 14 inches or more, holds boards of any length on edge, and clamps work at any angle. Nothing else comes close for hand tool work.
Materials
- 8/4 hardwood for the jaw: 10 inches wide x 24 inches tall (oak, ash, or maple)
- Wooden vise screw kit with nut: 1.5-inch diameter thread (Lee Valley or Benchcrafted)
- Hardwood for the parallel guide: 3 inches wide x 18 inches long
- Lag screws and washers for mounting
Step 1 – Prepare the Jaw Stock
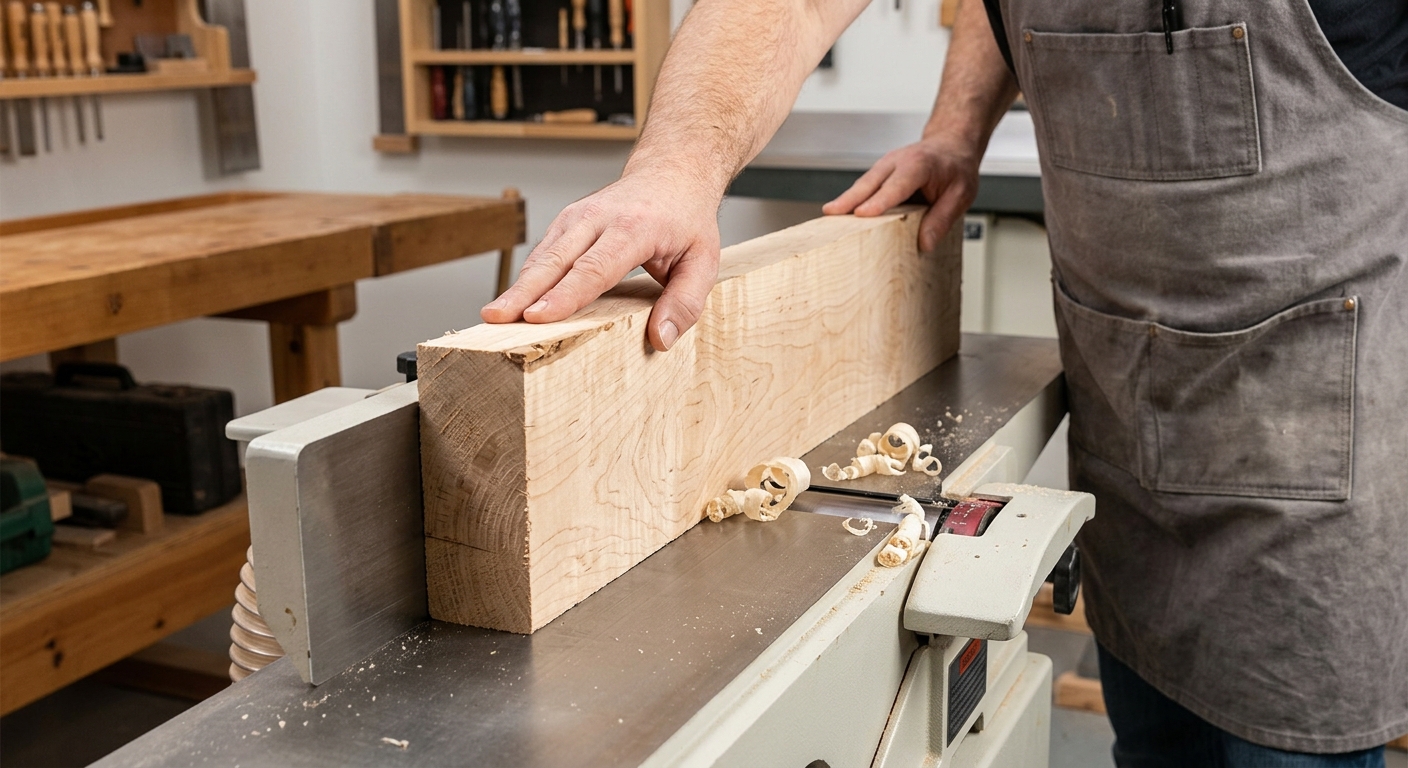
Mill the jaw flat on all faces. The inside face that contacts your workpiece must be dead flat. Some woodworkers line this face with thin leather or cork to improve grip and prevent marring of finished surfaces.
Step 2 – Drill the Screw Hole
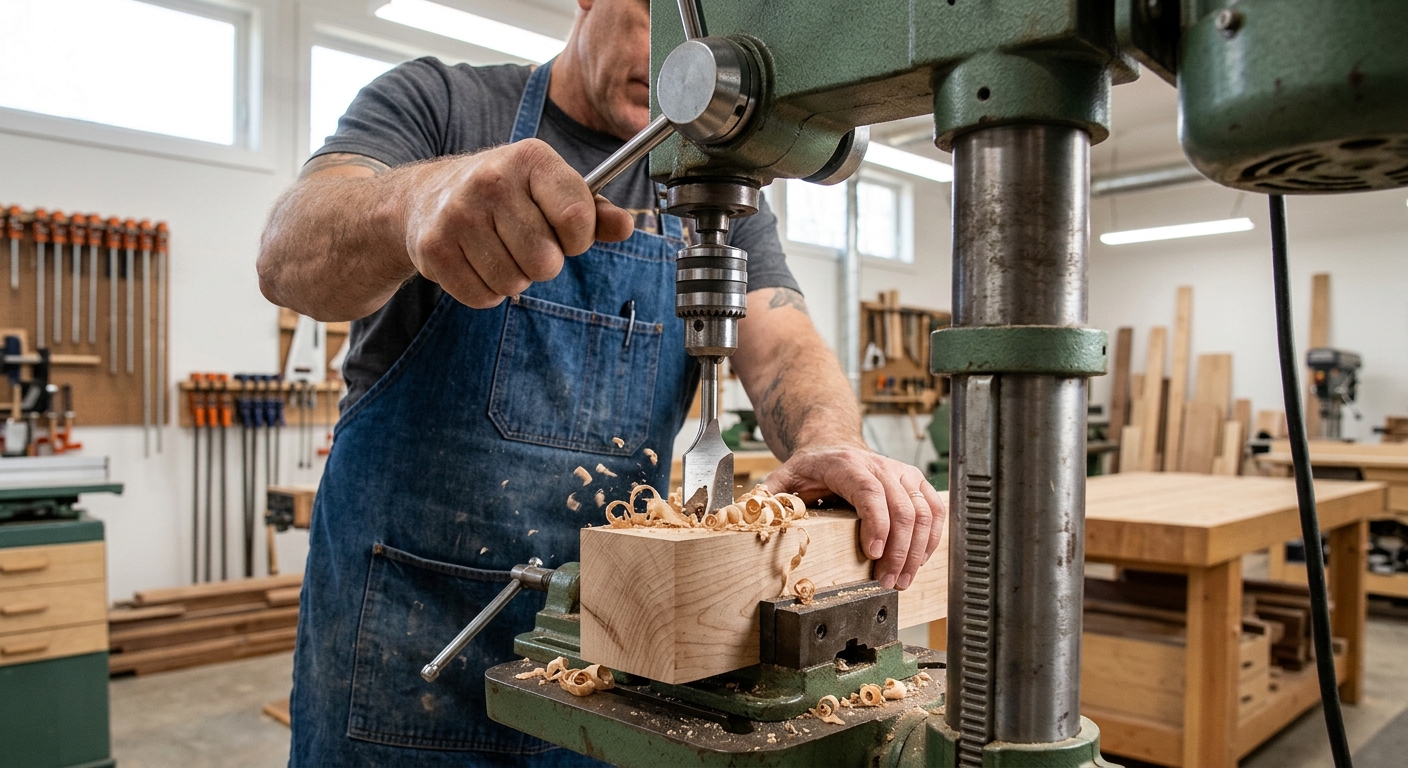
Center the screw hole left to right in the jaw, about 4 inches up from the bottom. Drill at the clearance diameter for your screw. This hole must be perpendicular to the jaw face – even a few degrees off will cause binding. Use a drill press or a well-clamped guide block for hand drilling.
Step 3 – Install the Nut in the Bench Leg
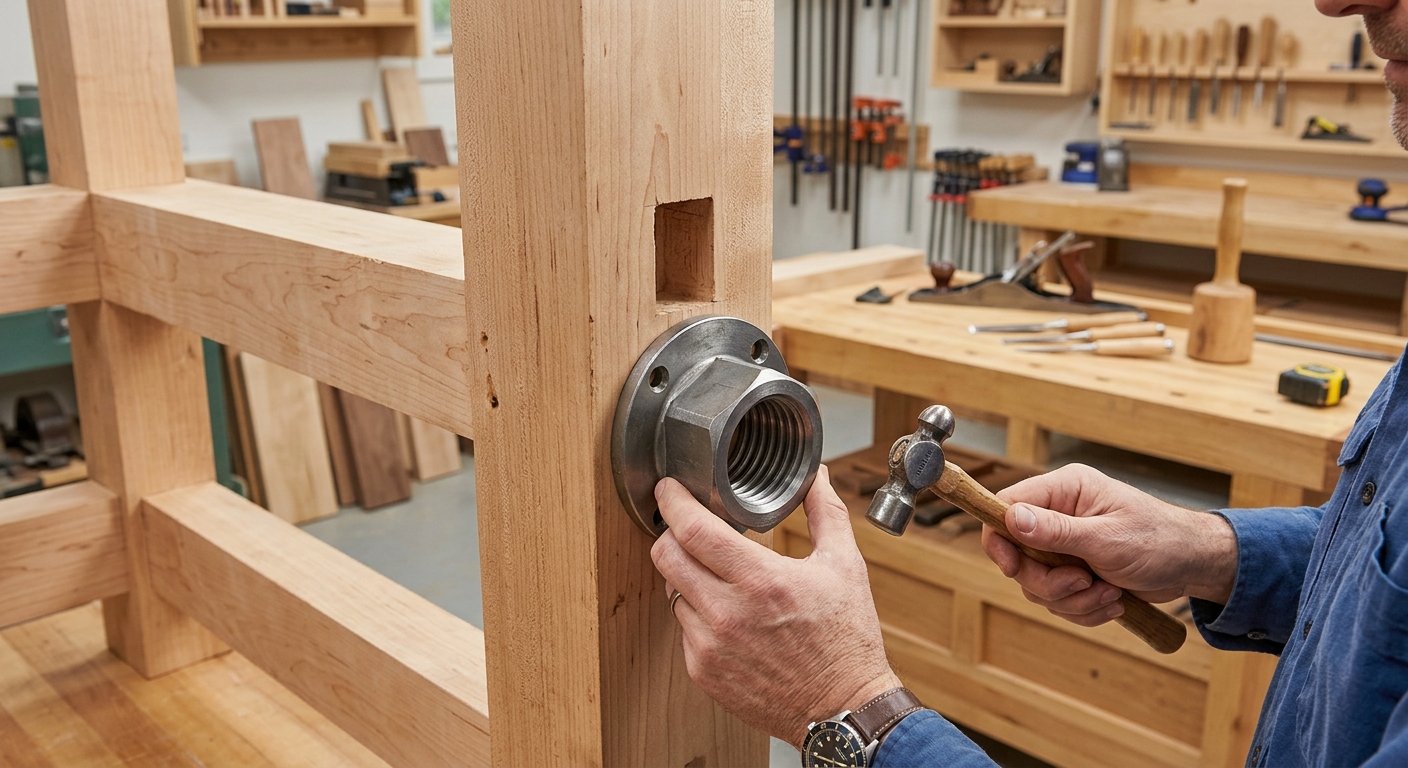
The threaded nut mortises into the front face of the bench leg at a height matching the jaw hole. Most kits include a captured nut or insert. Mark the center precisely, drill the pilot hole, chop the mortise, and epoxy or screw the nut in place once fitted correctly.
Step 4 – Install the Parallel Guide
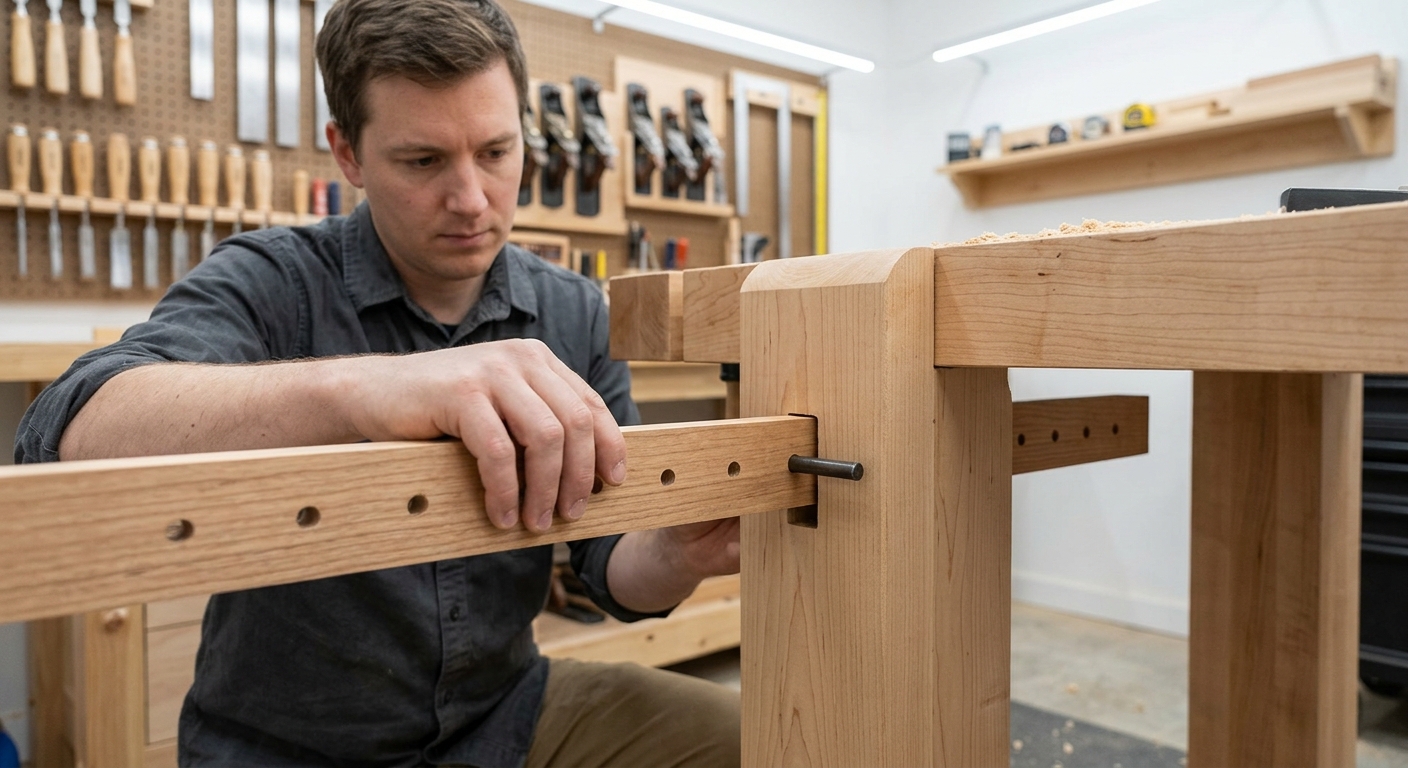
The parallel guide runs through the bottom of the jaw and into a hole in the bench leg below the main screw. It keeps the jaw parallel to the leg under clamping pressure, preventing the jaw face from tilting. Cut the guide from dense hardwood sized to slide in its holes without slop.
Step 5 – Add the Guide Pin System
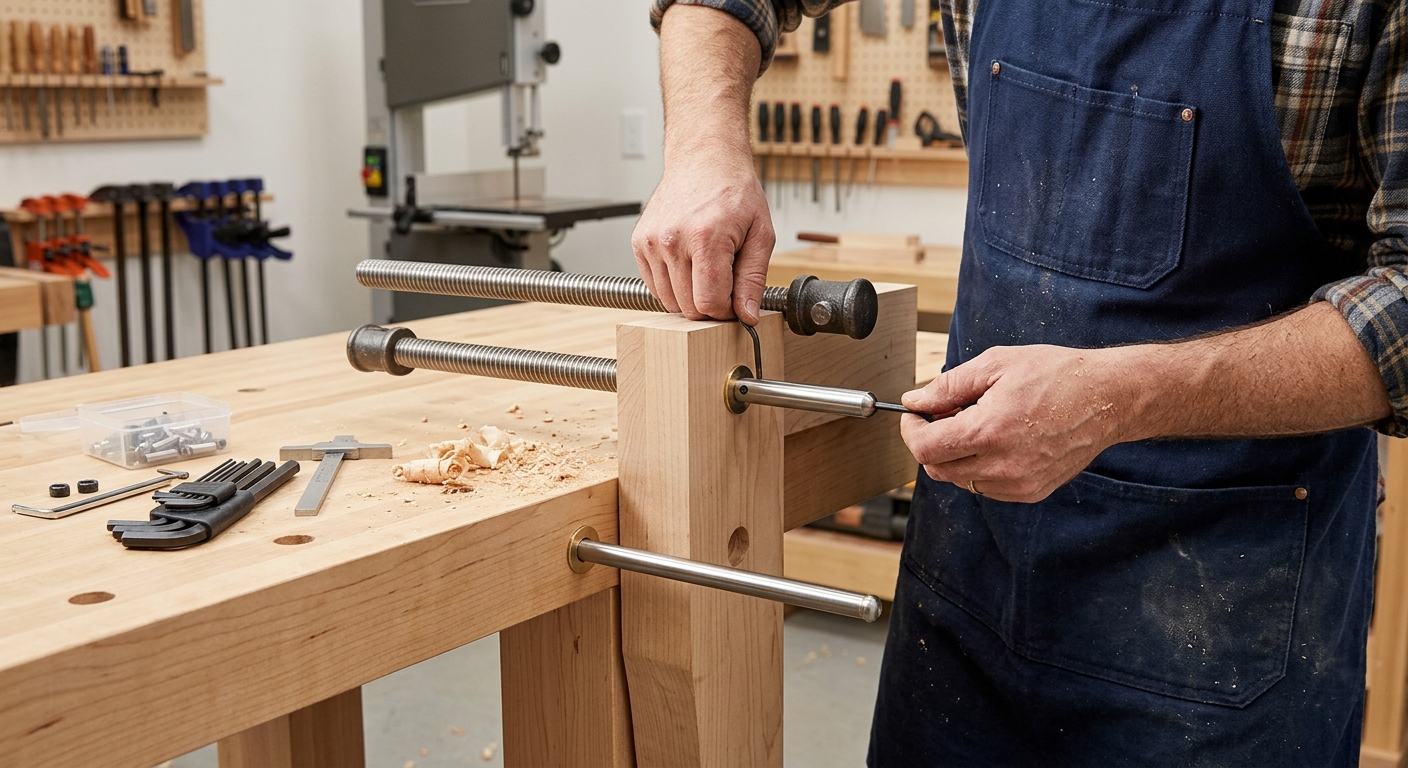
The guide needs a mechanism to stay at the right position as the vise opens and closes. The simplest approach is a series of holes through the guide rod with a pin you move by hand. The traditional crisscross hinged linkage adjusts automatically – more elegant but takes more time to build.
FAQ
How does this compare to a metal quick-release vise? The leg vise has far wider opening capacity – 12 to 16 inches versus 7 to 9 inches for most metal vises. It can clamp longer boards on edge and costs less for the capacity. The trade-off is slightly slower operation since you move the guide pin manually when changing jaw opening size dramatically.
Can I add a quick-release mechanism? Several commercial wooden screw kits include quick-release levers. You can also build a half-nut mechanism that disengages the thread for rapid opening.