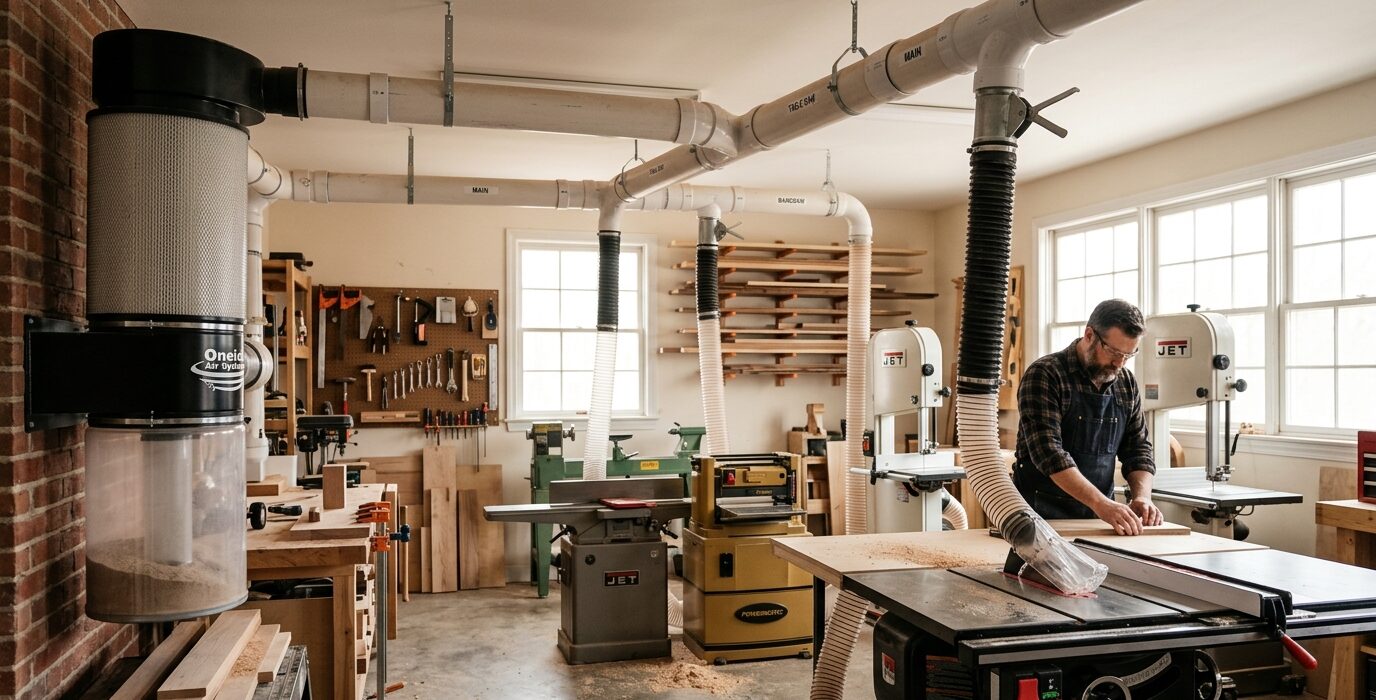
A Proper Router Table Cabinet
A dedicated router table cabinet puts the router in its own house – under a flat phenolic or MDF table surface, with a quality adjustable fence, dust collection at the bit, and all accessories stored within arm’s reach. This is the router table design that professional shops use, and once you build it, you’ll use the router table for profiles, dadoes, and edge work on nearly every project.
Materials
- 3/4-inch Baltic birch plywood – one full sheet for the cabinet
- One router table top (commercial phenolic or shop-built MDF with laminate)
- Router fence with built-in dust port (or build your own from MDF)
- 4-inch blast gate and flex hose for cabinet dust collection
- Two 36-inch T-track pieces for fence mounting
- Four locking swivel casters
Step 1 – Build the Cabinet Box
Cut two sides, a back panel, a bottom, and a fixed shelf from 3/4-inch plywood. Assemble with glue and pocket screws. The back panel stiffens the cabinet and provides a mounting point for the dust collection port. The fixed shelf divides the interior: bit storage below and router body space above.
Step 2 – Install the Router Top
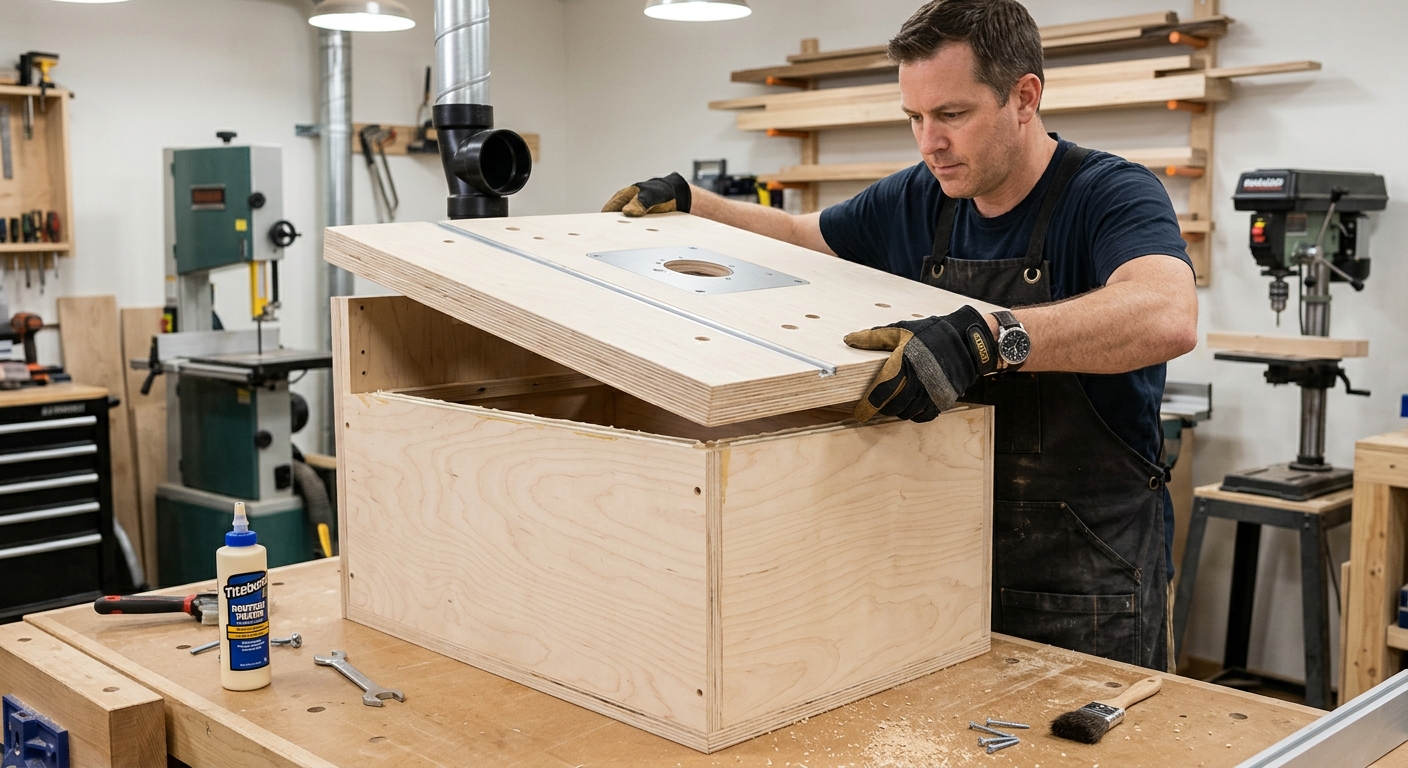
Set the router table top on the cabinet, supported at all four edges. The router mounts under the top through a plate opening. If using a router lift, install it per the manufacturer’s instructions – the lift plate must sit flush with the top surface. If using a fixed base plate, rout a shallow rabbet around the plate opening so the plate sits perfectly flush.
Step 3 – Add Dust Collection
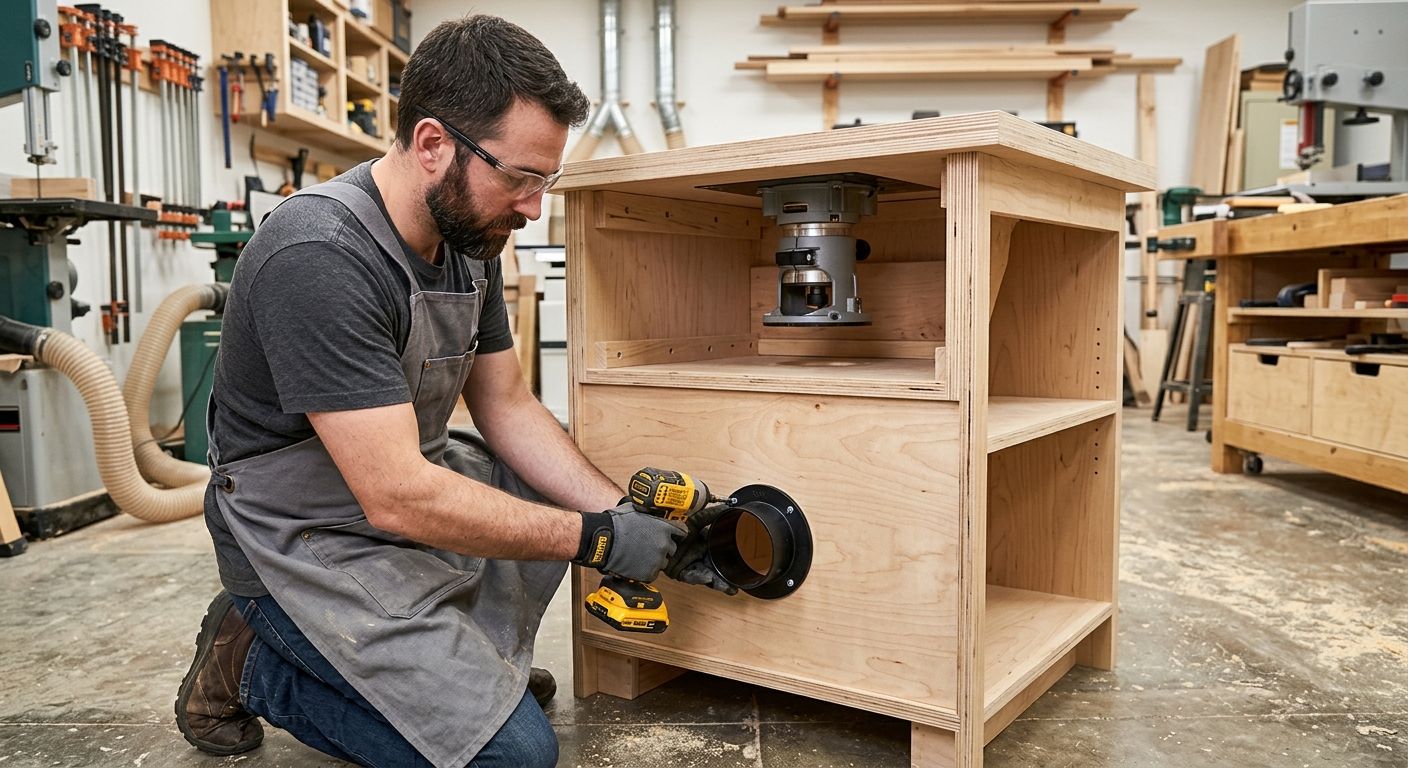
Drill a 4-inch hole through the back panel and install a fitting with a blast gate. Connect to the dust collector with flex hose. Add a separate dust port in the fence at bit height – this is where most chips and fine dust originate. Commercial fences with built-in ports are worth buying for this reason.
Step 4 – Mount T-Track and Fence
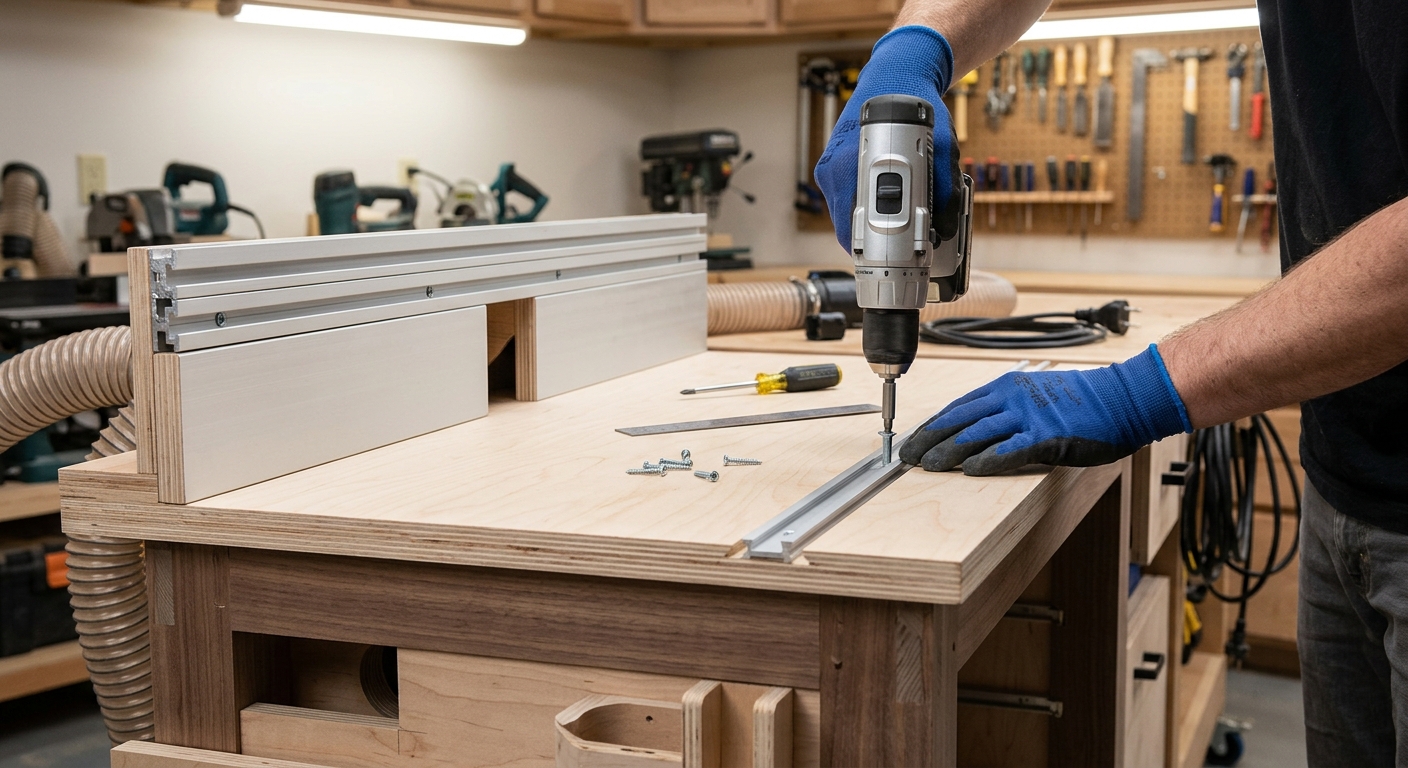
Rout two channels for T-track across the table top, one on each side of the router plate. Install T-track flush with the surface. The fence rides in these tracks with T-bolts and knobs for infinite positioning. Check the fence face with a reliable straightedge after every setup and adjustment.
Step 5 – Add Bit Storage in the Cabinet
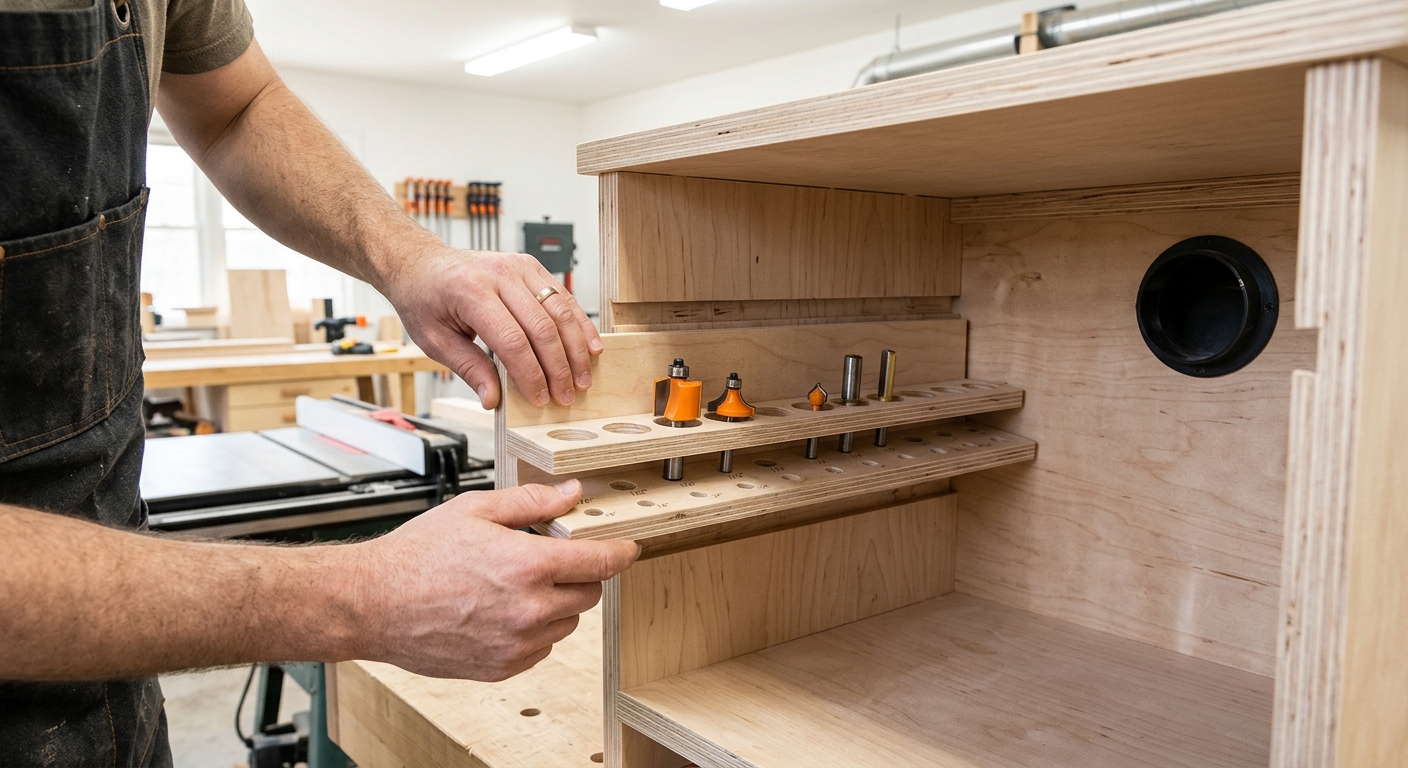
Add a drawer below the fixed shelf with a bit insert board – 3/4-inch MDF with holes drilled in a grid for standing bits upright. Organized by profile type, you can locate any bit in seconds. A second drawer or shelf holds wrenches, starting pins, featherboards, and fence accessories.
FAQ
Do I need a router lift? Not required, but a lift makes bit changes and height adjustment much faster. If you use the router table frequently, a lift is worth the investment.
What safety rules apply to router table work? Always use a featherboard when routing with the fence. Use a starting pin when routing curves without the fence. Never climb-cut unless you have a specific reason. Make multiple shallow passes rather than one deep cut.