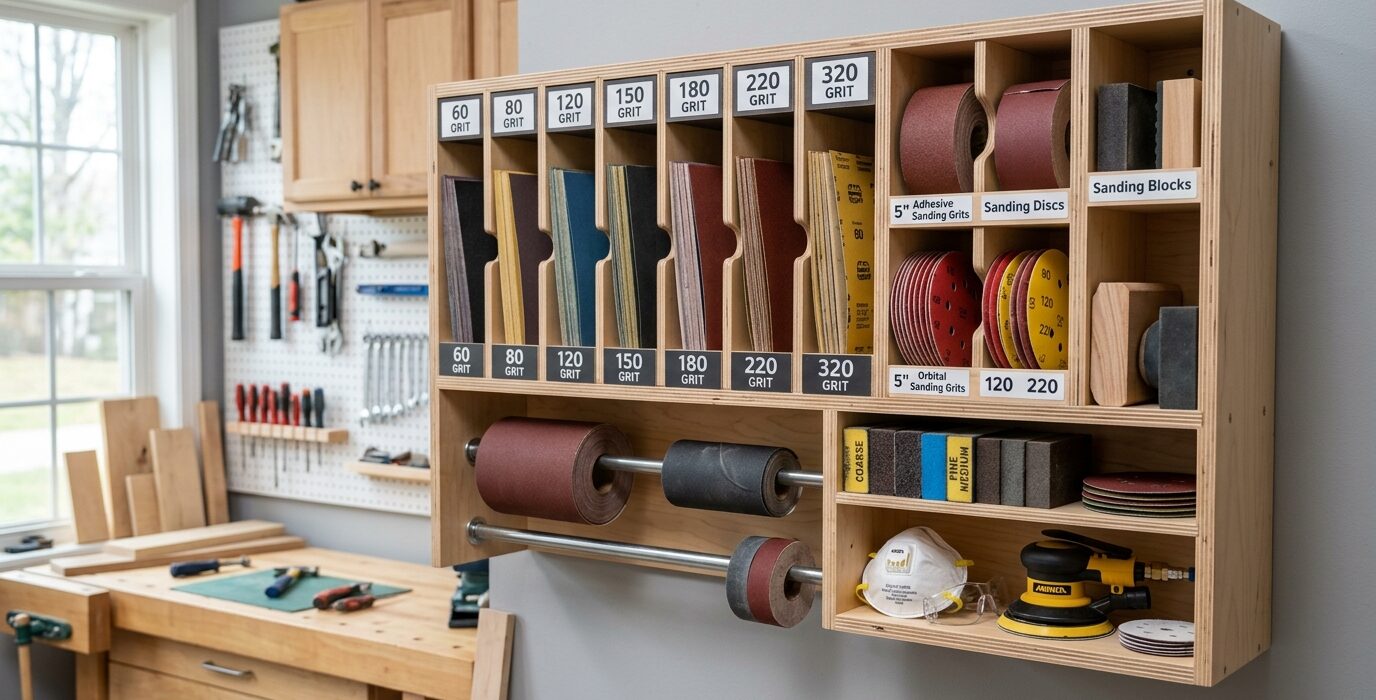
Sandpaper Storage That Actually Works
Sandpaper and abrasives accumulate in shops faster than almost any other consumable. A half-used sheet lives in the bench drawer, a few sheets of random grit in a cabinet, a roll of film on the shelf, sanding belts in a plastic bag. None of it is organized, and when you need 150-grit for a quick scuff, you spend five minutes hunting. A dedicated sandpaper storage station solves this – everything in one place, organized by grit and type, accessible in under 10 seconds.
Design Overview
The station is a wall-mounted cabinet or set of divided bins that holds sheet sandpaper by grit (80, 100, 120, 150, 180, 220, 320), sanding belts by size and grit, abrasive discs for random orbital sanders, and rolls of sandpaper for hand sanding. The system is open (no doors) for fast access during active work.
Materials List
- 1/4-inch plywood or corrugated plastic, 24×36 inches (dividers)
- 1×2 lumber, 10 linear feet (frame)
- Sandpaper labels (label maker or printed)
- Small binder clips or spring clamps (to hold groups of sheets)
Step 1: Audit Your Abrasives
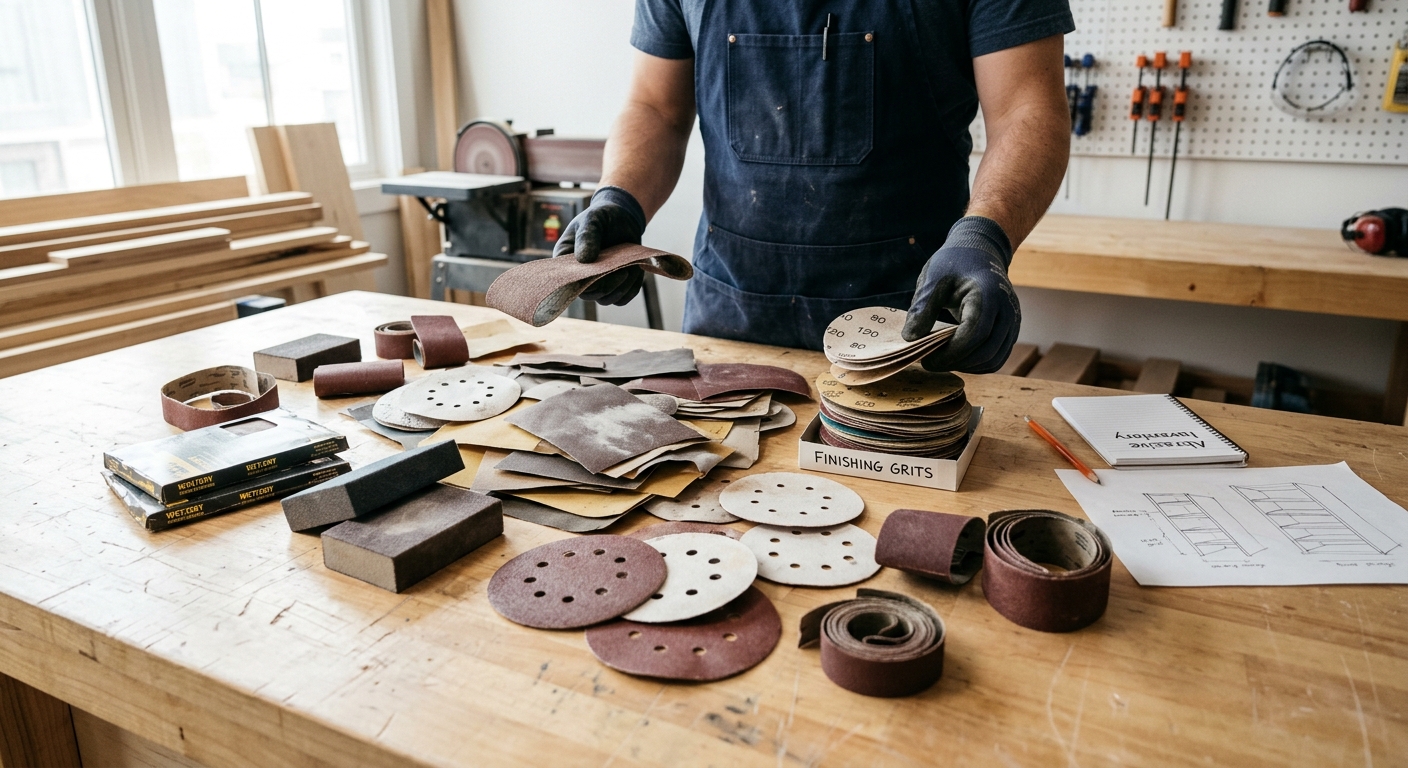
Empty every location where sandpaper currently lives. Sort by type: sheet sandpaper, disc sandpaper (organized by diameter), sanding belts (organized by size), abrasive rolls, specialty abrasives (foam sanding blocks, detail sanding pads). Count sheets by grit. This audit shows you what you actually have and what you’re missing.
Step 2: Build the Sheet Sandpaper Section
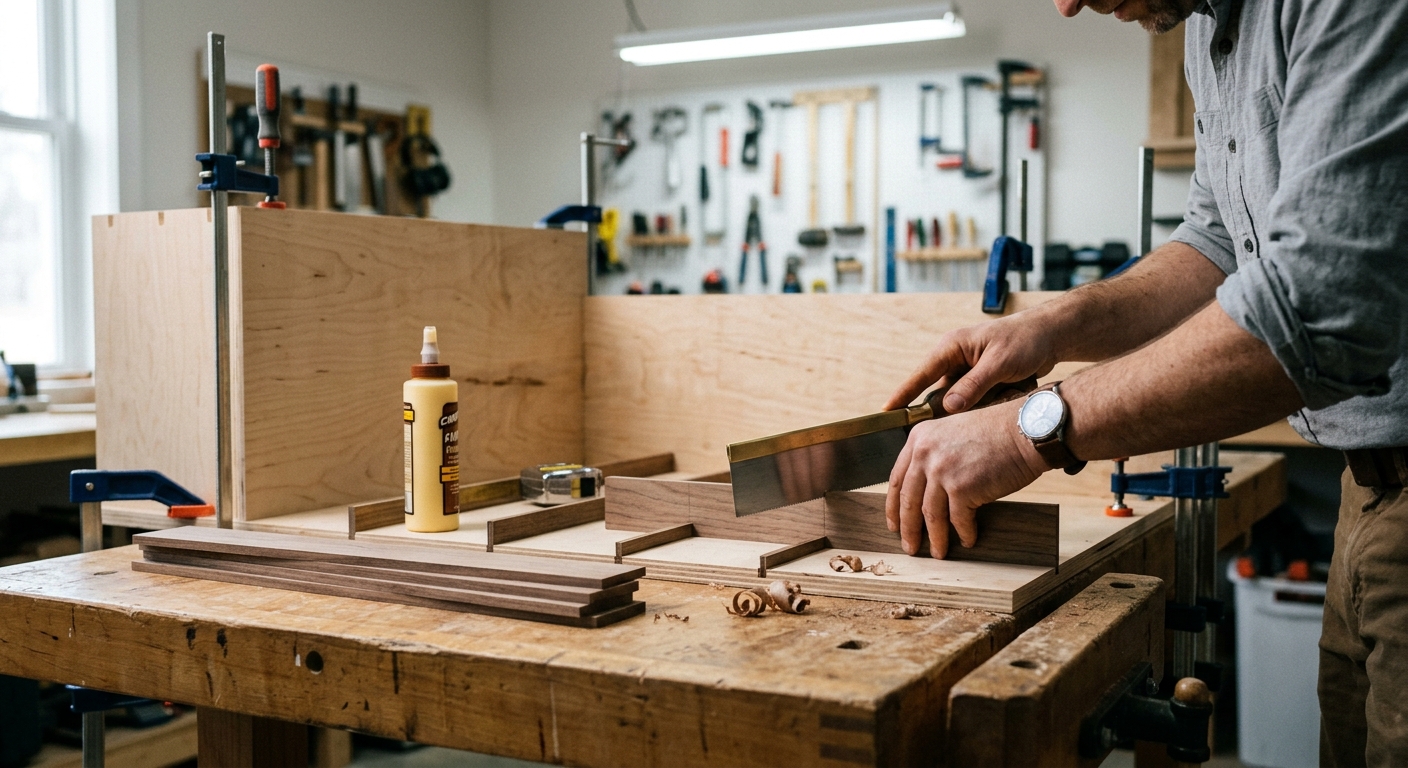
A sheet sandpaper divider is just a series of angled slots, like a file folder system. Cut a back panel and a series of horizontal dividers angled at 15 degrees from vertical – steep enough that sheets don’t fall out, shallow enough to reach in easily. Space dividers 1/2 inch apart (enough for 10-15 sheets per slot). Label each slot at the front edge with its grit.
Step 3: Add Disc Storage
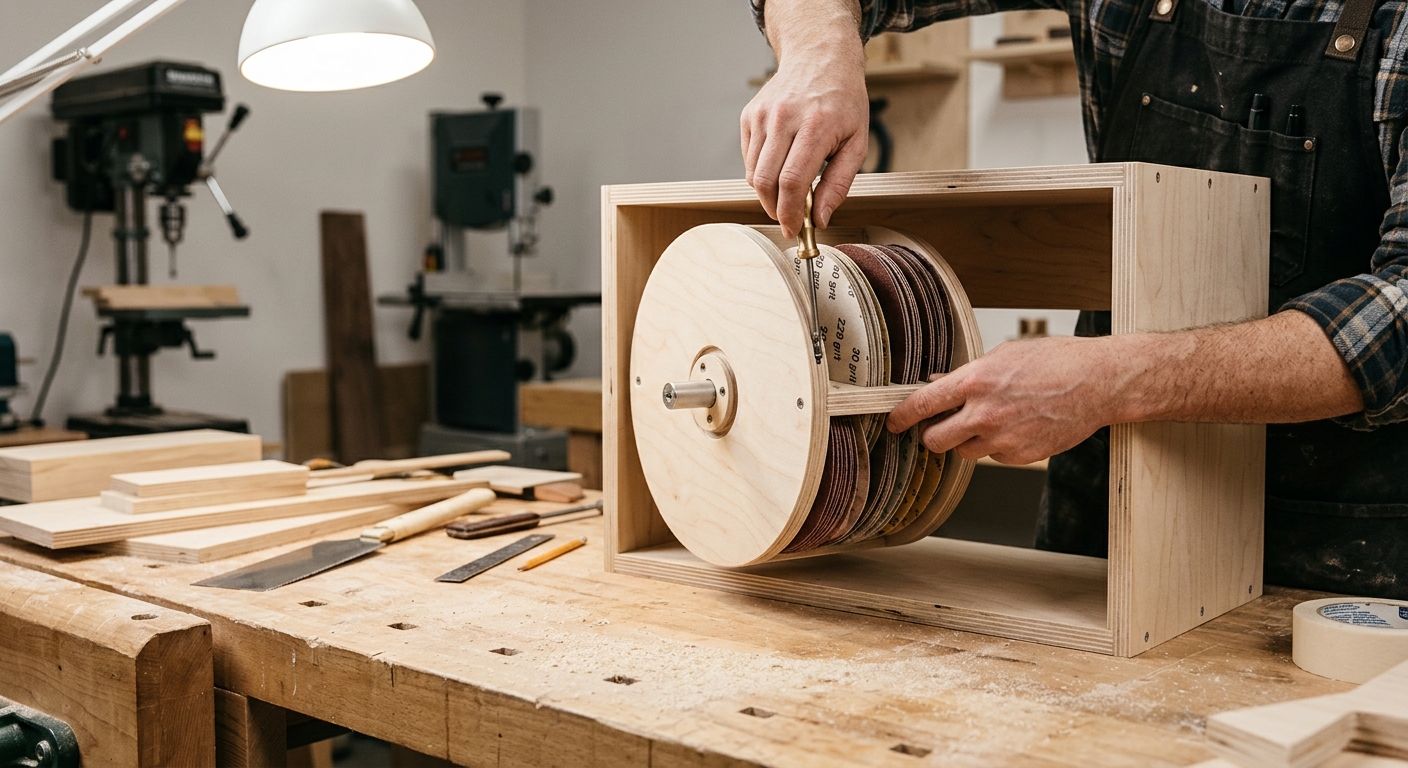
Sanding discs for random orbital sanders (typically 5 or 6 inch) store well in simple cylindrical bins or stacked on a peg that runs through the center hole. A 3/4-inch dowel mounted horizontally, running through the center of stacked discs, holds them organized by grit. Mount one peg per grit.
Step 4: Add Belt Storage
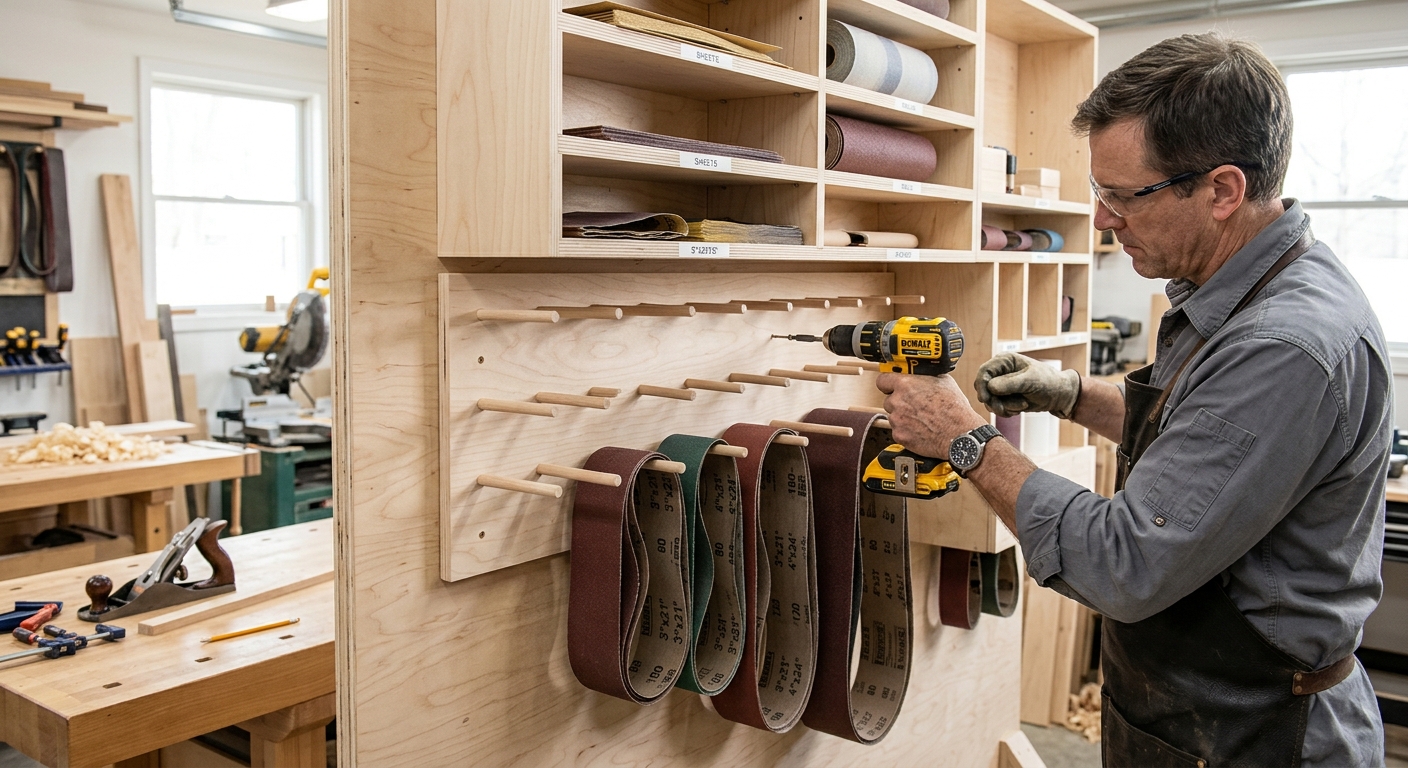
Sanding belts coil into a loop and hang on dowels or J-hooks. Mount J-hooks on the back panel – one per belt size/grit combination. Label each hook. Belts in loops hang readily on hooks without folding or kinking. Group 3×18, 3×21, 4×24, and 6×48 belt sizes separately.
Step 5: Mount and Label

Mount the station at arm’s reach from the sanding area. Full labels on every slot – not just the first one – ensure the system stays organized even when you’re in a hurry. Apply anti-static spray to the inside of the cabinet annually to reduce dust adhesion to abrasives.
Pro Tips
- Date your sandpaper purchases. Sandpaper degrades over time. Mark the purchase date on each pack so you can rotate stock – oldest sheets used first.
- Keep at least three sheets per grit in the station. If a slot empties completely, the system breaks down. Reorder when you’re down to three sheets.
FAQ
How long does sandpaper stay usable?
Stored in a dry environment, most sandpaper lasts 2-3 years. The abrasive doesn’t degrade significantly, but the paper backing can become brittle and the adhesive on disc sandpaper can lose effectiveness. Silicon carbide papers (often gray or black) last longer than aluminum oxide papers in storage.