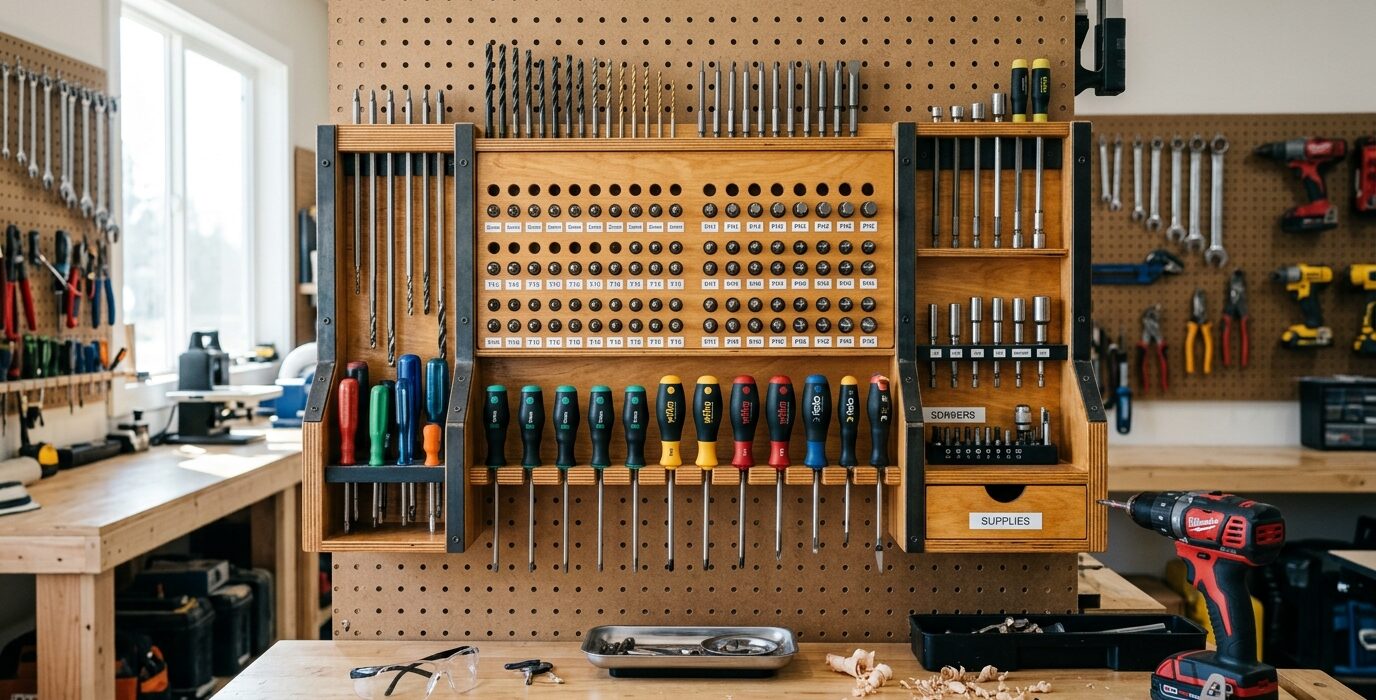
A Bit and Driver Organizer for Power Drivers
Power driver bits – Phillips, square, Torx, hex, and specialty – accumulate fast and become useless quickly when stored loose in a pouch or a tin. They mix by size, they get lost, and you end up buying duplicates of what you already have. A dedicated bit organizer keeps every bit visible, accessible by type and size, and returned to the same spot after every use.
Materials
- 3/4-inch MDF or plywood for the bit block
- 5/32-inch drill bit for the bit shank holes (most 1/4-inch hex shank bits)
- Paint marker for labeling
- Optional: magnetic strip to hold bits by the shank
Step 1 – Inventory and Sort Current Bits
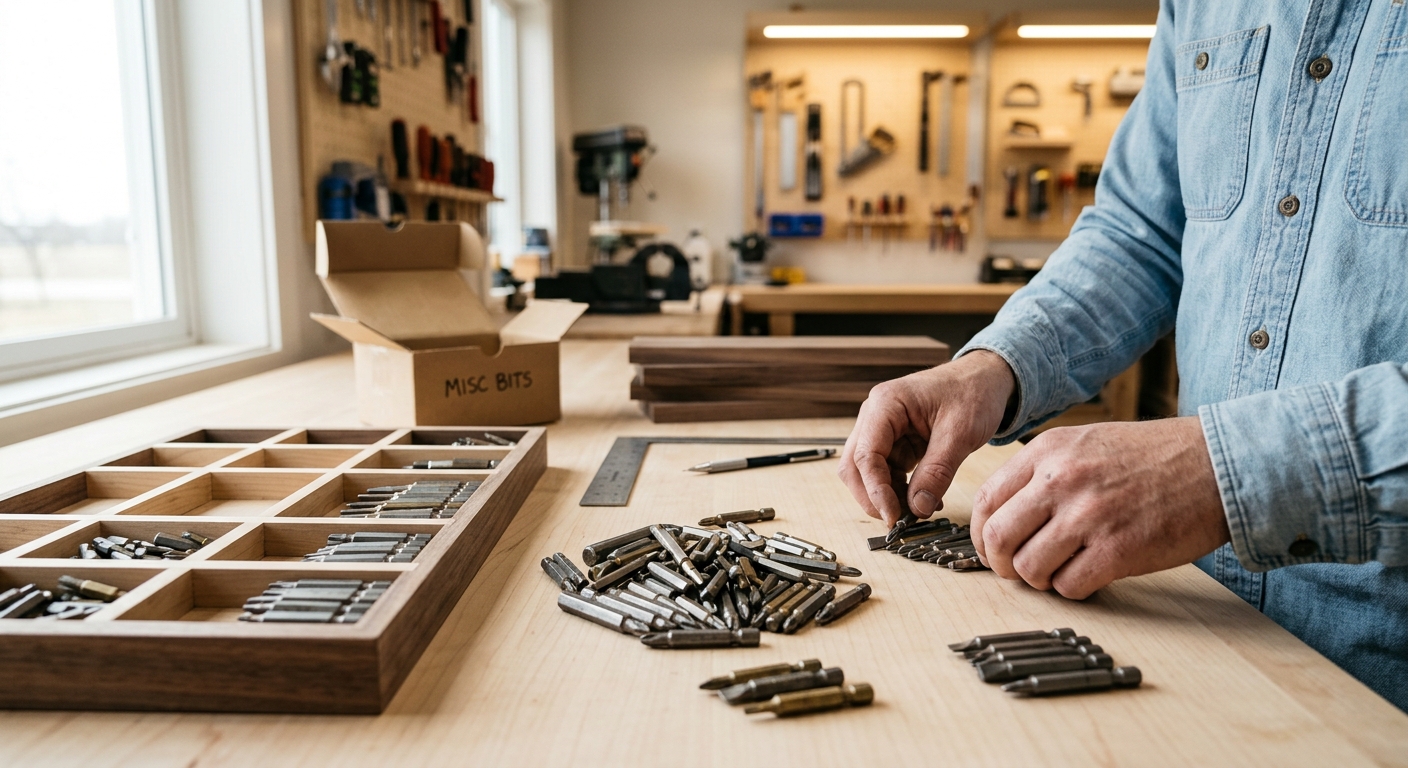
Collect every bit from every location (the drill bag, the kitchen junk drawer, the project bags). Sort them by type and size. Discard any bit that is visibly stripped, chipped, or bent – a damaged bit damages screw heads and is dangerous at high speed. This is also a good time to identify what sizes you’re missing.
Step 2 – Build the Bit Block
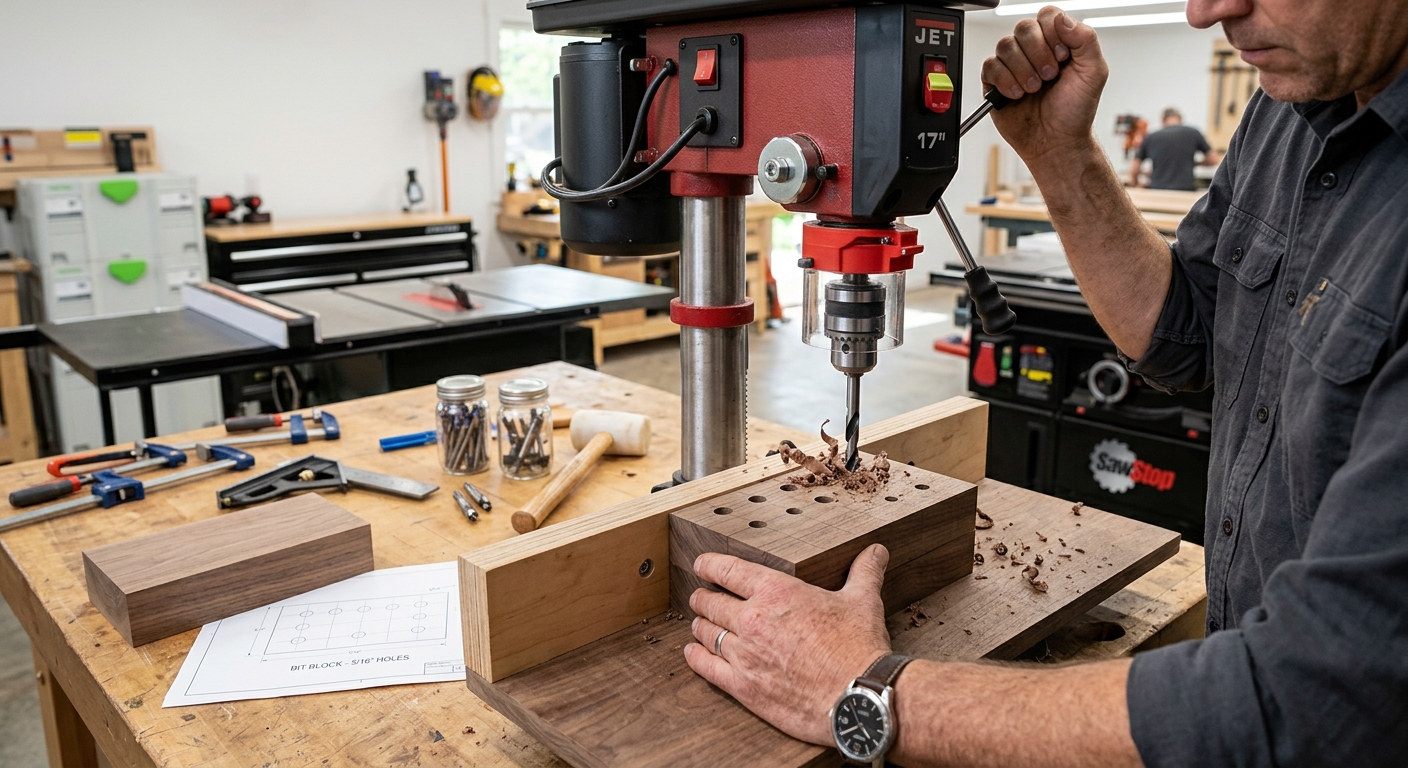
Cut a piece of 3/4-inch MDF or plywood approximately 4 x 12 inches. Drill a grid of 5/32-inch holes (or your specific bit shank diameter) in a layout that puts the most used bits closest to the center. Drill the holes perpendicular to the face – the bits stand upright in the holes. The block can be mounted on the bench wall, inside a cabinet door, or on a French cleat.
Step 3 – Label the Holes
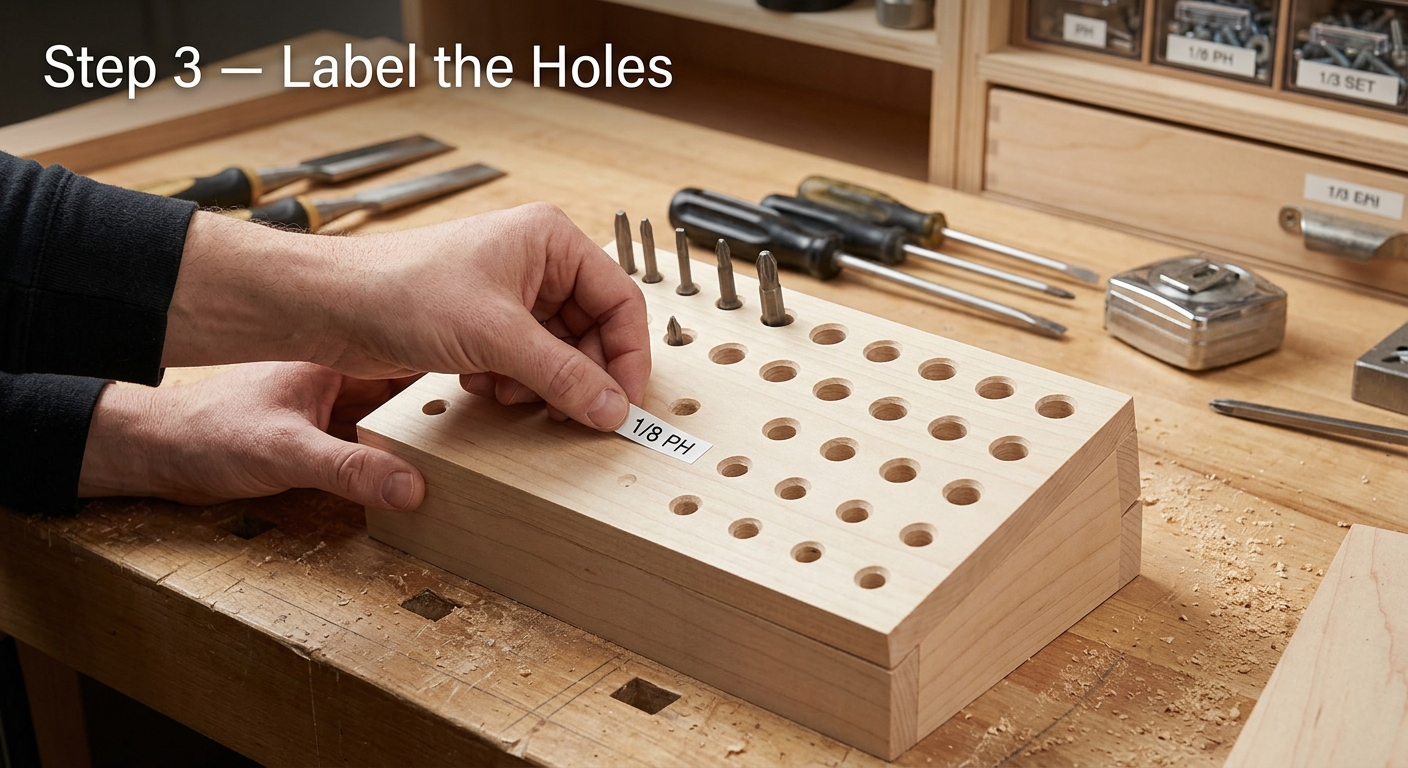
Use a paint marker or a label maker to write the bit type and size below each hole. The labels are what make this system work – when a bit is out of its hole, you know exactly which hole it belongs to, which tells you whether you already have that size when shopping for replacements.
Step 4 – Add a Magnetic Section
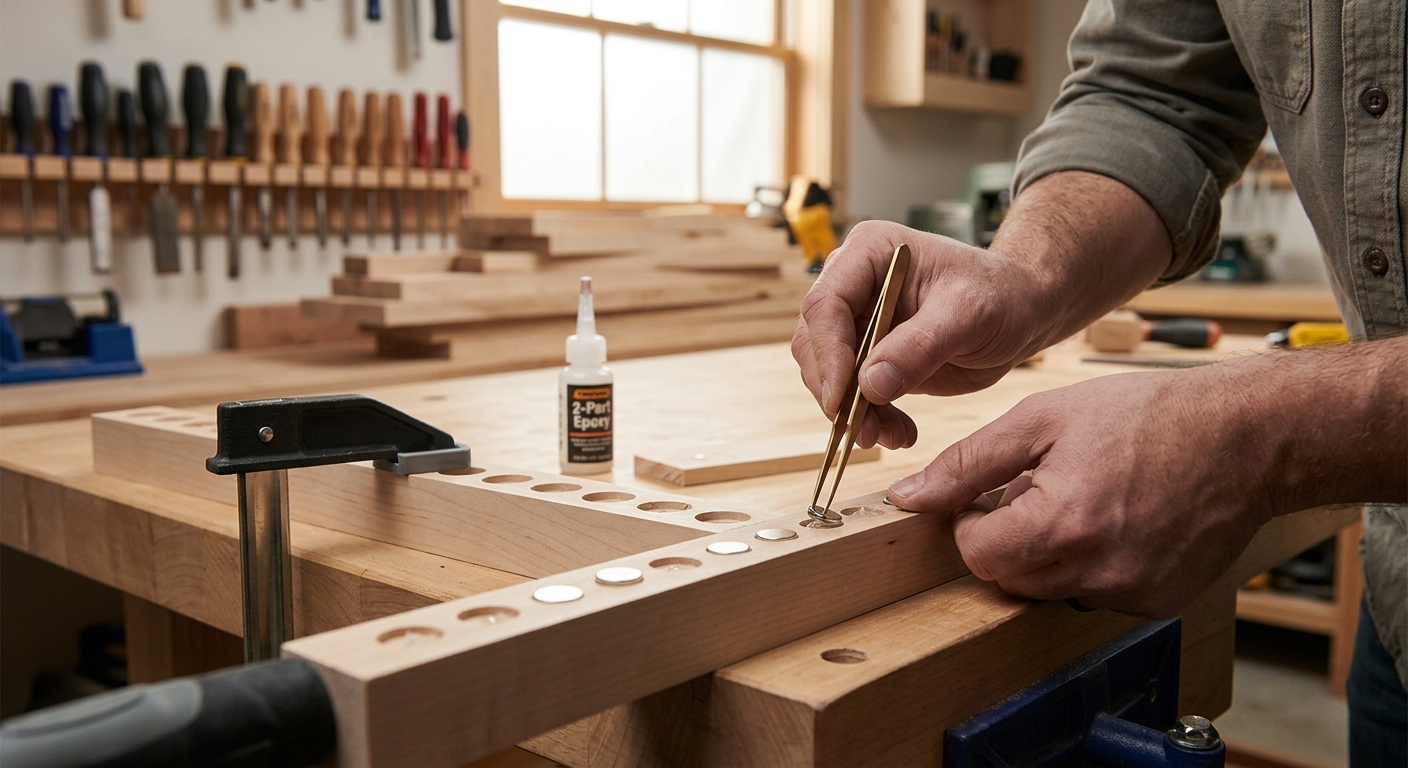
A magnetic tool strip mounted at one end of the bit block holds extension bars, angle adapters, and countersink bits that don’t fit in the standard holes. A small rare-earth magnet in a wooden block works just as well as a commercial magnetic strip – just drill a pocket for the magnet and epoxy it in.
Step 5 – Position for Easy Access
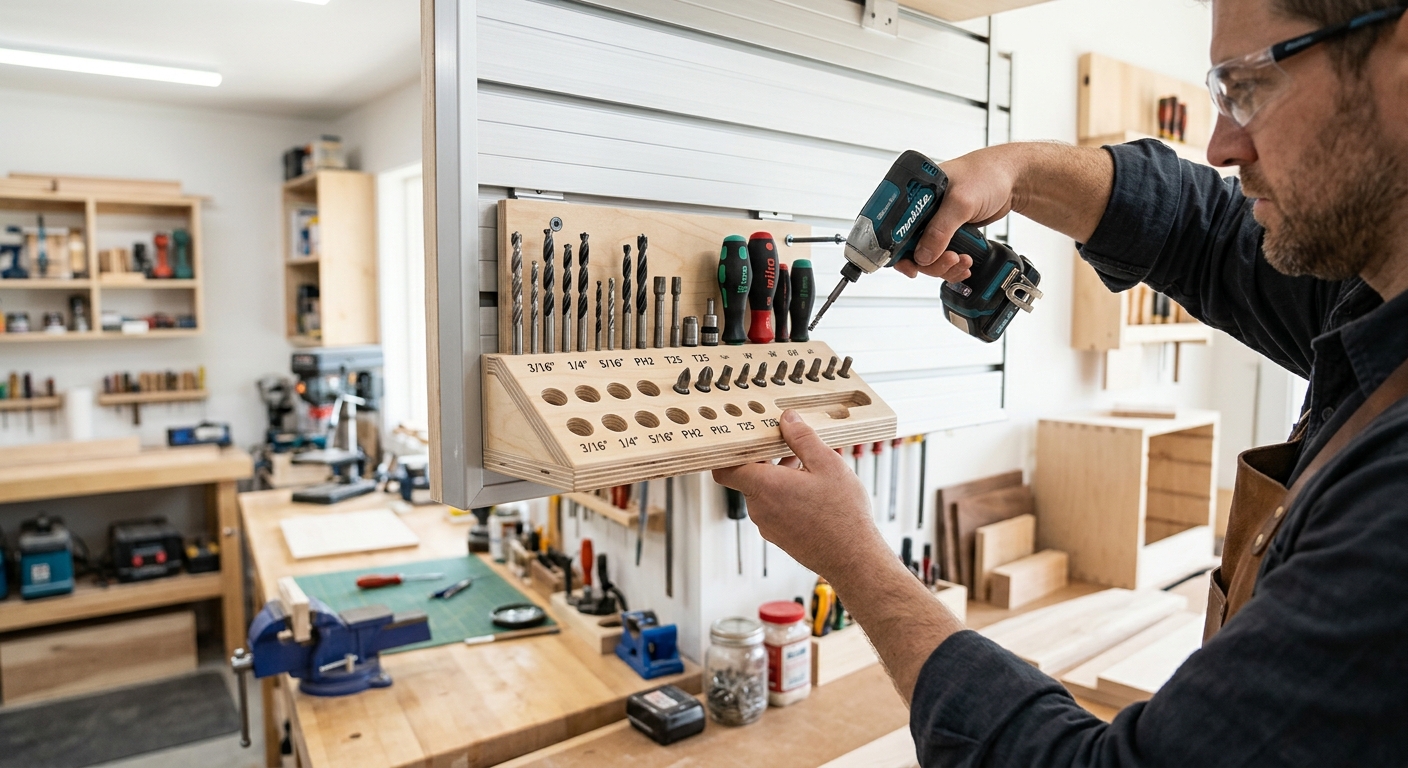
Mount the bit organizer at the primary drill use location – typically beside or below the bench-mounted drill, or on the side wall of the tool cabinet near the cordless drills. The bit you need should require at most one arm’s reach to get to.
FAQ
How often should I replace driver bits? Any bit that slips in a screw head under normal driving pressure should be replaced immediately – a slipping bit damages screw heads and risks injury. For production work, replace impact-rated bits after 500 to 1000 screws driven. For occasional home shop use, good-quality bits last years.
Should I keep a set of hand driver tips separate from power tool bits? Yes – hand screwdriver tips (not 1/4-inch hex shank) need a separate holder. The systems are different enough that mixing them creates confusion.