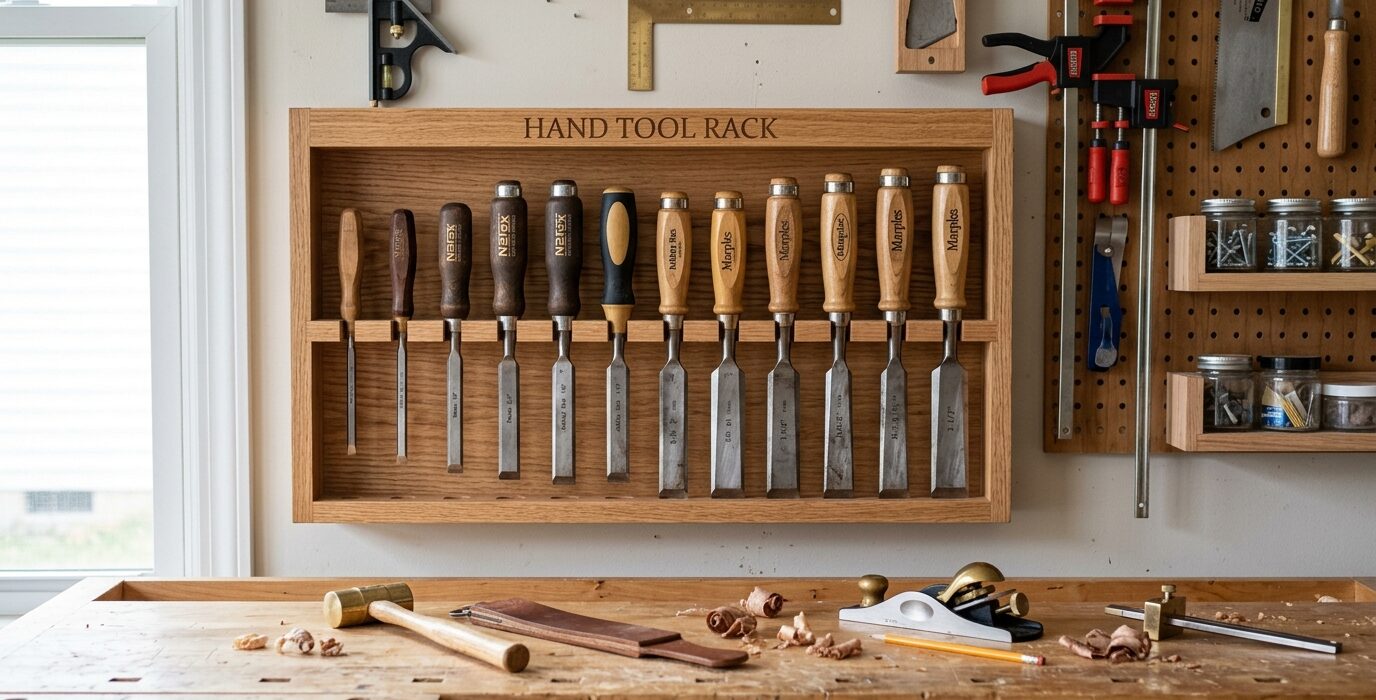
A Proper Chisel Rack for the Workshop Wall
Chisels stored in a drawer or a pouch get nicked, dulled, and jumbled. A dedicated wall-mounted chisel rack keeps them organized by size, cutting edges protected, and visible at a glance. Building a chisel rack takes less than an hour and improves both the organization and the longevity of your edge tool collection.
Design Options
There are three practical chisel rack designs:
- Handle-down hanging: Holes in a rack board sized for each chisel handle. The chisel drops through the hole and hangs with the blade down and the handle up. Fast to access, protects the cutting edge.
- Handle-up with edge protection: The chisel blade slips through a slot in a bottom board, protecting the edge, and the handle rests on a top bar. More secure, better edge protection.
- Horizontal shelf with individual slots: Each chisel lies in its own slot, side by side. Simple to build, easy to see all sizes at once.
Materials
- 3/4-inch hardwood or plywood – one strip 4 inches wide x length for the number of chisels
- Drill bits sized to each chisel handle diameter
- Mounting screws or French cleat for wall mounting
Step 1 – Measure Your Chisel Handles
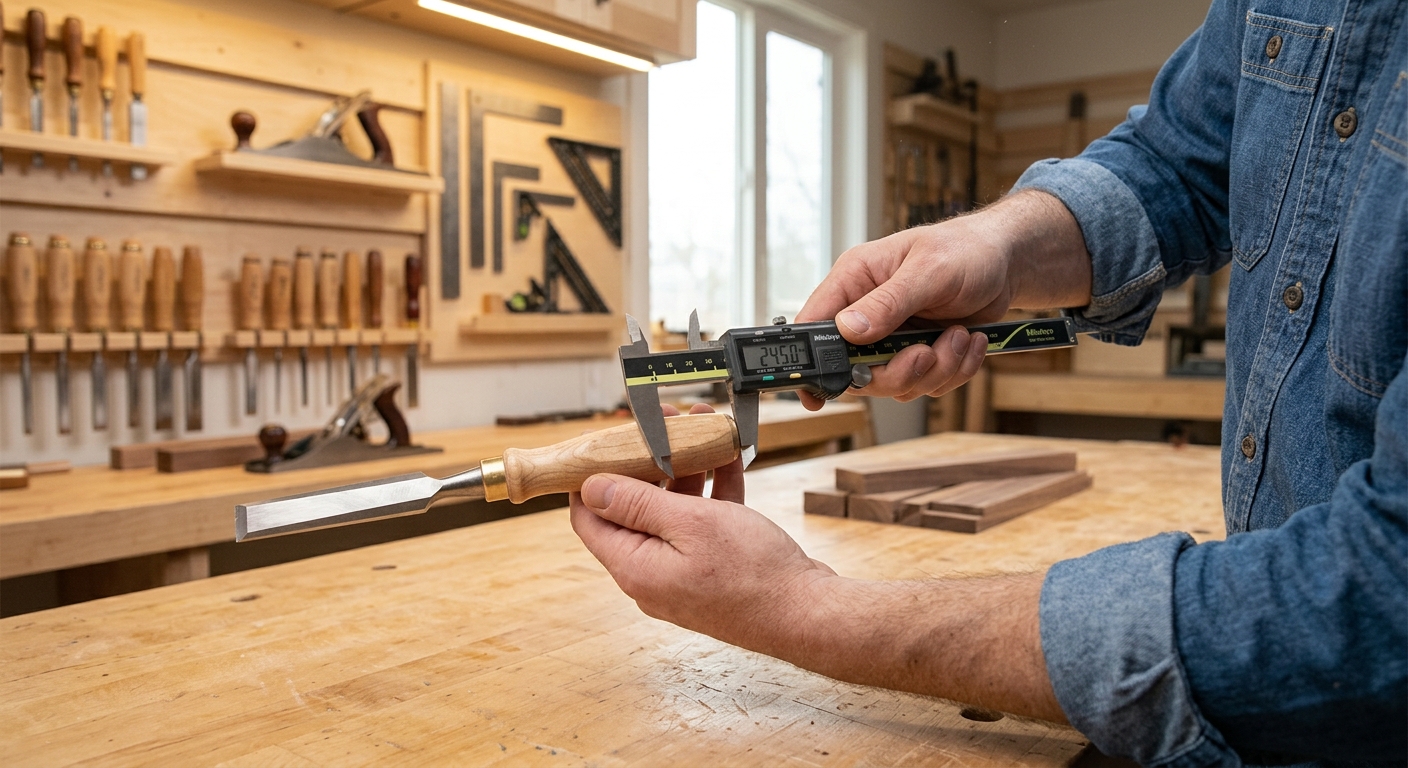
Measure the diameter of each chisel handle at the widest point. The holes in the rack board must be slightly larger than each handle diameter – the chisel needs to drop through and hang without falling through completely or getting stuck. Different brands and sizes have different handle diameters, so measure each one individually.
Step 2 – Layout the Holes
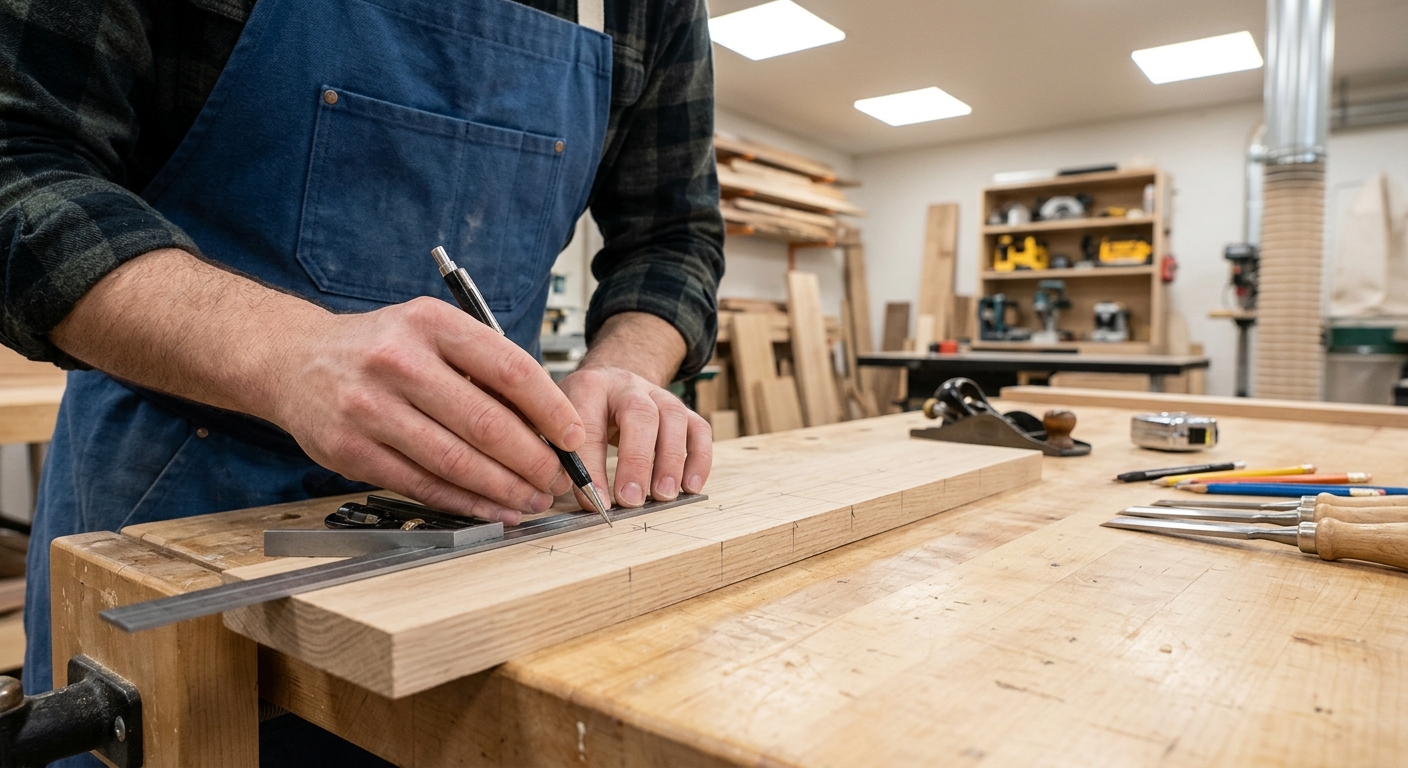
Lay out the holes in size order – from the narrowest chisel to the widest. Spacing of 2 to 3 inches between centers is enough for comfortable access. Mark each hole center clearly before drilling.
Step 3 – Drill the Holes
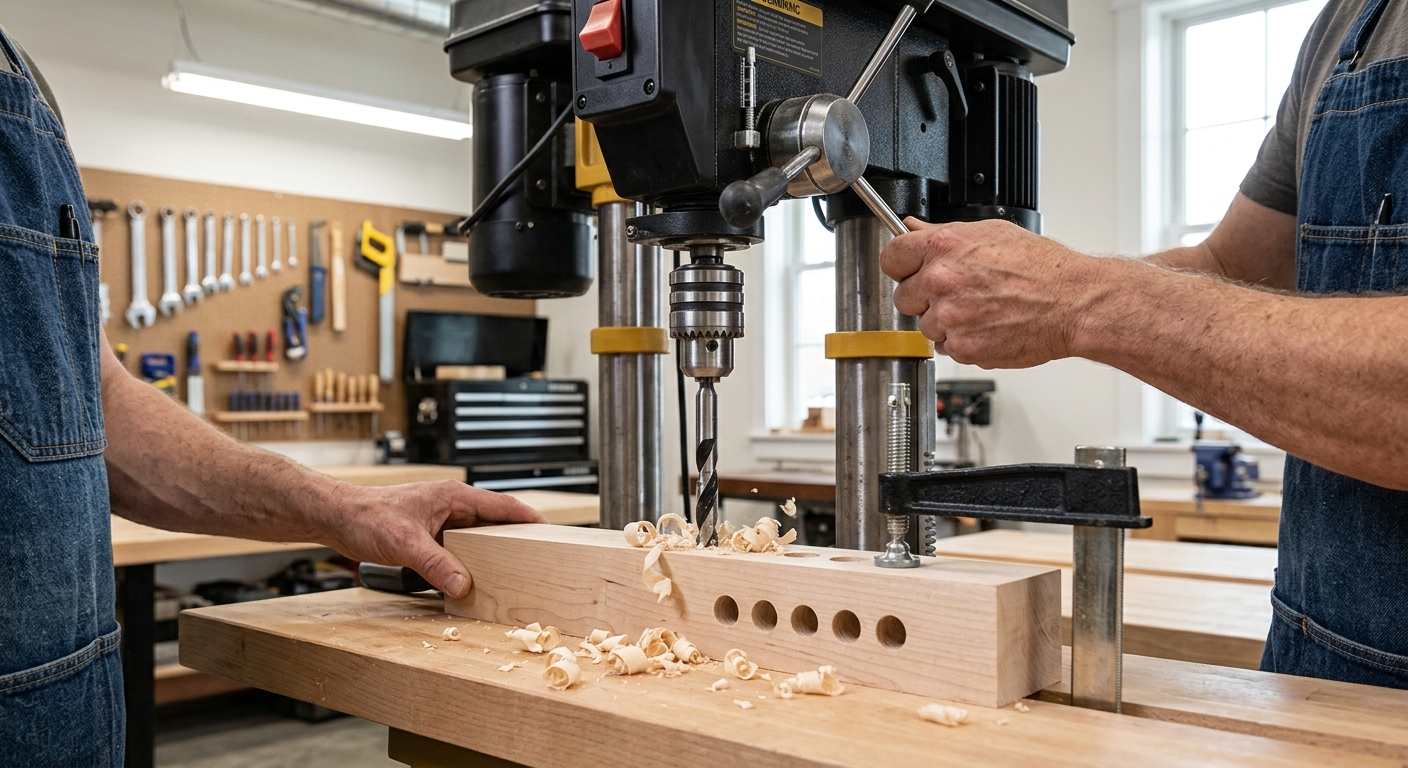
Use a Forstner bit at the drill press for the cleanest holes – the bit leaves a clean, flat-bottomed hole that the handle rests in neatly. If drilling by hand, clamp a backup board behind the rack board to prevent blowout on the exit side. Test each hole with the actual chisel before mounting the rack.
Step 4 – Mount the Rack
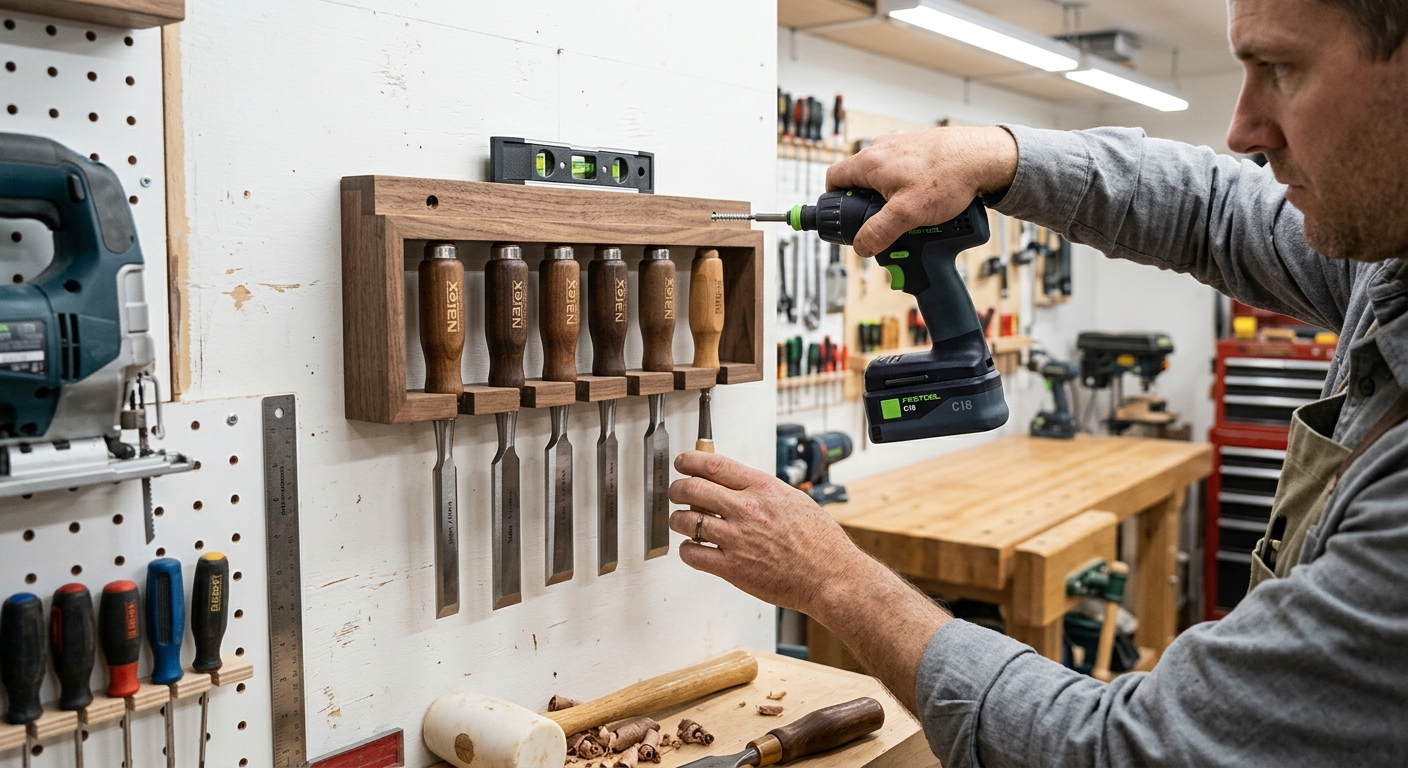
Mount the rack at a height where you can drop chisels in and pull them out without stretching. Just above shoulder height is common – high enough to clear the bench surface but low enough to reach comfortably. Use a French cleat mount for the easiest wall installation and repositioning ability.
FAQ
Should I make separate racks for different chisel types? If you have bench chisels, paring chisels, and mortising chisels, organizing each type on separate racks in size order makes retrieval faster. Group by type, then sort by size within the type.
How do I prevent rust on hanging chisels? A light coat of camellia oil or paste wax on the blade before hanging provides good rust protection between uses. In humid shops, a silica gel packet near the rack helps.