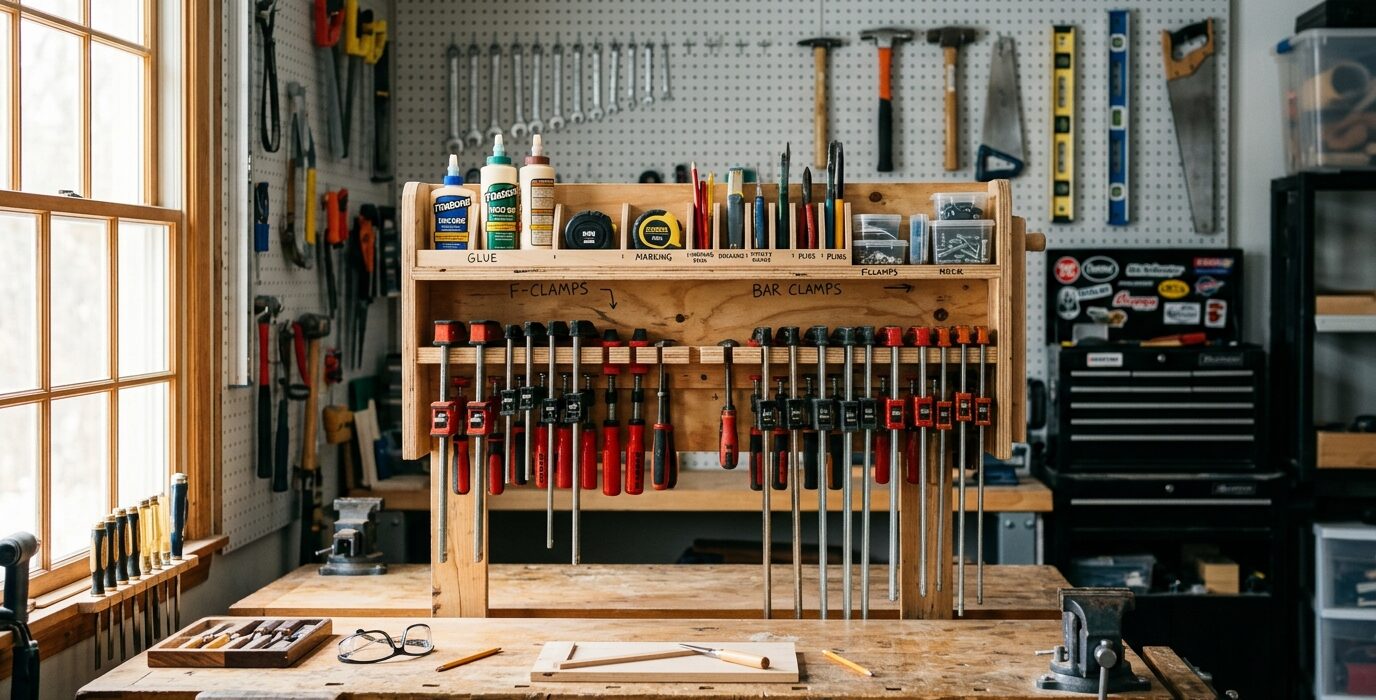
Build a Clamp Rack for the Wall and Ceiling
Clamps are the tool you always need more of, and they’re also the tool that takes the most space to store. A well-designed clamp rack puts every clamp in view, within reach, and organized by type and size. This project covers a wall-mounted rack system with ceiling-hung sections for long pipe clamps – using both vertical wall space and the overhead space that most shops waste entirely.
Materials
- 2×4 lumber for horizontal rails – approximately 16 linear feet
- 3/4-inch plywood for mounting panels
- Lag screws for wall mounting
- 1-inch dowels cut to 4-inch lengths for pipe clamp holders
- Scrap hardwood for bar clamp arms
- Threaded rod and pipe hangers for ceiling-mounted pipe clamp storage
Step 1 – Inventory Your Clamps
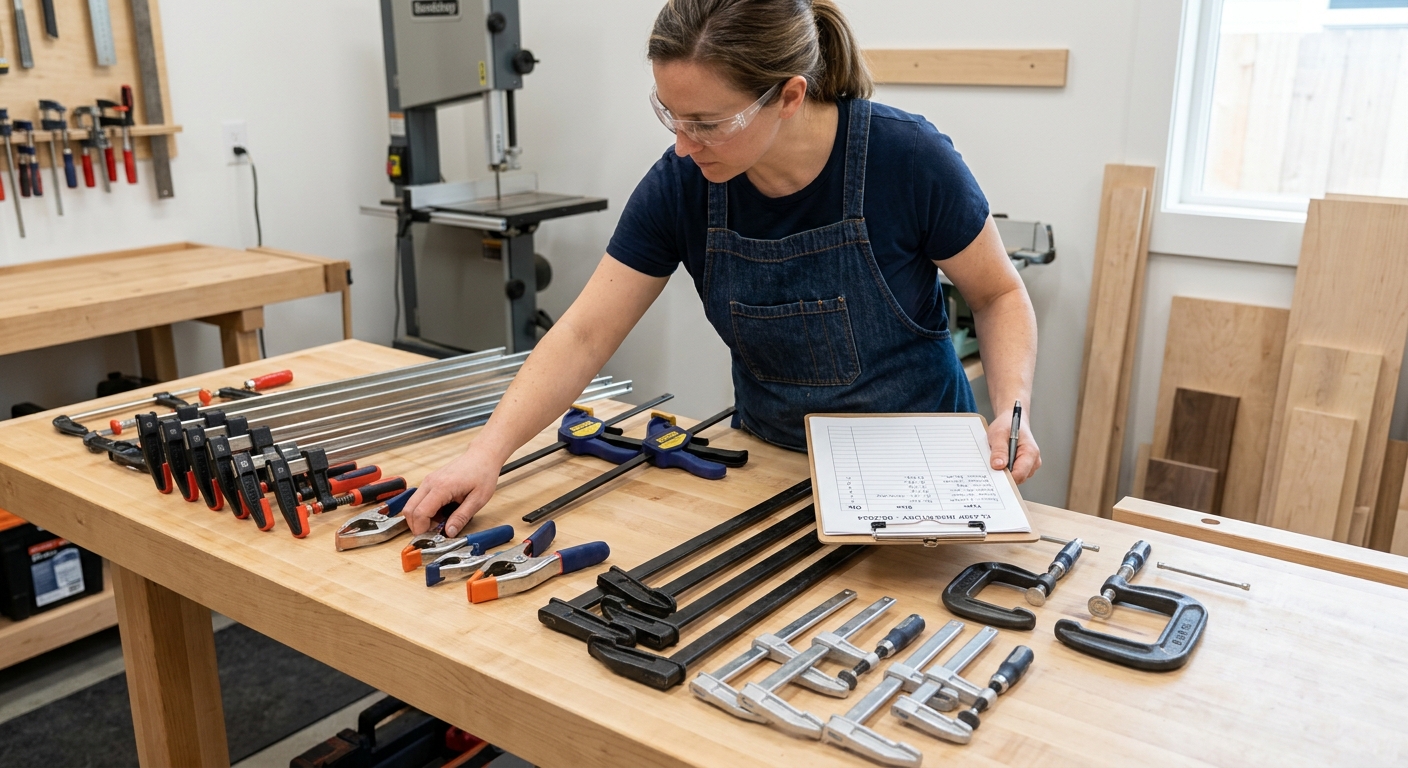
Before building anything, count and categorize every clamp. Bar clamps, pipe clamps, C-clamps, spring clamps, corner clamps, band clamps – each type stores differently. Group them by type and measure the largest example of each group. This tells you what rail dimensions and spacing you need for each section of the rack.
Step 2 – Design the Wall Section
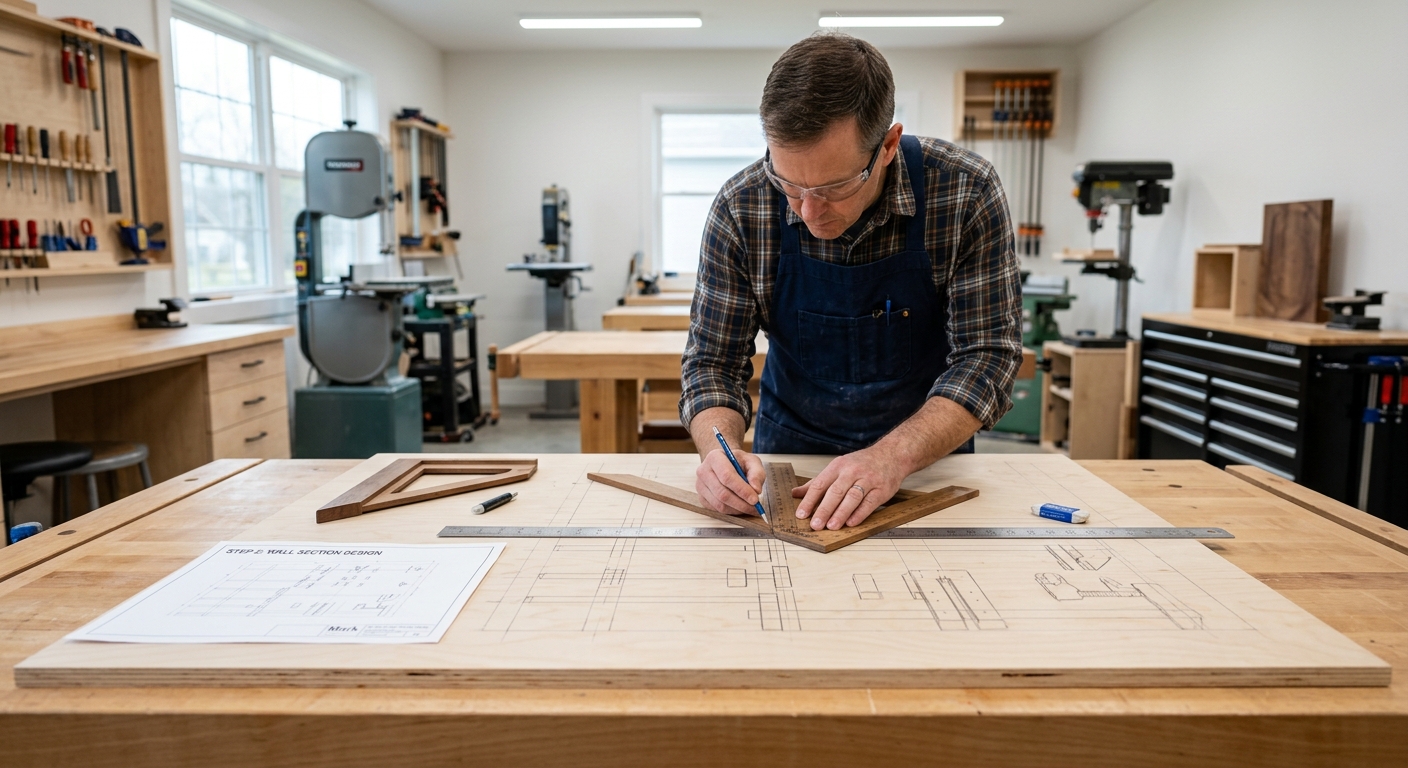
The wall section handles bar clamps, F-clamps, C-clamps, and small spring clamps. Horizontal rails of 2×4 lumber spaced 8 to 10 inches apart vertically support bar clamp arms. Each arm is a strip of hardwood projecting 6 to 8 inches from the wall. Bar clamps hang on these arms with the bar resting on the lower arm and the head resting against the upper rail. One arm set can hold 6 to 8 clamps of the same size.
Step 3 – Build and Mount the Wall Rails
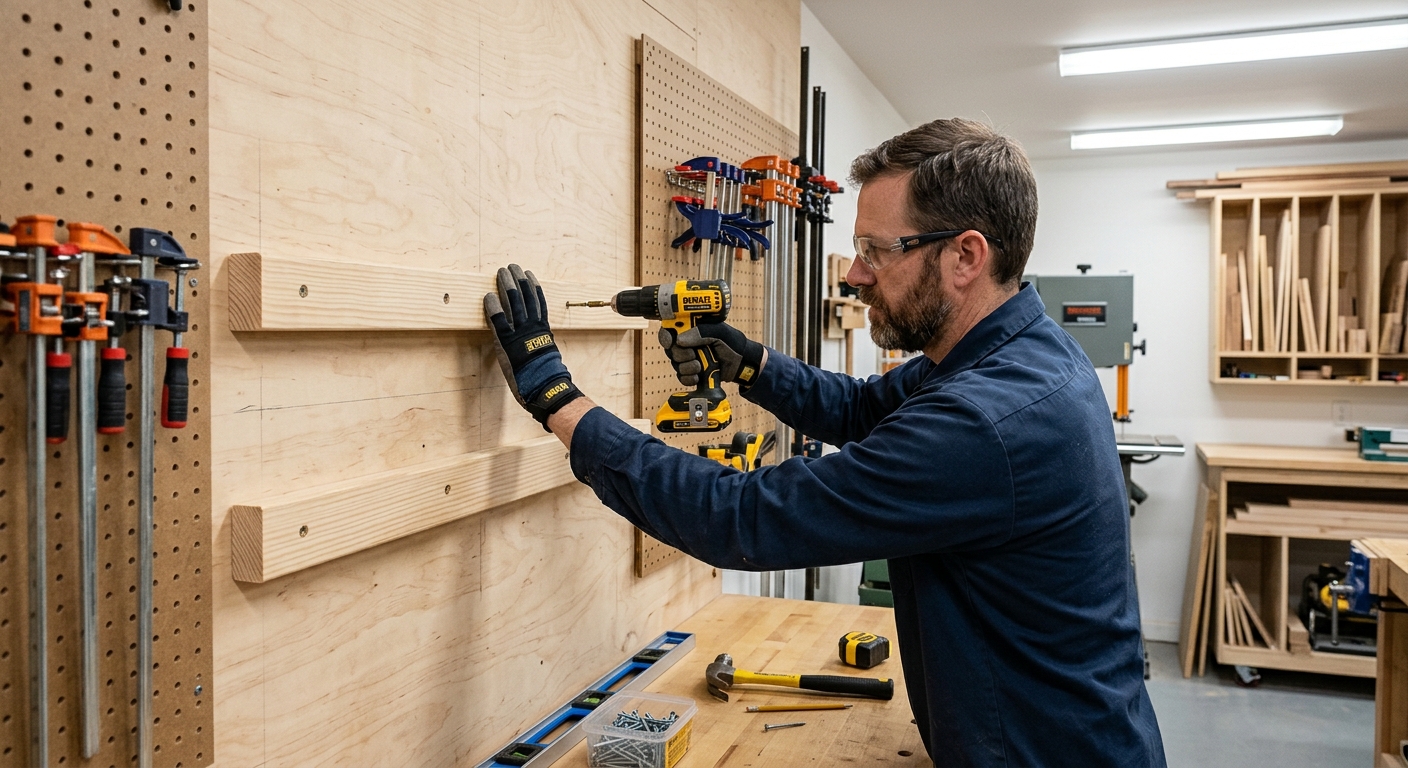
Cut the 2×4 rails to width. Drill pilot holes for lag screws at stud locations. Mount the bottom rail first at a comfortable working height, then work up. Level each rail before driving all lag screws. Leave space between rail sections for different clamp categories.
Step 4 – Add the Clamp Arms
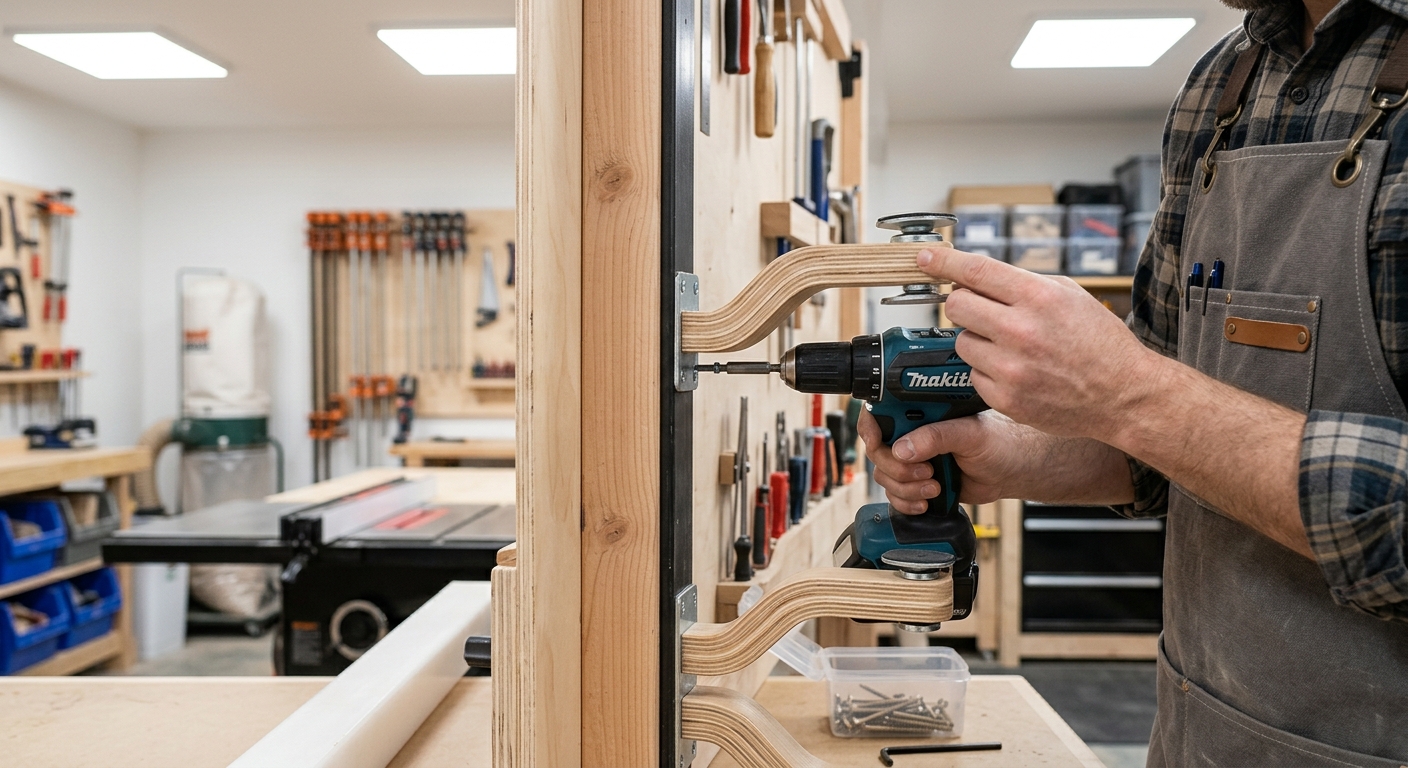
For bar clamps: cut 3/4-inch hardwood strips to length and angle-cut the top at 20 degrees so clamps lean into the wall slightly rather than falling forward. Drive two screws through each arm into the rail. Test with your heaviest bar clamp before loading the rack fully.
Step 5 – Ceiling Section for Pipe Clamps
Long pipe clamps – 4-foot, 6-foot, and longer – are too awkward to store on a wall rack without protruding dangerously into the shop. The ceiling solution: mount a pair of 2×4 beams perpendicular to the ceiling joists, then attach pipe hangers at 18-inch intervals along each beam. Pipe clamps hang vertically between the beams with the head on one pipe hanger and the foot on the other. They’re out of the way, perfectly stored, and easy to retrieve by lifting straight up.
Pro Tips
- Group pipe clamps by length on the ceiling rack. All 4-foot clamps together, all 6-foot clamps together. Finding the right clamp during a glue-up is much faster when they’re sorted.
- Label each arm section by clamp type with a paint marker. You’ll thank yourself when you’re in a hurry with glue setting up.
- Spring clamps can go in a bin or hang on short dowels. They’re light enough that almost any storage method works – the goal is just keeping them from spreading across every flat surface in the shop.
FAQ
How many clamps do I actually need?
More than you think. A good starting point: 6 to 8 bar clamps in a variety of lengths (12-inch, 24-inch, 36-inch), 2 to 4 pipe clamps in 4-foot length, 6 to 10 C-clamps in various sizes, and a dozen spring clamps. Add more as projects demand them – and they will.
What’s the best way to store clamps you use every day?
The closest rack to the bench. The clamps you reach for most should require the fewest steps. Position the rack for your most-used clamps within arm’s reach of the bench, with less-used sizes farther away.