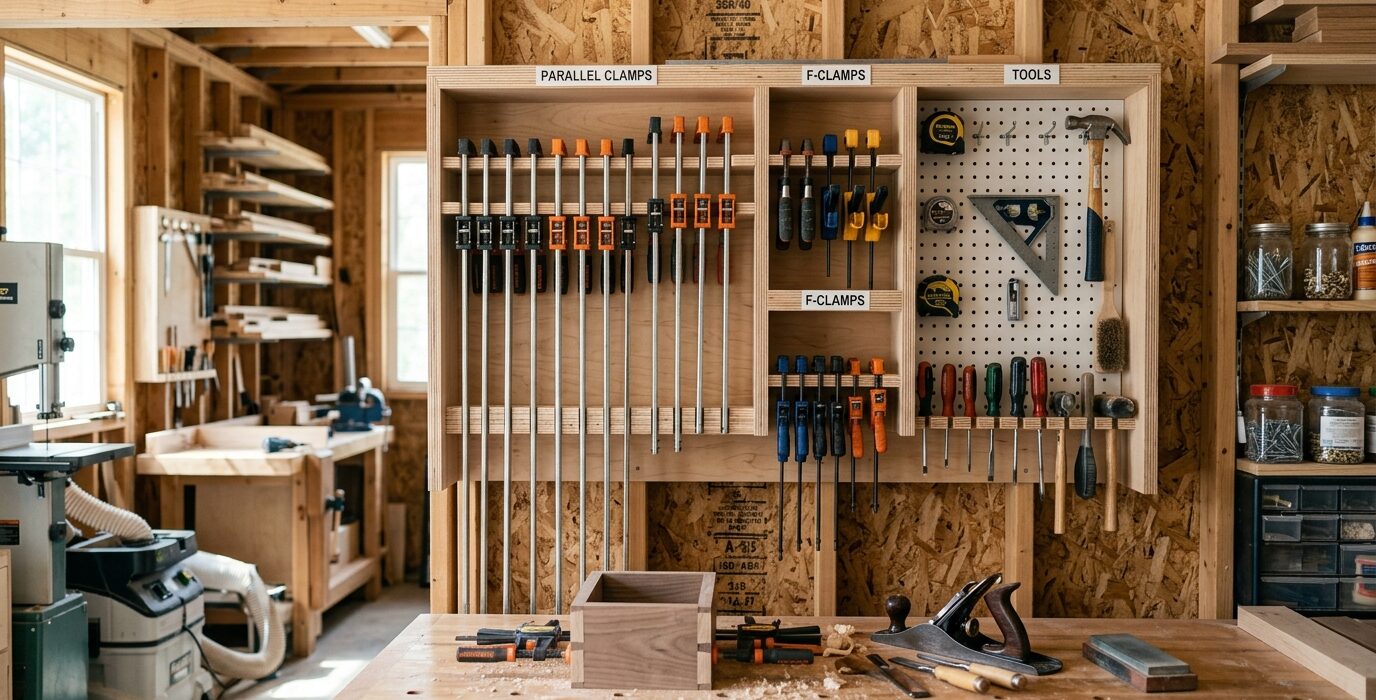
Stop Fighting Your Work During Glue-Ups
Assembly work – gluing up cabinet carcasses, drawer boxes, face frames, and furniture parts – is where most woodworking projects succeed or fail. If you’re chasing joints apart as the glue starts to set, holding one clamp with your knee while reaching for another, you’re working against yourself. A dedicated clamping station with integrated clamping tracks, a flat surface, and organized clamp storage turns glue-up chaos into a controlled, repeatable process.
Design Overview
The clamping station is an assembly table with T-tracks routed into the surface in a grid pattern. T-bolts and stops drop into the tracks to clamp against the workpiece from any direction. The surface is sacrificial – a replaceable sheet of MDF or hardboard over the table substrate. Clamp storage is on the wall above or on rails attached to the side of the station.
Materials List
- Two sheets 3/4-inch plywood (table base)
- One sheet 3/4-inch MDF (sacrificial surface)
- T-track, 20 linear feet (grid in 6-inch spacing)
- T-bolts and knobs (12)
- 2×4 lumber, 30 linear feet (table base frame)
- Four casters
Step 1: Build the Table Base
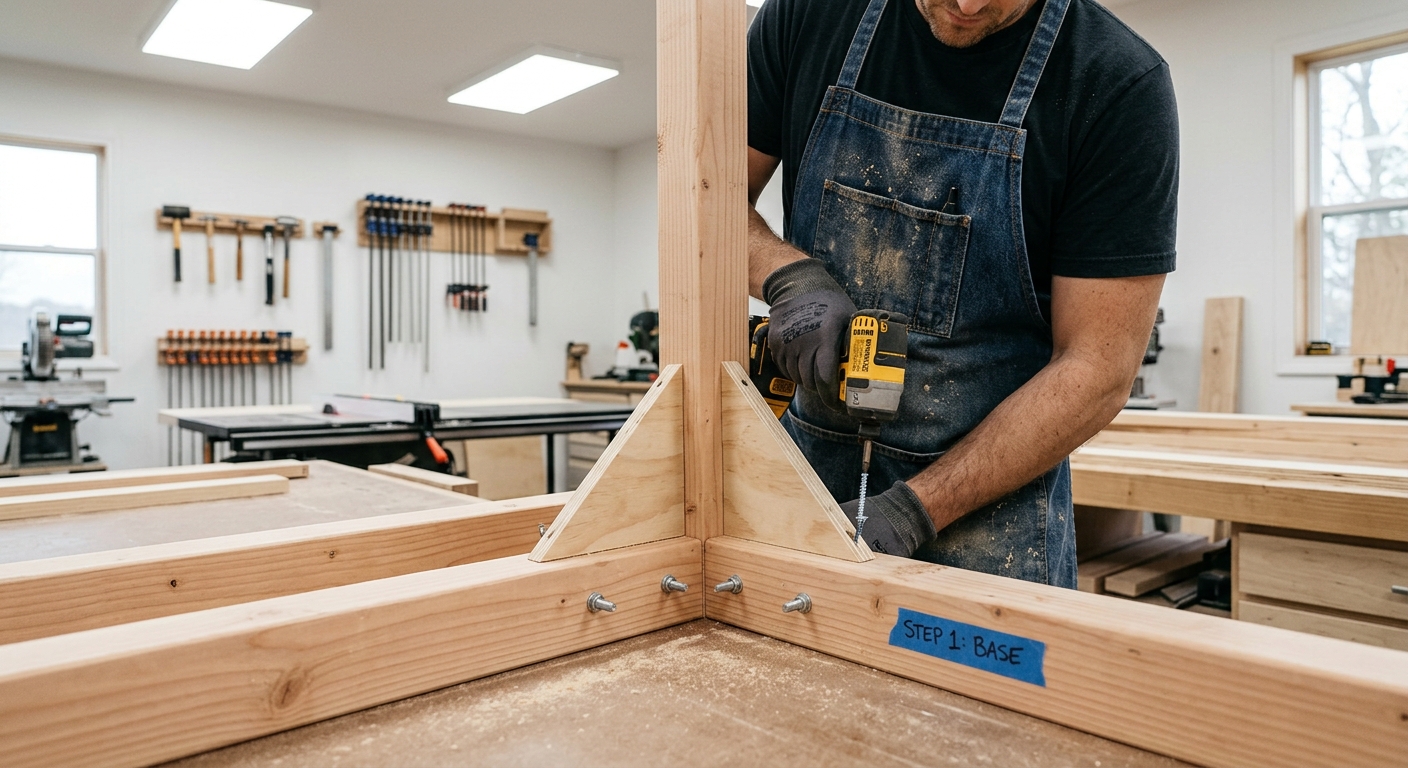
Build a sturdy 2×4 frame at 34-36 inches tall (or your preferred assembly height). Install a lower shelf for clamp storage – pipe clamps and bar clamps stored horizontally on a shelf are accessible and keep the floor clear. Install casters for mobility.
Step 2: Build the Table Top
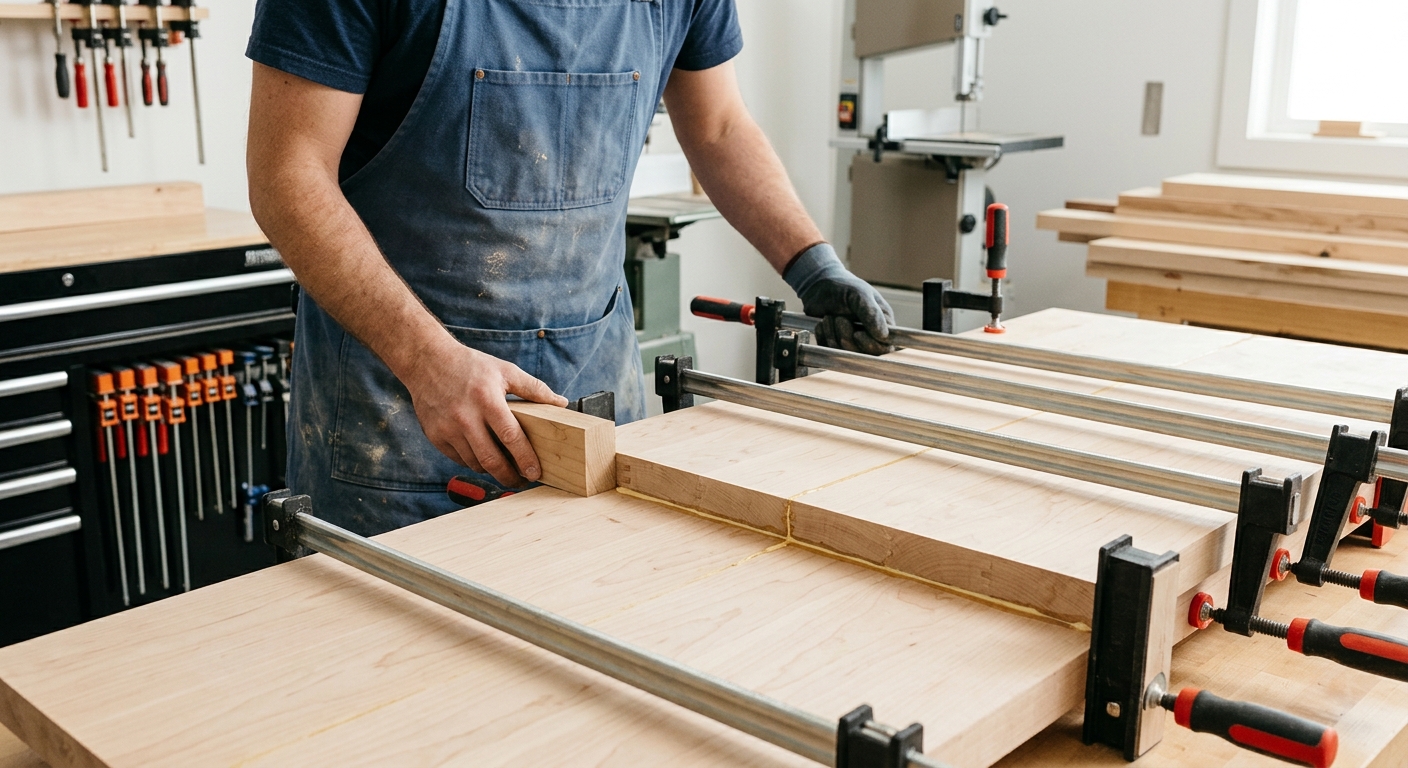
Build a torsion box or laminated plywood top at least 3 inches thick for rigidity. The top must be dead flat – the T-track installation will be much easier if you start with a flat surface, and your assemblies will be square only if the table is square.
Step 3: Route T-Track Channels
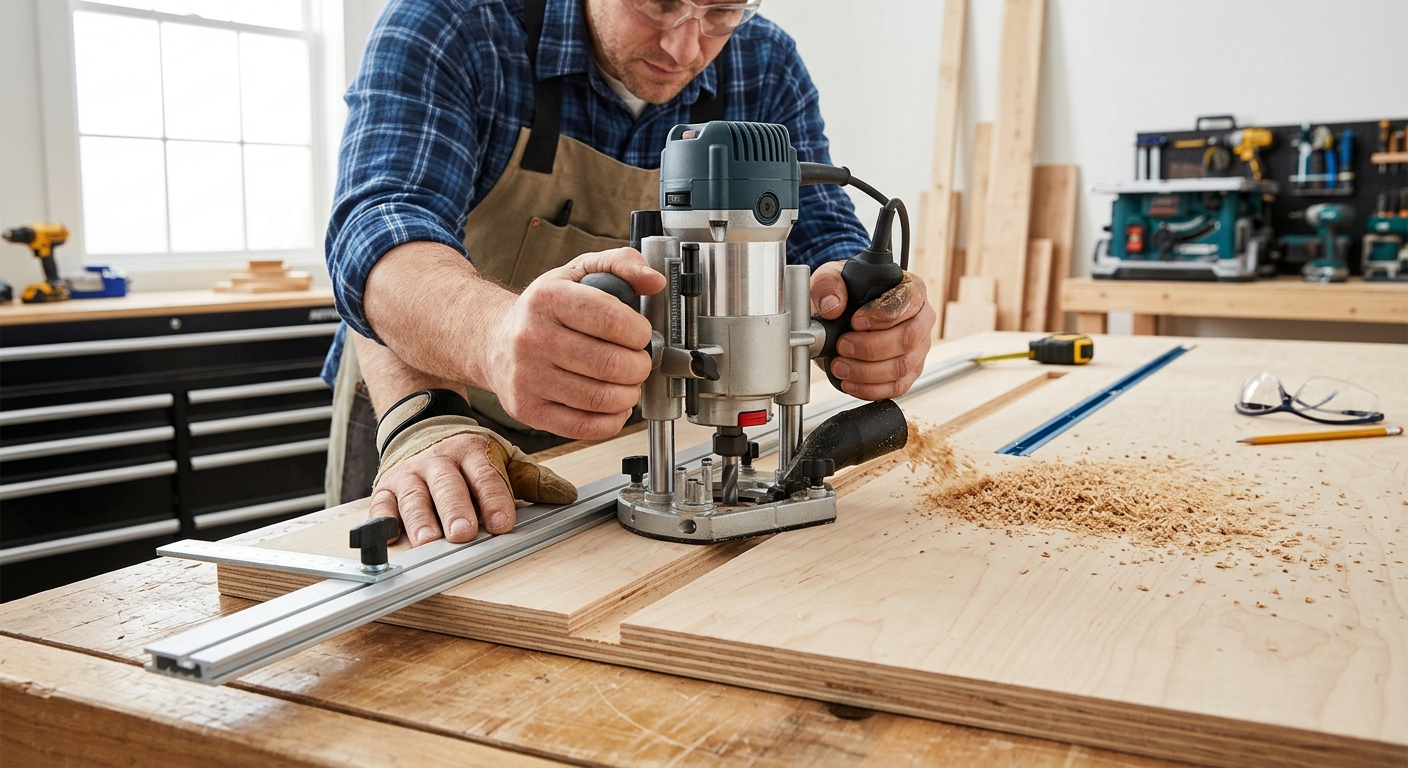
Lay out a grid of T-track channels across the entire table surface, spaced 6 inches apart in one direction and 12 inches in the other. Rout channels exactly as deep as the T-track is tall – the track must sit flush with the surface. Use a router with a straight bit and a fence guide for consistent channel depth.
Step 4: Install T-Track
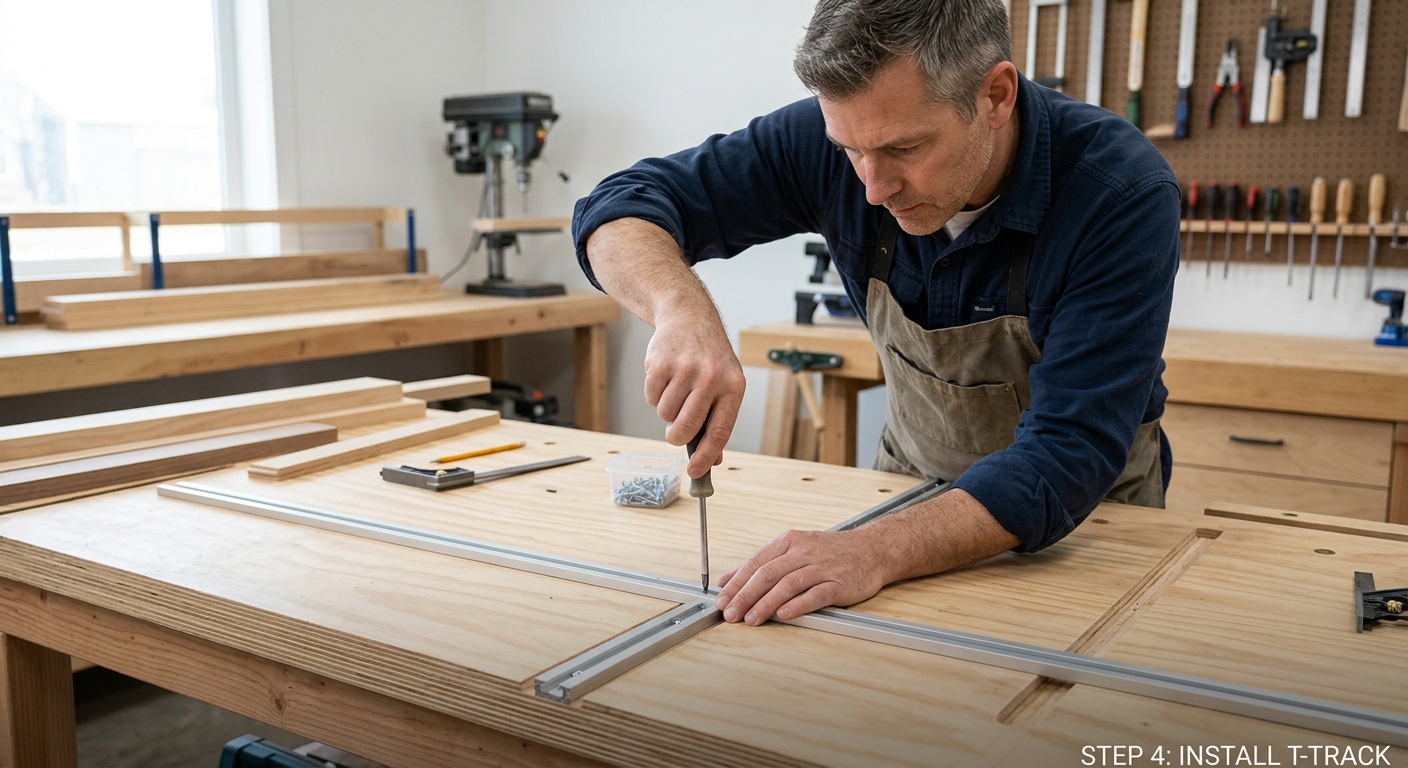
Cut T-track to fit each channel and screw it in place with the included screws. Run a flat piece of scrap across the entire surface to verify all tracks are flush – a high track will interfere with workpiece placement. Sand or shim as needed until the surface is perfectly flat across all tracks.
Step 5: Apply the Sacrificial Surface
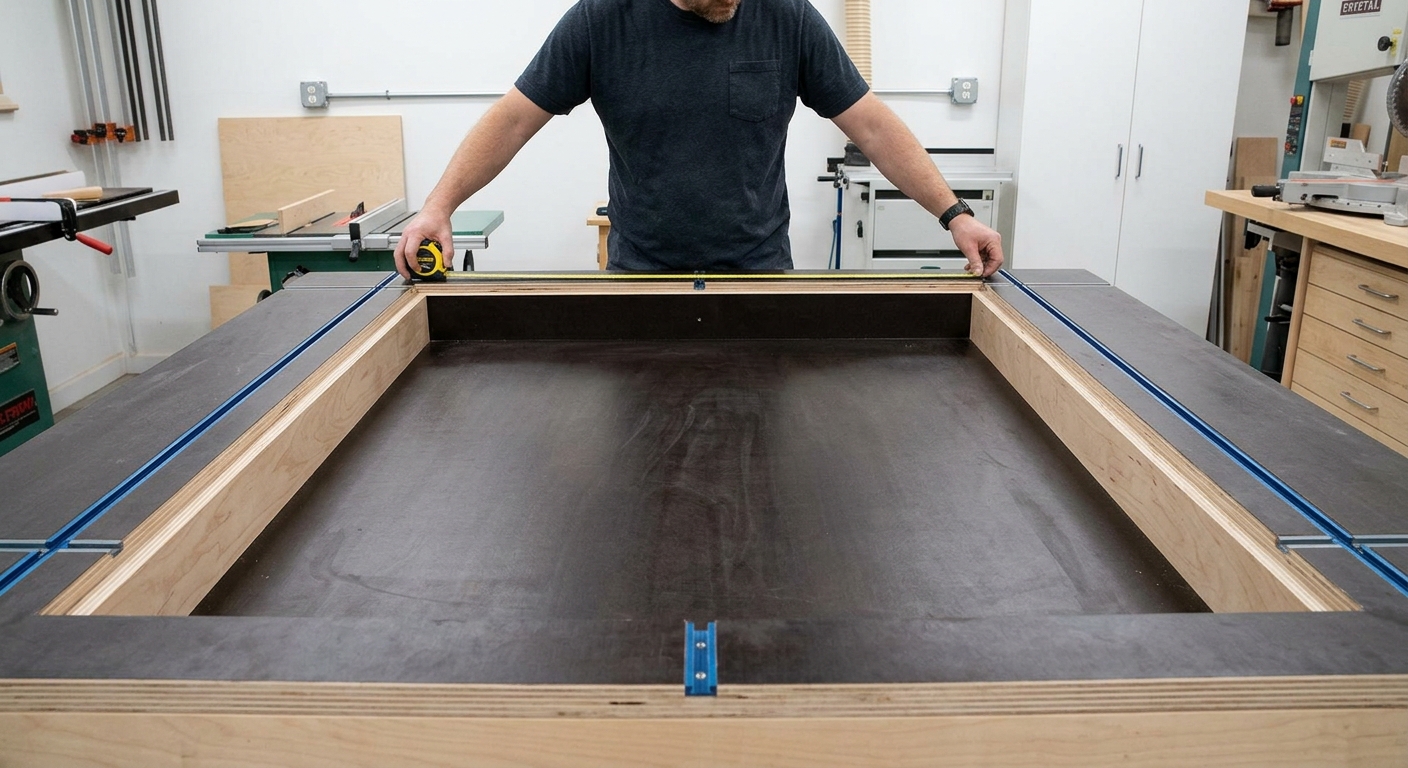
Cut slots in an MDF sacrificial surface to align with the T-tracks. Attach the MDF with countersunk screws into the table substrate – the screws hold it in place but allow removal when the surface gets too beat up for further use. Replace the MDF as needed; the T-track grid lasts indefinitely.
Pro Tips
- Wax the surface before every glue-up. A coat of paste wax prevents glue from bonding to the MDF surface. Without wax, a big glue-up can bond the project to the table.
- Mark a grid on the surface. Use a permanent marker to draw a 6-inch reference grid on the MDF. Use this grid to verify square during assembly.
FAQ
Can I use the clamping station for finishing too?
It works as a finishing table, but the T-track grid gets finish in it – messy but not a real problem. Keep a set of finishing horses for finish work and use the clamping station primarily for assembly. The MDF surface can be painted or replaced between operations.