Build a Compact Finishing Station for a Small Shop
Finishing is the operation most commonly done poorly in a small shop – not because of skill, but because of organization. A can of finish balanced on a bench corner, applicators in a pile nearby, sandpaper mixed in with layout tools, no dedicated lighting to inspect the surface – this setup produces mediocre results even with good technique. A dedicated finishing station, even a small one, organizes everything needed for applying and inspecting finish in one tidy, movable package. This guide builds a rolling 24-by-36-inch finishing station on casters.
Materials
- 3/4-inch plywood for top, shelves, and sides
- 1×4 hardwood for drawer fronts and face frame
- Four locking casters rated for 75 pounds each
- Full-extension drawer slides for two drawers
- Piano hinge for a small door
- Wood screws and glue
Step 1 – Build the Carcase
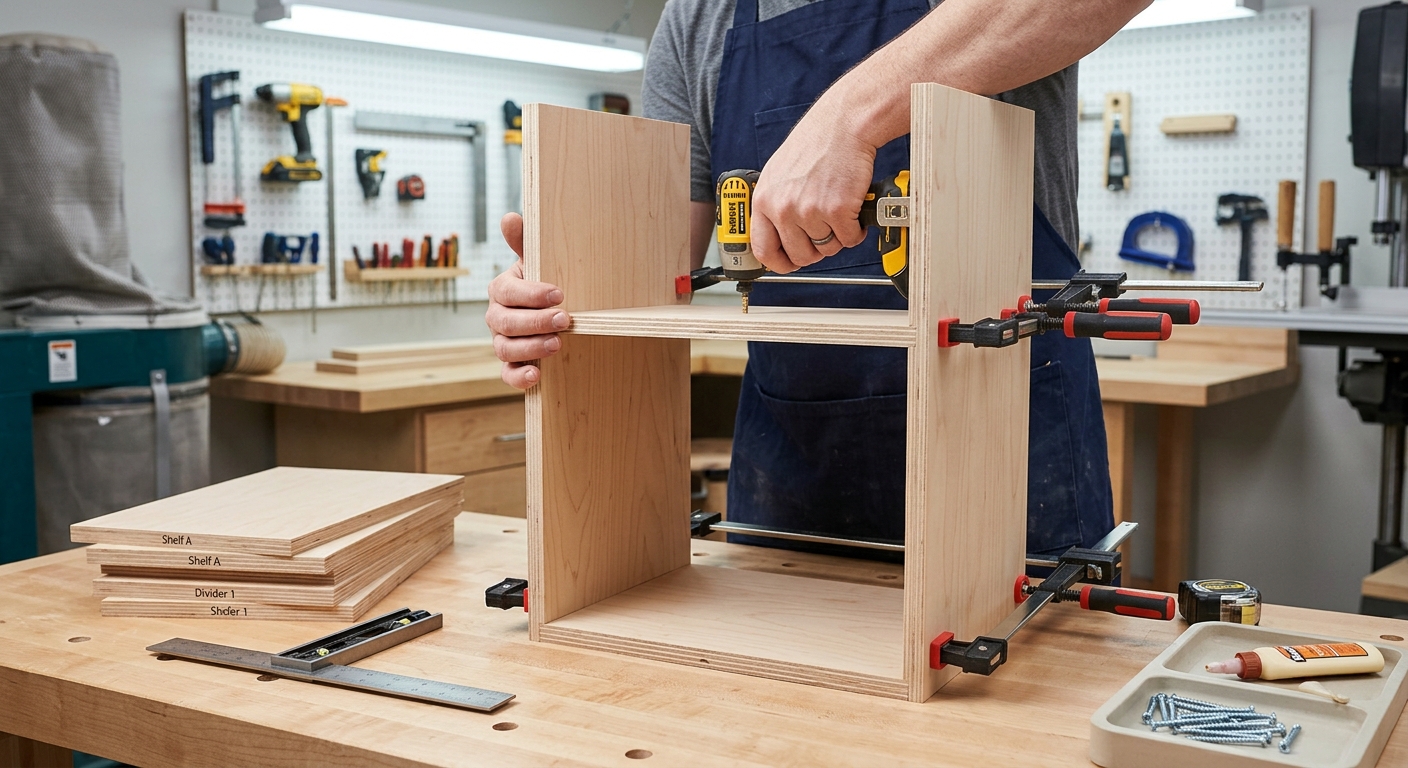
The main box is 24 inches wide, 36 inches deep, and 32 inches tall (below bench height, so it can roll under the bench when not in use). Cut the sides, top, and bottom from 3/4-inch plywood. Assemble with glue and screws. Add a middle shelf to divide the interior into upper and lower sections. The lower section will be enclosed for finish storage; the upper section is open for current-project supplies.
Step 2 – Add Drawers and Storage
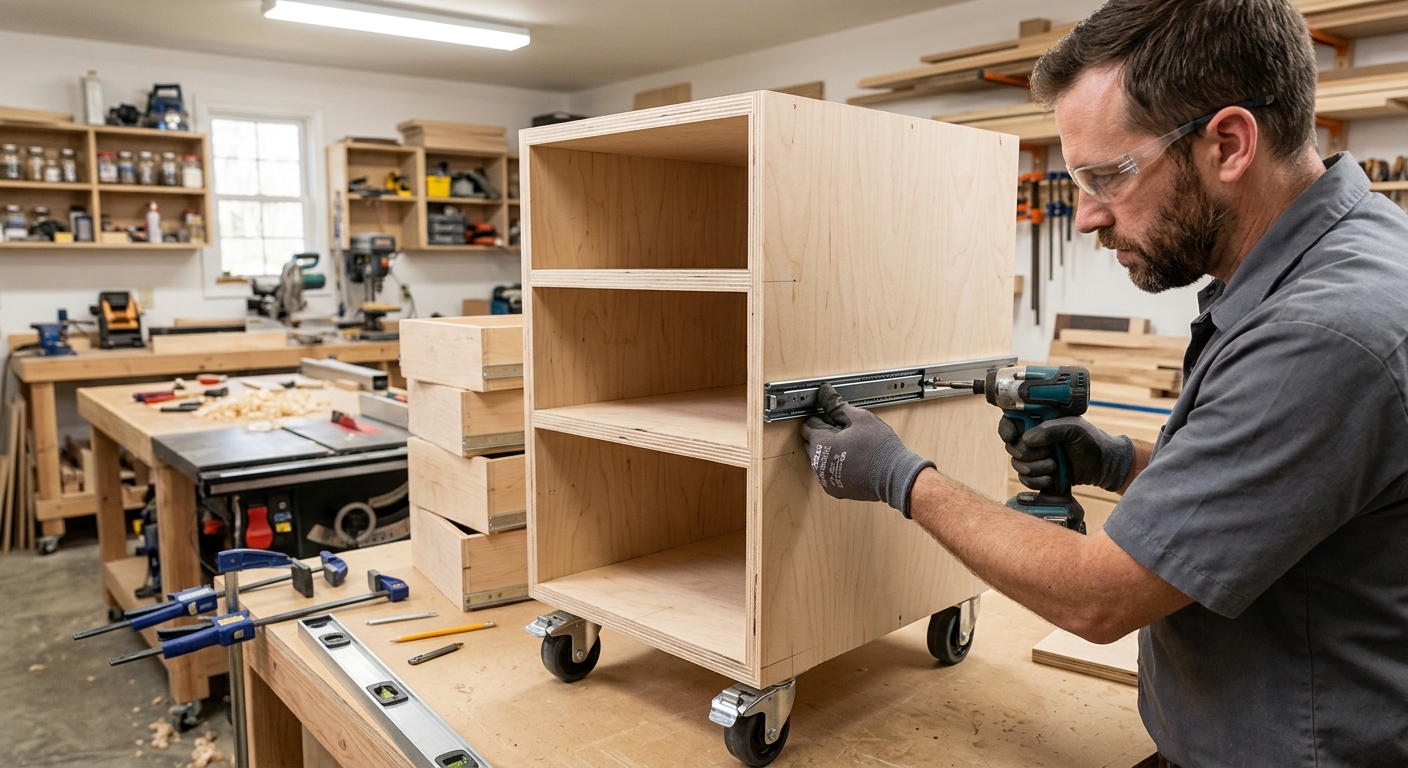
Two full-extension drawers in the upper section store applicators (brushes, foam applicators, rags), sandpaper by grit, and small accessories. The lower enclosed section, accessible via a small hinged door, stores finish cans. A magnetic latch keeps the door closed. Line the lower cabinet with a disposable vinyl shelf liner that can be replaced when finish spills.
Step 3 – Build the Work Surface
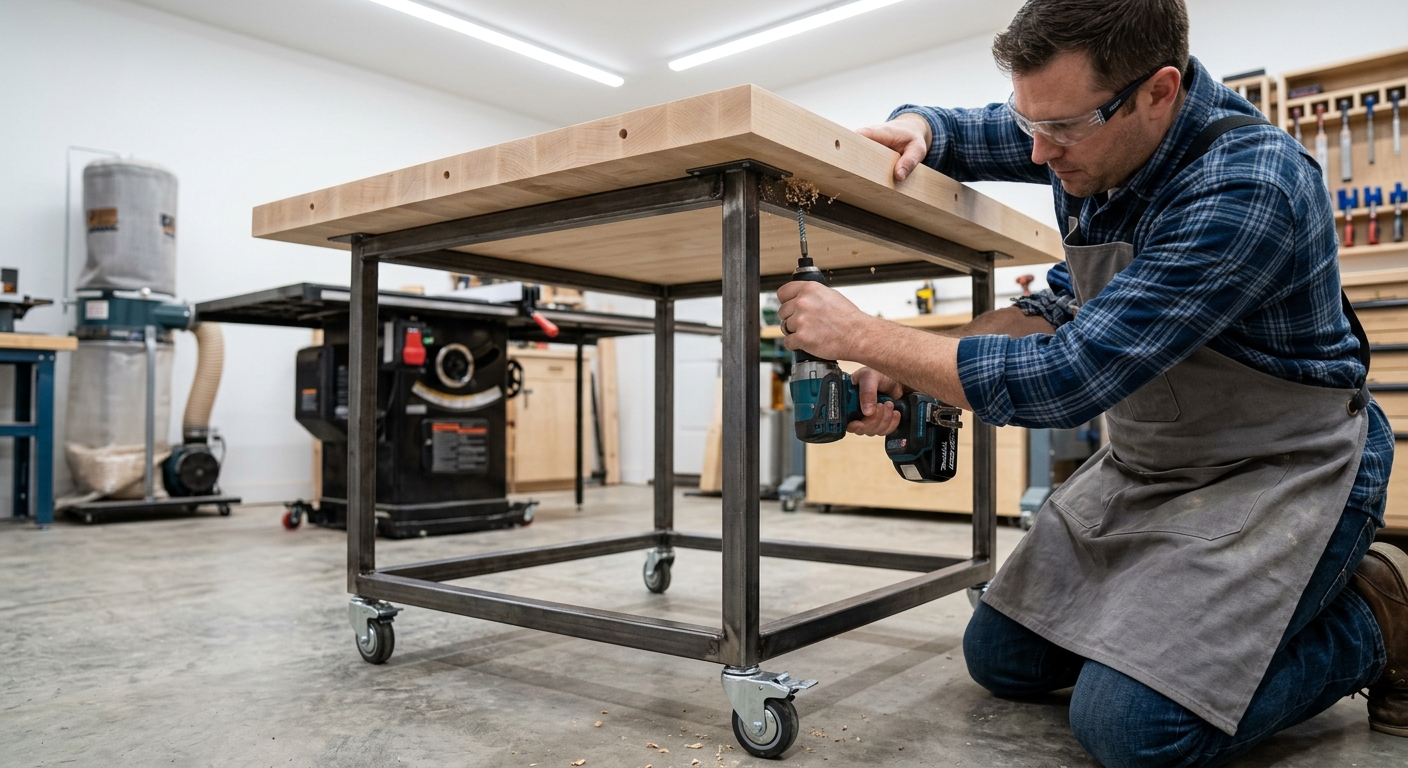
The top is the work area for small pieces – it needs to be clean, flat, and replaceable. Use a piece of 3/4-inch MDF as a sacrificial top surface, held down with countersunk screws so it can be replaced when it’s too stained to use. The MDF surface gets covered with a piece of craft paper for each finishing session – the paper catches drips and is discarded after the session.
Step 4 – Add Lighting
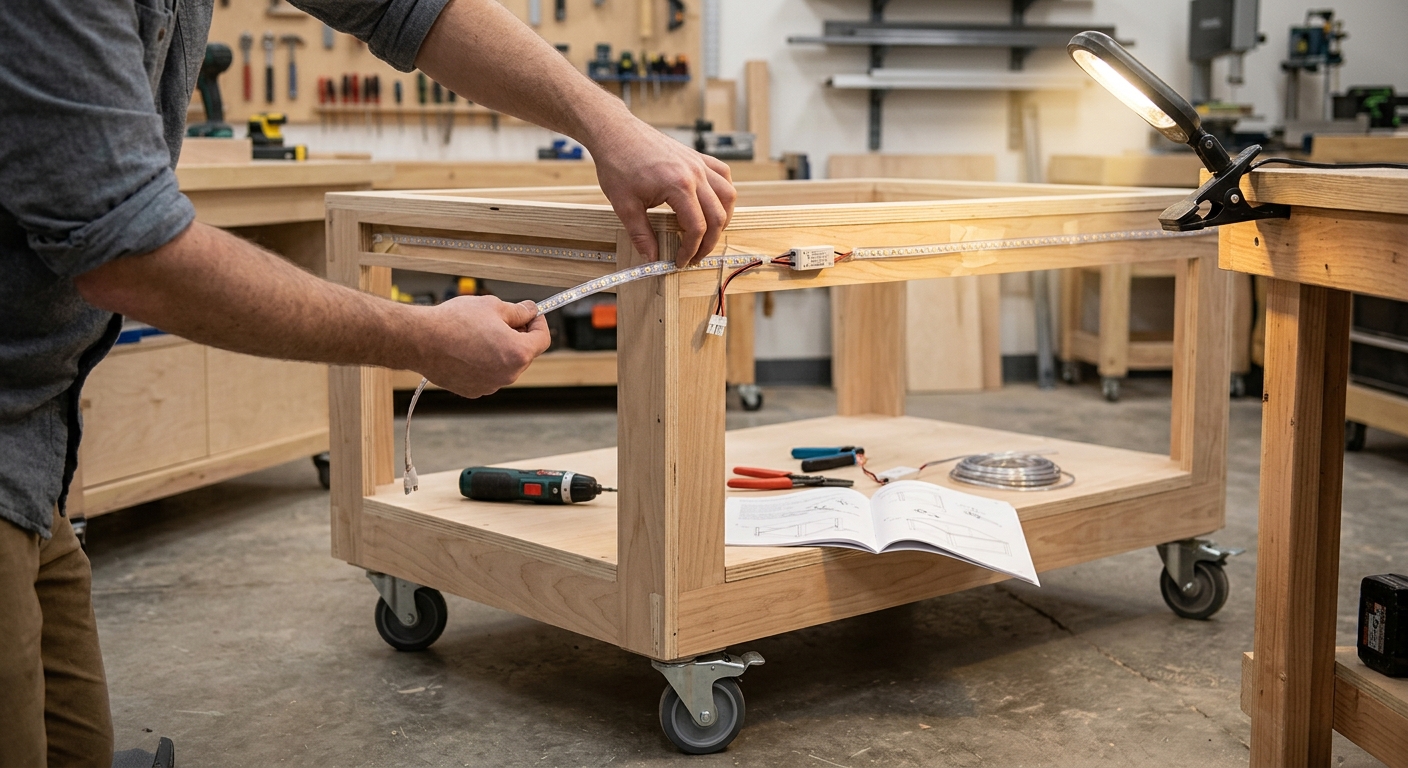
A flexible-arm LED light mounted on the back of the station provides the raking illumination needed to inspect surfaces during finishing. Position it so it can be aimed at any angle over the work surface. Battery-powered or corded depending on your preference – the corded version is brighter and always ready; the battery version doesn’t require an outlet nearby.
Pro Tips
- Keep a dedicated roll of finish-grade sandpaper on the station – 220, 320, and 400 grit for between-coat sanding. Don’t mix this with shop sandpaper; between-coat sanding requires clean, uncontaminated abrasives.
- A small plastic tray on the top surface, lined with a disposable cover, holds small pieces during finishing and catches runs that drip off the edges.
FAQ
How do I handle fume ventilation at a mobile finishing station?
Roll the station near an open garage door or exterior window when applying solvent-based finishes. The station itself doesn’t solve ventilation – your shop setup does. Use water-based finishes when ventilation is limited.
Can I store wet finish brushes on the station?
Yes – add a narrow drawer or a hanging rack inside the door for brush storage. Brushes for oil-based finishes can suspend in their solvent in a sealed can hung on a hook. Water-based brushes can be wrapped in plastic wrap between uses to keep them workable for multi-session projects.