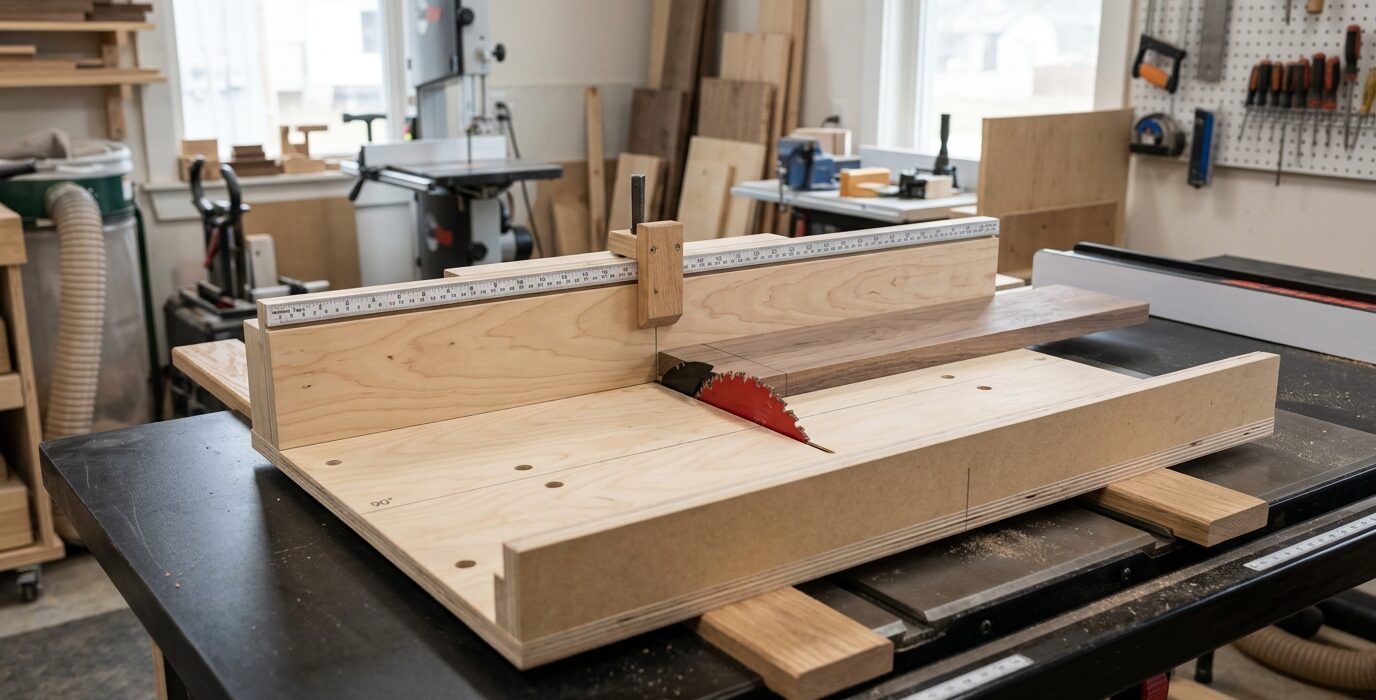
The Table Saw Crosscut Sled – The Most Useful Jig You’ll Ever Build
A crosscut sled turns your table saw into a precision crosscut machine. It rides in both miter slots, giving you a stable, square, repeatable way to cut boards to length at exactly 90 degrees – or any other angle you dial in. Once you build one, you’ll use it on nearly every project. This design handles boards up to about 24 inches wide and produces cuts accurate enough for fine furniture work.
Materials
- One sheet of 3/4-inch Baltic birch plywood (a half sheet is plenty)
- Two pieces of hardwood for miter slot runners – 3/4 x 3/8-inch, or use commercially made UHMW runners
- One piece of 2×4 or 2×6 hardwood for the front and rear fences
- Wood screws – 1.25-inch and 2.5-inch
- A good reliable square (precision square preferred)
- Two T-bolts and knobs for the fence clamps (optional)
Step 1 – Make the Runners
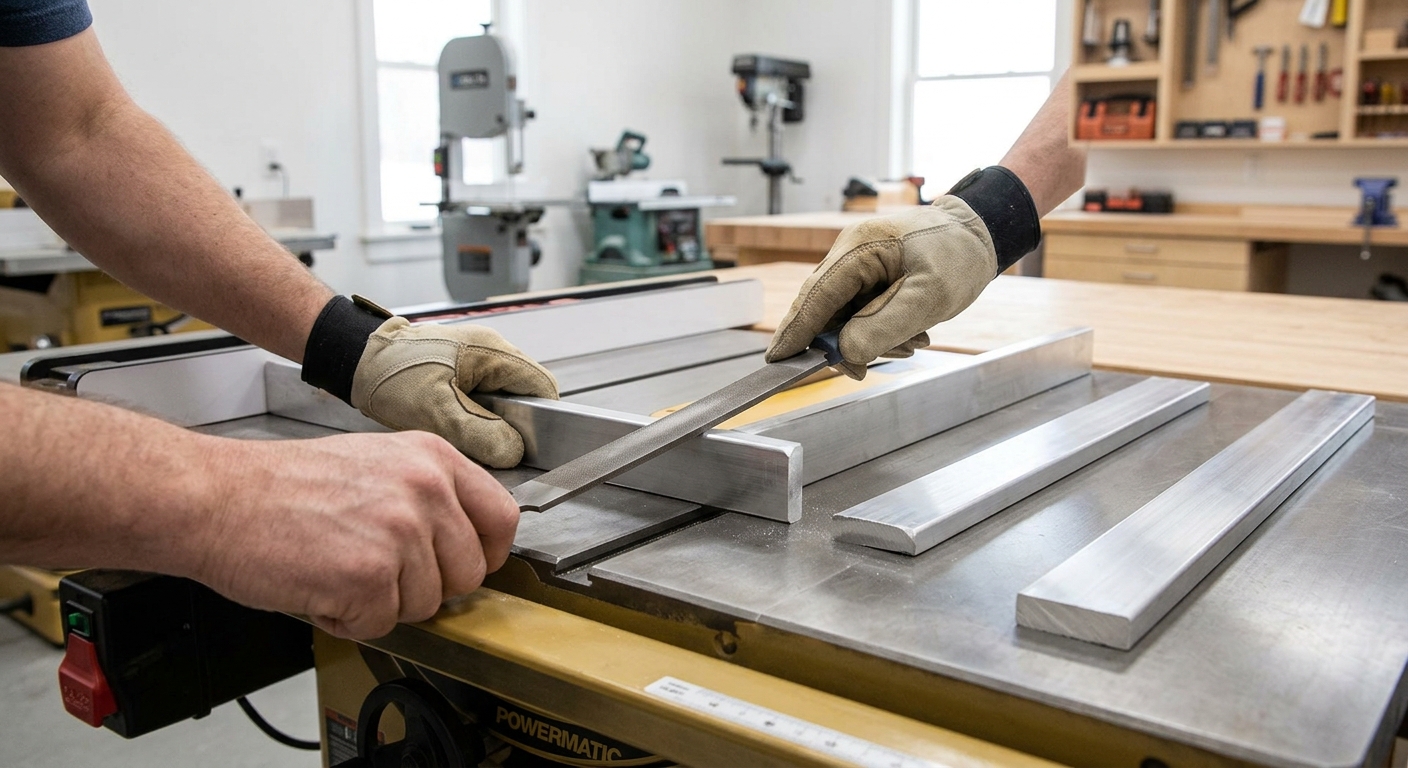
The runners must fit the miter slots snugly but slide smoothly without binding. If you’re making wooden runners, rip them from stable hardwood (maple or oak) to just under the slot width and to the slot depth. Test-fit them – they should slide without any side play but without forcing. UHMW plastic runners are more dimensionally stable and are worth buying if your budget allows.
Step 2 – Attach Runners to the Sled Base
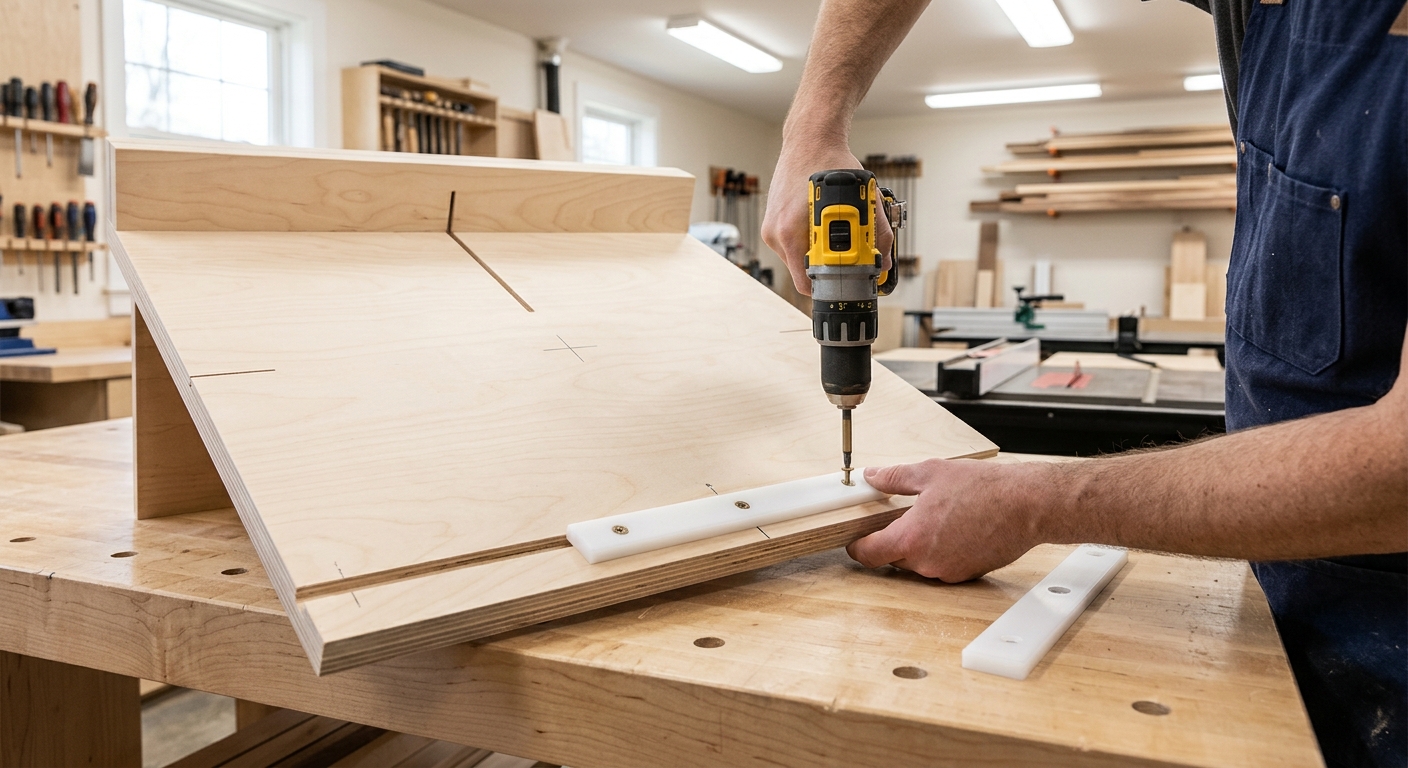
Set the runners in the miter slots. Apply a small amount of double-sided tape to the top of each runner. Carefully lower the plywood base onto the runners, press it down firmly, then lift it and the runners out together. Drill and countersink screw holes through the base into each runner, and drive screws. Flip it over and test the slide – it should glide cleanly the full length of the saw table.
Step 3 – Make the Blade Kerf
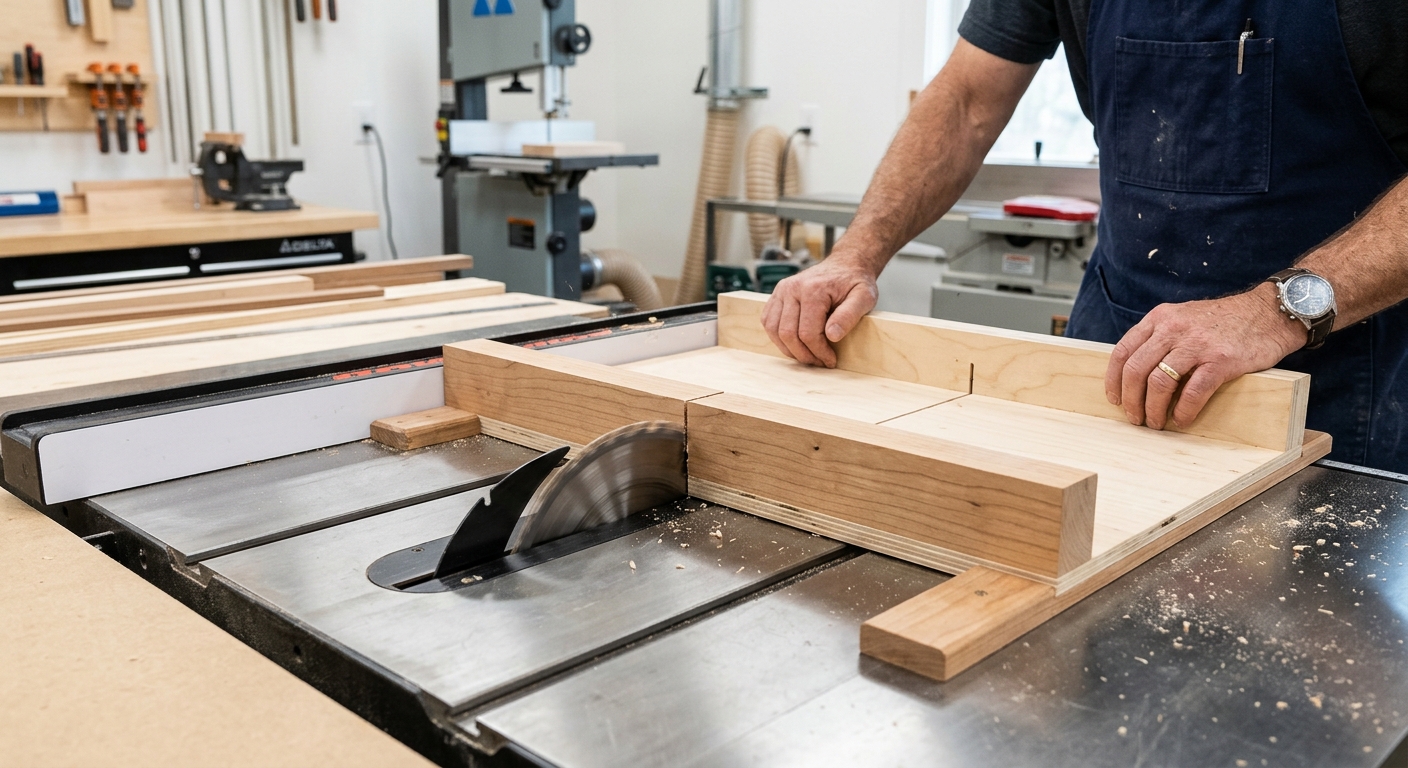
With the sled sitting in the miter slots, slowly push it through the saw blade about two-thirds of the way. Stop. This creates the initial kerf in the sled base and sets the blade path. The kerf also lets you see exactly where the blade is during cuts, which is essential for accurate alignment.
Step 4 – Install the Front Fence
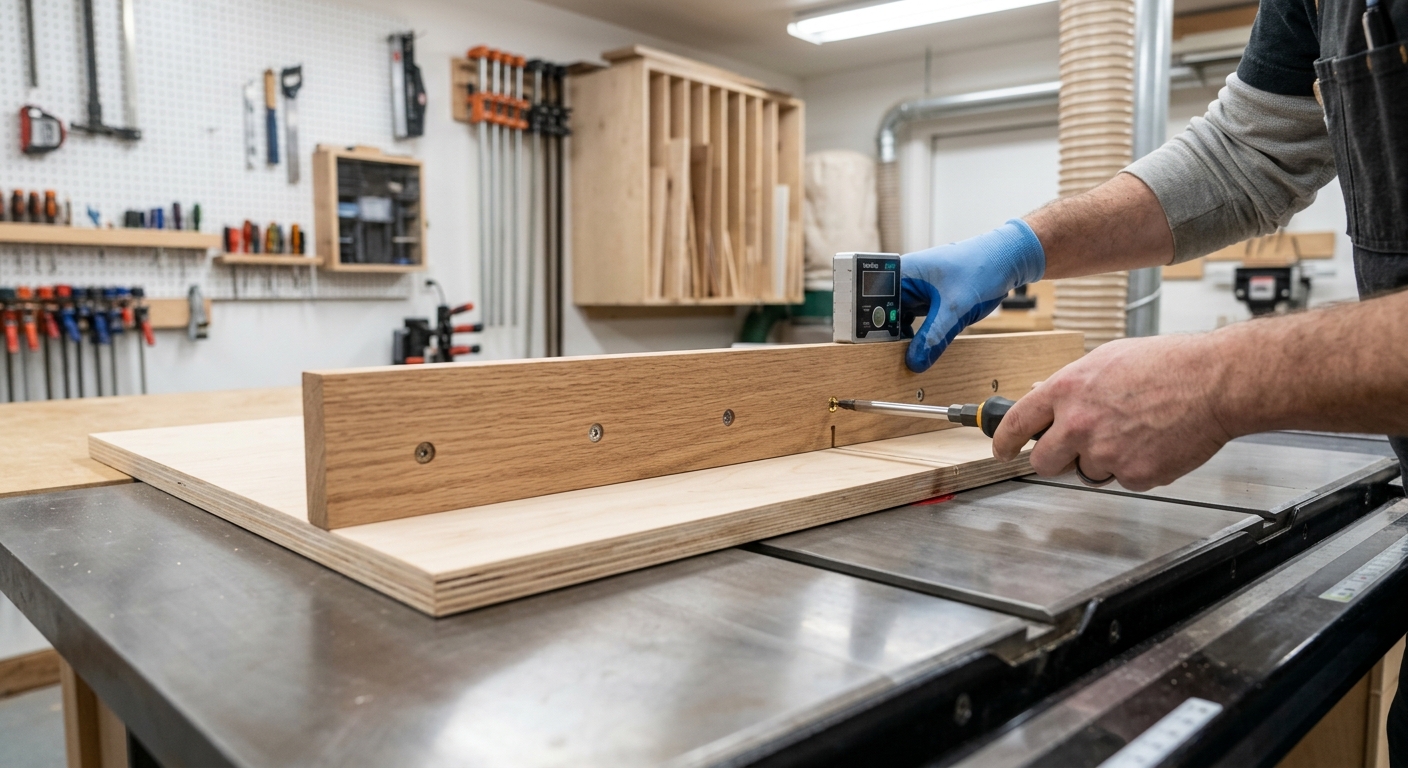
The front fence is mostly a handle and provides registration for the front of the sled. It just needs to be straight and screwed on square – it doesn’t require extreme precision. Attach it parallel to the front edge of the sled, well in front of the blade path. This fence also stiffens the sled and keeps it from flexing.
Step 5 – Square and Install the Rear Fence
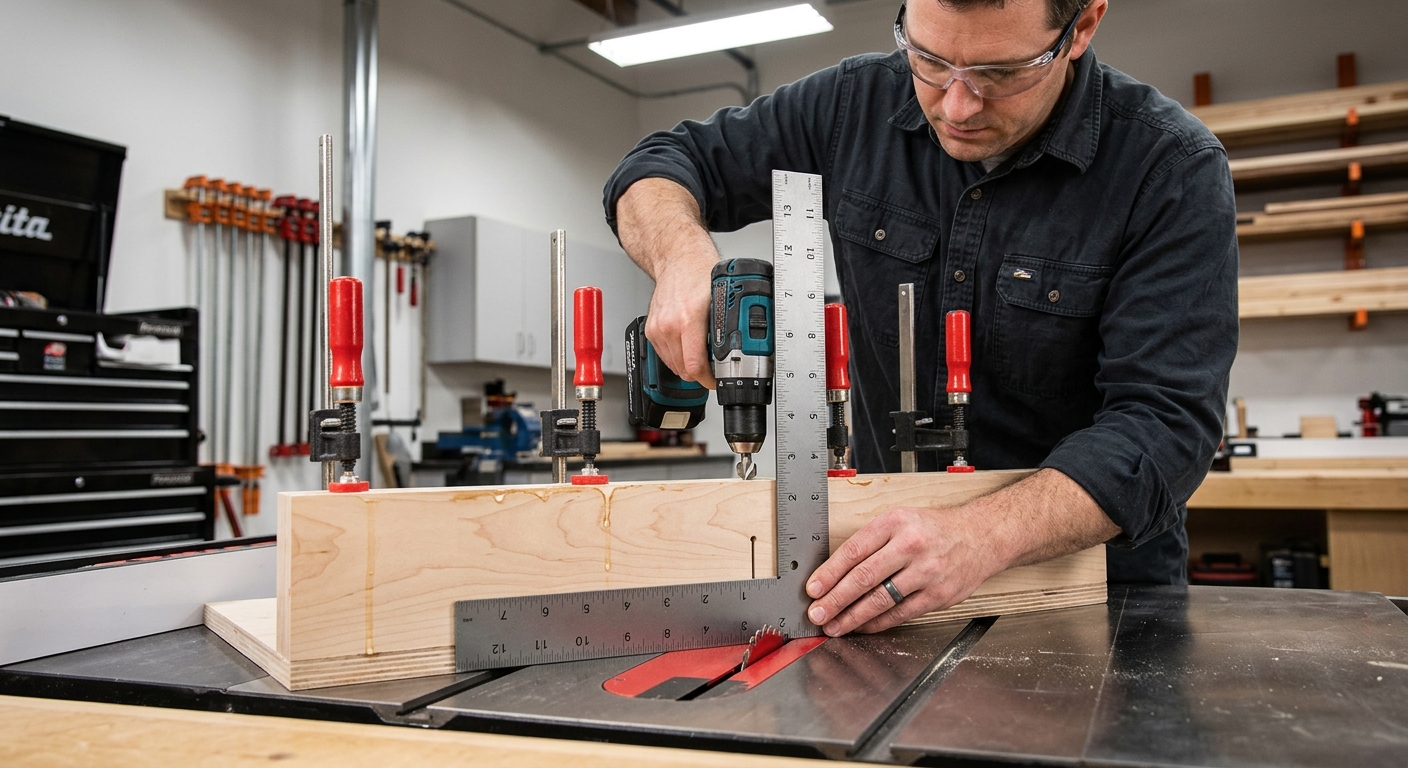
The rear fence is the critical component. This is what your workpiece registers against, and if it’s not perfectly square to the blade, every cut will be off. Use the 5-cut method to dial in perfect squareness:
- Cut a piece of square plywood scrap using the fence
- Flip it and measure the error across the width
- Adjust the fence by half the error
- Repeat until cuts are square within 0.005 inch or better
Once square, screw the rear fence down permanently with at least four screws.
Step 6 – Add a Stop Block System
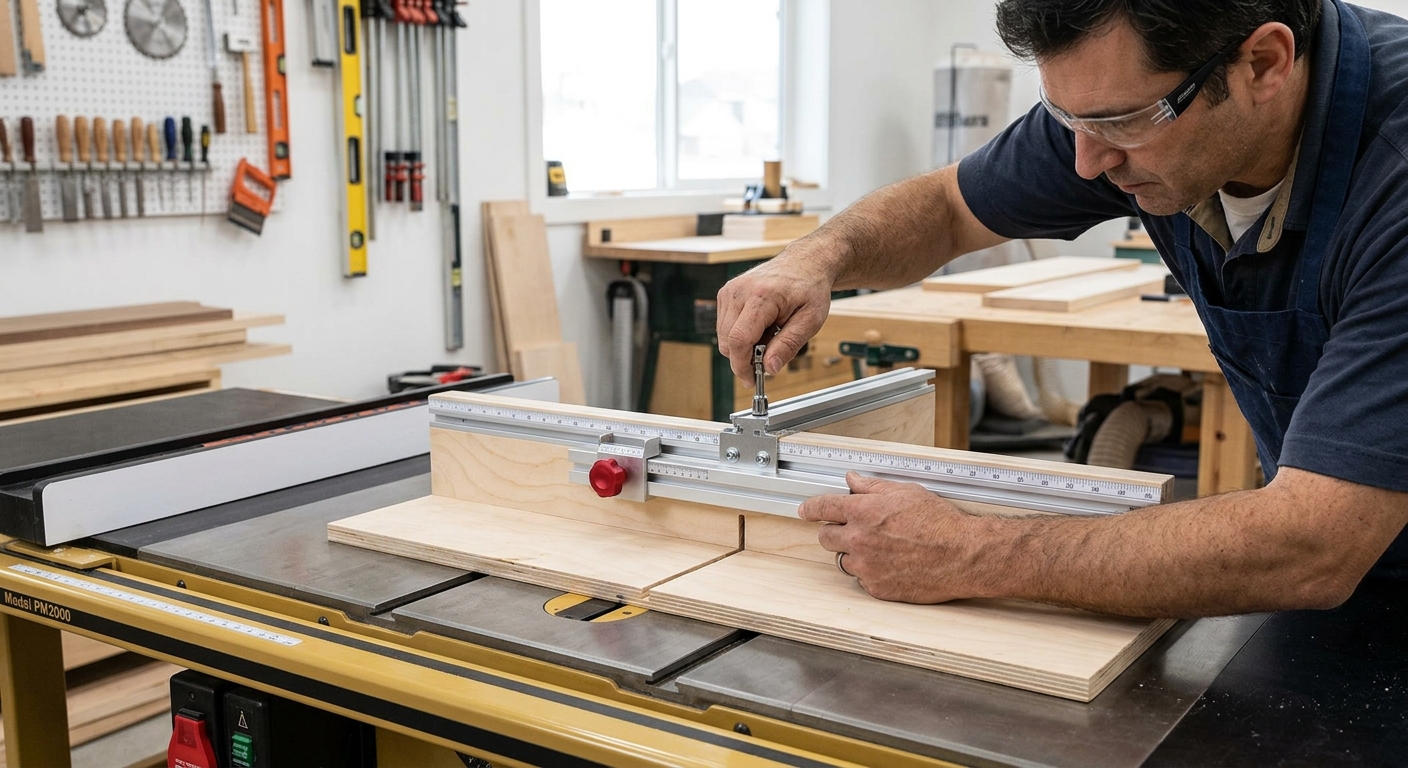
A T-track screwed to the rear fence lets you attach an adjustable stop block for repetitive cuts. Slide the stop to any position and lock it with a T-bolt – now every piece you cut will be exactly the same length. This is one of the sled’s most useful features for production work.
Step 7 – Complete the Blade Slot
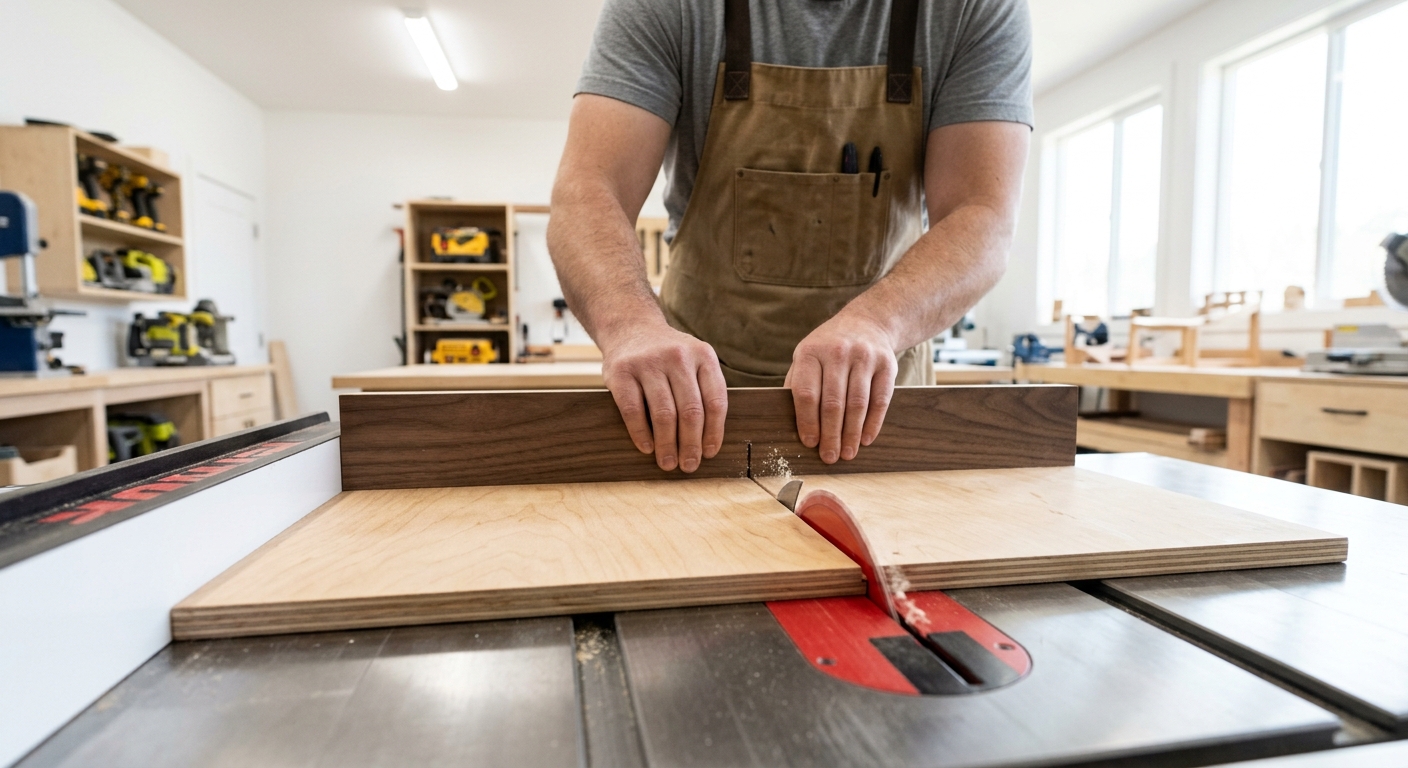
Push the sled completely through the blade to finish the kerf. Now test the sled with a real board and check the result with your precision square. You’re looking for zero gap between the square and the end of the board at any point along the cut.
Tips for Use
- Always keep fingers well away from the blade path on both sides of the kerf
- Hold the workpiece firmly against the rear fence throughout the cut
- For very narrow pieces, use a push stick to hold the piece against the fence
- Wax the runners and the bottom of the sled occasionally for smooth sliding
- Build a second sled for 45-degree cuts – same process, fence set at 45
FAQ
How accurate can I expect this to be? With the 5-cut method and care in construction, within 0.005 inch per foot of cut width – good enough for any woodworking application.
Can I use this on a contractor saw with shallow miter slots? Yes – just make thinner runners to fit your slots. Measure your slots carefully before building.