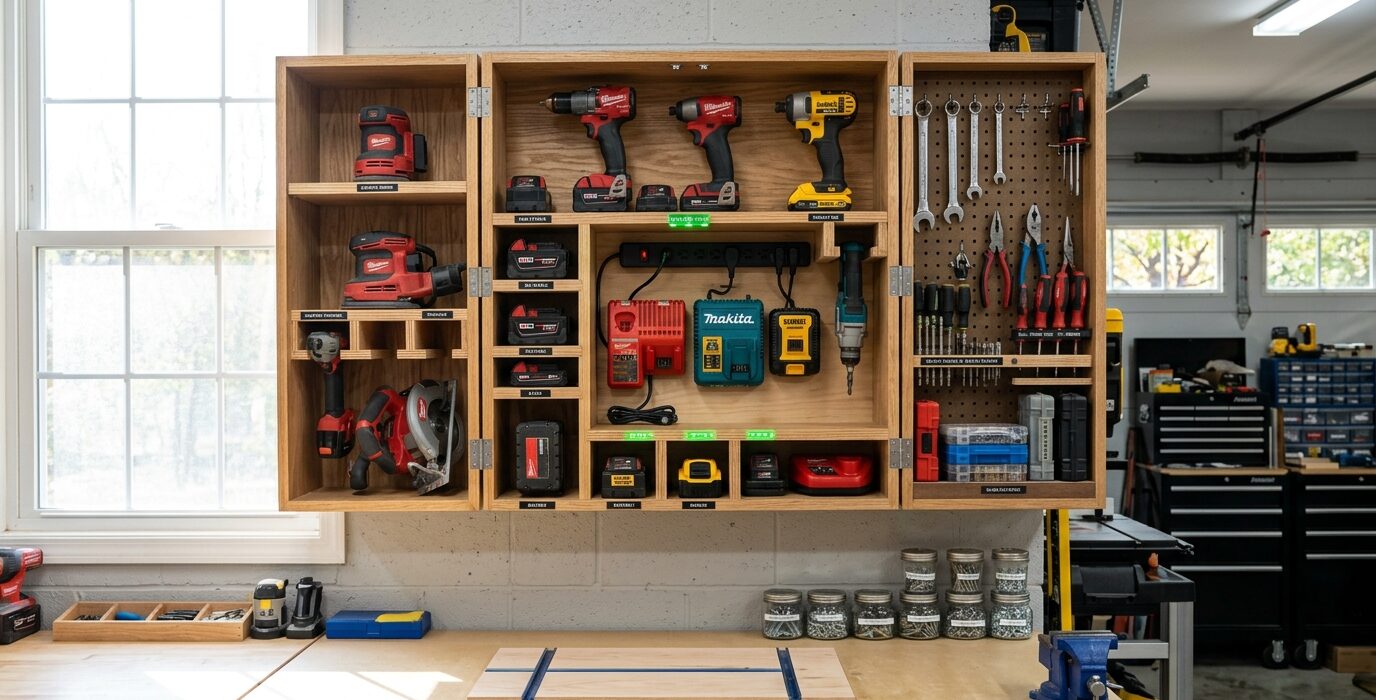
Charge, Store, and Access Your Cordless Tools in One Station
A dedicated cordless tool cabinet with integrated charging is one of the most practical shop organization projects you can build. When you’re looking for a specific driver or drill, you know exactly where it is. When you’re done, it goes back there. The chargers are mounted inside the cabinet, power is routed in, and every battery is charged and ready for the next session without you thinking about it.
Design Overview
The cabinet is a wall-mounted plywood box with individual bays for each tool, an integrated power strip for chargers, and a door that closes to protect tools from dust. Charger mounts are built into the back of each tool bay so the charger is directly adjacent to the tool it serves. One power switch controls all chargers simultaneously.
Materials List
- 3/4-inch plywood, one sheet (cabinet box and shelves)
- 1/4-inch plywood (back panel and door panel)
- Six-outlet power strip with switch
- Hardware cloth or small hooks for tool holders
- Piano hinge (door)
- Magnetic catch
Step 1: Inventory Your Tools and Chargers

List every cordless tool: drill, driver, impact driver, circular saw, jigsaw, reciprocating saw, etc. Count chargers. Note which chargers serve which tools (multi-bay chargers may serve several tools). Measure each tool’s footprint. This inventory determines cabinet dimensions.
Step 2: Design the Layout
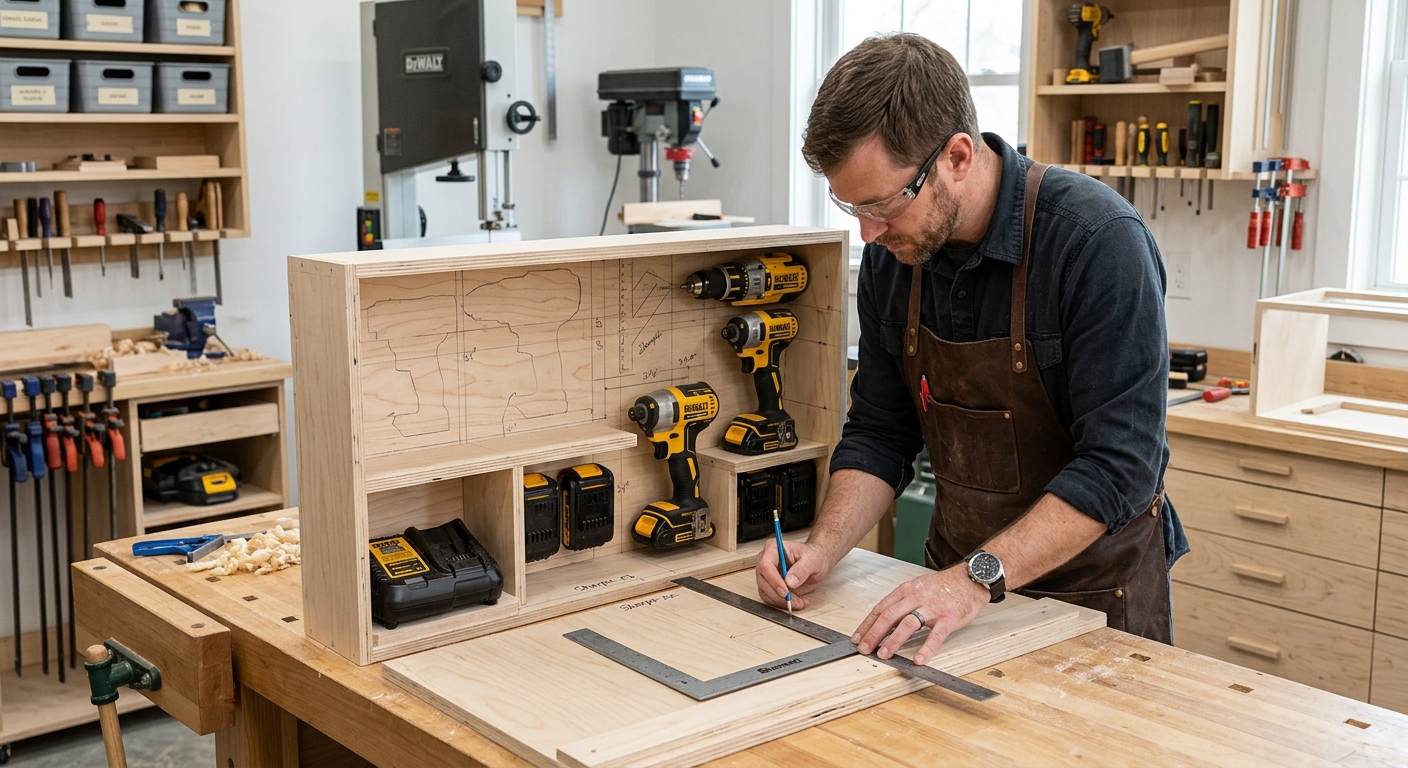
Sketch the cabinet interior with a bay for each tool. Drills and drivers stand vertically – bays 6 inches wide, 12 inches tall, 10 inches deep. Circular saws need a full-width bay. Allow one row of bays for chargers. The power strip mounts to the back wall of the charger row.
Step 3: Build the Cabinet Box

Build a plywood box with horizontal shelves at the heights needed for each tool row. The back panel has a cutout for the power cord from the power strip. Drill a hole in the back for the cord to exit the cabinet and connect to wall power.
Step 4: Build Tool Holders
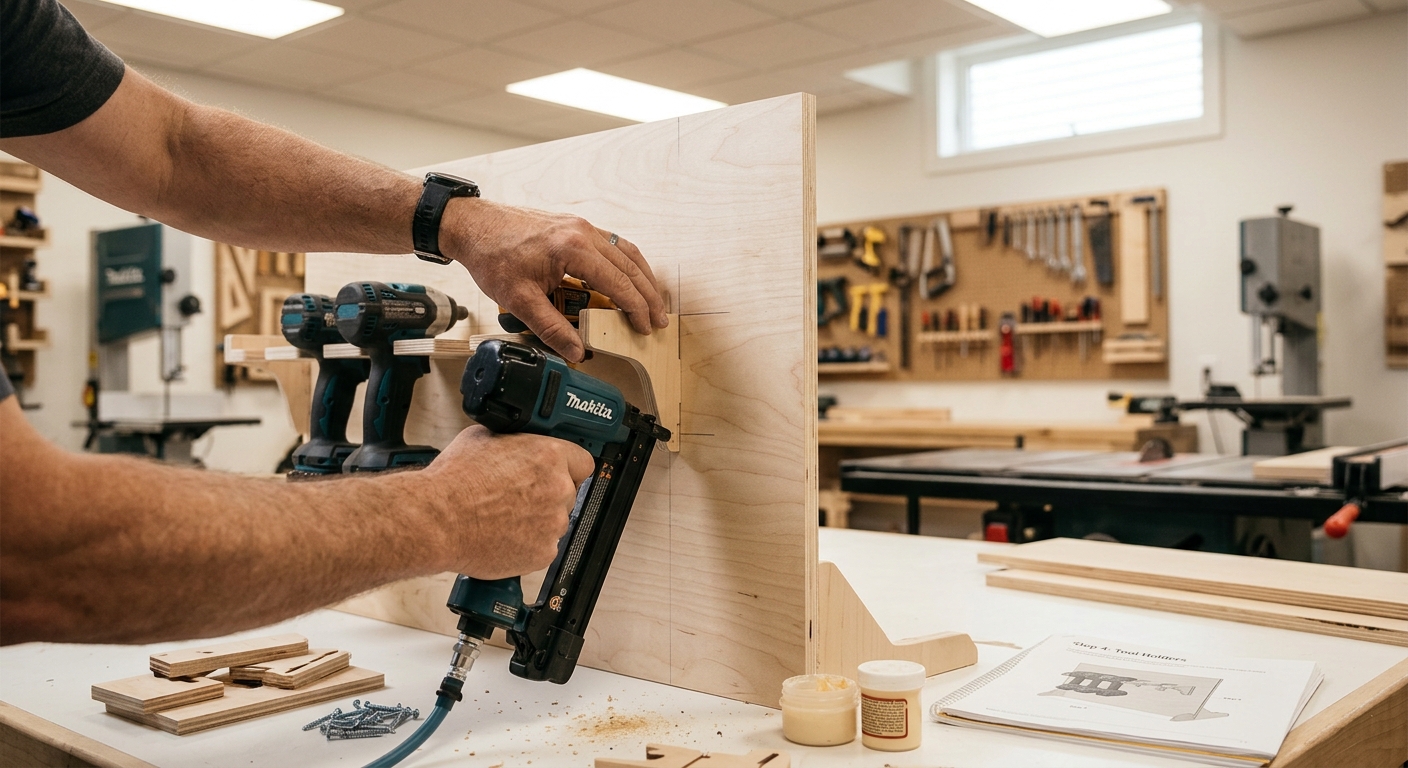
For each tool bay, build a simple holder that holds the tool in position without straps or clamps. For drills: a wooden block with a hole sized for the battery end. For saws: a shelf with a retaining lip and angled stop. Customize each holder to the specific tool’s body shape – it takes more time but the result is tools that go in and come out naturally.
Step 5: Mount Chargers and Wire Power
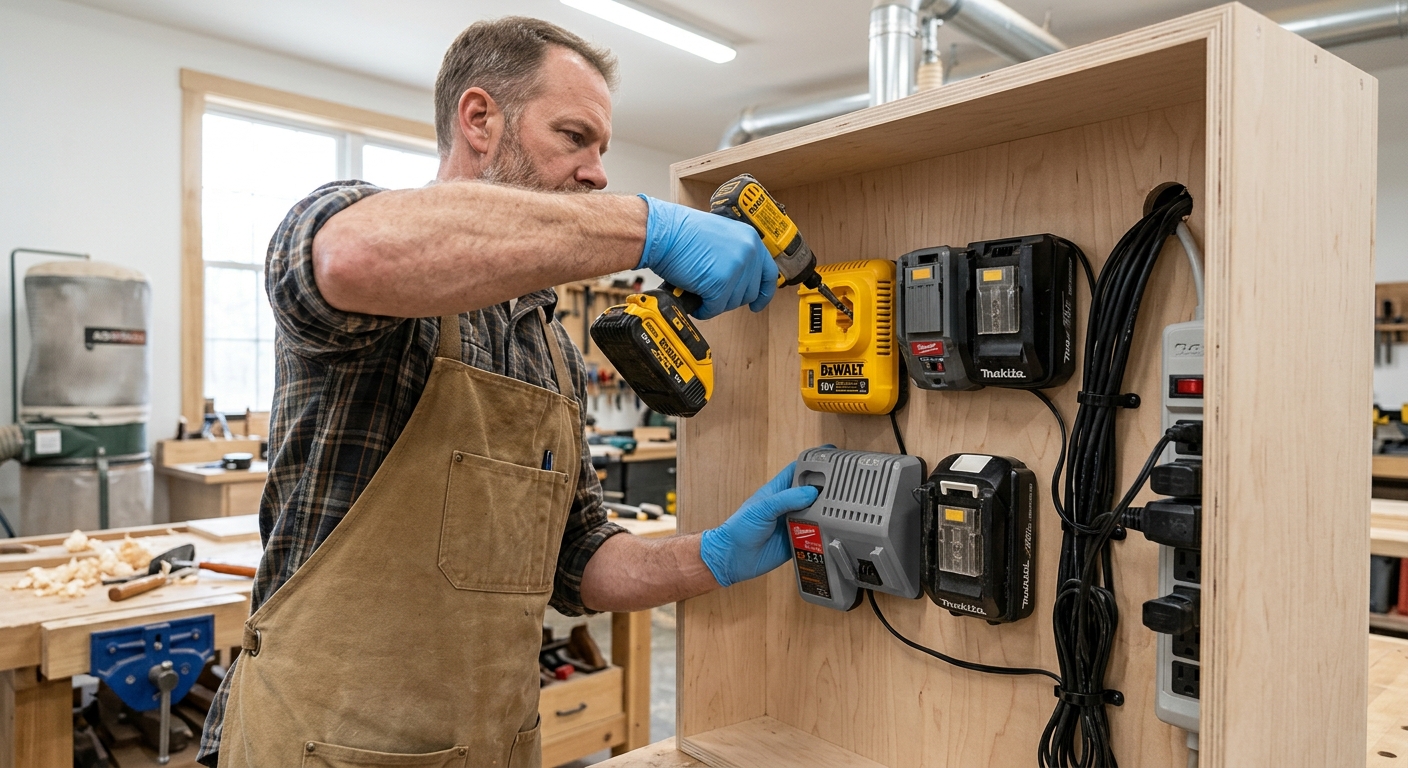
Screw each charger to the back panel of its bay with the charger cord looped neatly. Plug all chargers into the power strip. Mount the power strip inside the cabinet and route the cord through the back panel hole to the wall outlet. A wall switch outside the cabinet controls the whole charging system.
Pro Tips
- Label each bay. Even if you know your tools by sight, label each bay – it makes putting tools away correctly automatic and makes it immediately obvious when a tool is missing.
- Add a battery-only charging shelf. A dedicated shelf for batteries (not tools) lets you charge multiple batteries simultaneously without occupying tool bays.
FAQ
Is it safe to leave batteries charging in an enclosed cabinet?
Lithium batteries generate minimal heat during normal charging and are safe in enclosed spaces. The risk of lithium battery fire is real but extremely low with name-brand batteries and chargers. Leave the cabinet door slightly open while charging if you prefer additional ventilation. Never use no-name battery packs from unknown sources in an enclosed space.