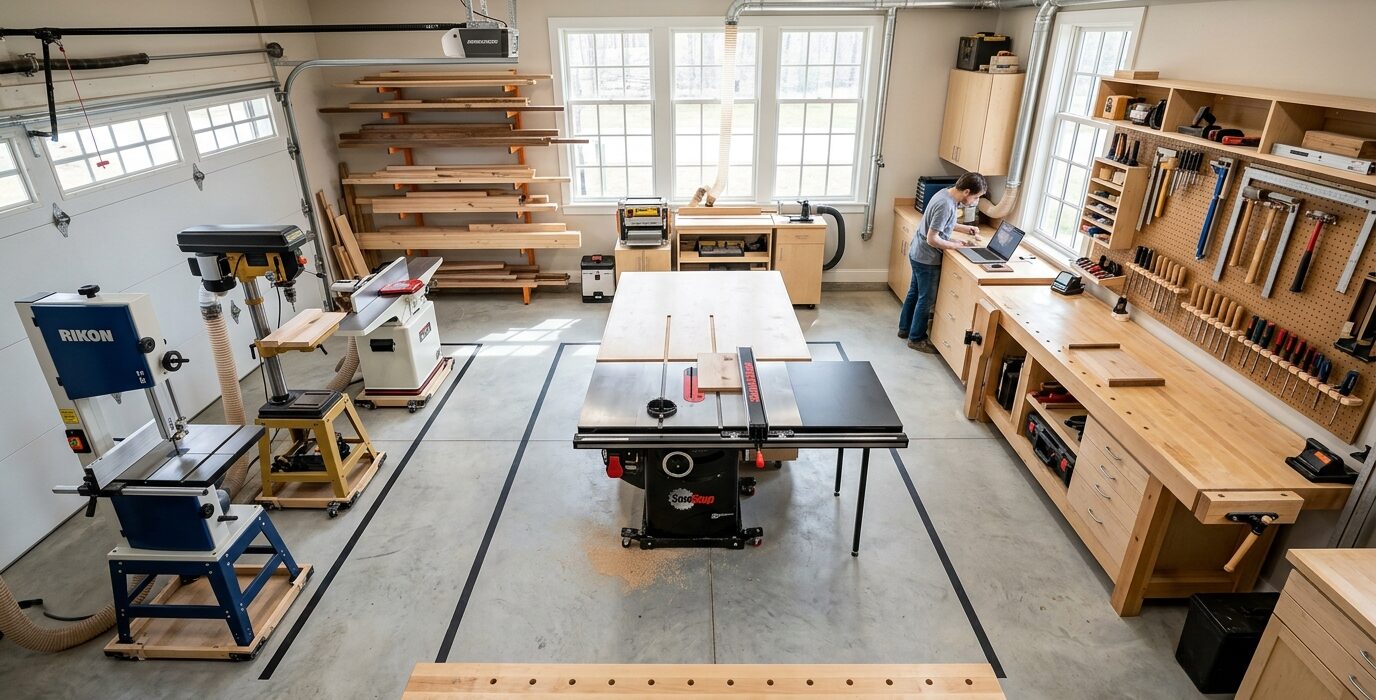
A Bench Designed for the Way Hand Planing Actually Works
A dedicated hand-tool bench is different from a power-tool bench in fundamental ways. Where a power-tool bench needs a flat, open surface and places for clamps, a hand-tool bench needs a planing stop at the far end (to resist the forward push of the plane), holdfasts or a leg vise for holding work on the face, dog holes for bench dogs, and a design that puts the surface height exactly right for your body – lower than most power-tool benches.
This bench is built for the woodworker who does significant hand-planing, sawing by hand, and chopping mortises. It’s optimized for those operations in a way a general shop bench isn’t.
Key Design Differences
- Height: 30-33 inches (lower than standard 34-inch benches, lets you apply body weight over the work)
- Planing stop: a fixed wooden stop at the far end to resist the plane’s forward thrust
- Holdfasts: 3/4-inch holes drilled at intervals for holdfast use
- Leg vise on the left end for holding vertical work
- Solid hardwood top (no plywood) for mass and rigidity
Materials List
- 60-80 board-feet of 6/4 or 8/4 hard maple, beech, or ash (top)
- 30 board-feet of 4/4 or 6/4 hardwood (legs and stretchers)
- Leg vise hardware kit
- Two to four holdfasts (Gramercy, Benchcrafted, or shop-made)
- Bench dogs (shop-made from hardwood)
Step 1: Determine Your Height
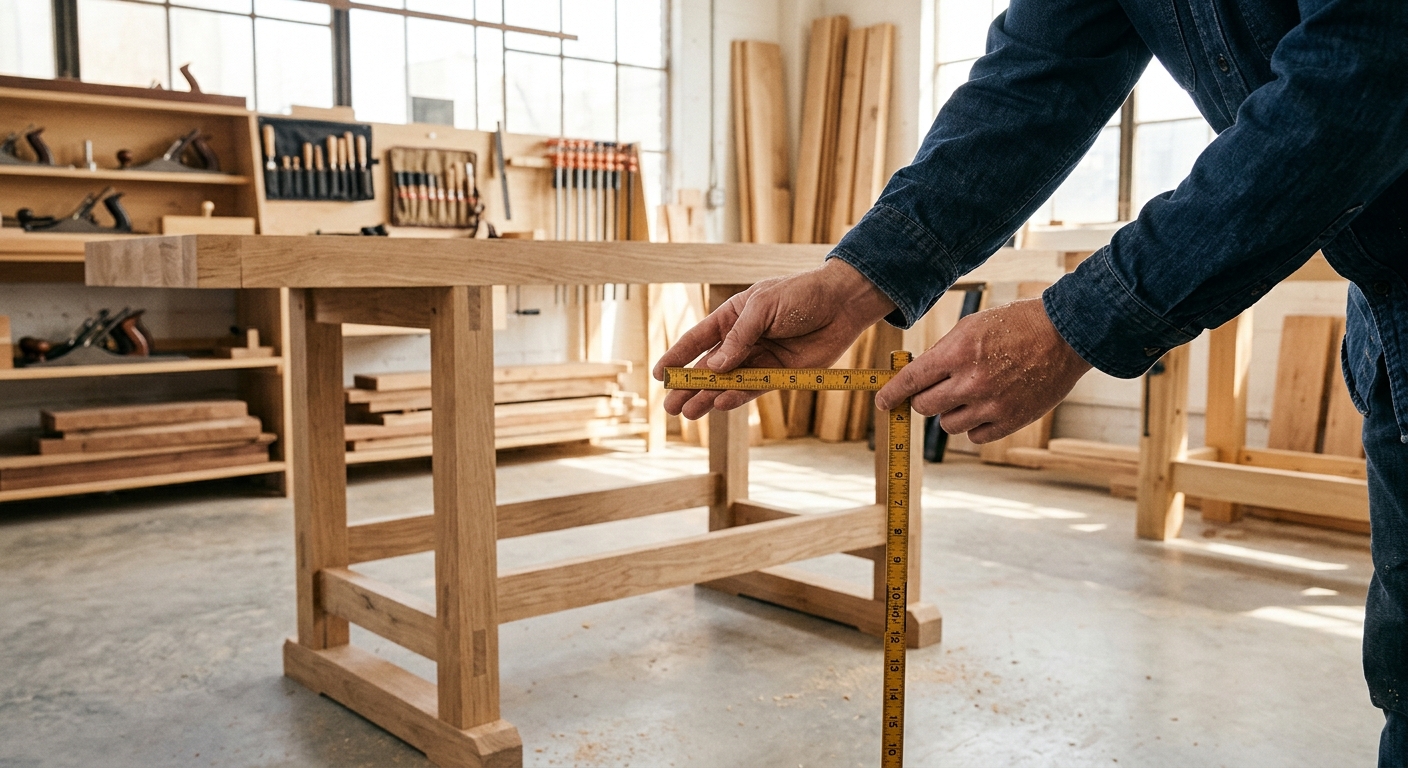
Stand straight and drop your arms to your sides. Measure from the floor to your wrist. That measurement is a reasonable starting point for a hand-tool bench – you want to be able to push the plane with your arms nearly straight. Most woodworkers end up between 30 and 33 inches. Build a temporary bench at that height and plane on it for a week before committing to a permanent bench.
Step 2: Build the Base
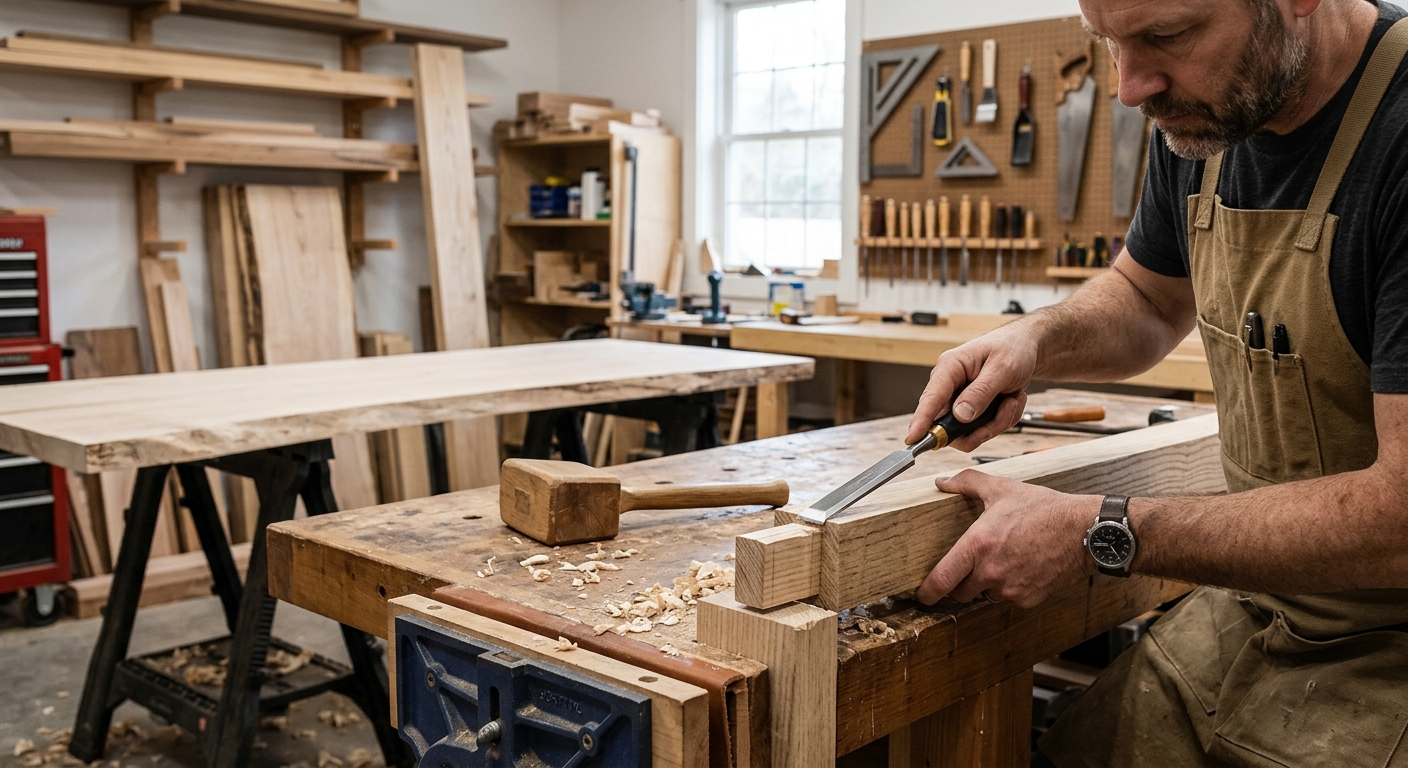
Hand-tool benches traditionally use a mortise-and-tenon base for maximum rigidity. The leg assemblies are two legs connected by a thick top rail and a bottom stretcher, joined with 1-1/2 inch square mortises and full-width tenons. The two leg assemblies connect front-to-back with two thick stretchers. This joinery is cut with hand tools – appropriate for a hand-tool bench.
Step 3: Build and Flatten the Top
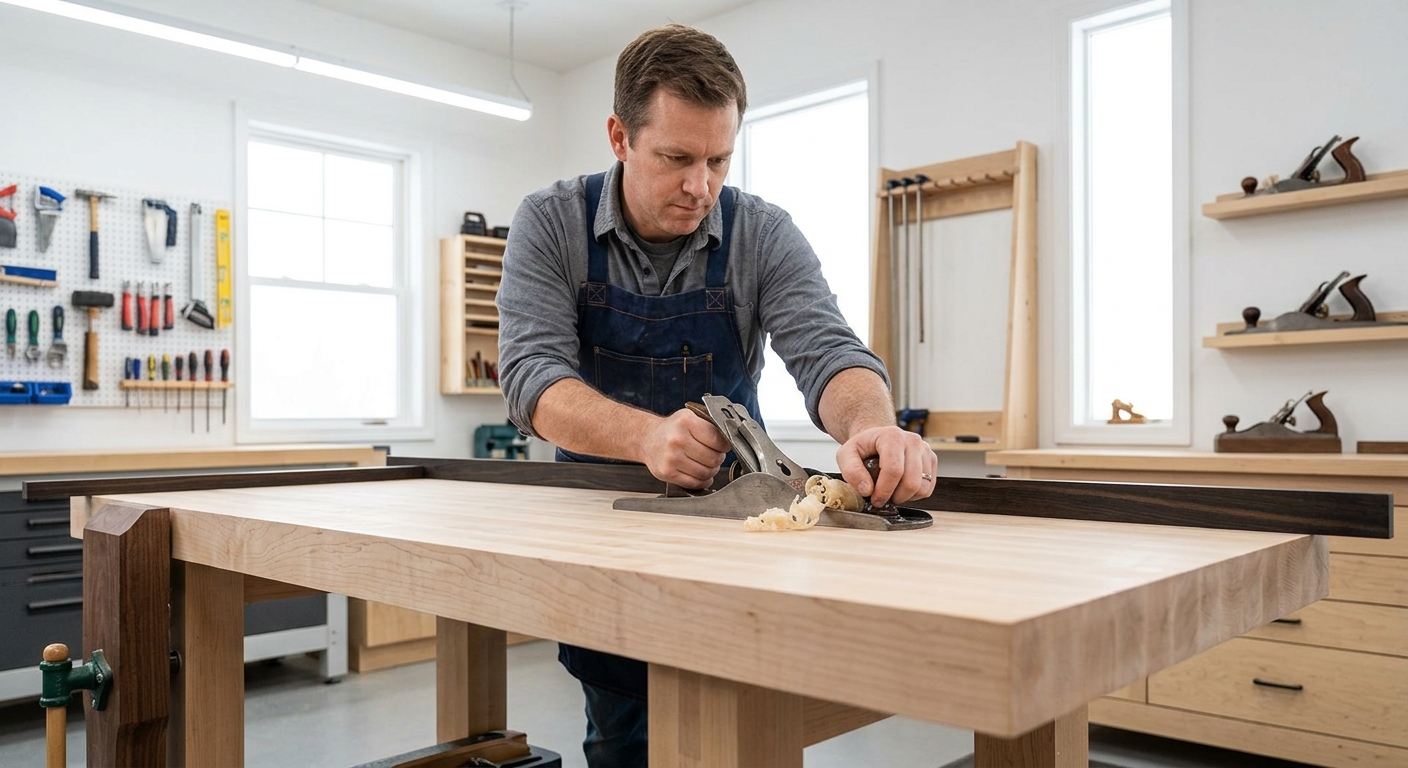
Glue up the top from solid hardwood in 2-3 sections, then join the sections. Flatten the assembled top with a scrub plane followed by a jack plane and finishing with a jointer or smoothing plane. Check with winding sticks and a straightedge throughout. A flat top is the central requirement of this bench.
Step 4: Install the Planing Stop
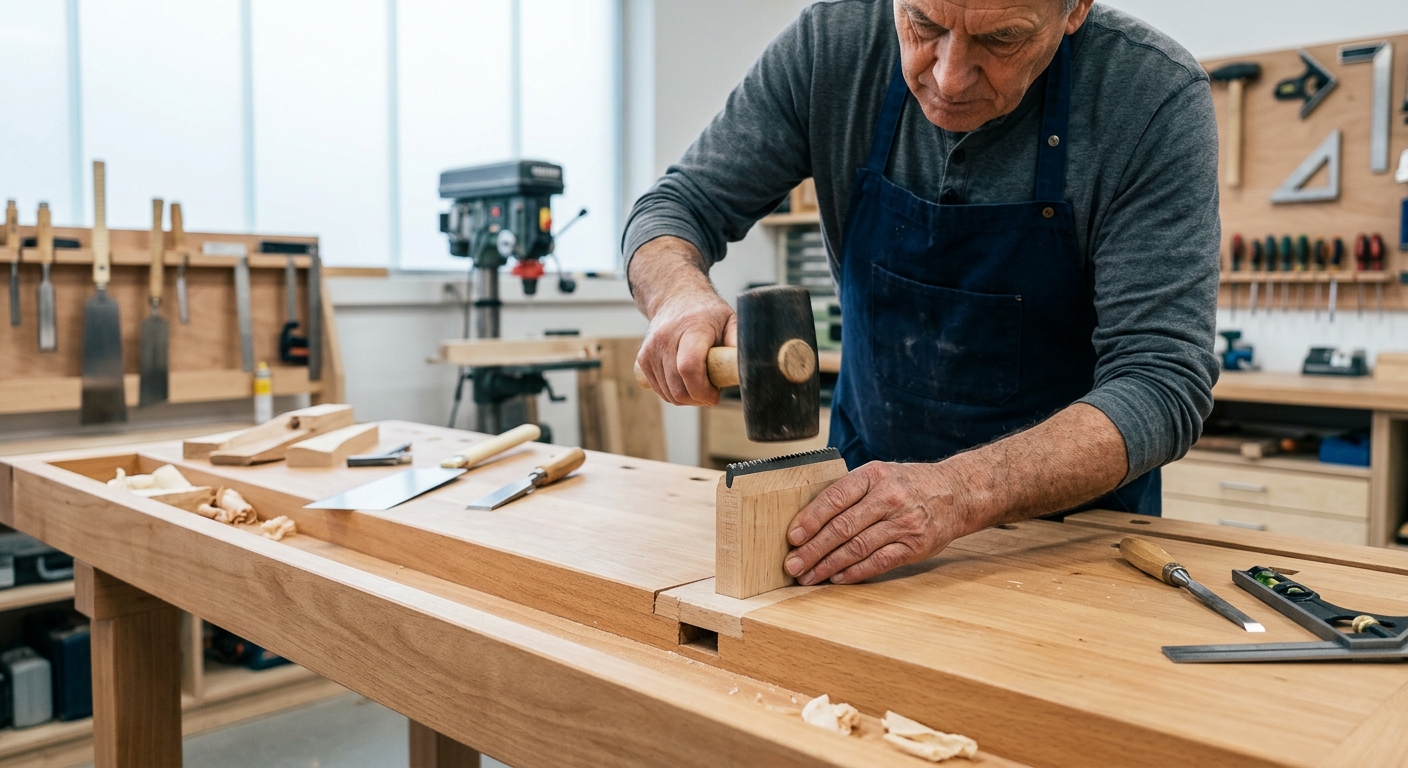
The planing stop is a rectangular block of hardwood that rises from the bench surface at the far end. Traditional versions are housed in a mortise in the bench top and raised and lowered with a wedge – an adjustable stop that can be set to any height. A simpler version is a fixed stop screwed to the far end apron at 3/4 inch above the bench surface.
Step 5: Drill Holdfast Holes
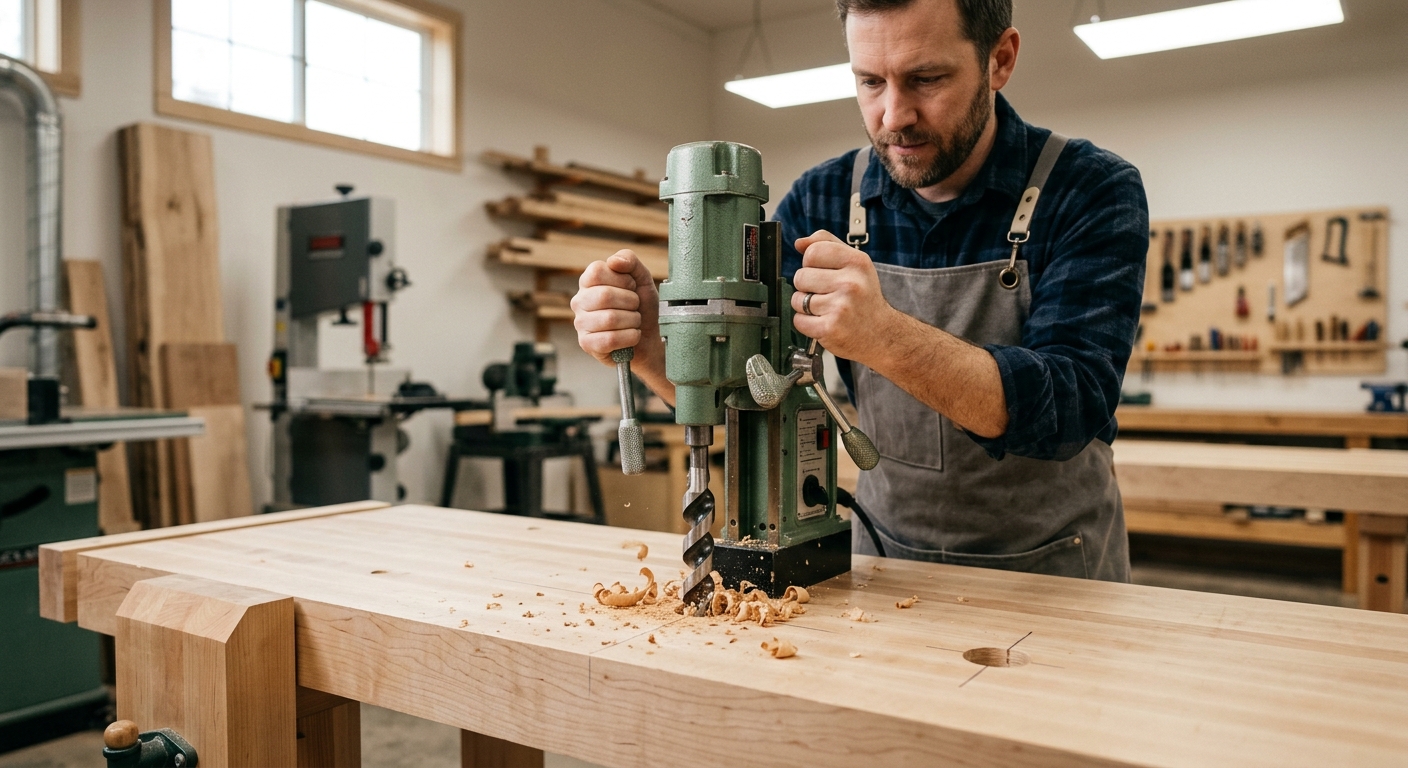
Layout a grid of 3/4-inch holes across the bench top – one row 4 inches from the front edge, spaced 6-8 inches apart. Add holes in the leg vise chop. A holdfast dropped into these holes and struck with a mallet locks your work in place in under a second – the most efficient work-holding method for hand-tool work.
Pro Tips
- Use the heaviest wood you can find. A hand-tool bench should weigh at least 200 lbs. Lighter benches move during planing. The mass is not excess – it’s functional.
- Flatten the top annually. With regular use, the bench top will develop low spots from heavy use and seasonal movement. A yearly flattening with hand planes keeps it accurate.
FAQ
Can I use a hand-tool bench for power tools too?
Yes, but the lower height may feel awkward for some operations, and the solid top is overkill as a router table substrate. Hand-tool benches work best as dedicated hand-tool stations in a shop that also has a separate power-tool bench.