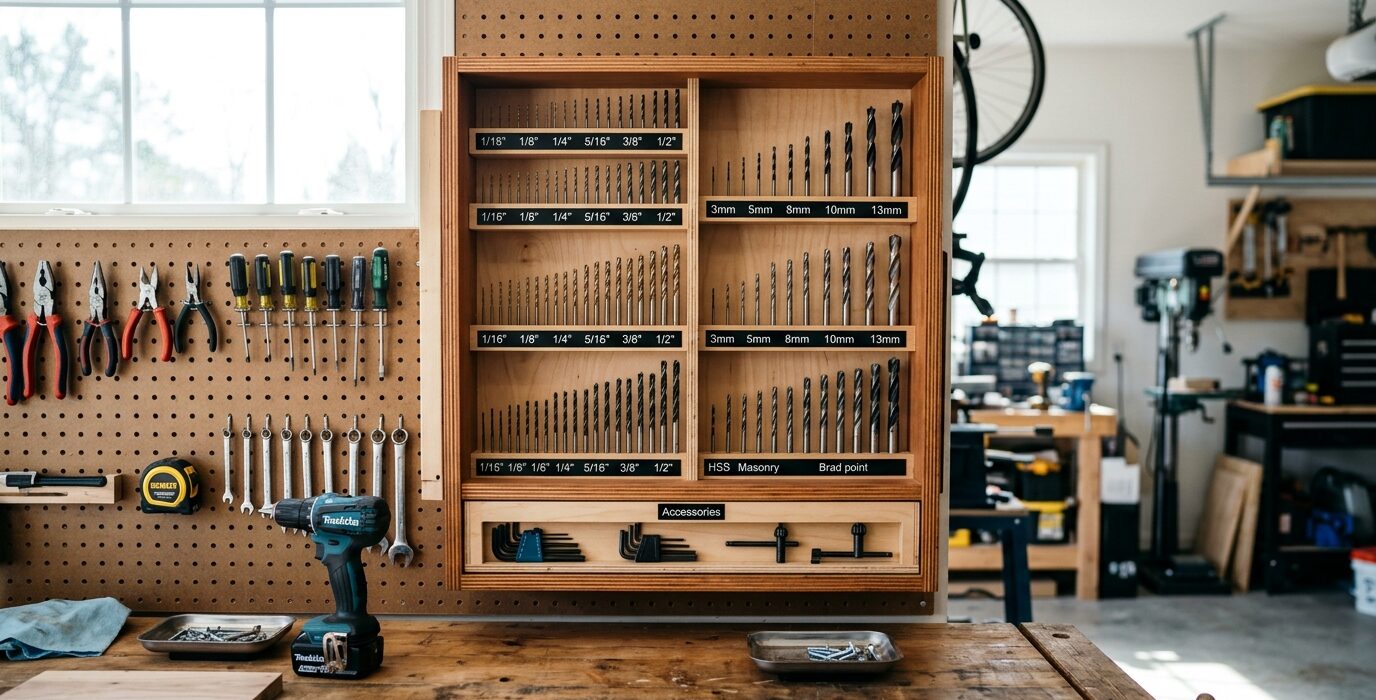
Every Drill Bit in Its Place
A drill bit index cabinet is one of those shop items where the investment in organization pays back immediately. Without a system, bits are in a coffee can – dull bits mixed with sharp ones, small bits rattling in the bottom, the one you need always missing. A proper index cabinet holds every bit in a labeled position, keeps sharp and dull bits separated, and makes the right bit selection a 10-second task rather than a 5-minute hunt.
Design Overview
The index cabinet is a small drawer or box system with individual holes for each bit size, arranged in size order. The simplest version is a block of hardwood with holes drilled in a grid, labeled with a paint marker. A more refined version is a hinged cabinet with two or three rows of bits in size-graduated holes, with a flip-up lid for access and dust protection.
Materials List
- One 2×6 hardwood board, 18 inches long (bit block)
- Drill bits in fractional sizes from 1/16 to 1 inch (typical set)
- Paint pen or label maker
- Finish of choice (oil or varnish to prevent bit rust)
Step 1: Choose Your Index System

Decide which sizing system you primarily use: fractional inches (1/16 through 1 inch in 1/64-inch increments), metric (1mm through 25mm), wire gauge (1-60), or letter sizes (A through Z). Most woodworkers primarily use fractional; metalworkers often need all four systems. Build your index around what you actually use.
Step 2: Drill the Index Holes
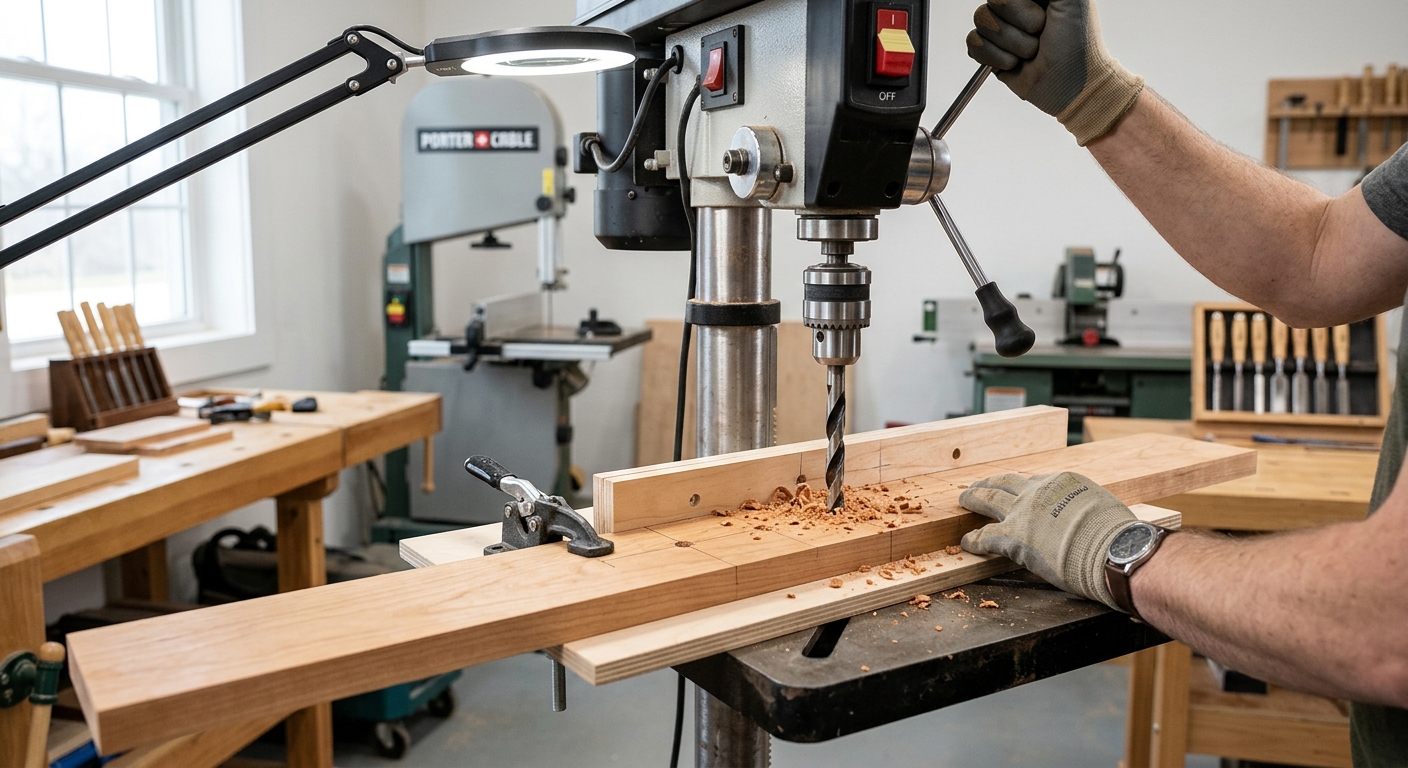
The bit block gets a hole drilled for each bit size – the hole diameter matches the bit’s shank diameter. Organize in size order, smallest to largest, left to right and top to bottom. For a fractional index with 1/16 to 1/2 inch in 1/64-inch increments, you have 57 sizes – a 6×10 grid on a 2×6 block handles this comfortably.
Step 3: Label Each Position

Mark each hole with the bit size in the nearest convenient marking system – a paint pen works well on raw wood. Alternatively, label a strip of aluminum tape and apply it along the front of each row. The label must survive shop use, oil contamination, and casual handling. Engraving or permanent paint is preferable to paper labels.
Step 4: Add a Dull Bit Section
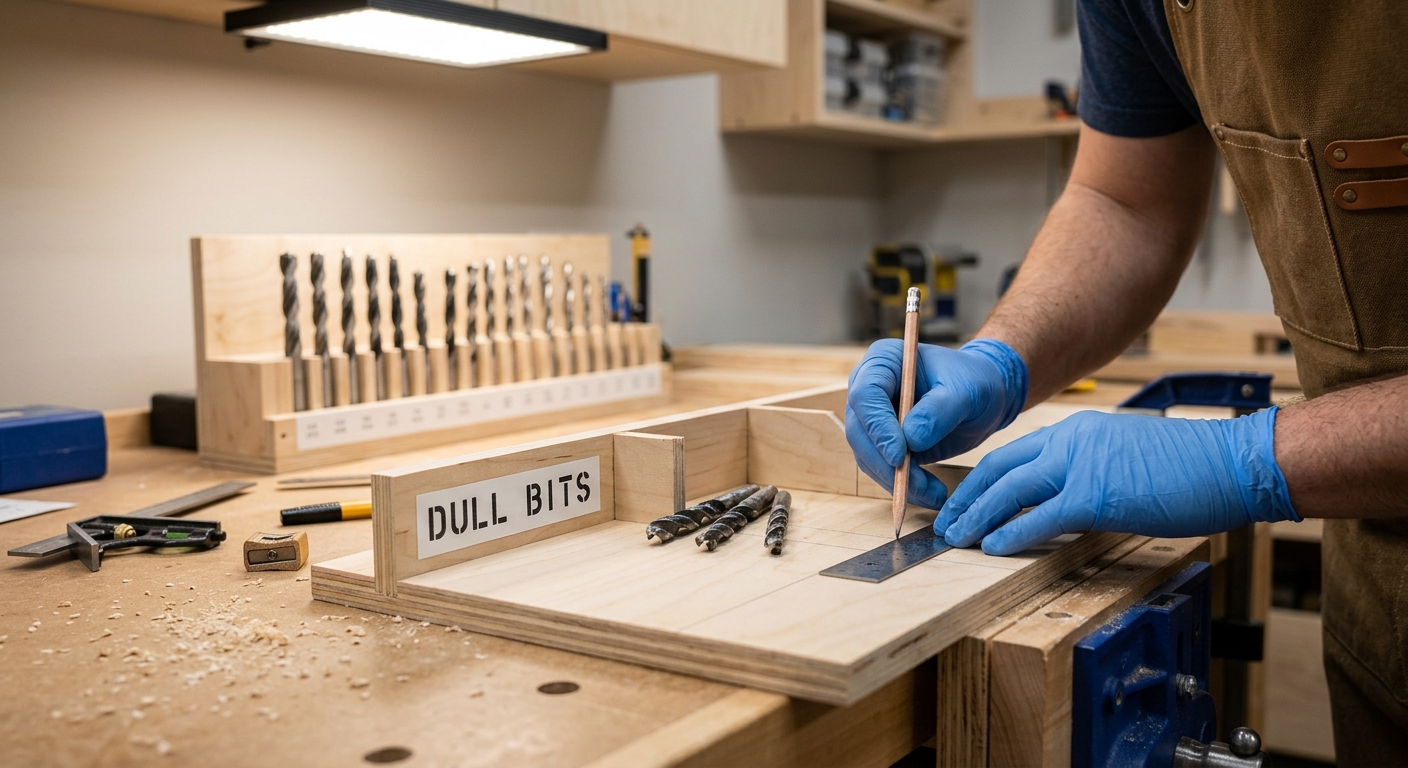
Reserve one row or one side of the block for dull bits – a marked “to sharpen” zone. When a bit shows signs of dulling (burning, squealing, slow cutting), move it to the dull zone rather than putting it back in the index. This keeps sharp and dull bits separated and reminds you to sharpen the dull ones before they disappear back into the index.
Step 5: Mount in the Shop

Mount the index block in a cabinet above the drill press or on the wall near the drill station. The index should be within arm’s reach of where you drill. Some woodworkers prefer a drawer-mounted index in the drill press table’s built-in cabinet.
Pro Tips
- Buy a set with a good case. Commercial drill index sets come with molded cases that work well – better than building your own for the most common fractional sizes. Build your own for the specialty bits that don’t fit commercial cases.
- Keep one blank spot per row. Always have space for adding a new bit size. A fully packed index with no room for additions becomes frustrating when you acquire a new bit.
FAQ
How do I tell when a drill bit is dull?
Dull bits require noticeably more pressure to start, produce burning smell or blue/black swarf, and leave rough hole surfaces. In wood, a dull bit will tear fibers rather than cut cleanly. A brand-new bit sharpened to factory spec cuts easily with light pressure and produces clean chips. If you’re pushing hard, the bit is dull.