Build a File and Rasp Holder for the Workshop Wall
Files and rasps suffer in disorganized storage: they contact each other, dulling their cutting edges on adjacent tools; they get buried in drawers where finding the right cut requires feeling around blindly among sharp teeth; and they accumulate the sawdust and metal particles that reduce their cutting efficiency over time. A wall holder that keeps every file separate, visible, and identified solves all of these problems with a simple rack that costs almost nothing to build.
Materials
- 1×6 board, 18 to 24 inches long
- 1/2-inch hardwood dowels, cut to 3-inch sections
- Wood glue
- Mounting screws
- Label tape or paint marker for identification
Step 1 – Inventory Your Files
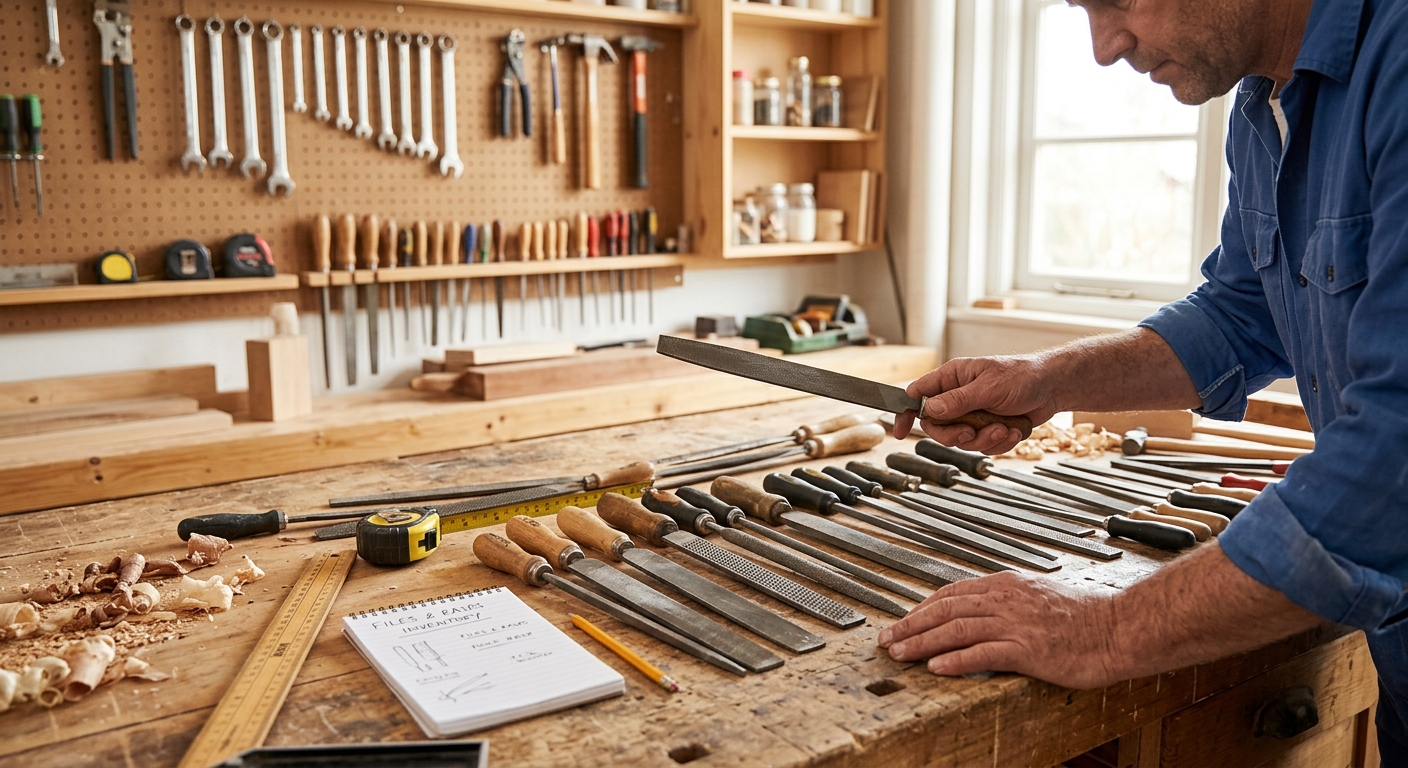
Lay out every file and rasp. Typical collection: flat bastard cut (rough), flat second cut (medium), flat smooth cut (fine), half-round second cut, round second cut, triangle, needle files in various profiles. Count and note tang diameter – most standard files have 3/8 to 5/8-inch tangs that fit through the handle.
Step 2 – Drill Angled Holes
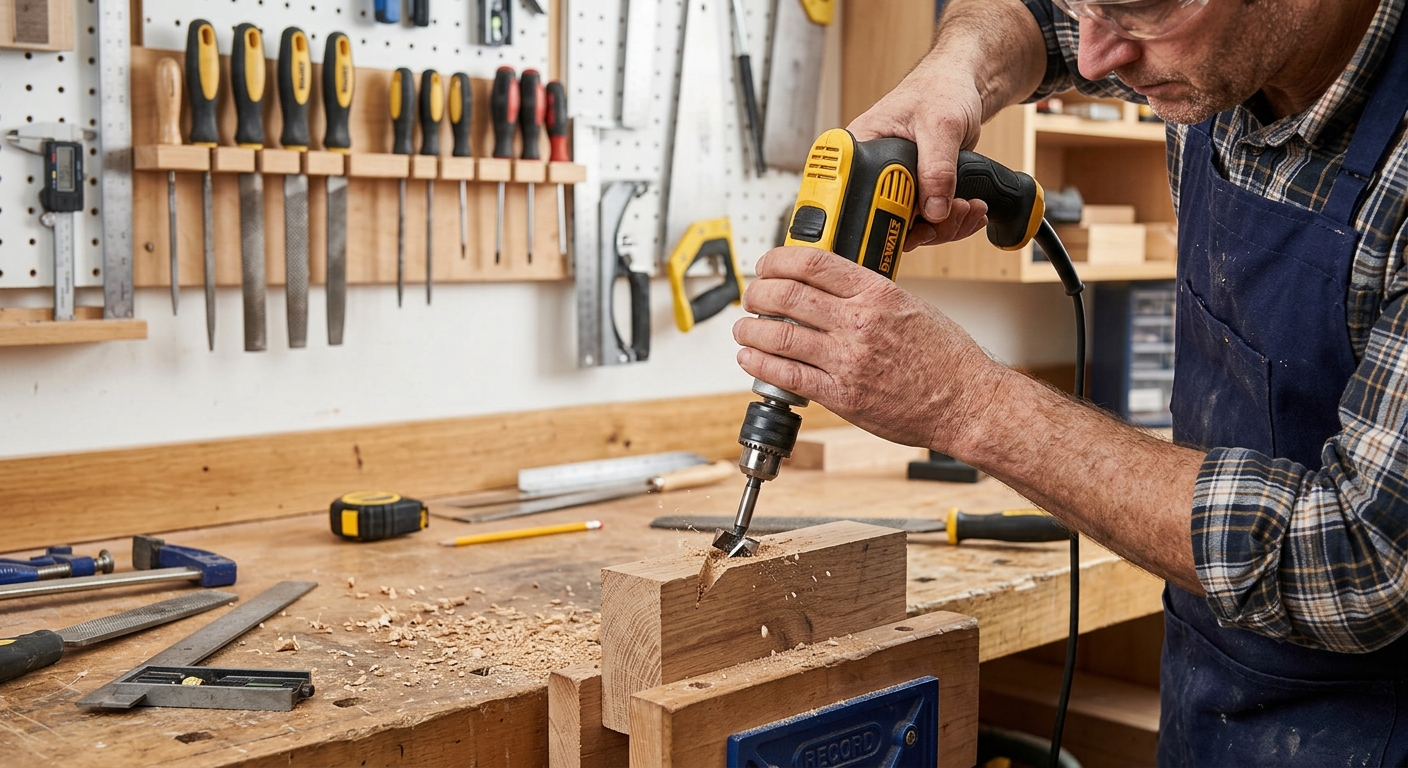
Drill holes through the 1×6 board at a 20-degree forward angle – so files hang with their tang up (point of use down) and lean toward you rather than away. The hole diameter should match the dowel: 1/2-inch holes for 1/2-inch dowels. Space holes 2 to 3 inches apart center-to-center, enough for file handles to hang without touching.
Step 3 – Install the Dowels
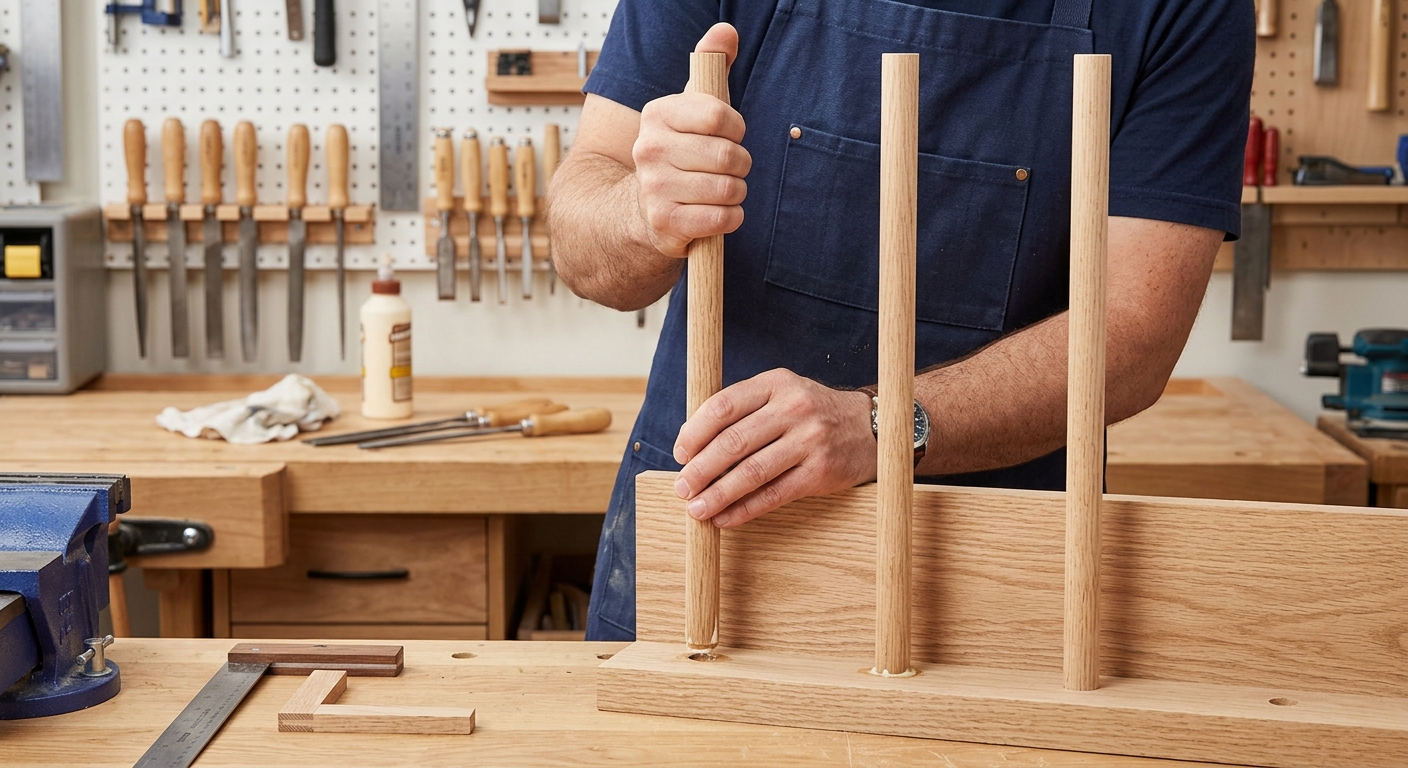
Glue a short dowel section into each hole so it projects 2 to 2.5 inches from the face of the board. The file’s tang slides over the dowel, and the handle rests against the board face. The dowel supports the tang; the board supports the file at the handle. Files hang with teeth pointing down and toward the user for easy visual identification of cut type.
Step 4 – Label and Mount
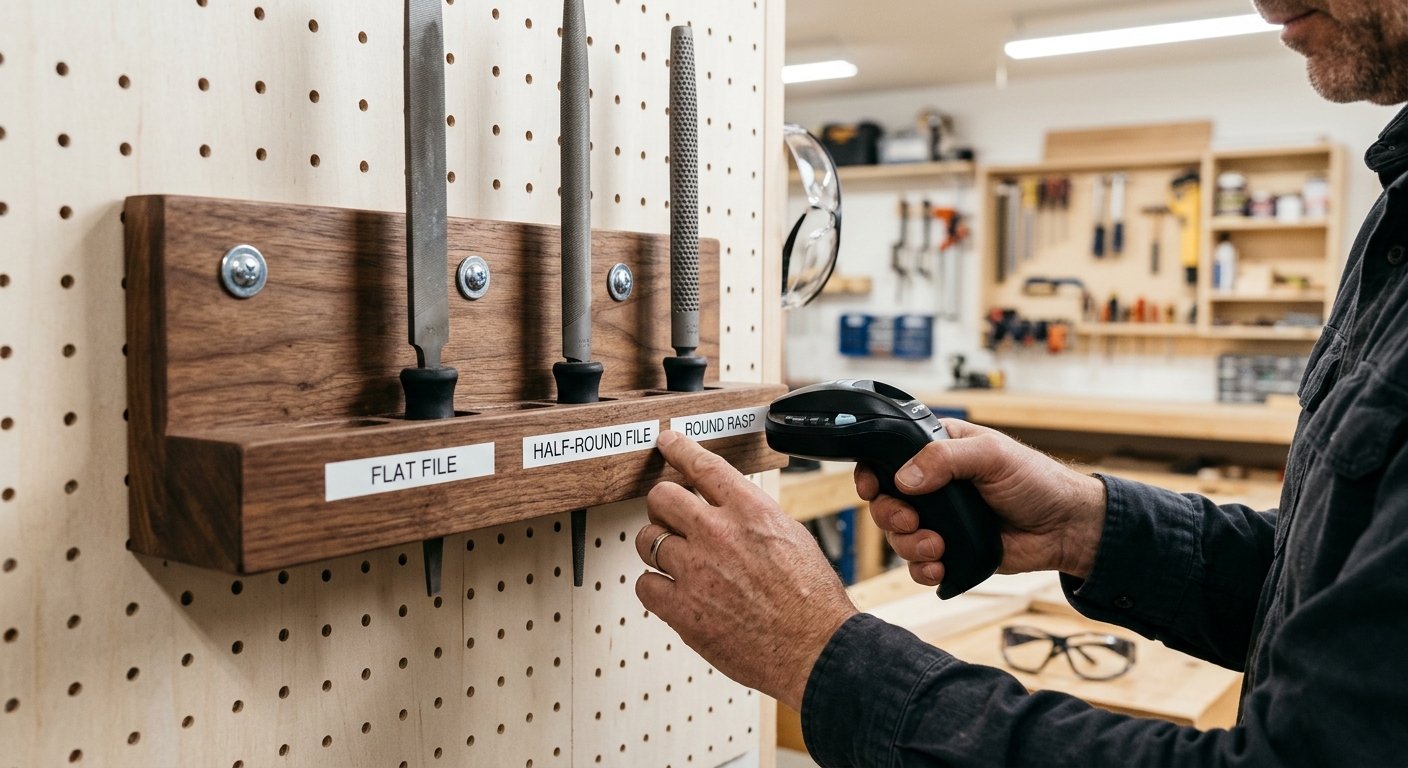
Label below each dowel position with the file type: “Flat Bastard,” “Half-Round 2nd Cut,” etc. Mount at eye height near the bench. A file is chosen by looking at the label, not by handling every file in the collection.
FAQ
How do I clean files and rasps for storage?
A file card (a brush with short wire bristles) removes metal particles and wood debris from file teeth before storage. Run the card across the teeth in the direction of the cut, not against it. Never use files dry on aluminum or other materials that clog the teeth – apply chalk to the teeth first to reduce loading.
Should I store files with or without handles?
With handles. Handles protect the tang from impact and provide a grip that makes the file easier to control in use. A file rack that supports files by their tang (as in this design) keeps handles attached and ready.