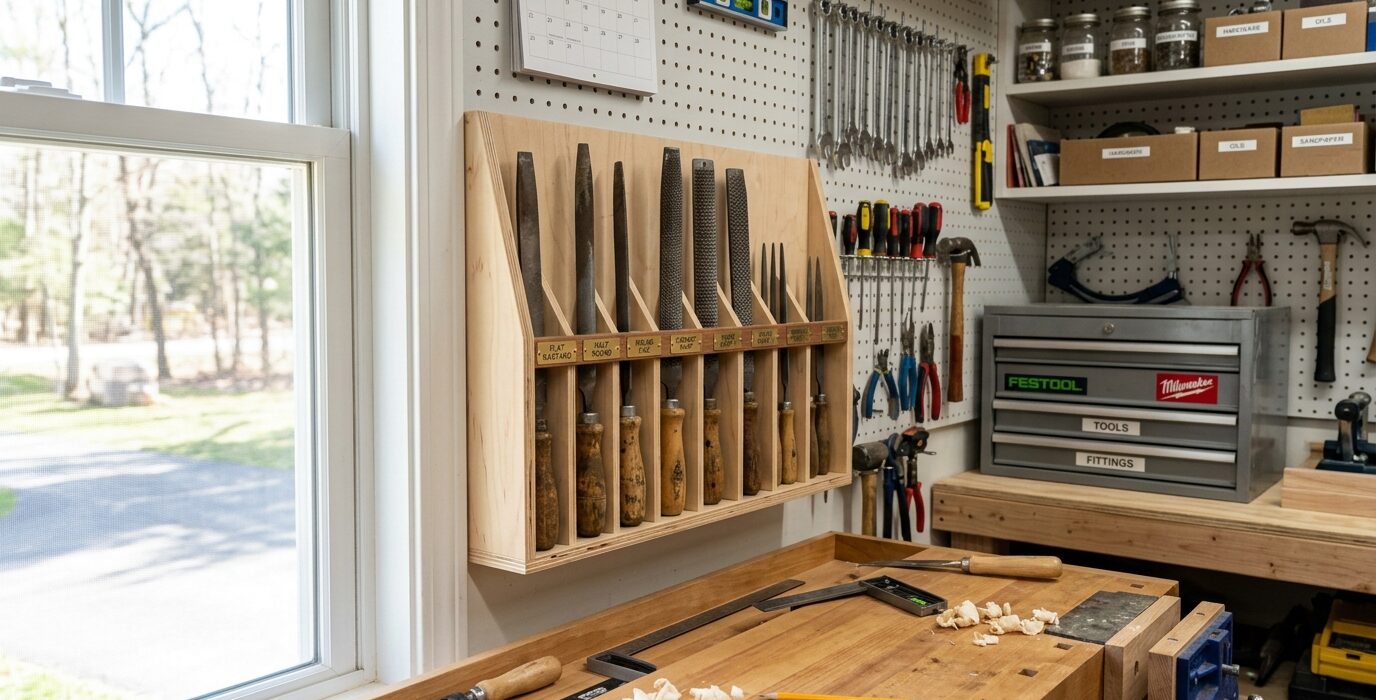
A File and Rasp Holder
Files and rasps are sharp on every surface – store them touching each other and they’ll dull each other within weeks. A proper file holder keeps each file and rasp separated, edge-free, accessible by size and cut type, and protected between uses. It doesn’t take long to build and it extends the life of your edge tools significantly.
Why Separate Storage Matters
The teeth of files and rasps are the cutting surface. Contact between tools – especially between a hard file and a softer rasp – removes material from the teeth. A set of files stored loosely in a drawer together for a year will show measurable wear on the teeth that contact other tools. Separated storage prevents this completely.
Materials
- Scrap hardwood or 3/4-inch plywood for the holder block or panel
- Drill bits or a router for creating the file slots
- Mounting screws or a French cleat
Step 1 – Inventory Files and Rasps
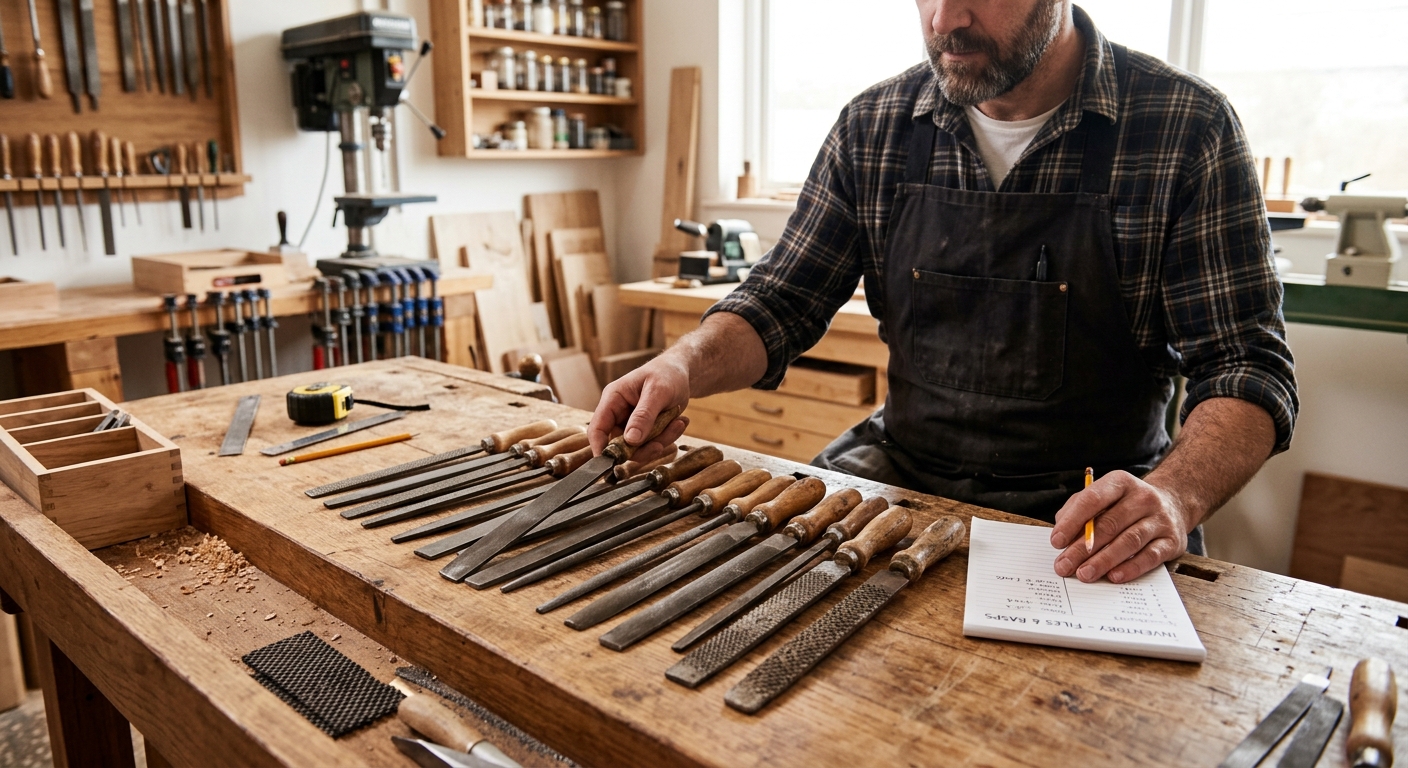
Pull every file and rasp from wherever they currently live. Sort by type: hand stitched rasps, bastard files, second-cut files, smooth files, needle files, and specialty profiles. Note the handle diameter for each – the holder needs to accommodate each tool’s handle.
Step 2 – Choose a Storage Method

Two approaches work well:
- Angled holes in a block: Similar to the chisel rack – each tool drops through a hole in a thick hardwood block. The blade hangs below, the handle above. Clean, simple, compact.
- Horizontal slots in a cabinet: Each file lies in its own slot, completely separated. More wall space but easier visual access to every tool.
Step 3 – Build the Holder
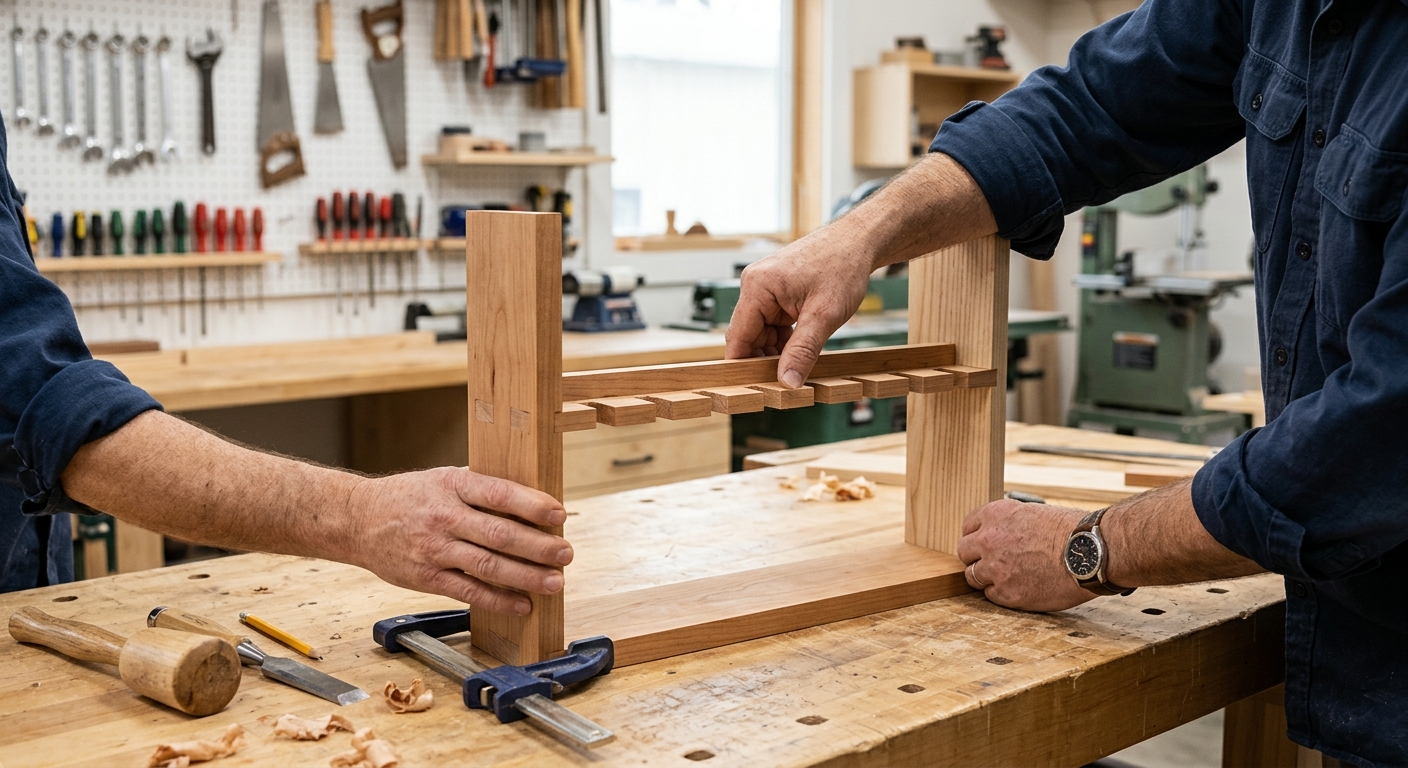
For the angled-hole approach, drill holes in a 2-inch thick hardwood block at a 15-degree angle. The hole diameter should match each file’s handle plus 1/8 inch clearance. Drill from the back of the block to minimize tear-out at the front face. Test each tool before mounting the block.
Step 4 – Organize by Type and Cut
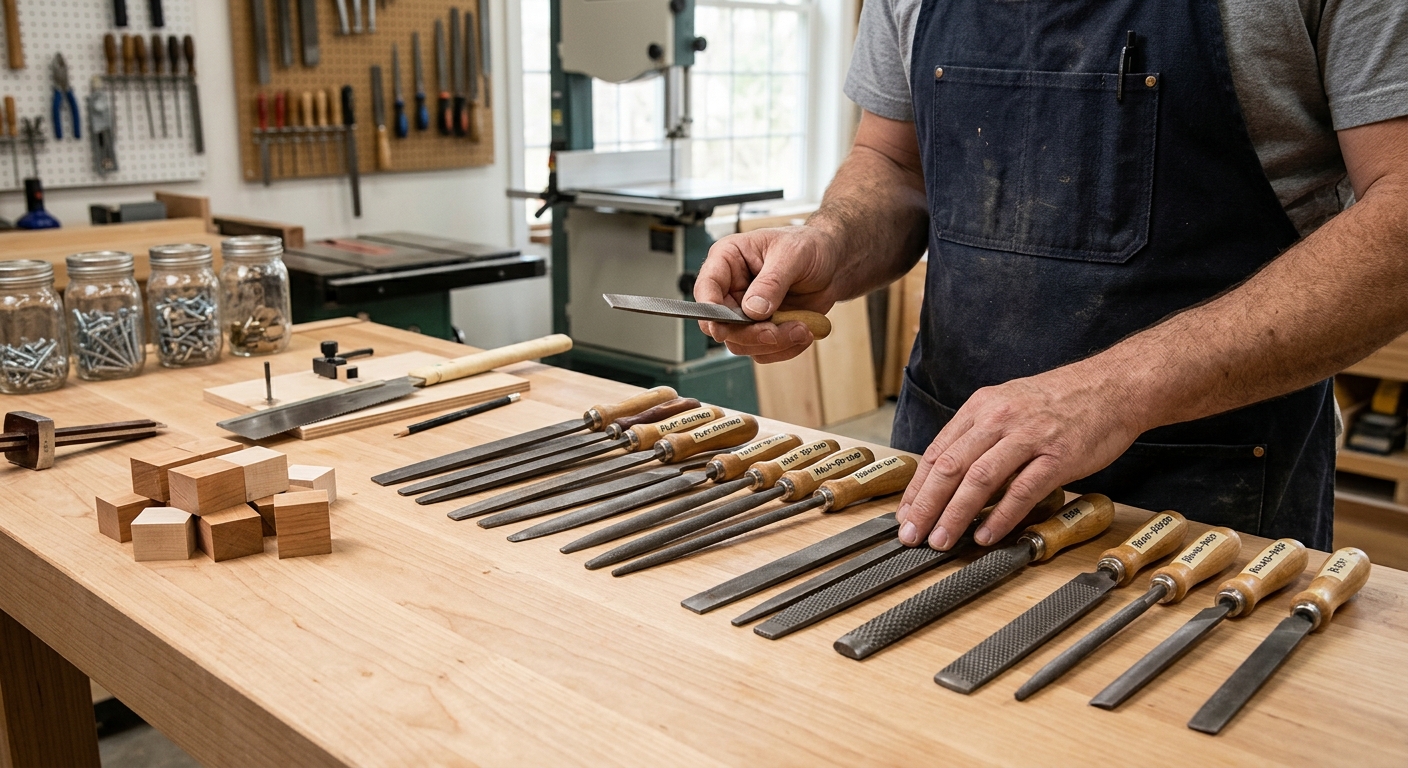
Group files by type in the holder. All bastard-cut files together, all second-cut files together, all smooth files together. Within each cut grade, order by profile (flat, half-round, round). This organization makes selecting the right tool for the task intuitive without reading labels.
FAQ
Should I oil files and rasps for storage? Light machine oil or camellia oil on the metal surface prevents rust. Do not oil the teeth – oil in the teeth clogs them and reduces cutting efficiency. Oil only the flat side faces and the handle.
Can I store files in a roll pouch instead? A roll pouch is excellent for files in use on a project or for transport. For permanent shop storage, a wall-mounted holder keeps files more accessible and completely separated from each other.