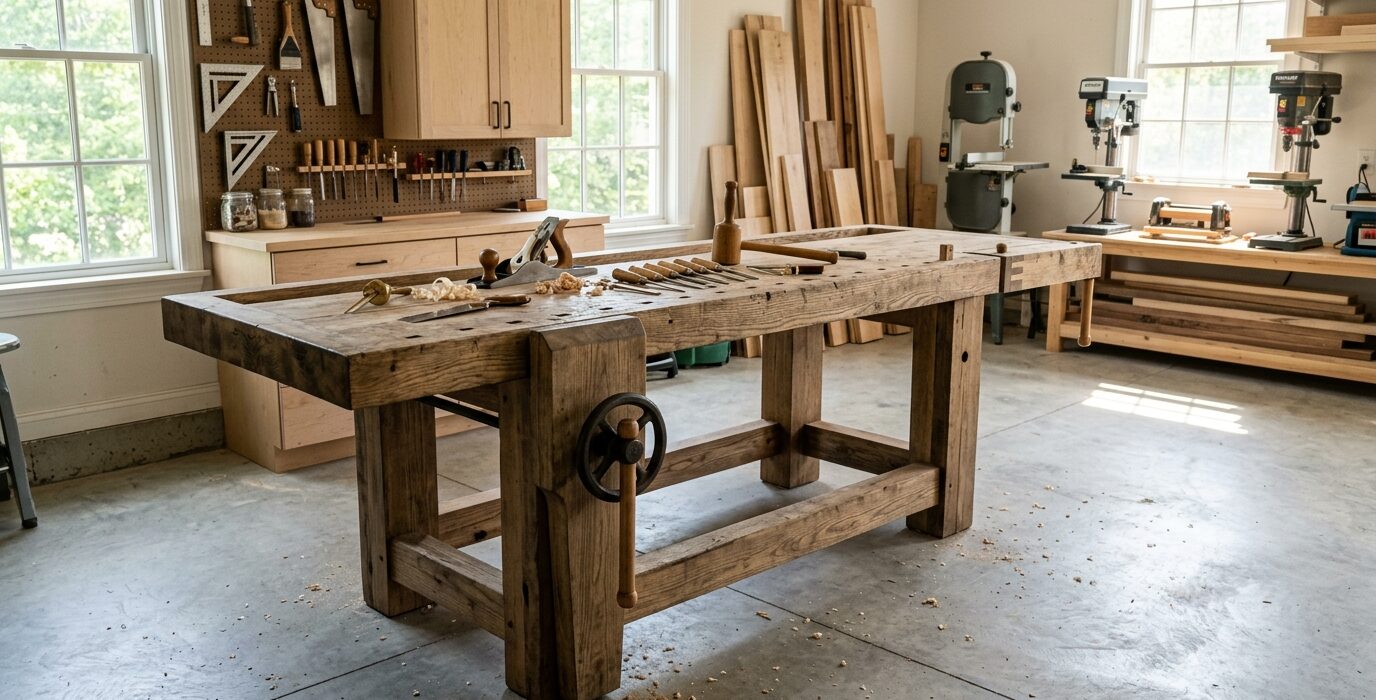
French Cleat Bench with Total Modularity
A French cleat workbench integrates a modular cleat wall system directly into the bench design. The back panel is covered with horizontal cleat strips at 2-inch spacing, letting you mount and remount tool holders, shelves, a power strip, lighting, and accessories anywhere along the wall – all without drilling a single new hole. This is the most reconfigurable bench setup in any shop.
Materials
- 2×4 lumber – 60 linear feet for the bench frame
- 3/4-inch plywood – two sheets for the top, back panel, and apron
- 3/4-inch plywood strips for the French cleat strips (ripped at 45 degrees)
- Wood screws
- Scrap plywood for building modular accessory holders over time
Step 1 – Build the Bench Frame
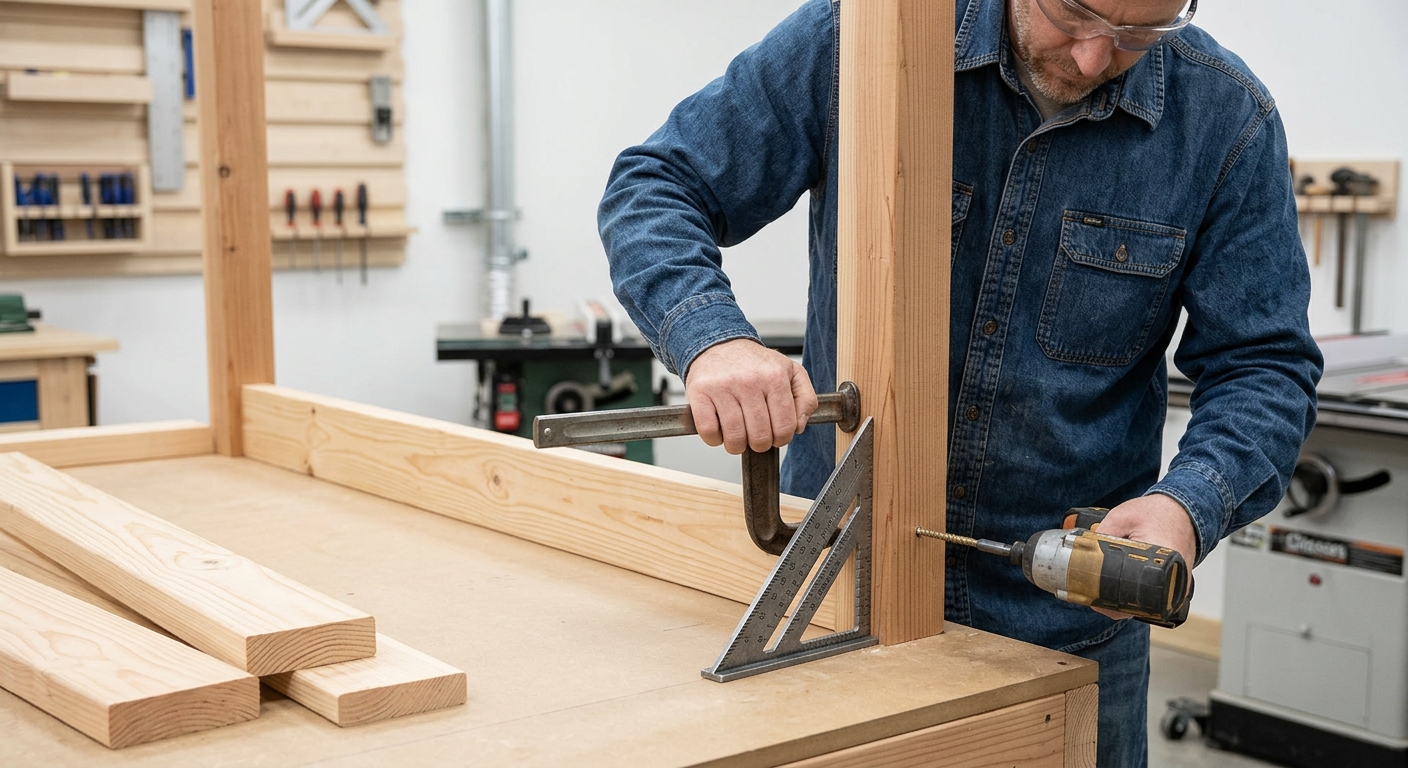
Build a standard 2×4 bench frame: four legs, top and bottom perimeter rails, front and back aprons. Set the back apron in 3/4 inch from the back edge of the legs so the back panel sits flush with the leg faces. Size the bench to your space – 24 to 30 inches deep and as long as possible.
Step 2 – Install the Back Panel
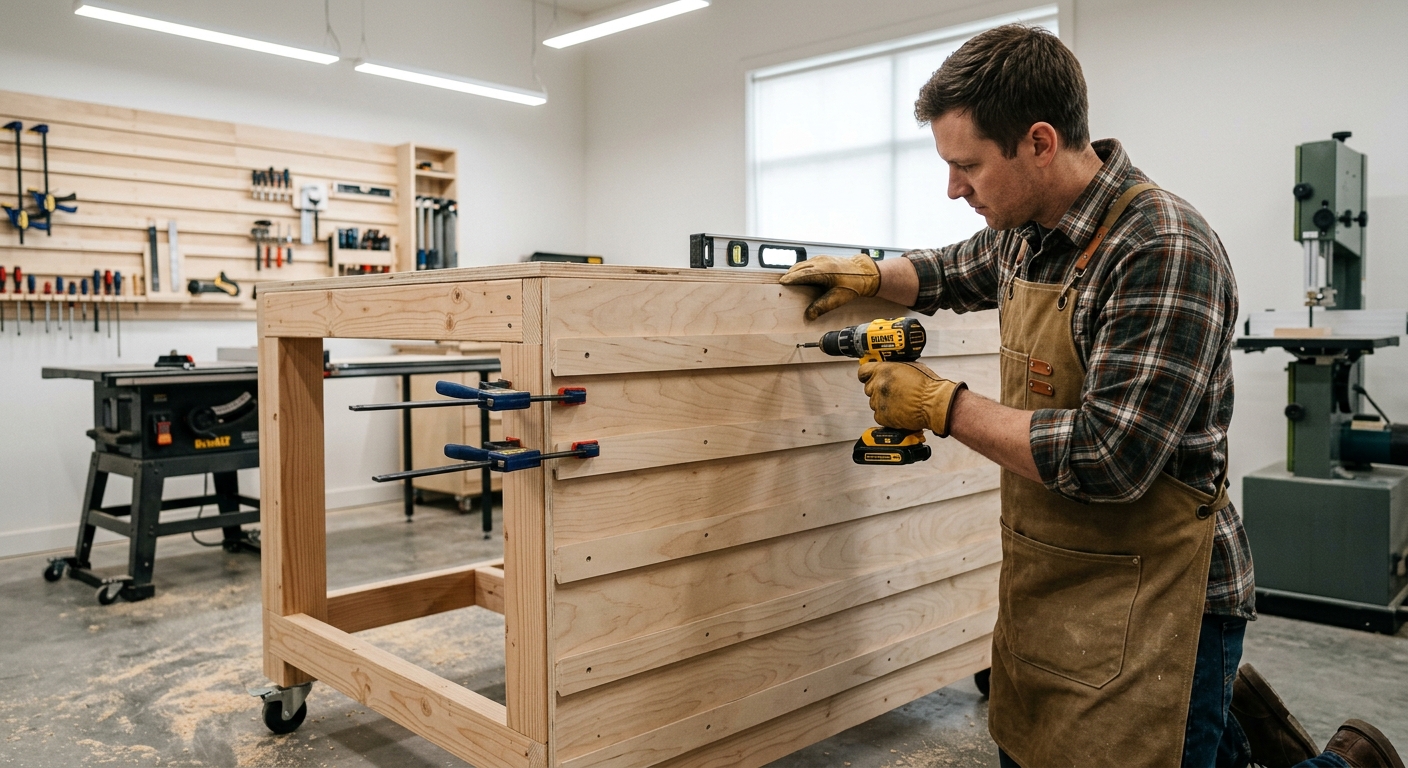
Cut a 3/4-inch plywood back panel to fill the back of the bench from the top rail to the floor, full width. Screw it solidly to the back legs and back aprons. This panel is the substrate for all the cleat strips – it must be firm.
Step 3 – Install the Cleat Strip Rows
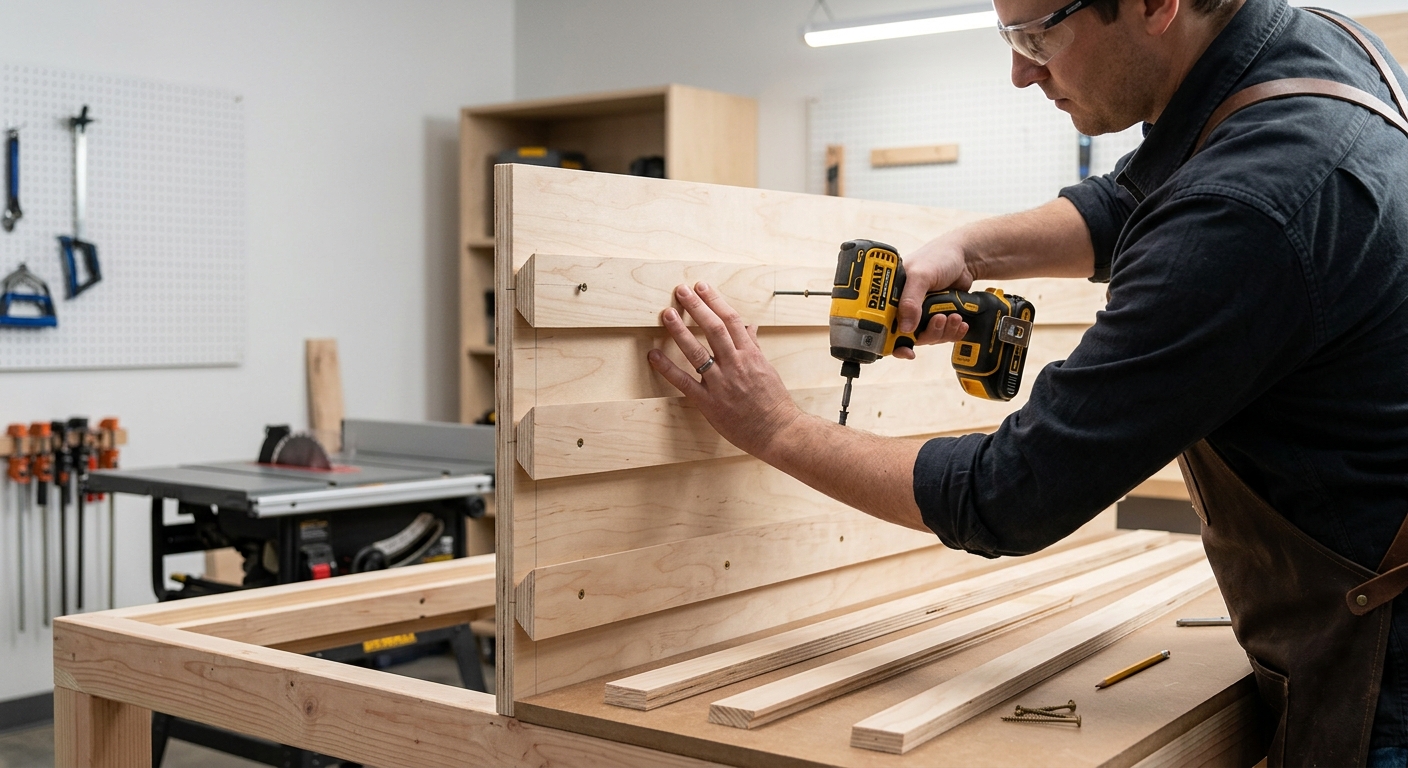
Rip 3/4-inch plywood at 45 degrees into 3-inch strips – these are the cleat strips. Screw the first row to the back panel just above the bench top height with the angled edge facing up and out. Add rows every 2 inches up the back panel using a level to keep each row perfectly horizontal. Screw into the back legs and cross members for the most secure attachment.
Step 4 – Build the Workbench Top
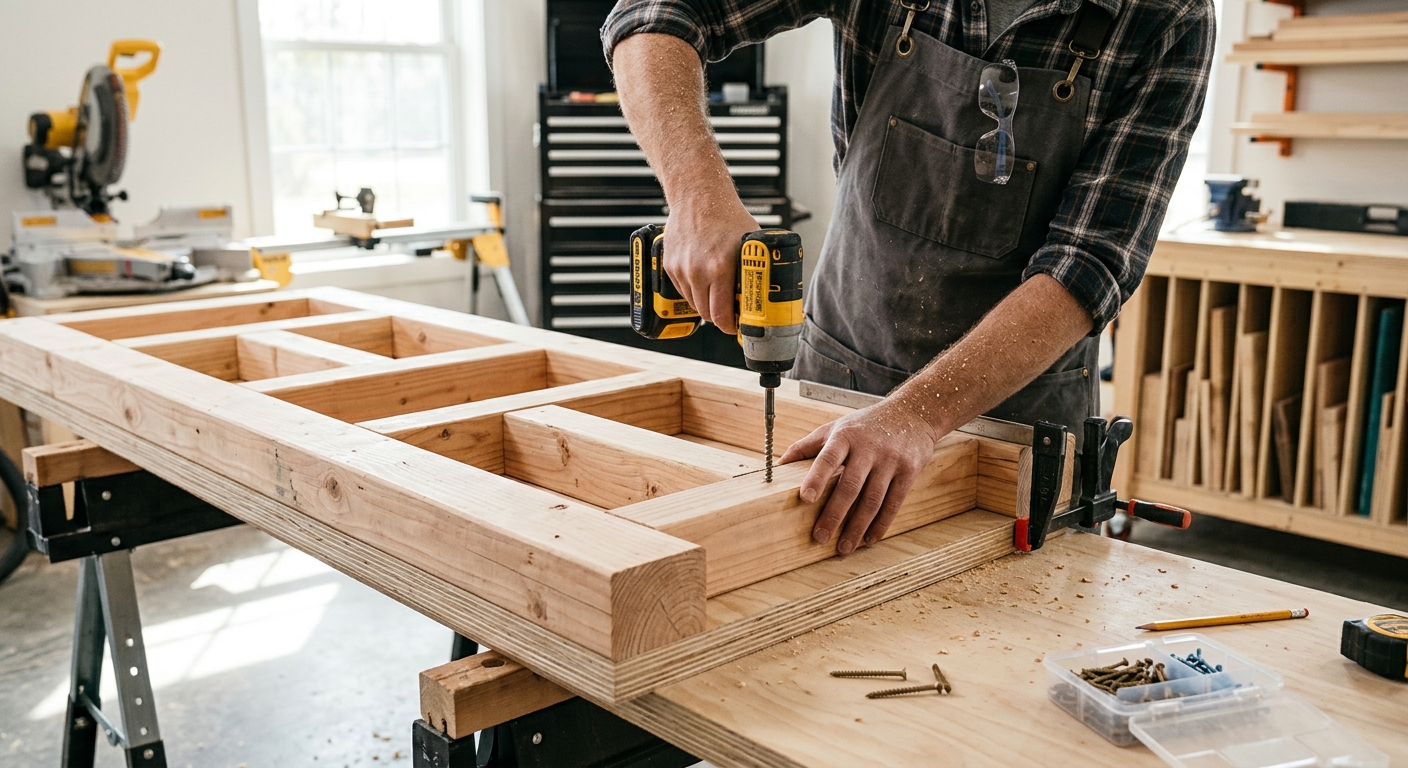
Attach the 3/4-inch plywood top to the bench frame from below. Laminate a second layer of plywood for added thickness and rigidity, or apply hardboard as a sacrificial work surface. The top is the platform for all work; the back panel cleat wall is the tool organization system behind it.
Step 5 – Build the First Accessory Set
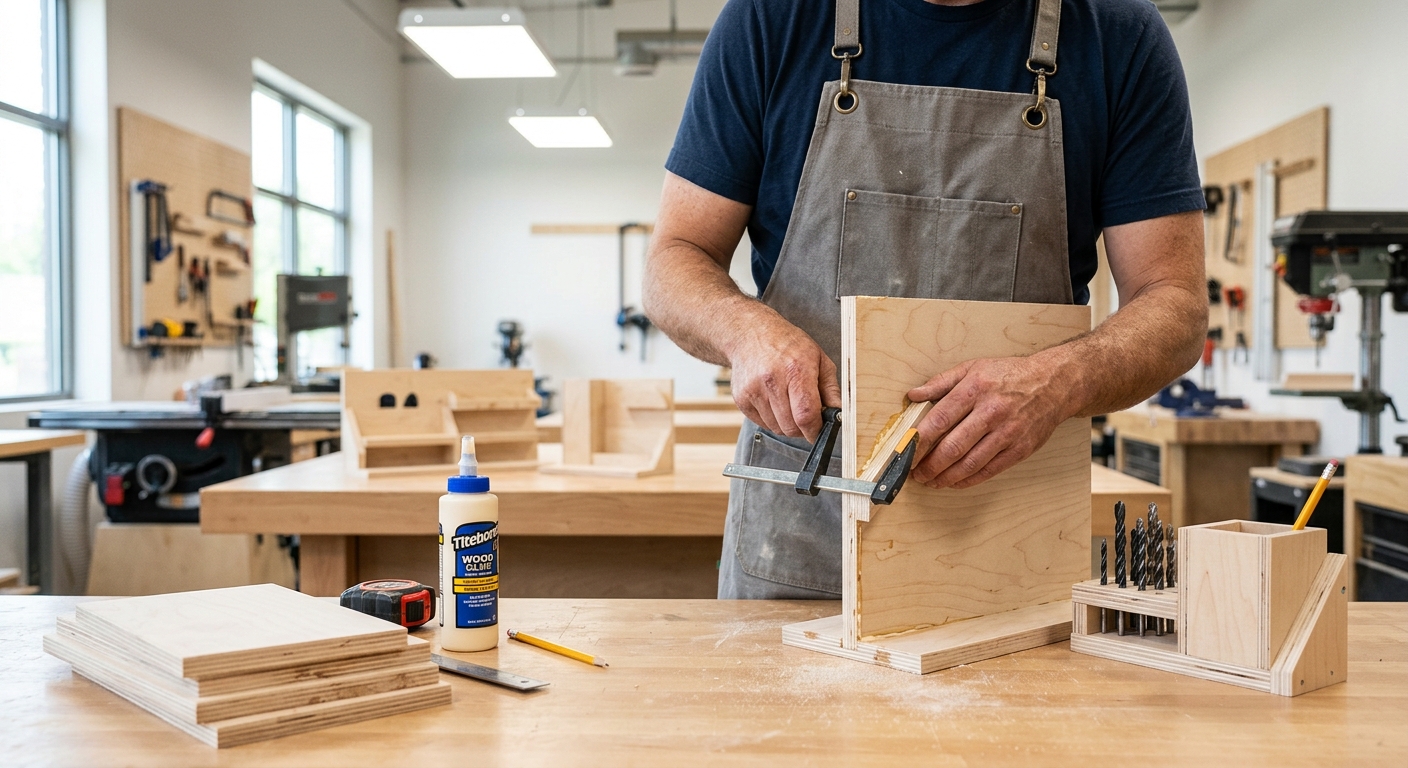
Start with three or four high-frequency items. A simple shelf is a plywood platform with a 45-degree mating cleat on its back face. A tool holder is a plywood strip with holes for tool handles. A power strip holder is a wooden bracket with a strip screwed to it. Each hangs in seconds. Build more holders as needs reveal themselves over months of work.
FAQ
Can I add the cleat system to an existing bench? Yes – screw a 3/4-inch plywood back panel to the wall behind any existing bench and add cleat strips to that panel. You don’t need to rebuild the bench itself.
Do the holders really hold securely? A single cleat pair into solid plywood backed by wall studs holds 50 to 100 pounds easily. The 45-degree hook geometry gets stronger under load – the more weight you put on, the more firmly it hooks.