Build a Level Storage Rack for Levels of All Sizes
Levels are awkward to store. A 4-foot level can’t go in a drawer. A 2-foot level doesn’t fit on a standard shelf without hanging off the edge. A torpedo level gets buried in a tool bag and takes five minutes to find when you need it. A wall-mounted level rack solves all of this with horizontal wall pegs that hold any size level in view, protected from impacts that damage the vials, and ready in seconds. This project takes less than an hour and costs nearly nothing from scrap materials.
Materials
- 1×4 or 1×6 board, 36 to 48 inches long
- 3/4-inch dowel rod, cut into 4-inch sections
- Wood glue
- Mounting screws
- Optional: foam pipe insulation for padding the pegs
Step 1 – Plan for Your Levels

Inventory every level you own: torpedo, 24-inch, 48-inch, 72-inch, 96-inch, or longer. For levels up to 4 feet, horizontal wall pegs work. For levels 6 feet and longer, mount the pegs closer together so the level doesn’t flex between support points. Allow at least 3 inches between levels so you can grab one without disturbing its neighbor.
Step 2 – Drill the Peg Holes
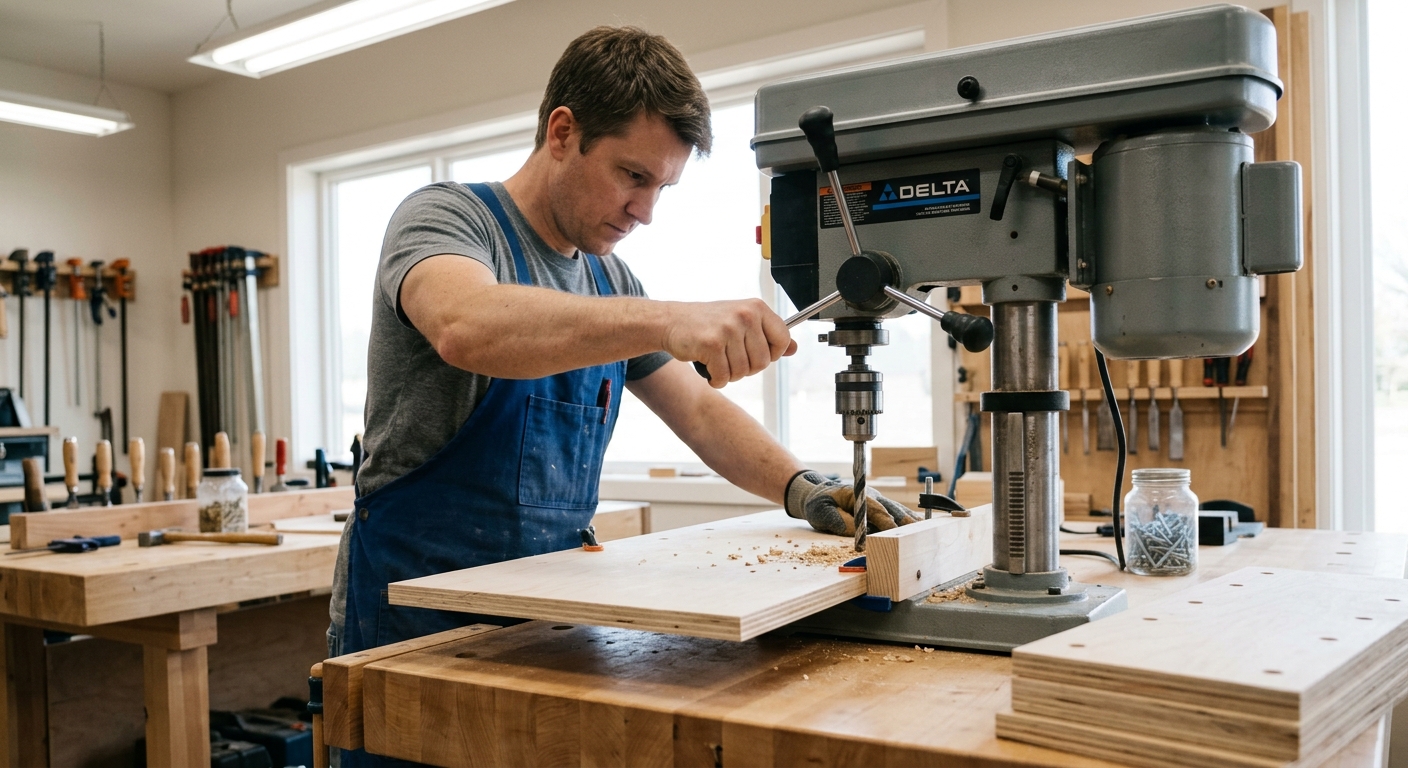
Mark peg positions on the board – two pegs per level, spaced to match the level’s length divided by two thirds. A 24-inch level works well with pegs at 4 and 20 inches (spacing the level one-third from each end). A 48-inch level needs pegs at 8 and 40 inches. Drill holes at a slight upward angle (10 degrees) so the levels can’t slide off the pegs accidentally.
Step 3 – Install the Pegs
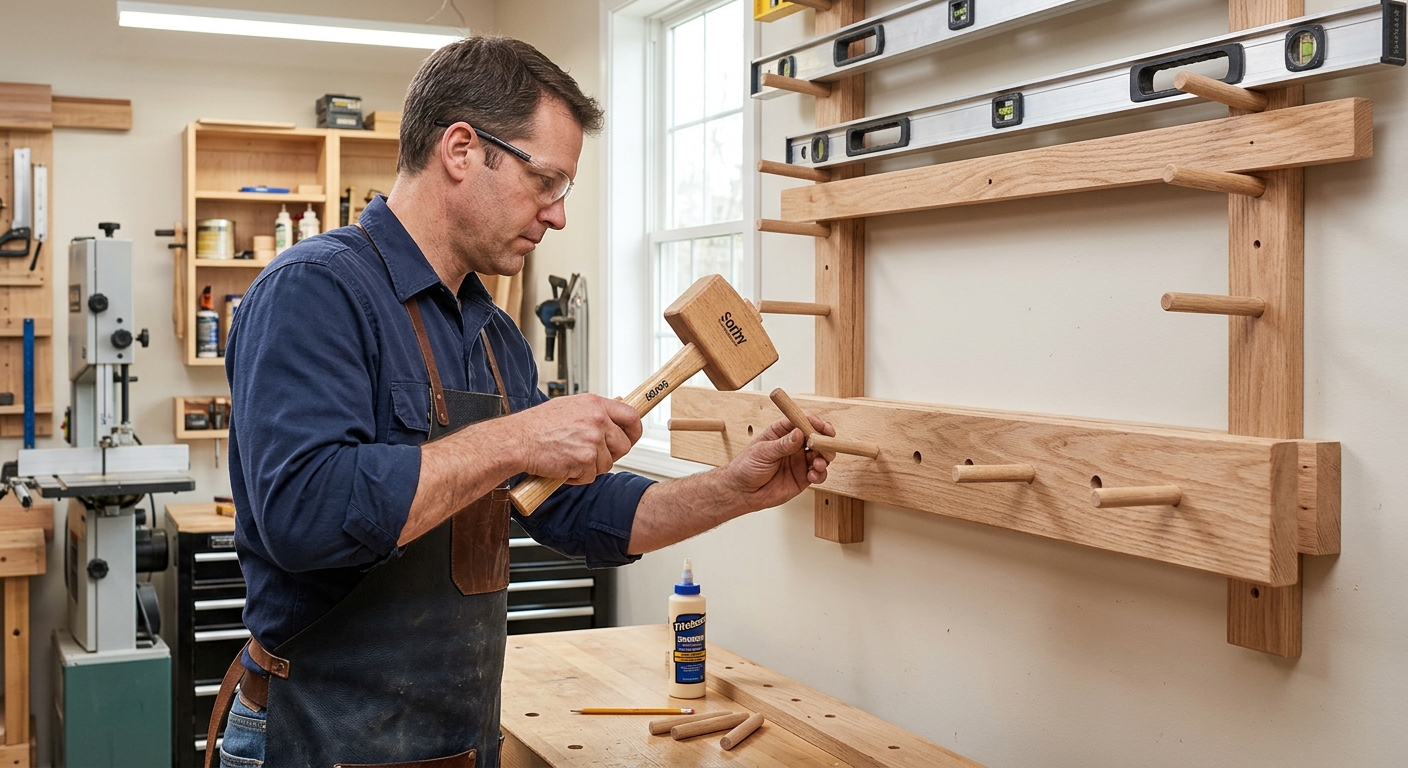
Apply wood glue to the end of each dowel and press it into its hole. Let the glue cure with the board lying flat so gravity doesn’t pull the pegs out during cure. When fully cured, test each peg by hanging a level on it and pushing sideways – it should feel solid without any wiggle.
Step 4 – Pad the Pegs (Optional)
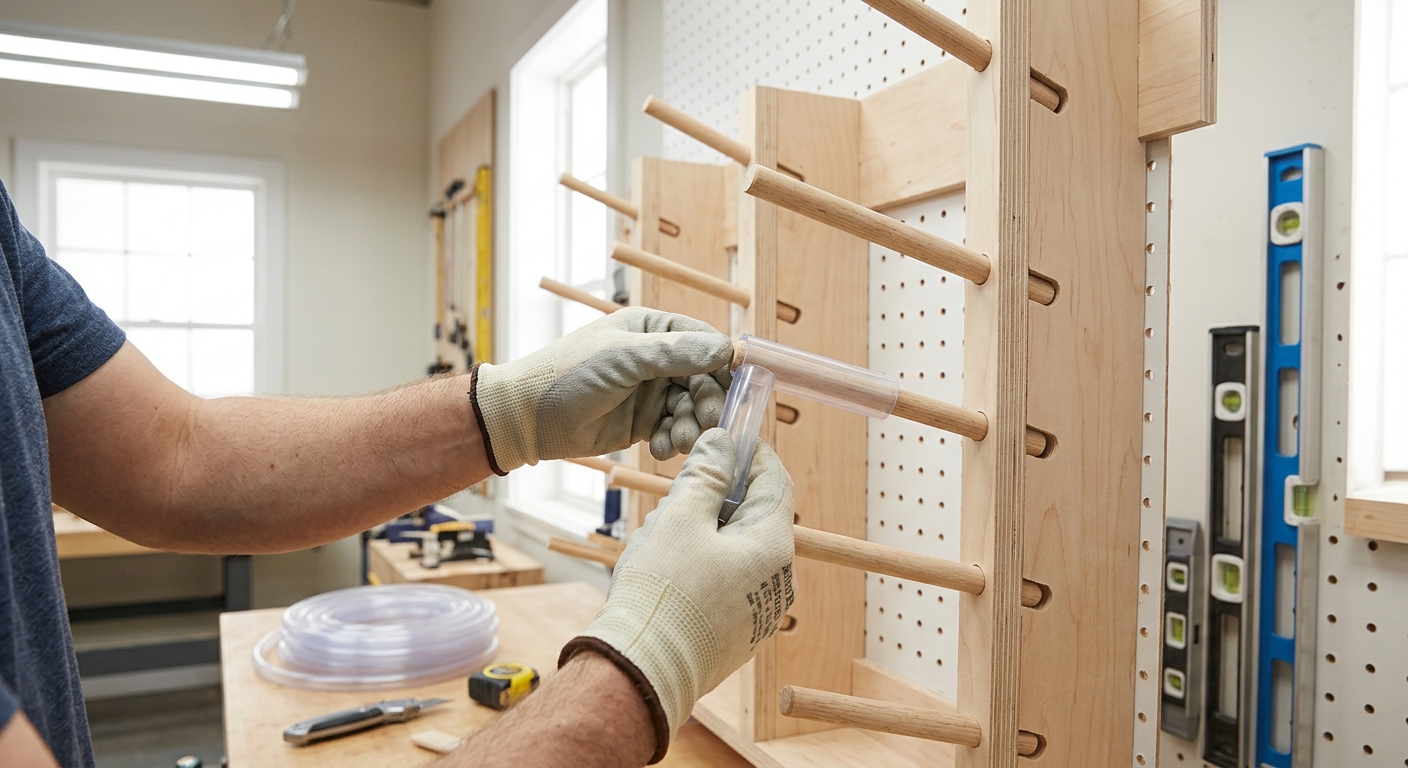
Foam pipe insulation (the type used for plumbing pipe, available at hardware stores) slides over the dowels and protects level surfaces from contact with bare wood. Cut 3-inch sections and slip them over each peg before mounting the board. This is especially worth doing if your levels have painted aluminum bodies that show scratches.
Step 5 – Mount the Rack
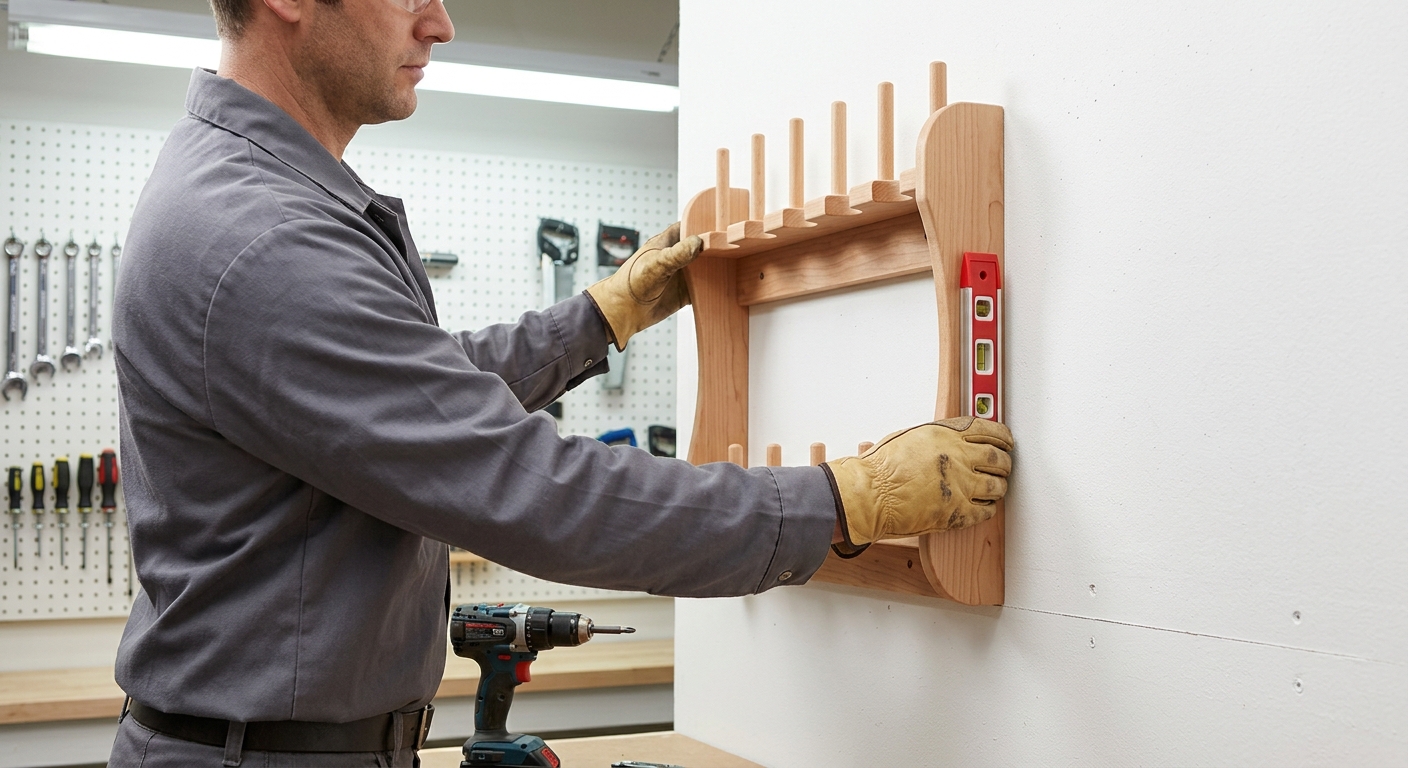
Mount the rack at a height where the longest level, when hung on its pegs, doesn’t contact the floor and the shortest level is easy to reach. For most shops with levels from torpedo through 4-foot, mounting at 36 to 48 inches from the floor puts all levels at comfortable reach height.
Pro Tips
- Mount the rack near the entry to the shop. Levels travel with you around the shop and often to other locations. Having them at the entrance makes it natural to grab them on the way to a task and return them on the way back.
- Add a torpedo level slot at the end of the rack – a short section of 1-inch PVC pipe mounted horizontally with the opening facing forward lets the torpedo level drop in and out with one hand.
FAQ
How do I protect the vials in my level?
Horizontal storage is kinder to vials than vertical storage. Don’t hang levels vertically from one end – this puts asymmetric stress on the vial holders over time. Horizontal wall pegs are the ideal storage orientation.
Can I store laser levels the same way?
Laser levels are better stored in their cases to protect the optics. A dedicated shelf or cabinet shelf for cases is better than a peg rack for these tools.