Build a Dedicated Lumber Rack Above the Workbench
Most shop lumber storage takes up floor space that machines and workflow need. A lumber rack built above the workbench uses space that’s already committed – the wall behind and above the bench is typically underused above the tool wall height. This project mounts a steel-arm or wooden-arm lumber rack on the wall above bench height, storing boards and sheet goods cutoffs vertically or at a slight angle where they’re out of the workflow but immediately accessible.
Materials
- Heavy-duty steel pipe flanges and nipples for horizontal arms, or
- 2×4 lumber for wooden arms and a 4×4 vertical post
- 3/8-inch lag bolts for wall mounting
- 1/2-inch plywood for a backing panel (if studs aren’t at ideal spacing)
Step 1 – Determine the Height and Reach
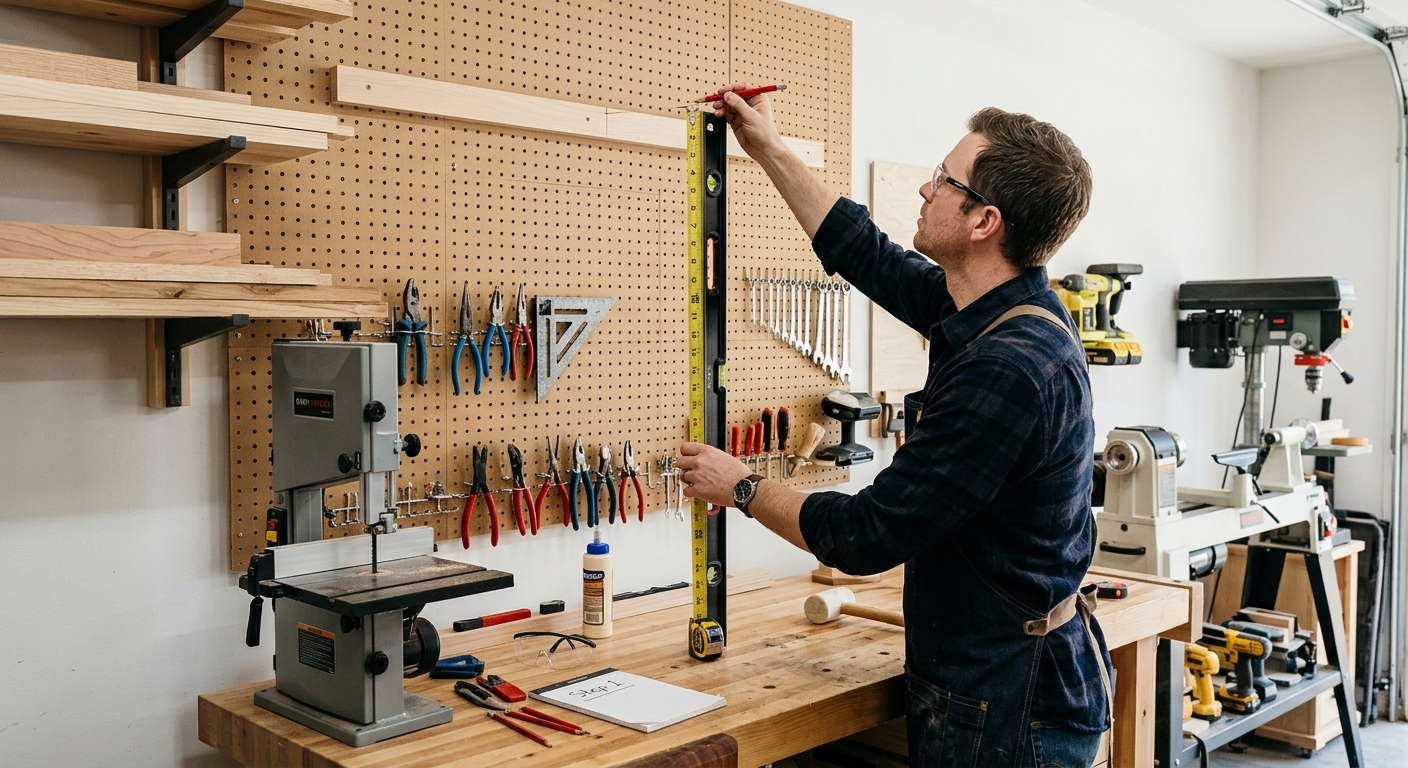
The bottom of the lumber rack should clear the tallest tool position on the wall above the bench by at least 6 inches, and clear your head by at least 12 inches (so you don’t hit the boards when standing at the bench). Typically this puts the rack bottom at 72 to 84 inches from the floor. The arms should project 12 to 18 inches from the wall to hold boards securely without protruding so far they interfere with working at the bench.
Step 2 – Build the Steel-Arm Version
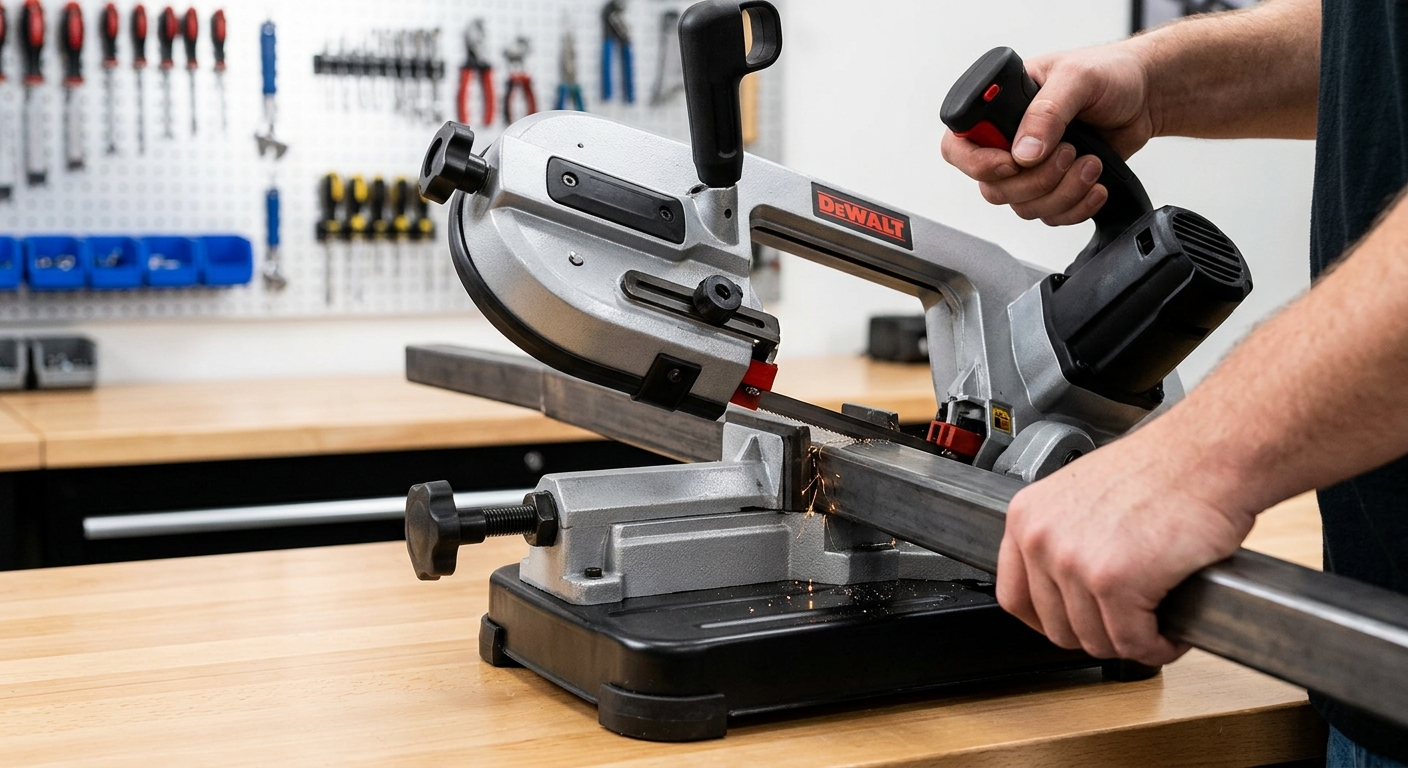
The simplest version uses 3/4-inch black iron pipe. Mount pipe flanges at stud locations, 24 to 36 inches apart vertically. Thread 12-inch pipe nipples into the flanges – these become the horizontal arms that support lumber. Space the arm levels 12 to 18 inches apart vertically, giving you three to five arm positions in the available height. Load boards onto the arms with the widest face vertical, up to 6 to 8 boards per arm level.
Step 3 – The Wooden-Arm Version
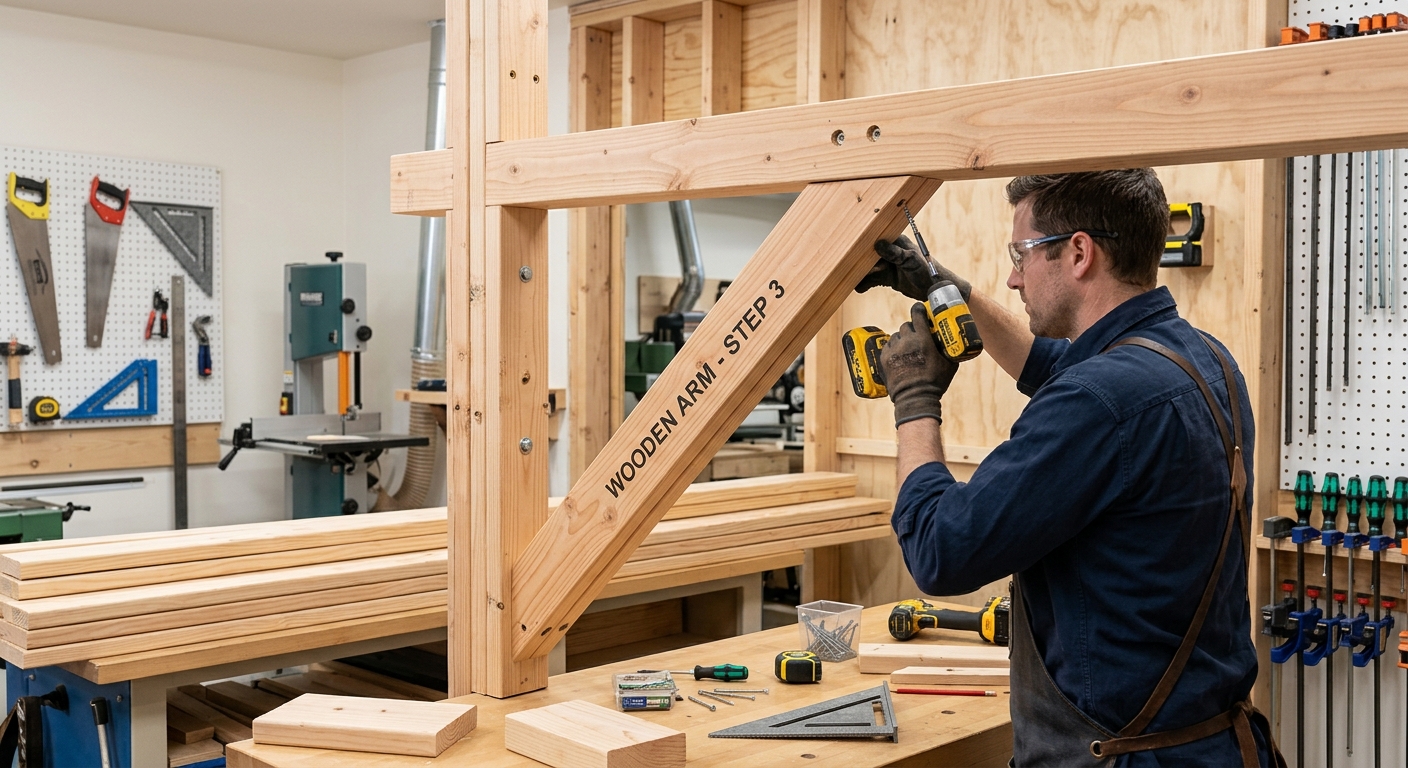
A simpler build uses 2×4 arms projecting from a vertical 4×4 post. Mount the 4×4 to the wall with lag bolts at top and bottom into studs. Attach 2×4 arms at 12-inch vertical spacing using lag bolts through the post. Angle the arms slightly upward (10 degrees) so lumber can’t slide off. The wooden version is less expensive than iron pipe and easier to modify.
Step 4 – Add a Stop at the Arm End
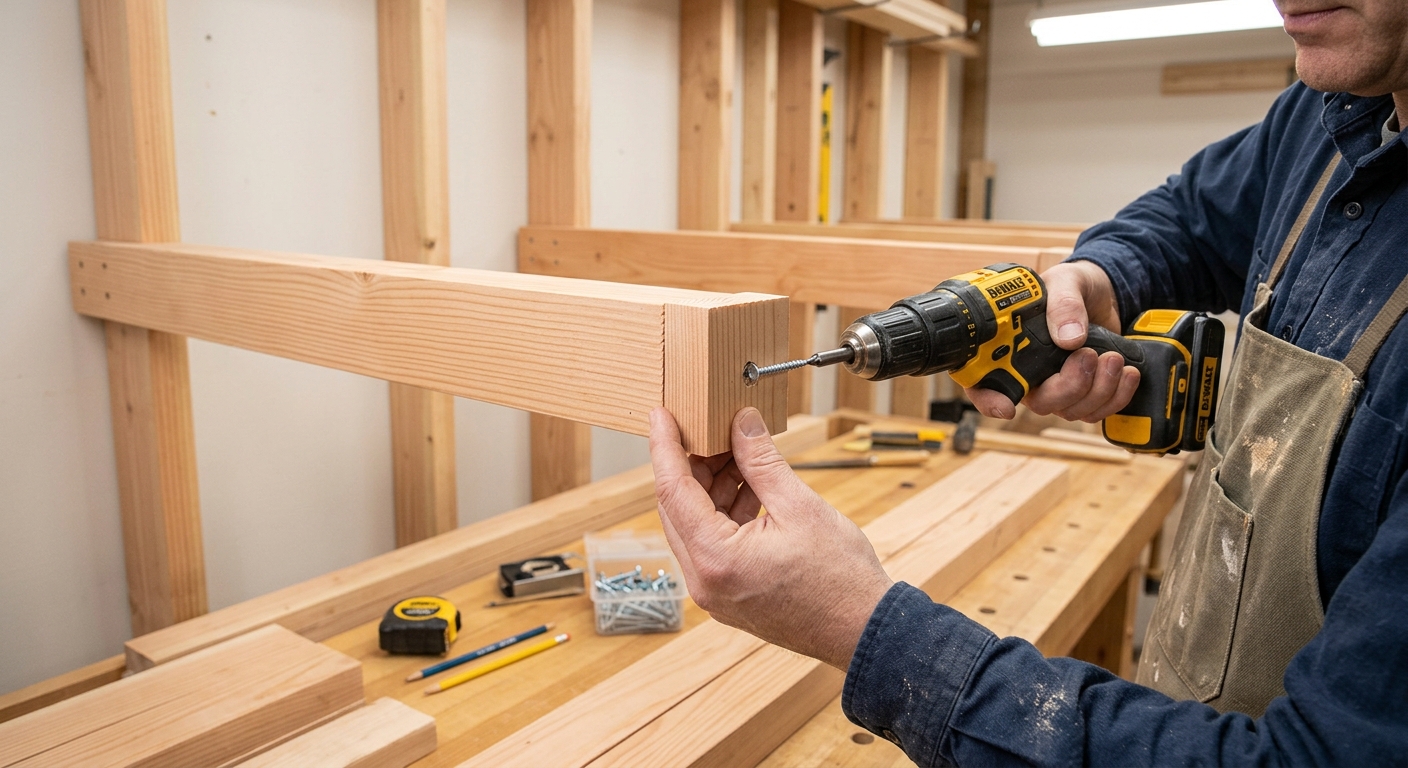
A short block of wood screwed to the underside of each arm at its end acts as a stop that prevents boards from sliding off when you’re retrieving pieces from the middle of the stack. This is especially important for the wooden-arm version where the arms are smooth and boards slide more readily than on rough pipe.
Pro Tips
- Store lumber by species and thickness, not randomly. When you need a specific piece, knowing which arm level holds your 8/4 walnut versus your 4/4 cherry saves significant searching time.
- Use a lumber crayon or chalk to mark each board’s species and thickness on the end grain when it goes on the rack. End grain is always visible when boards are stored this way.
FAQ
How much weight can a wall-mounted lumber rack hold?
A properly mounted rack with lag bolts into two studs per arm level can hold 200 to 400 pounds per level, depending on arm length and mounting hardware. Three levels gives you 600 to 1,200 pounds of total capacity – more than enough for a home shop lumber inventory.
Is it okay to store green lumber on the wall rack?
Yes, but use stickers (thin strips of wood) between layers to allow airflow, and check it periodically for checking (splitting as it dries). Green lumber that’s being dried in the shop needs airflow to dry evenly – on the rack without stickers, the surfaces in contact will dry at different rates and the board may distort or check.