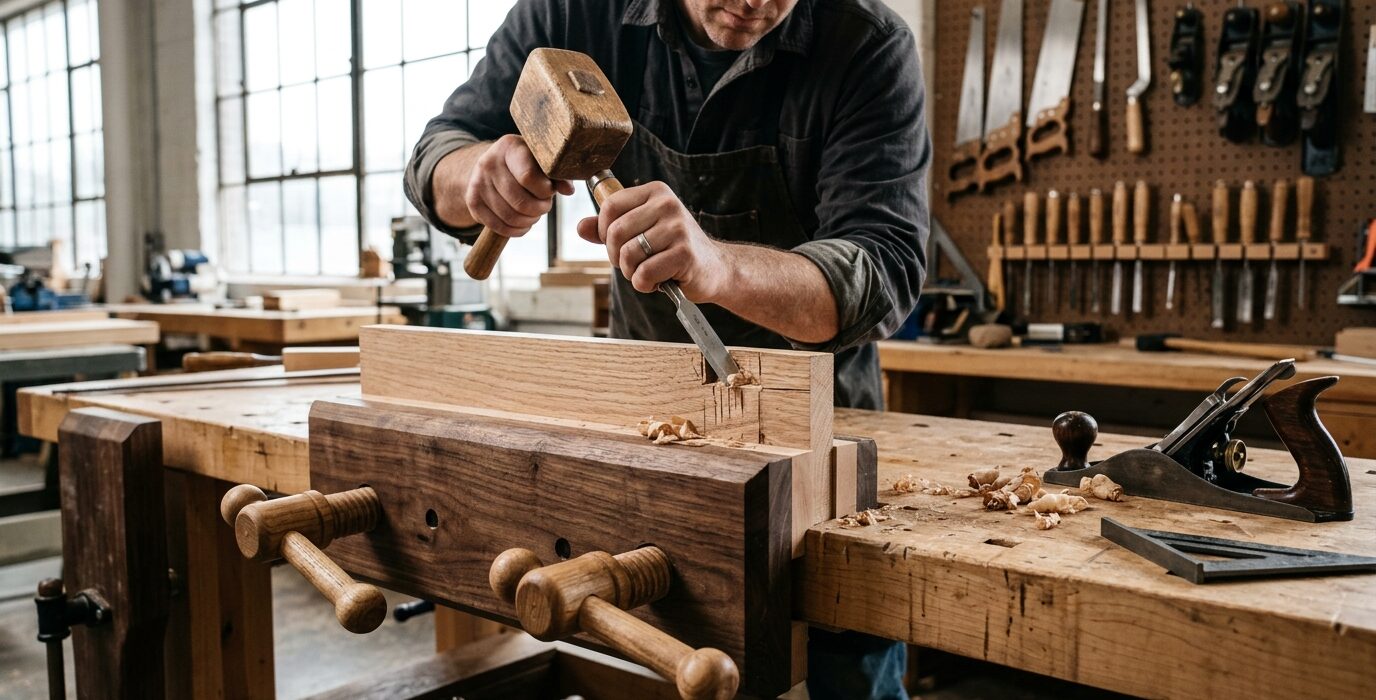
A Twin-Screw Vise for Hand Tool Work
The Moxon vise is a portable twin-screw face vise that clamps to the front edge of any workbench. Store it on the wall, clamp it on when you need it. The twin screws give wide, parallel clamping across boards up to 18 inches wide. It raises the work above the bench surface – ideal for sawing dovetails and paring work at eye level. This is one of the most useful and easiest vises a woodworker can make.
Materials
- Two pieces of 8/4 hardwood (oak, ash, or maple): 5 inches wide x 24 inches long
- Two wooden vise screws with handles: 1-inch diameter thread
- Two corresponding threaded inserts
- Finishing oil and paste wax
- Two F-clamps or holdfasts to attach to the bench
Step 1 – Mill the Jaw Blanks Flat
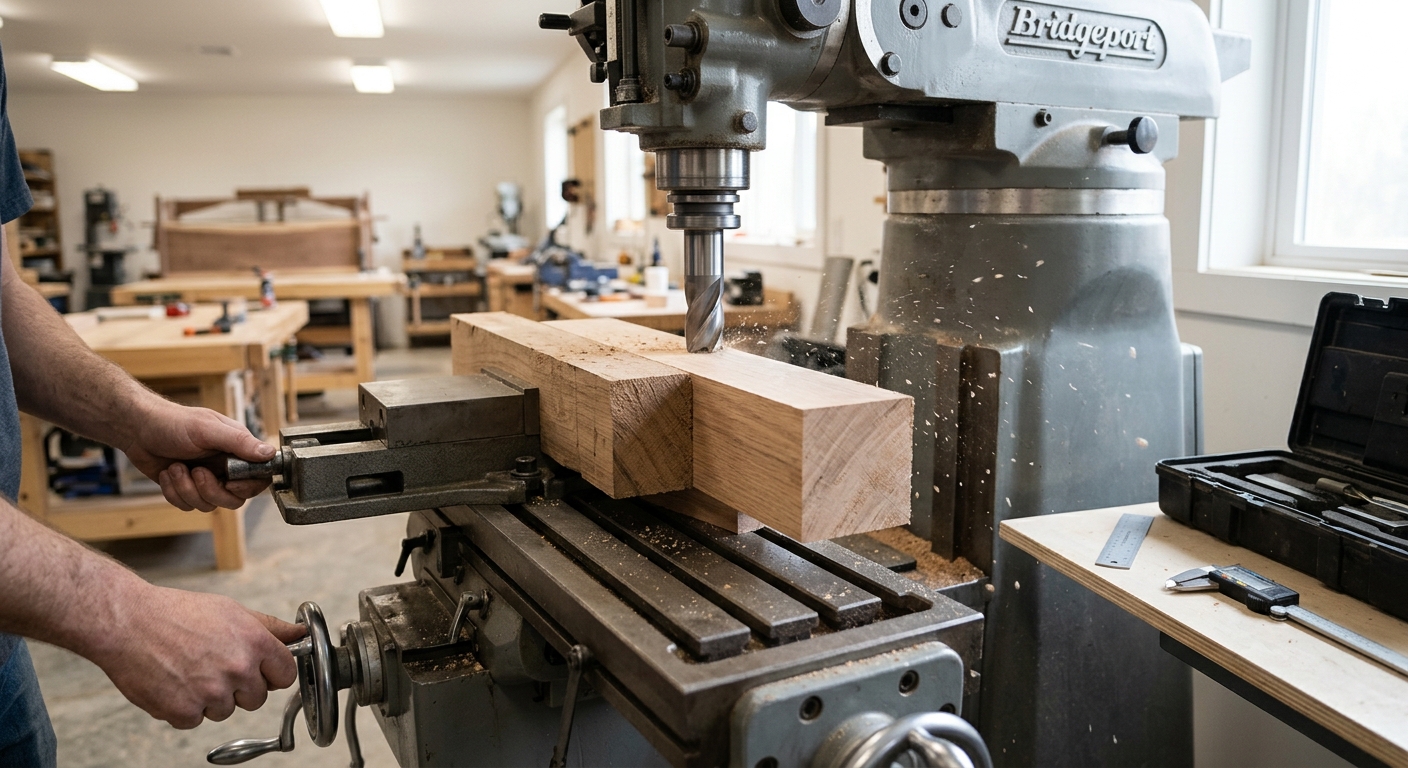
Both jaw pieces must be perfectly flat and square, especially the inside faces. Joint and plane each piece, verifying flatness with a reliable straightedge. Mark the inside face before drilling to avoid confusion during assembly.
Step 2 – Lay Out the Screw Holes
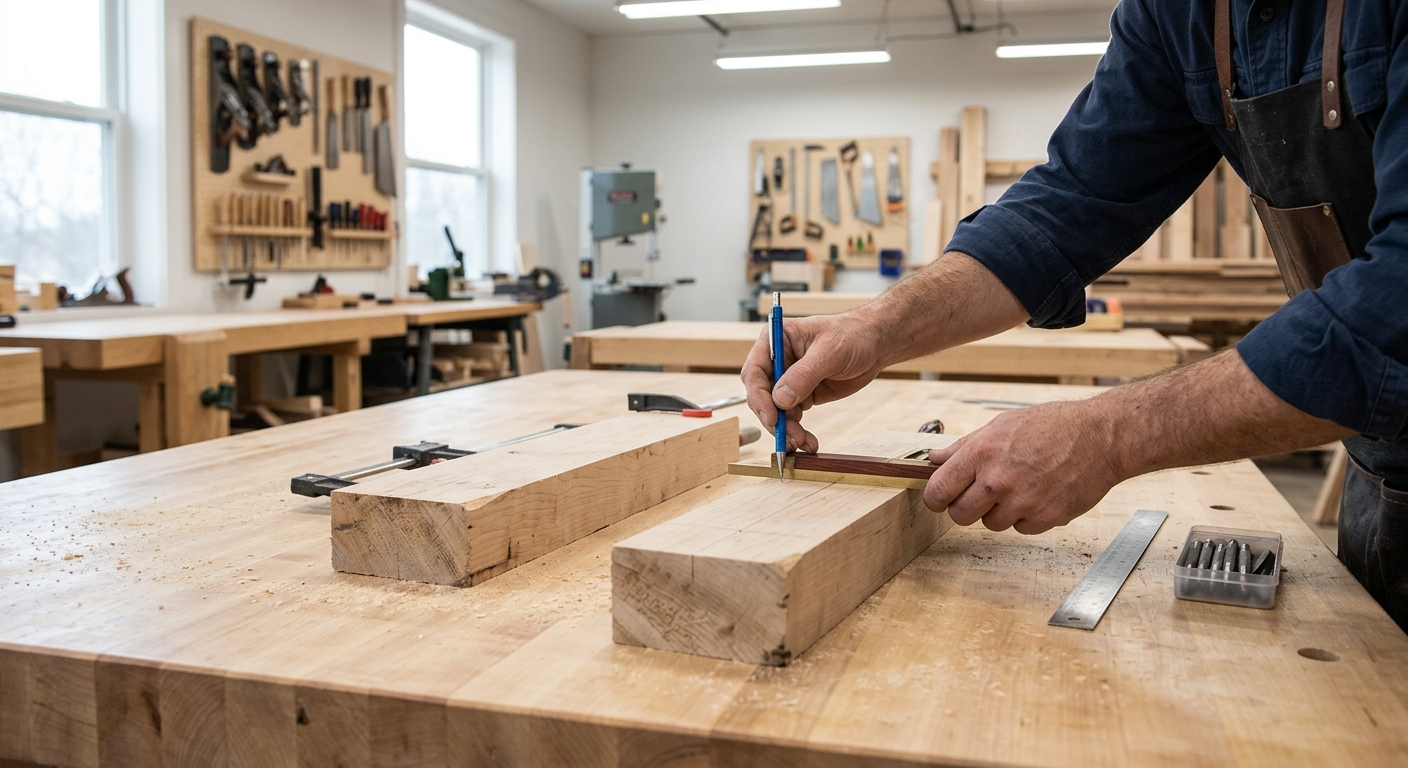
Mark identical hole positions in both jaws – 14 to 16 inches apart, centered on the jaw length and height. Stack the jaws and mark through both at once to guarantee perfect alignment between them.
Step 3 – Drill the Holes
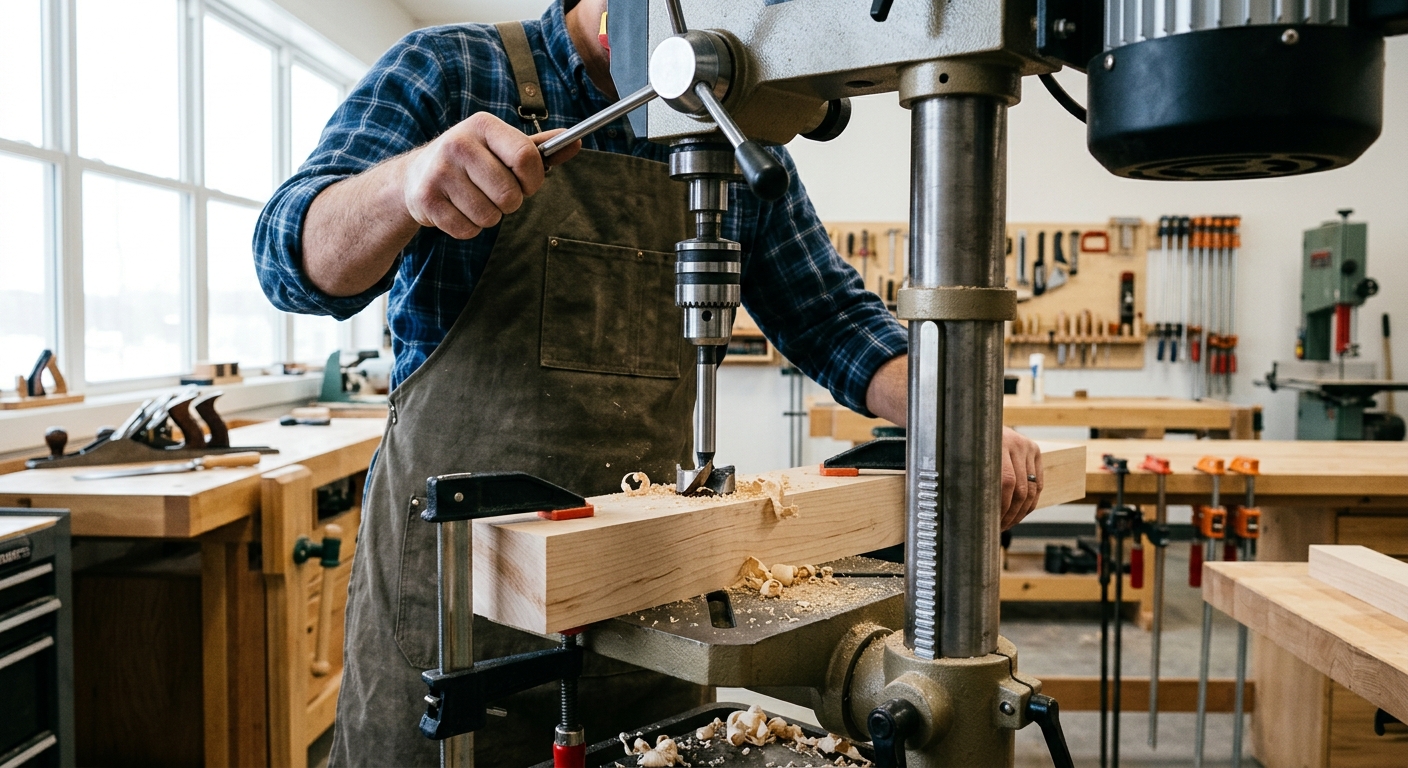
In the front (moving) jaw, drill a clearance hole for the screw body. In the rear (fixed) jaw, drill a smaller hole to accept the threaded insert. Use the drill press for both – these holes must be square to the jaw face or the screws will bind when tightening.
Step 4 – Install and Cure the Inserts
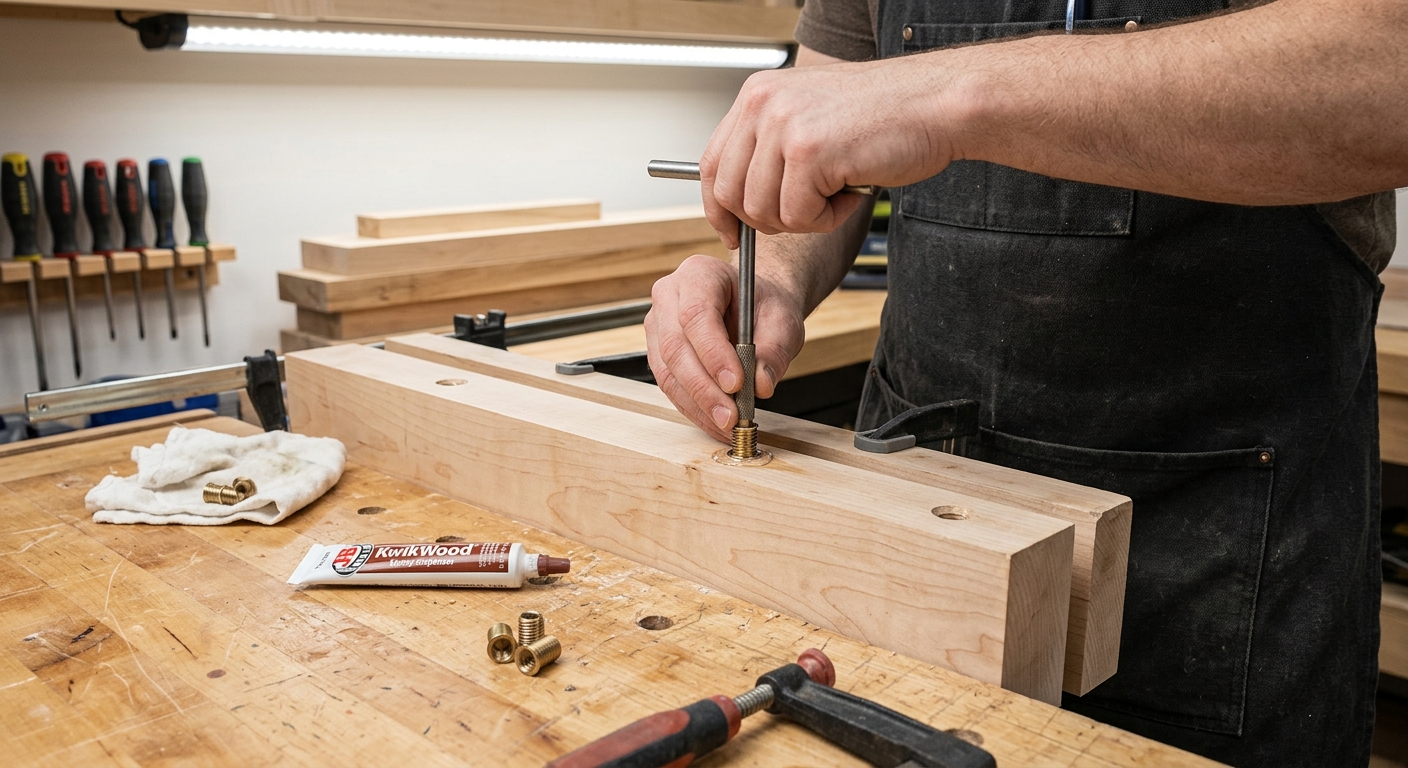
Epoxy the threaded inserts into the rear jaw. Allow a full 24-hour cure before threading the screws through. Rushing this step results in inserts that spin or pull loose under load.
Step 5 – Assemble and Test
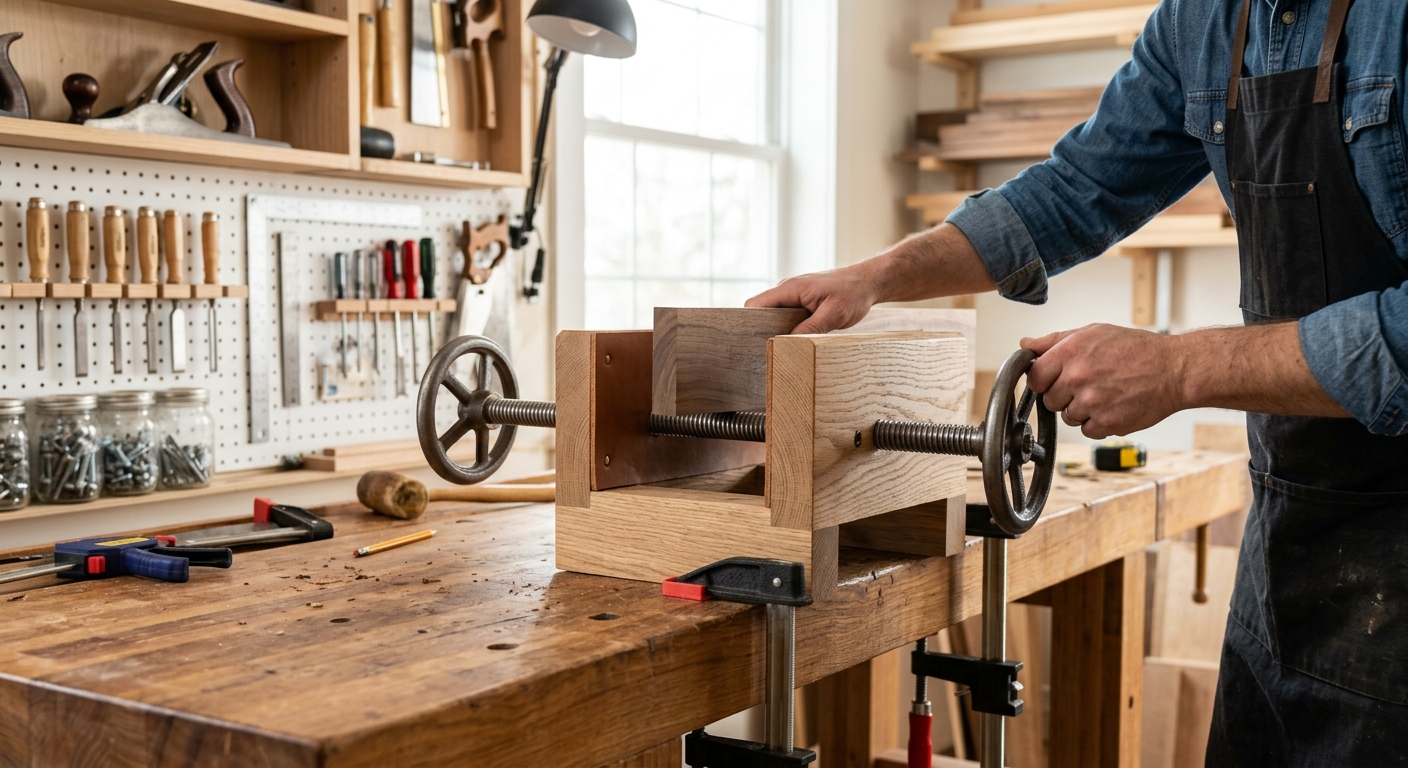
Thread the screws through the front jaw and engage the inserts in the rear jaw. Both screws should turn smoothly and draw the jaws together in parallel. Attach wooden handle wheels. If a screw binds, check insert alignment and ream the clearance hole slightly.
Using the Moxon Vise
Clamp the rear jaw over the front edge of your bench with F-clamps. The work sits in the vise jaws elevated above the bench surface – perfect for dovetail sawing and paring. Apply paste wax to the screw threads monthly for smooth, effortless operation.
FAQ
Can I use metal vise screws? Yes – commercial all-thread rod and wooden hand wheels work. The authentic design uses wooden screws and is a pleasure to use, but the function is identical with metal screws.
How do I store it? Two large wooden pegs or screws in the wall above the bench – the vise hangs from them and takes almost no space.