
A Plane Till for Wall Storage
A plane till is traditional workshop wall storage specifically designed for hand planes. Unlike hooks or open shelves that can damage plane soles or allow planes to fall, a till supports each plane at an angle with the sole against a padded rail, keeping the cutting iron elevated and the plane secure. It’s the right storage for a collection of planes and takes less than an afternoon to build.
What Makes Plane Storage Different
Hand planes are expensive, precision tools with delicate cutting irons. Good storage must:
- Keep the cutting iron from contacting the storage surface (which dulls the edge over time)
- Prevent planes from falling or being knocked over – a falling plane can damage the iron or the sole
- Allow the planes to be seen and accessed quickly, in size order
- Keep planes dust-free when not in use
Materials
- 3/4-inch plywood or solid wood for the main till panel
- Scrap hardwood for the support rails and retaining strips
- Felt or cork to line the rails
- Screws and mounting hardware
Step 1 – Build the Back Panel

The till’s back panel is a plywood panel that mounts to the wall. Size it to hold your current plane collection with room for a few additions. A typical till for 6 to 10 planes runs about 24 inches wide and 18 inches tall. The back panel becomes the mounting surface for all the rail components.
Step 2 – Install the Lower Support Rail
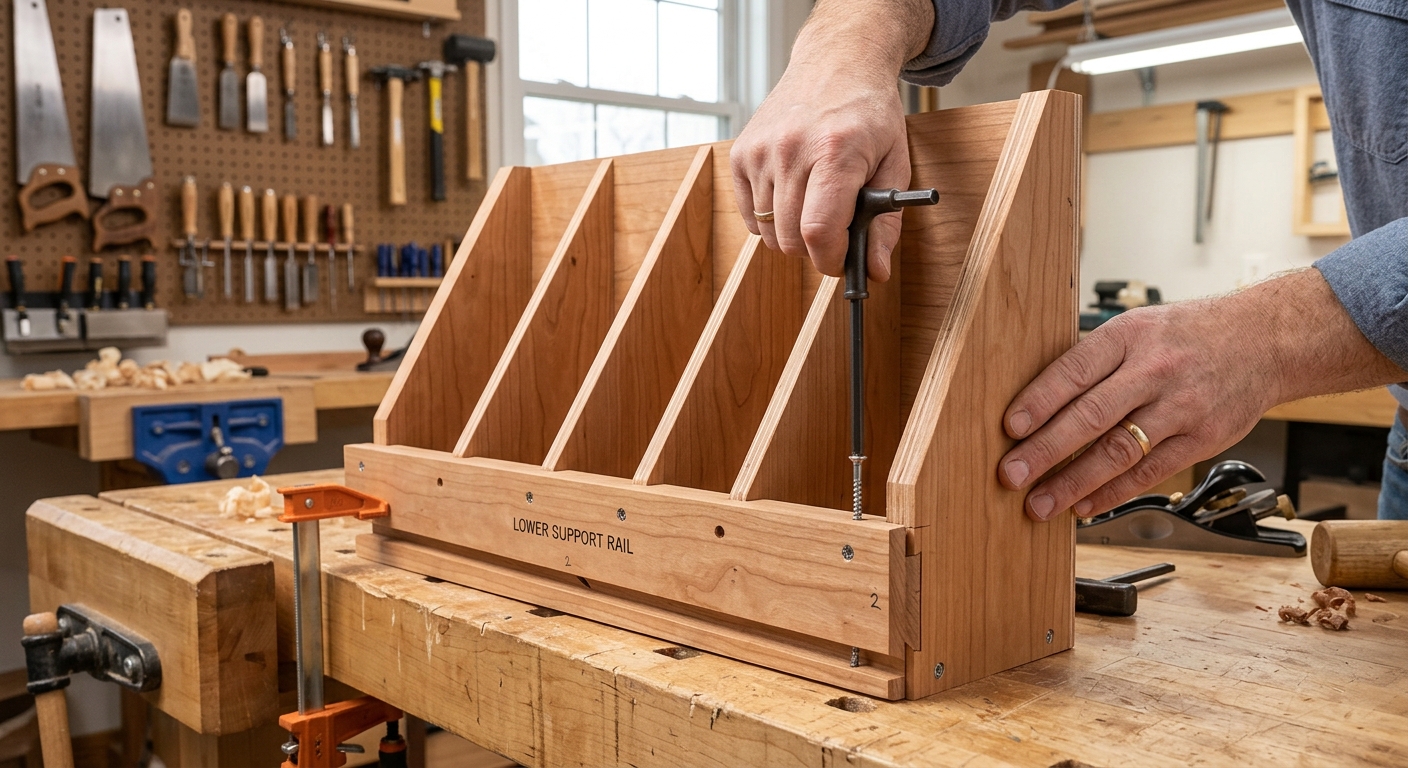
The lower rail is a horizontal strip of wood near the bottom of the till, set at an angle (about 10 degrees from horizontal, tilted back toward the wall). The plane body rests on this rail with the front of the plane facing down and the back elevated. Line the rail with felt or cork to protect the plane bodies from scratching.
Step 3 – Install the Upper Retaining Strip
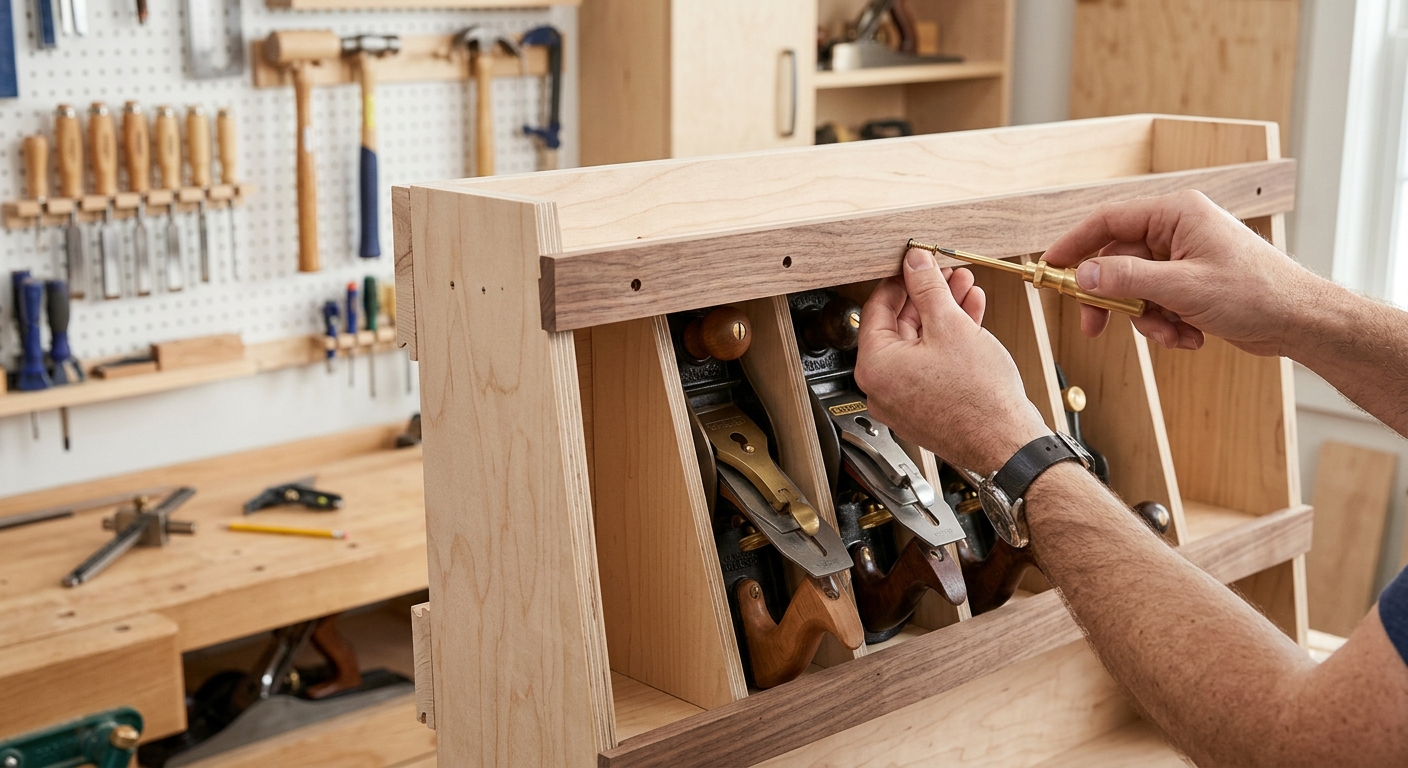
The upper retaining strip sits above each plane at the heel (rear) end, preventing the plane from tipping forward. This strip can be a simple horizontal piece of wood running the full width of the till, or individual wooden fingers that drop in front of each plane. The strip should engage the plane body, not the iron or the mouth opening.
Step 4 – Size the Spacing for Each Plane
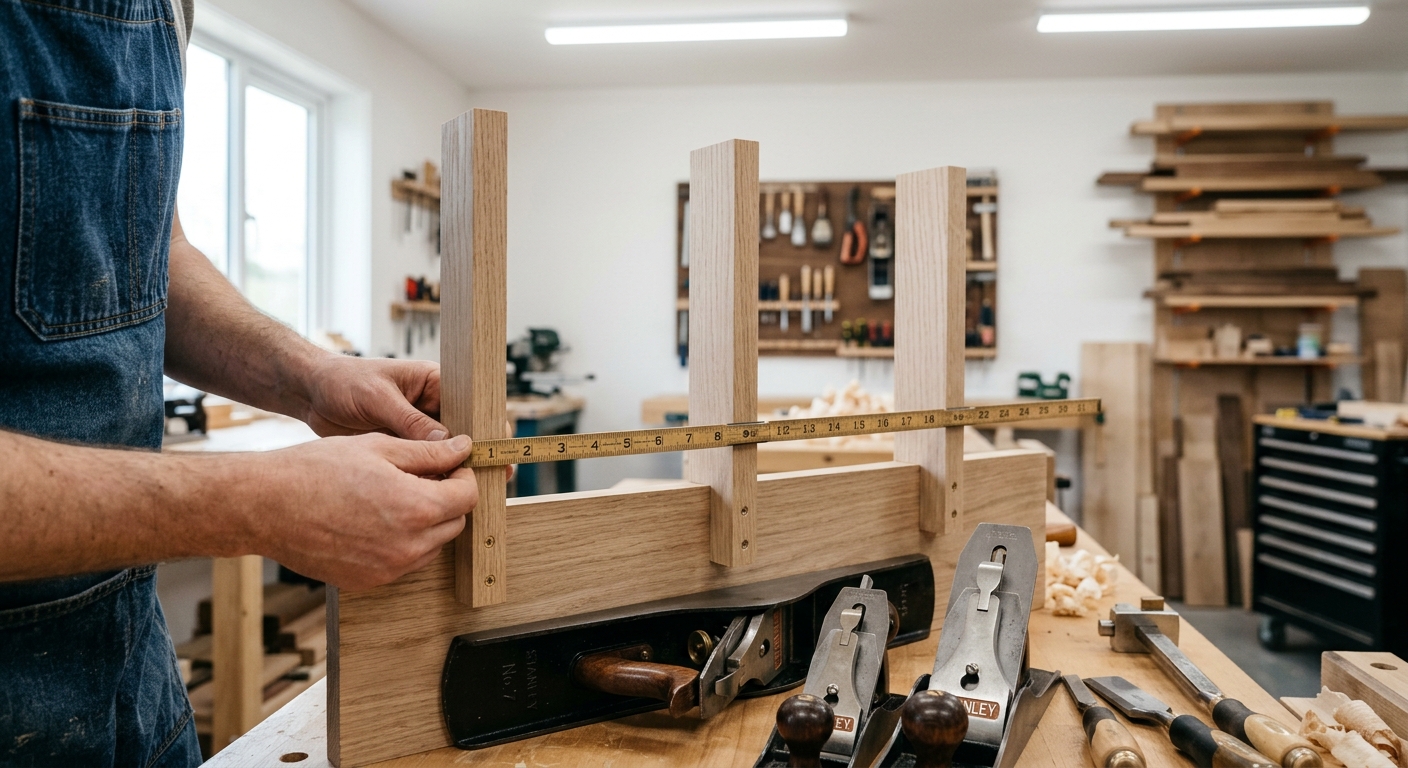
Planes vary significantly in width. A No. 4 smoothing plane is about 2.5 inches wide; a No. 7 jointer plane is 2.75 inches wide. Space the planes 3 to 4 inches apart along the till for comfortable access. Arrange from smallest to largest in one direction – this makes finding the right plane intuitive.
Step 5 – Mount and Load

Mount the till to the wall with lag screws into studs. A loaded plane till is quite heavy – 6 to 10 planes can weigh 30 to 60 pounds. Engage at least two studs. Load the planes in order and verify each one sits securely on the lower rail and is retained by the upper strip.
FAQ
Should planes be stored with the iron retracted? Retract the iron slightly from the set cutting position before storing. This relieves tension on the chipbreaker screw and the iron adjustment mechanism. The iron can still be stored in the plane – you don’t need to remove it.
Can I store a plane until in a closed cabinet? Yes – a plane till inside a closed cabinet is the best of both worlds. The till provides proper plane positioning and the cabinet doors keep out dust and humidity.