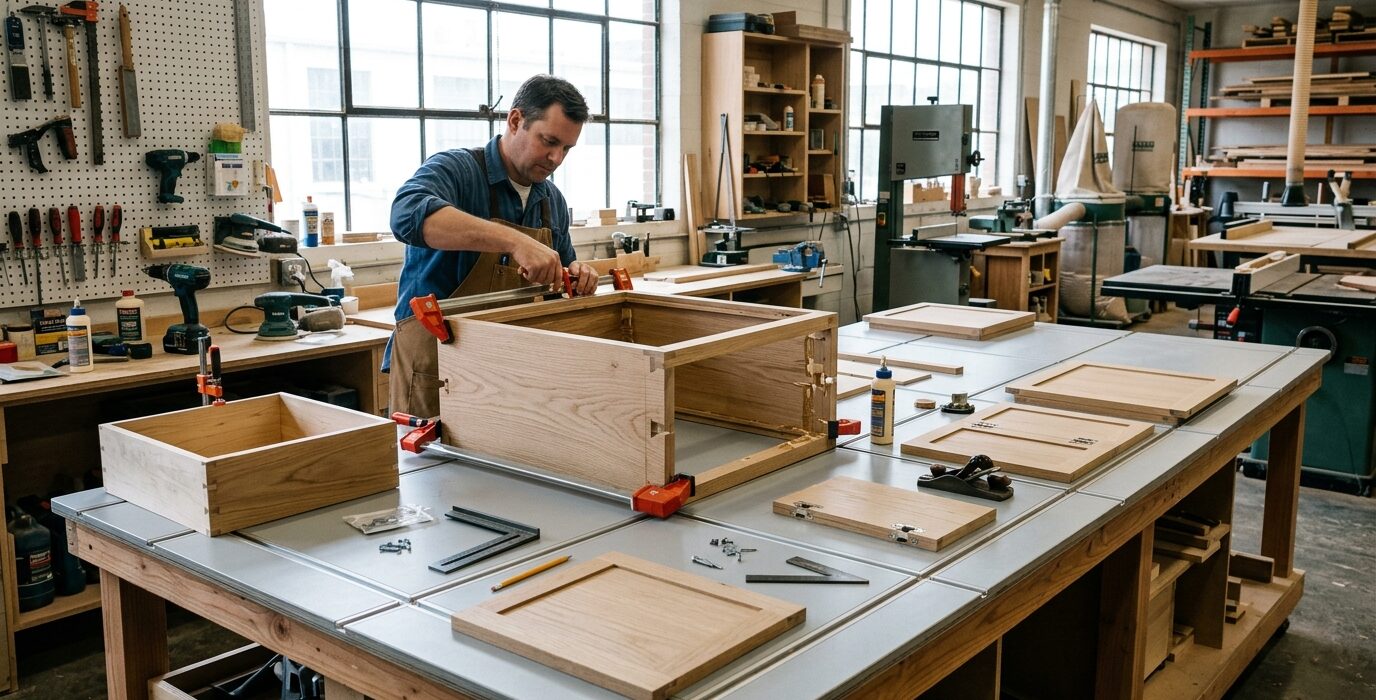
A Flat Surface for Gluing and Assembling Everything
A plywood assembly table is one of the highest-return builds in any shop. It provides a large, flat surface specifically for gluing up panels, assembling cases, and temporarily holding work during layout. At 32 x 60 inches, it handles full panel sections. Built from 3/4-inch plywood and 2×4 framing, it takes one weekend and costs under $150.
Materials
- One sheet of 3/4-inch plywood for the top
- 2×4 lumber – 30 linear feet for the base
- 1/8-inch hardboard for the sacrificial surface
- Four locking swivel casters
- Wood screws and construction adhesive
Step 1 – Build the Base Frame
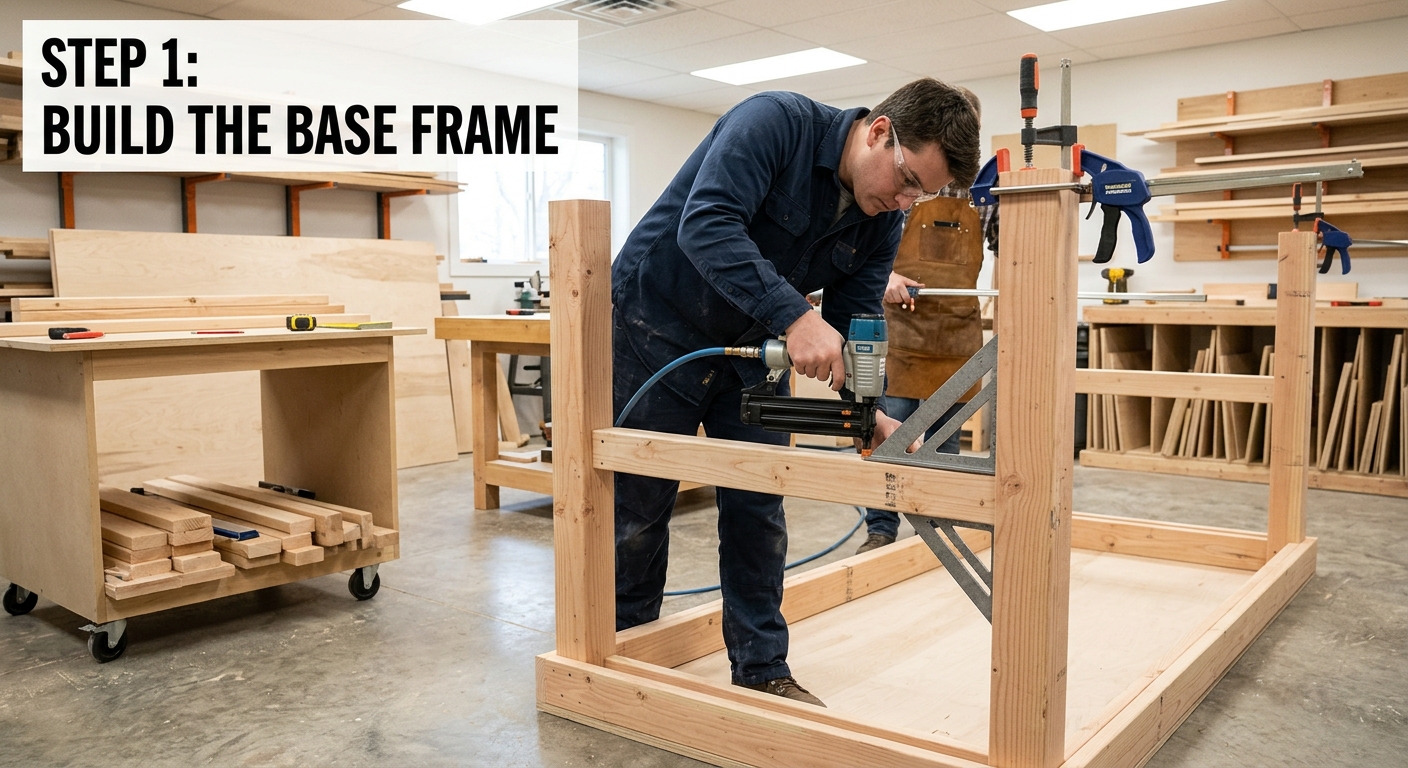
Build a rectangular 2×4 base at 32 to 34 inches tall (slightly lower than a standard workbench helps during assembly when you need to lean over the work). Add a center rail running the length of the table for additional support under the top panel. Check for square constantly during assembly – a racked base creates an uneven top.
Step 2 – Attach the Top
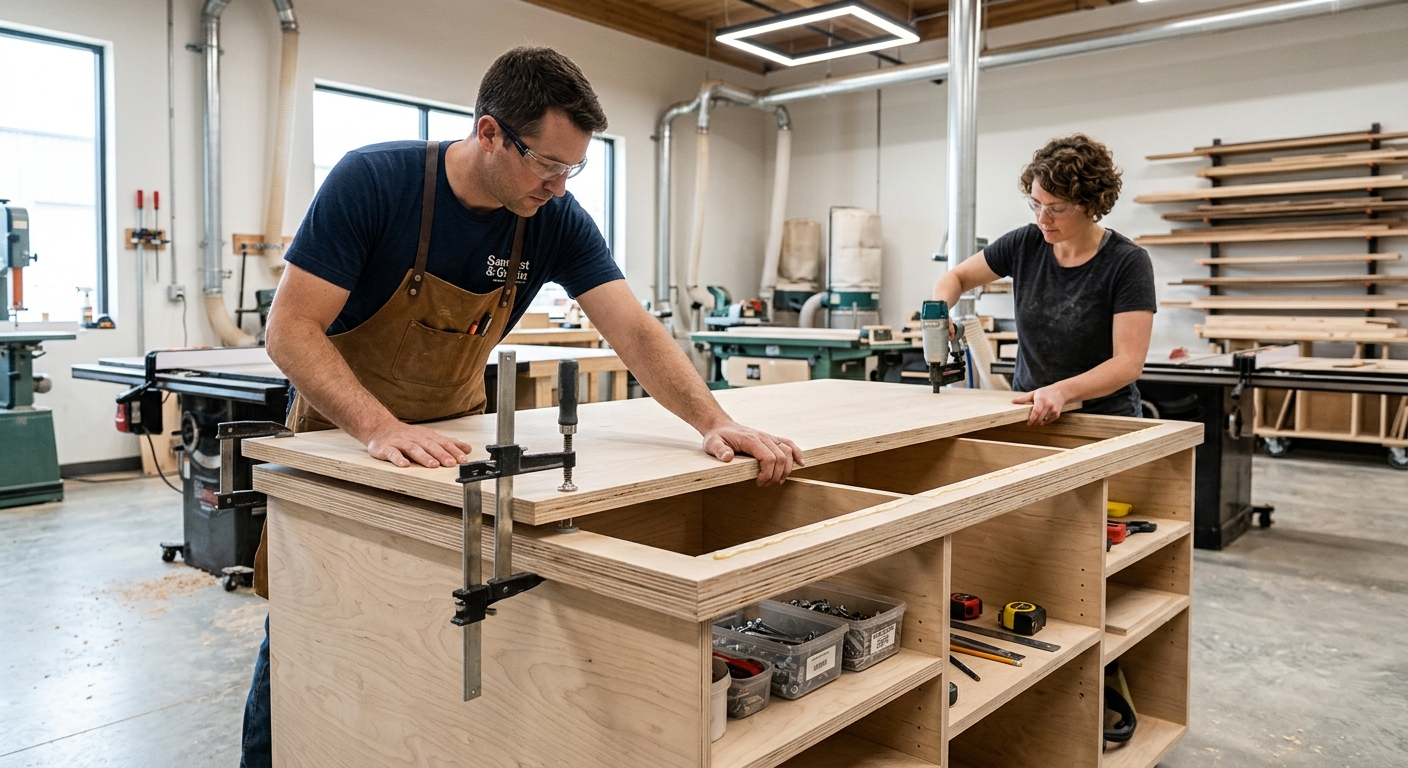
Cut the 3/4-inch plywood top to your target size. Screw it to the base frame from underneath, countersinking the screws and keeping them out of the working area. For a stiffer top, laminate a second layer of 3/4-inch plywood with construction adhesive and screws.
Step 3 – Apply the Sacrificial Surface
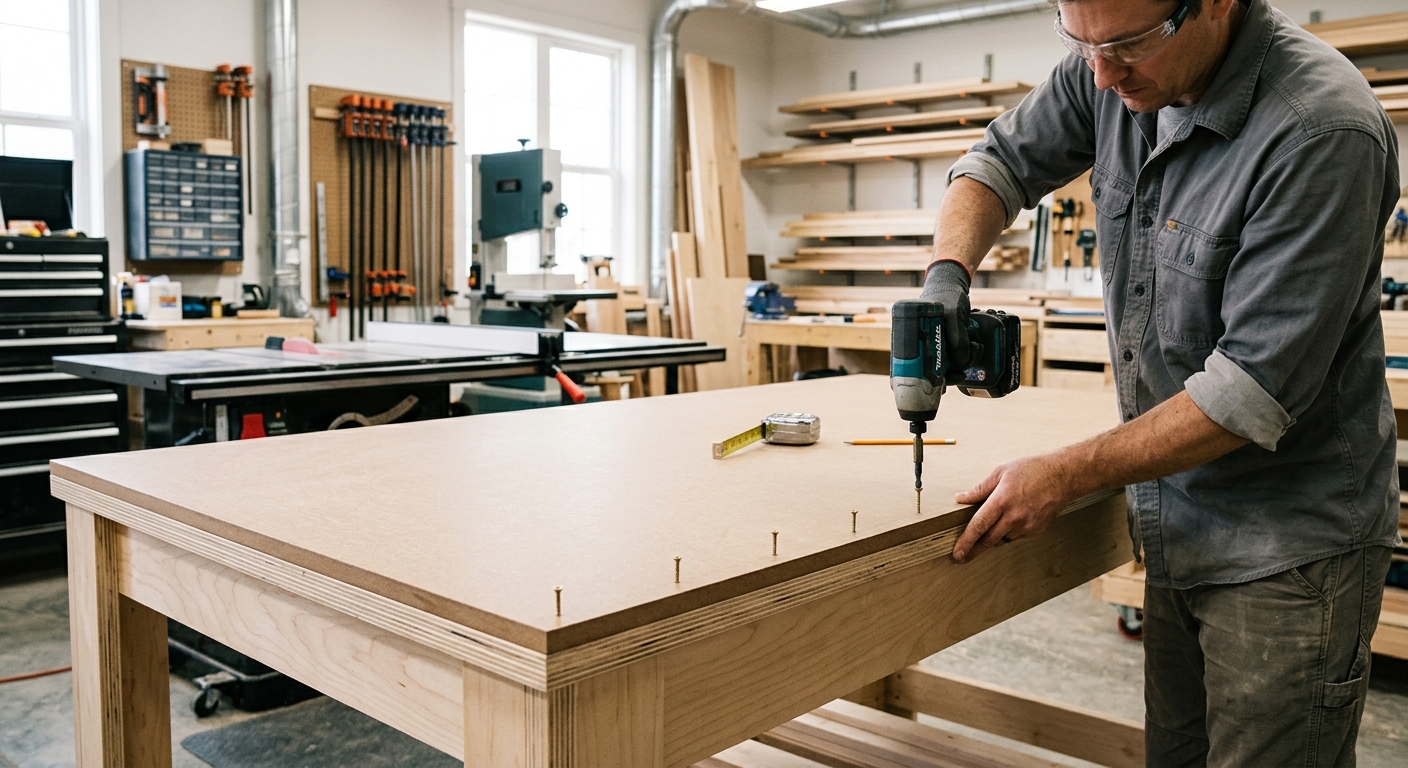
Glue a sheet of 1/8-inch hardboard to the top with construction adhesive. Weight it flat until cured. This hardboard is your actual work surface – what gets glue, finish, and dents on it. Replace it every year or two as needed. The plywood substrate underneath lasts indefinitely.
Step 4 – Add Casters and Shelf
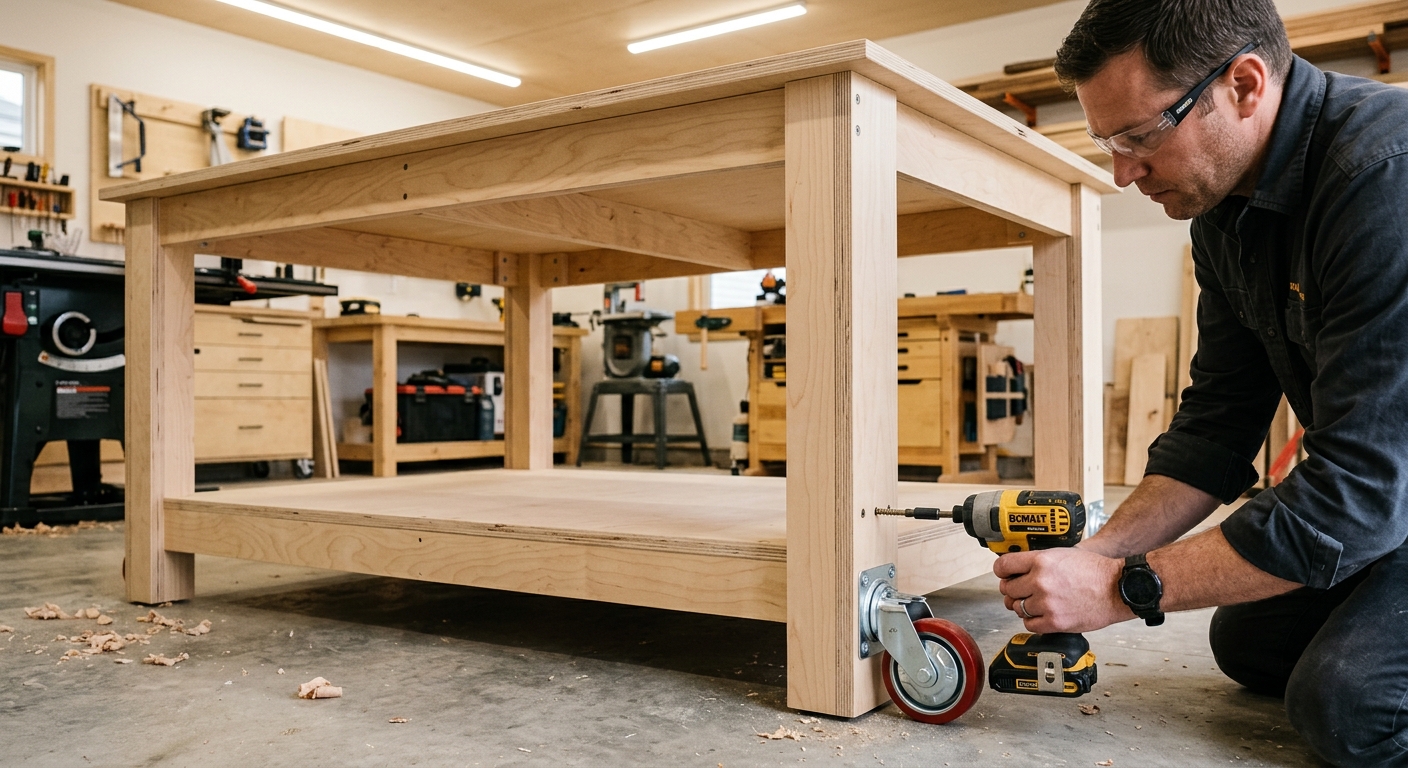
Bolt four locking casters to the base legs. Add a plywood shelf 12 to 16 inches above the floor inside the base – this holds clamps, cauls, glue, and hardware. Apply paste wax to the hardboard work surface so dried glue releases cleanly.
Making the Most of the Assembly Table
- Draw a 6-inch reference grid in permanent marker for checking squareness during glue-ups
- Keep dedicated assembly clamps stored on the shelf below
- Wipe with mineral spirits after each glue-up to prevent squeeze-out buildup
- Store caul boards under the table labeled by size
FAQ
Do I need this if I already have a workbench? If your workbench is large enough and you don’t mind glue on it, a separate table is optional. But in practice, a dedicated flat surface at the right height for assembly dramatically speeds up glue-ups and reduces mistakes.
What’s the right height for an assembly table? Slightly lower than your workbench – 32 inches is common. You’ll lean over the surface frequently during assembly, and a lower table makes it easier to apply downward pressure on clamps.