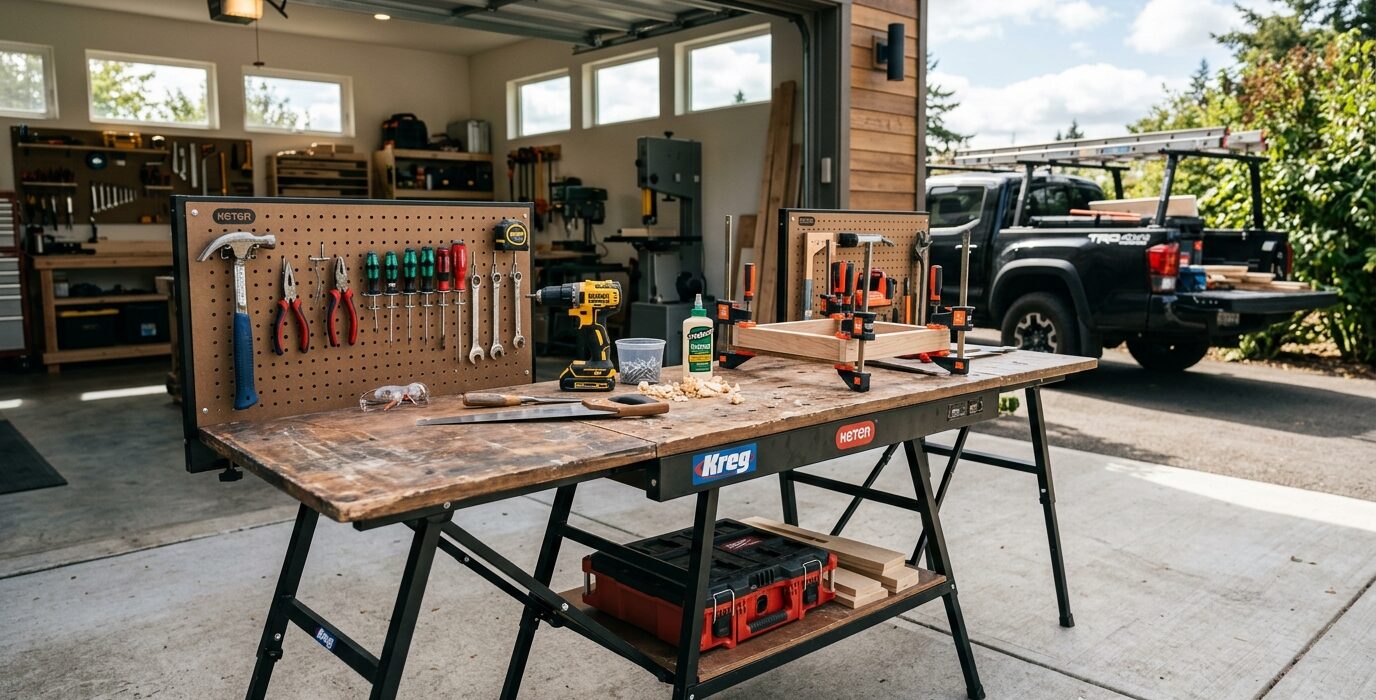
A Job Site Bench That Goes Anywhere
Job site work demands a stable, portable work surface that sets up fast and breaks down fast. The ideal portable workbench folds flat for transport, assembles in two minutes, holds a vise, and is stiff enough for hand planing and clamping. This build weighs under 40 pounds and fits in any pickup bed or SUV cargo area.
Materials
- 3/4-inch Baltic birch plywood – one sheet for the top and lower shelf
- 2×4 lumber – 20 linear feet for the H-frame leg assemblies
- Carriage bolts and wing nuts for all knockdown joints
- One compact face vise
- Rope or straps for bundling during transport
Step 1 – Design for Fast Knockdown
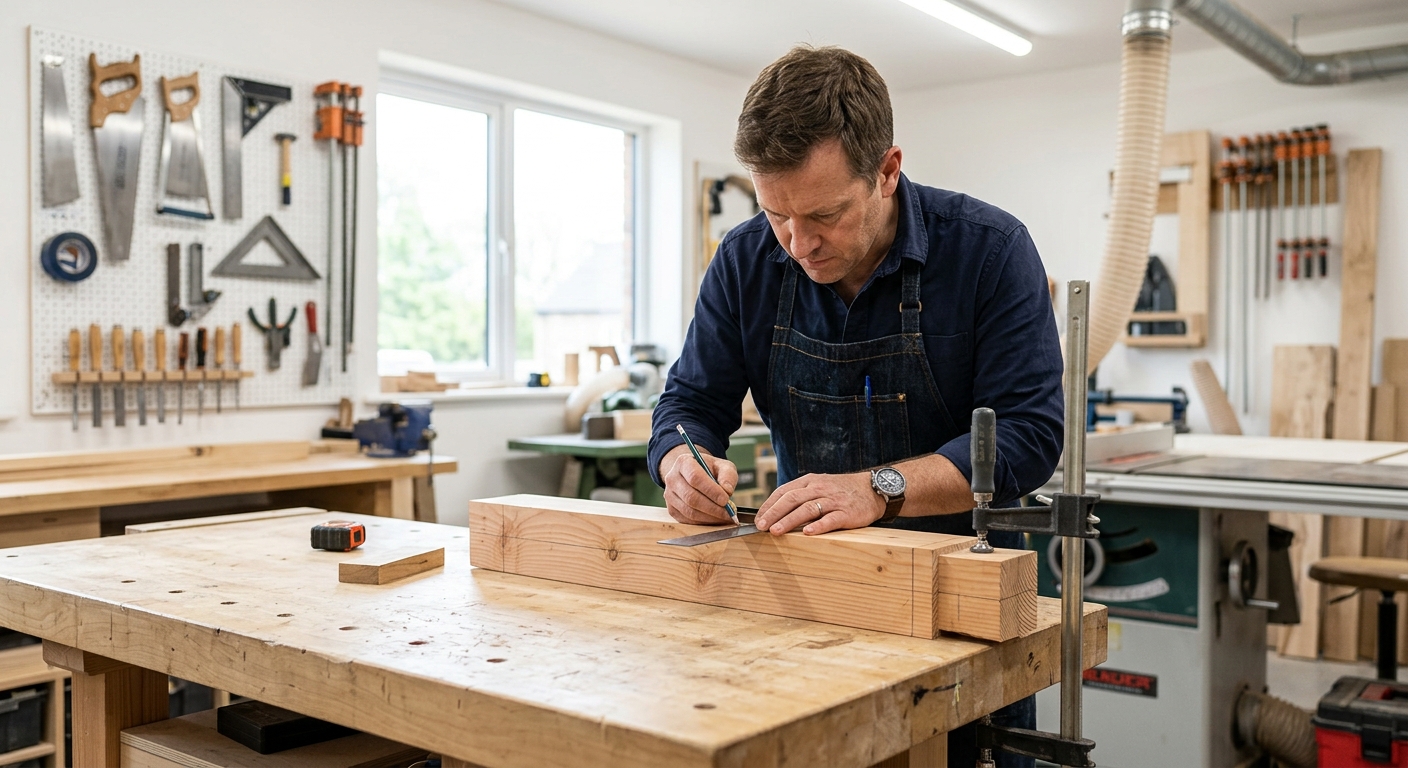
Every joint must assemble without tools or with one wrench. Plan all connections as bolted or pinned rather than glued. The top, two leg assemblies, and lower shelf should separate into pieces no longer than 48 inches and no heavier than 25 pounds each. Sketch the assembly and disassembly sequence before cutting any wood.
Step 2 – Build the Leg Assemblies
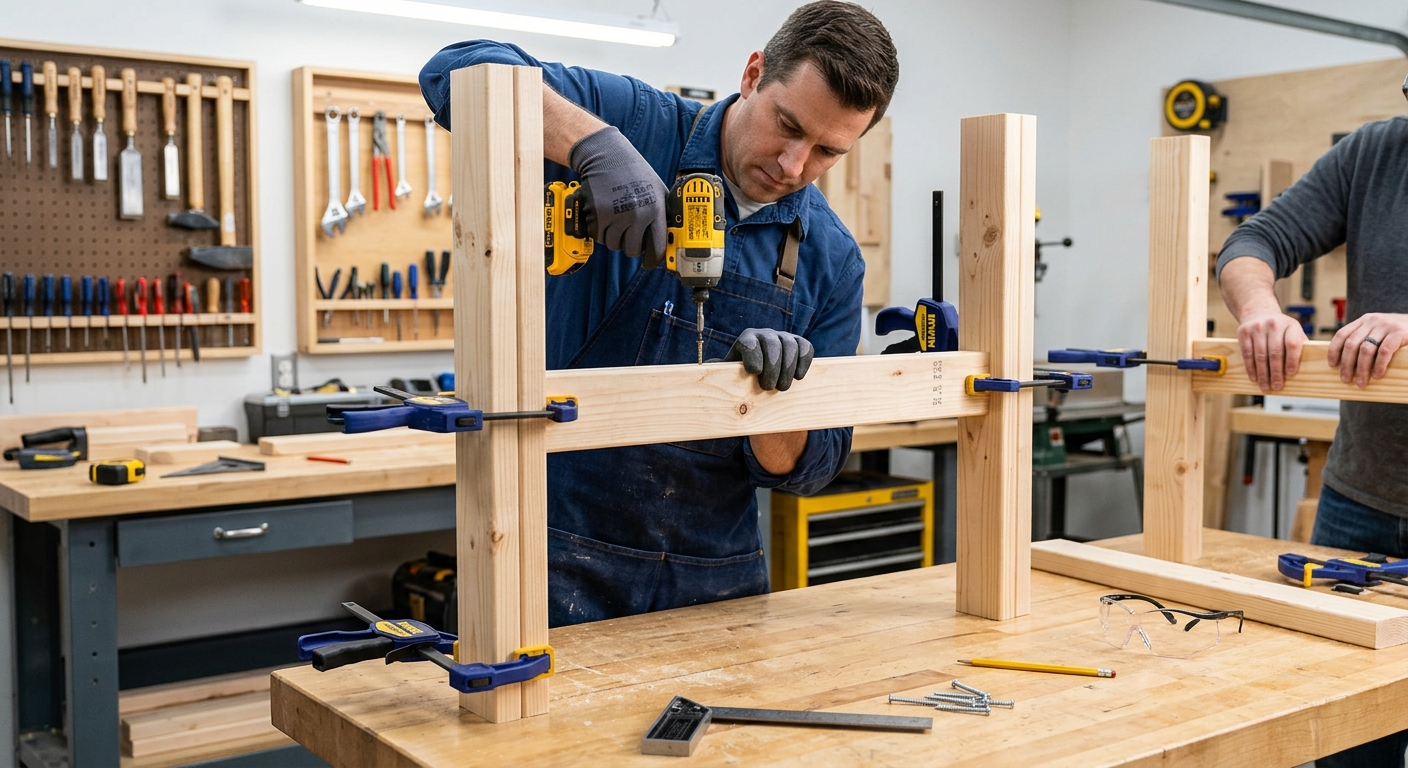
Build two H-frame leg assemblies from 2x4s – two vertical legs and one horizontal stretcher per assembly, 32 to 34 inches tall. Use bolted joints throughout so the assemblies can be disassembled. The H-frame is inherently stable in the long direction; the lower shelf provides lateral stability between the two frames.
Step 3 – Build and Dog-Hole the Top
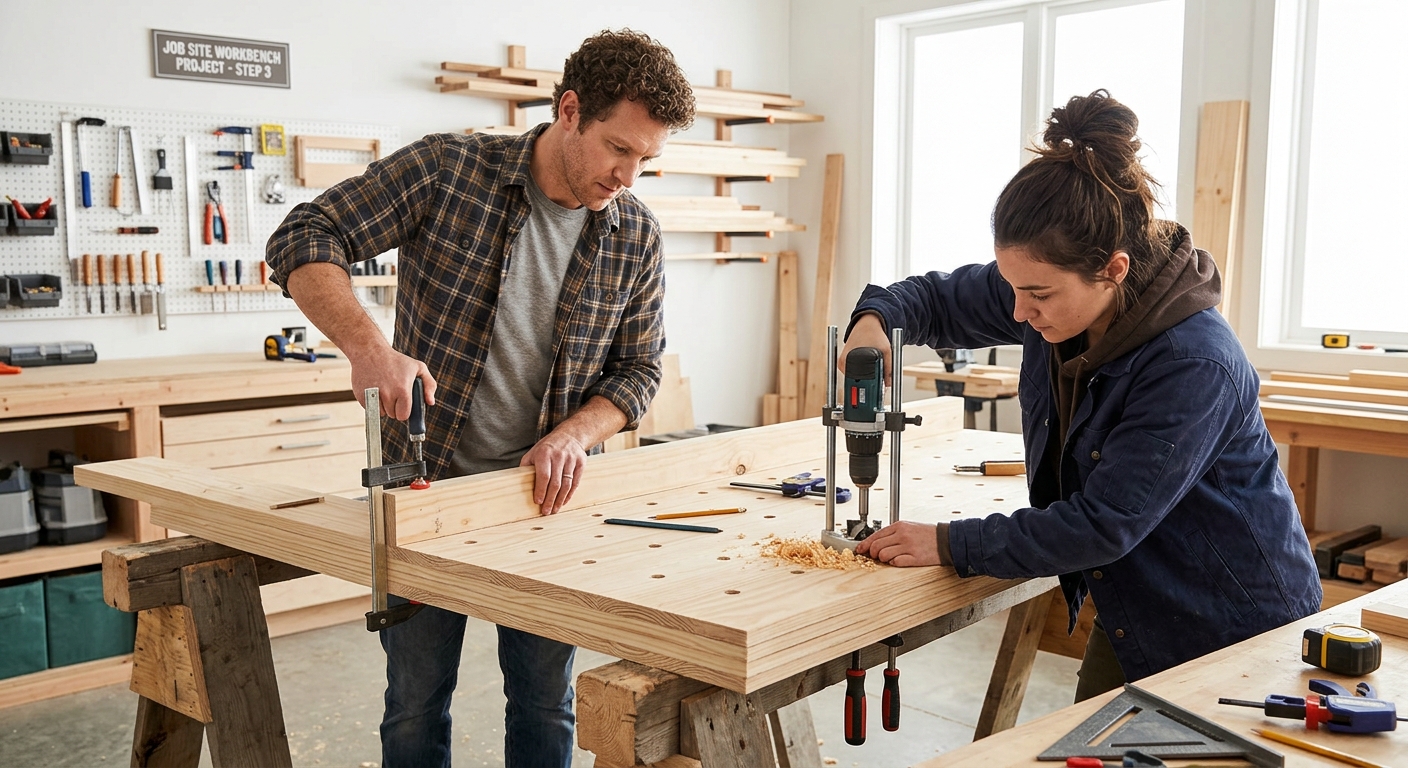
Cut the top from 3/4-inch plywood to 24 x 48 inches. Drill a grid of 3/4-inch dog holes across the surface – these are what make this a real workbench rather than just a table. The dog holes accept holdfasts and bench dogs for quick workholding without clamps.
Step 4 – Connect Everything with Bolted Joints
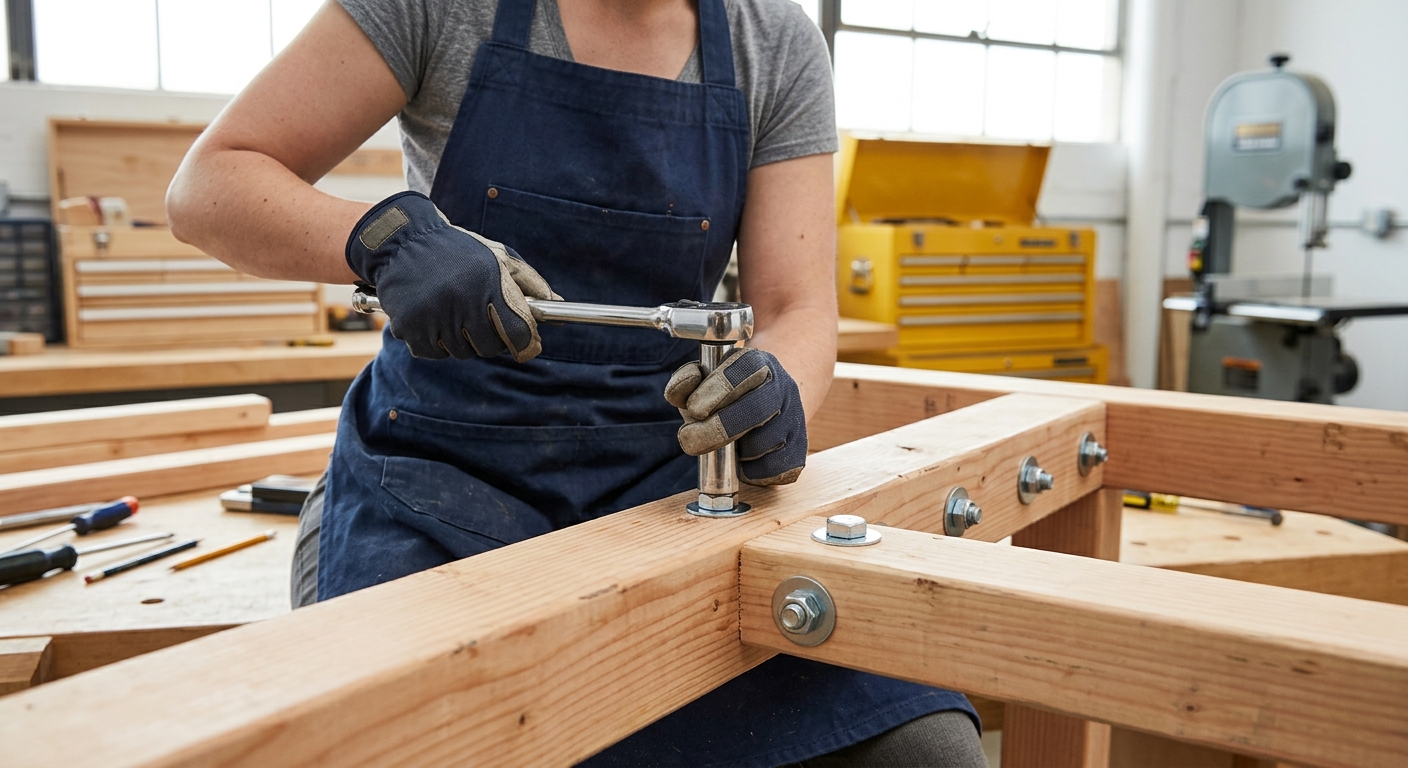
The leg assemblies attach to the top with 3/8-inch carriage bolts and wing nuts through pre-drilled holes. The lower shelf connects to both leg assemblies the same way. All connections are hand-tight with wing nuts – no wrench needed. Full setup time is under three minutes.
Step 5 – Mount the Vise and Finish for Weather
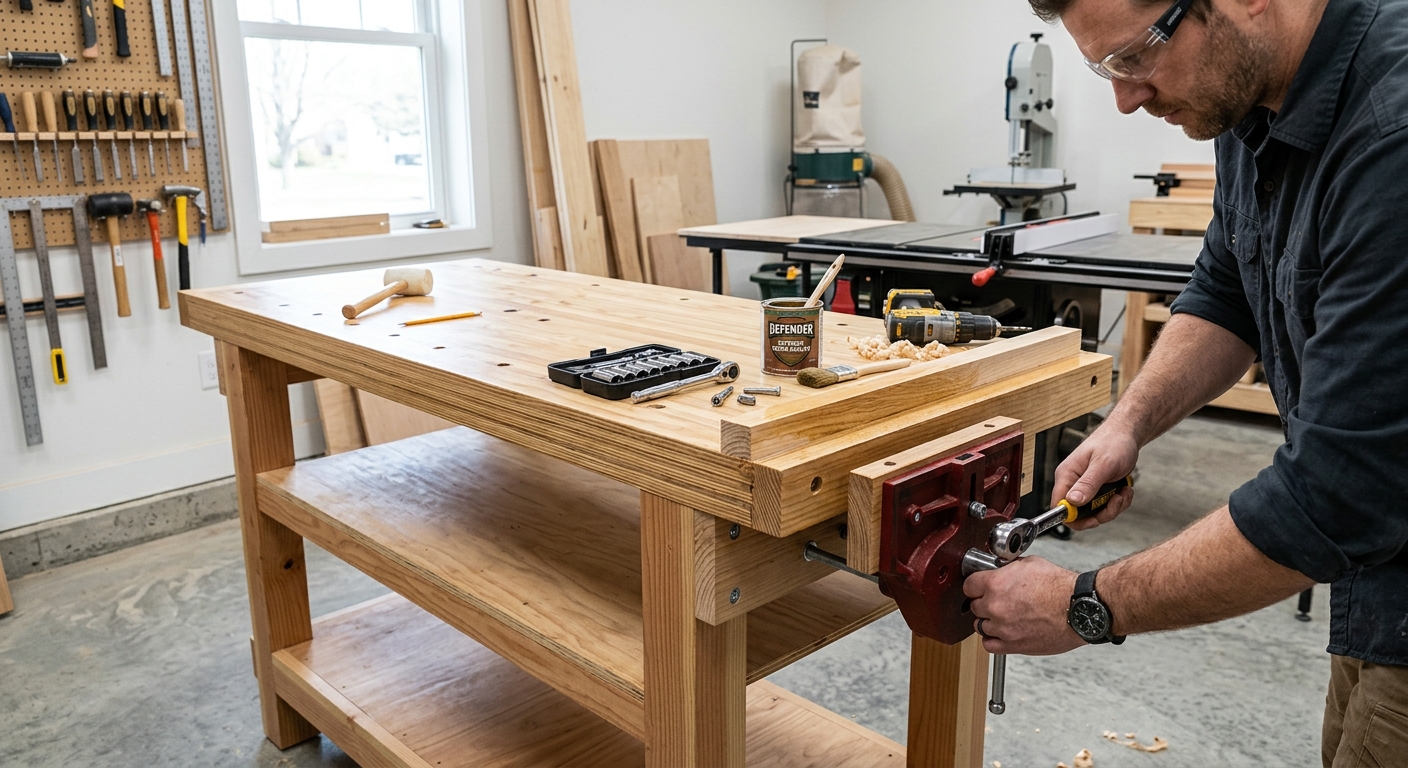
Bolt a compact face vise to the left end of the top. Apply two to three coats of exterior polyurethane to all surfaces – job sites are wet and harsh. A good finish keeps the plywood from delaminating and makes cleanup easy after muddy days.
FAQ
Is this rigid enough for hand planing? With tight bolted joints and a full lower shelf, yes – far more rigid than sawhorses. For very heavy hand planing, a heavier permanent bench is better, but for job site work and light shop use, this bench is excellent.
Can I add more dog holes? Yes – drill 3/4-inch holes anywhere on the top. They don’t weaken the plywood significantly and give you more workholding options.