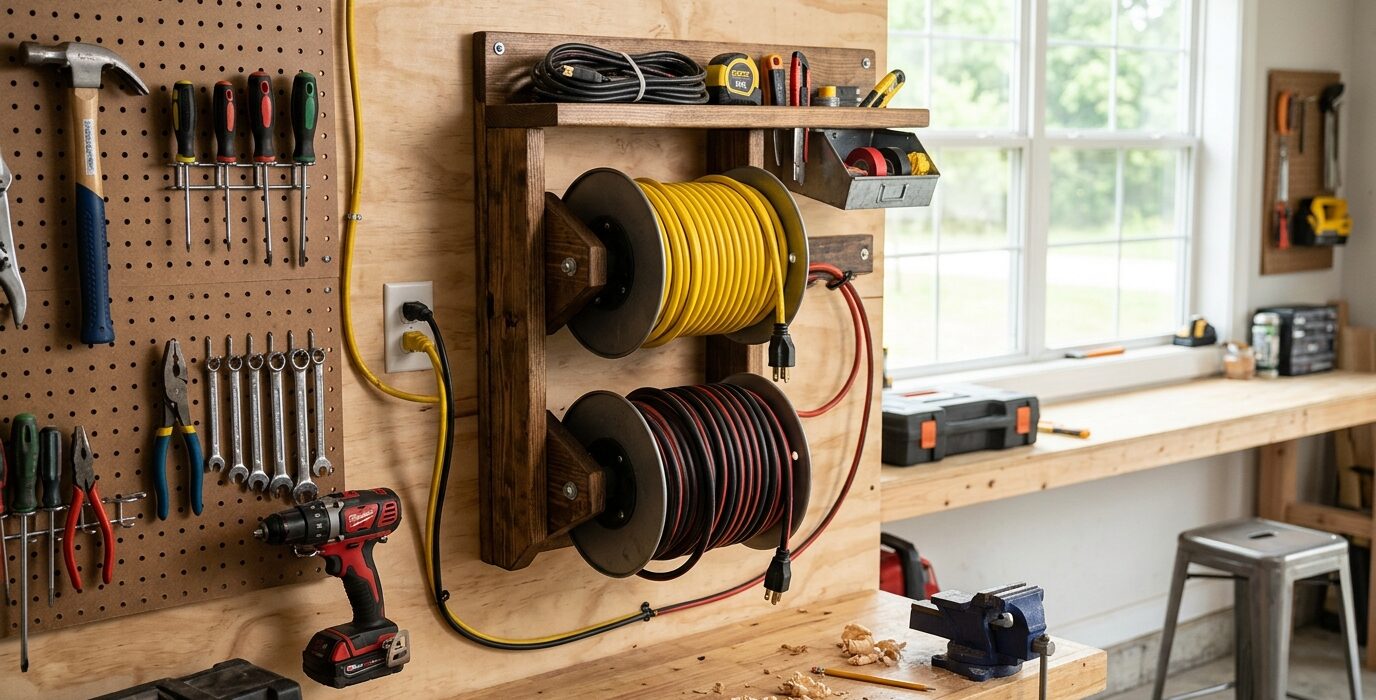
A Power Cord and Extension Cord Reel Holder
Extension cords that live in a pile on the floor or coiled randomly on a shelf are a tripping hazard and get kinked and damaged quickly. A dedicated cord reel holder – wall-mounted above the bench or beside the primary work area – keeps cords coiled neatly, labeled, and accessible without tangling. This build takes one hour and uses minimal materials.
Design
The cord holder is a wall-mounted rack with individual wooden pegs for each cord. Each peg is large enough in diameter to wind a cord without tight bends (which damage the insulation over time), and positioned high enough that wound cords don’t touch the floor. A label on the wall or the peg shows which cord belongs on which peg and its amperage rating.
Materials
- 2×4 or 2×6 lumber for the back ledger
- 3-inch diameter wooden dowel sections (4 to 6 inches long) for the cord pegs
- Lag screws for wall mounting
Step 1 – Determine Cord Count and Location
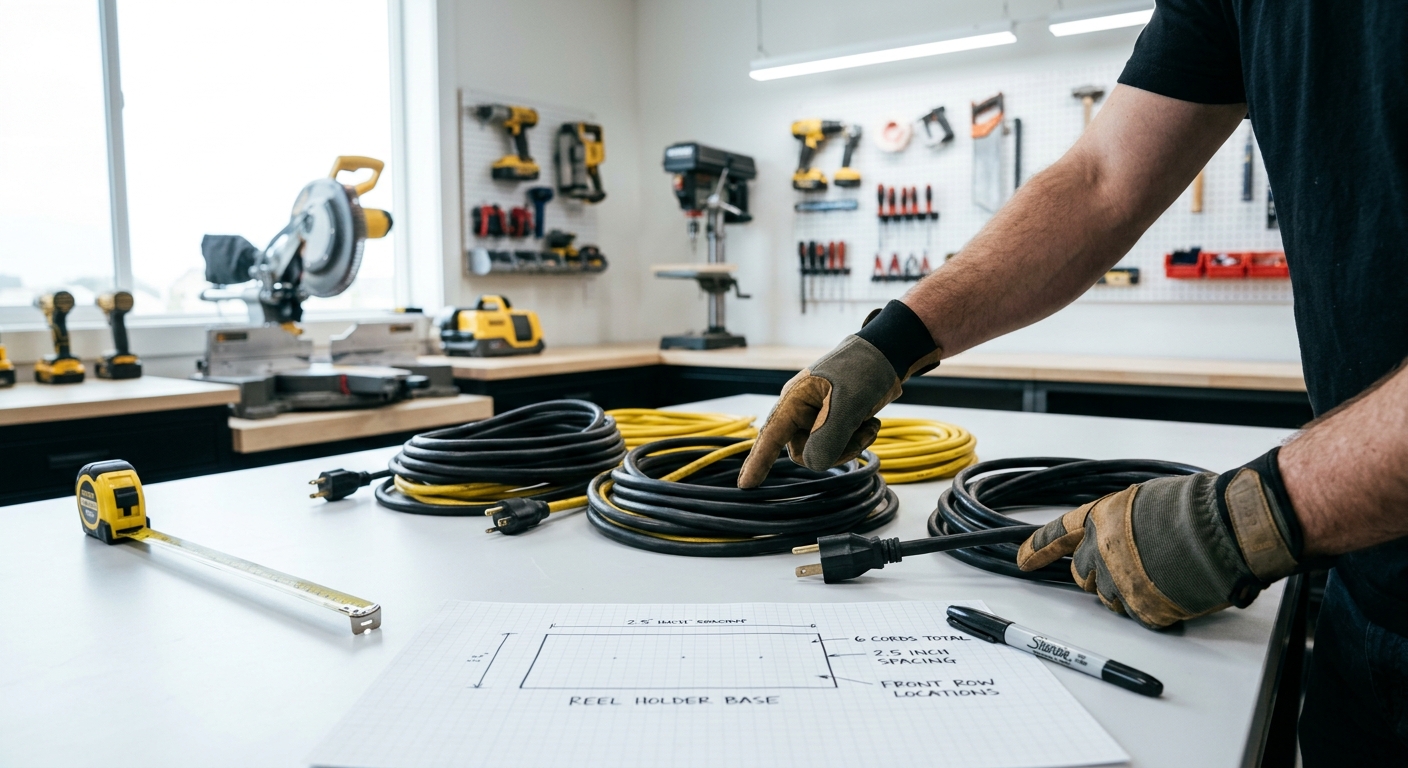
Count your extension cords and power cords. Plan one peg per cord, plus two or three spares. Position the rack near the main machine area on the wall above and beside the outlet strip – cords hang between the outlets and the machines they serve.
Step 2 – Build the Ledger
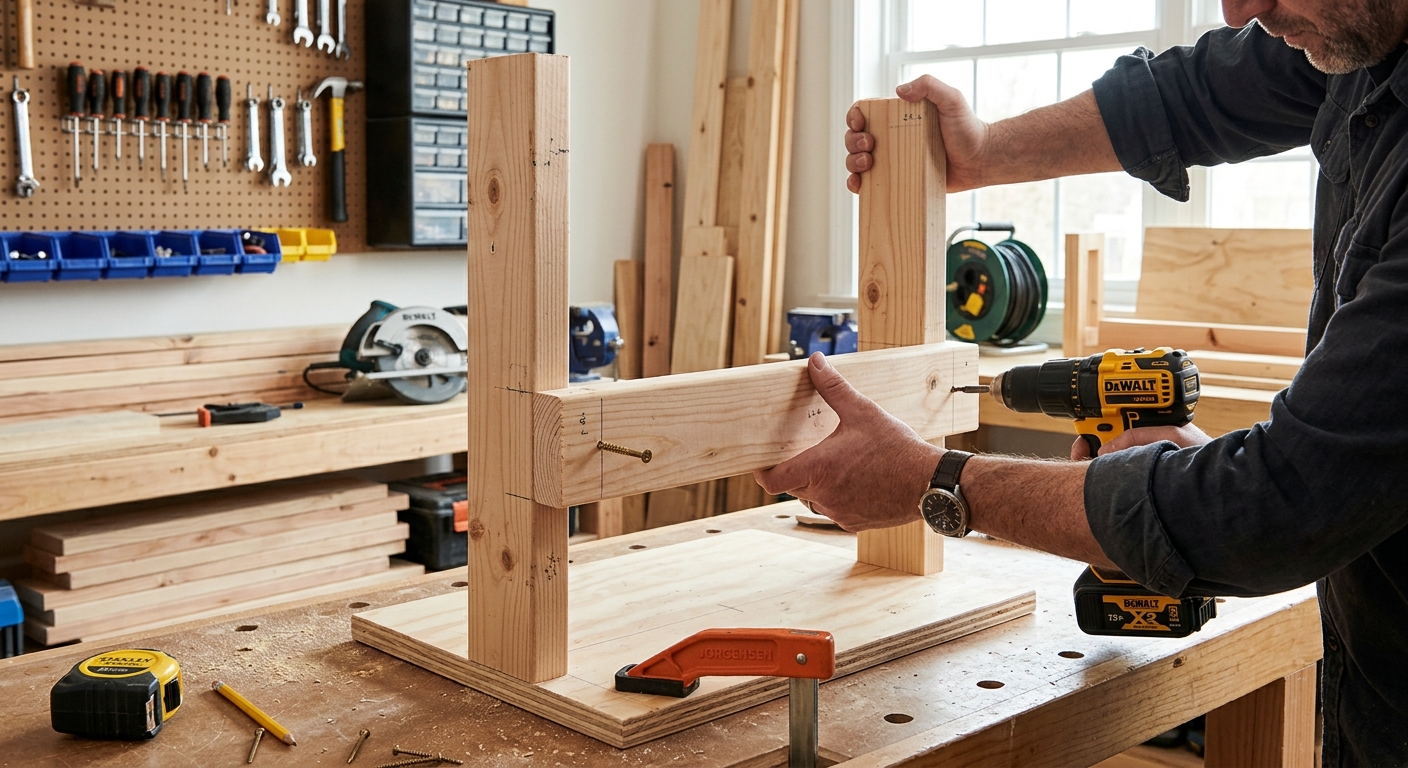
Mount a 2×4 or 2×6 ledger horizontally to the wall with lag screws into studs. The ledger should be long enough to accommodate all the cord pegs at comfortable spacing – about 12 inches between peg centers for easy access.
Step 3 – Install the Cord Pegs
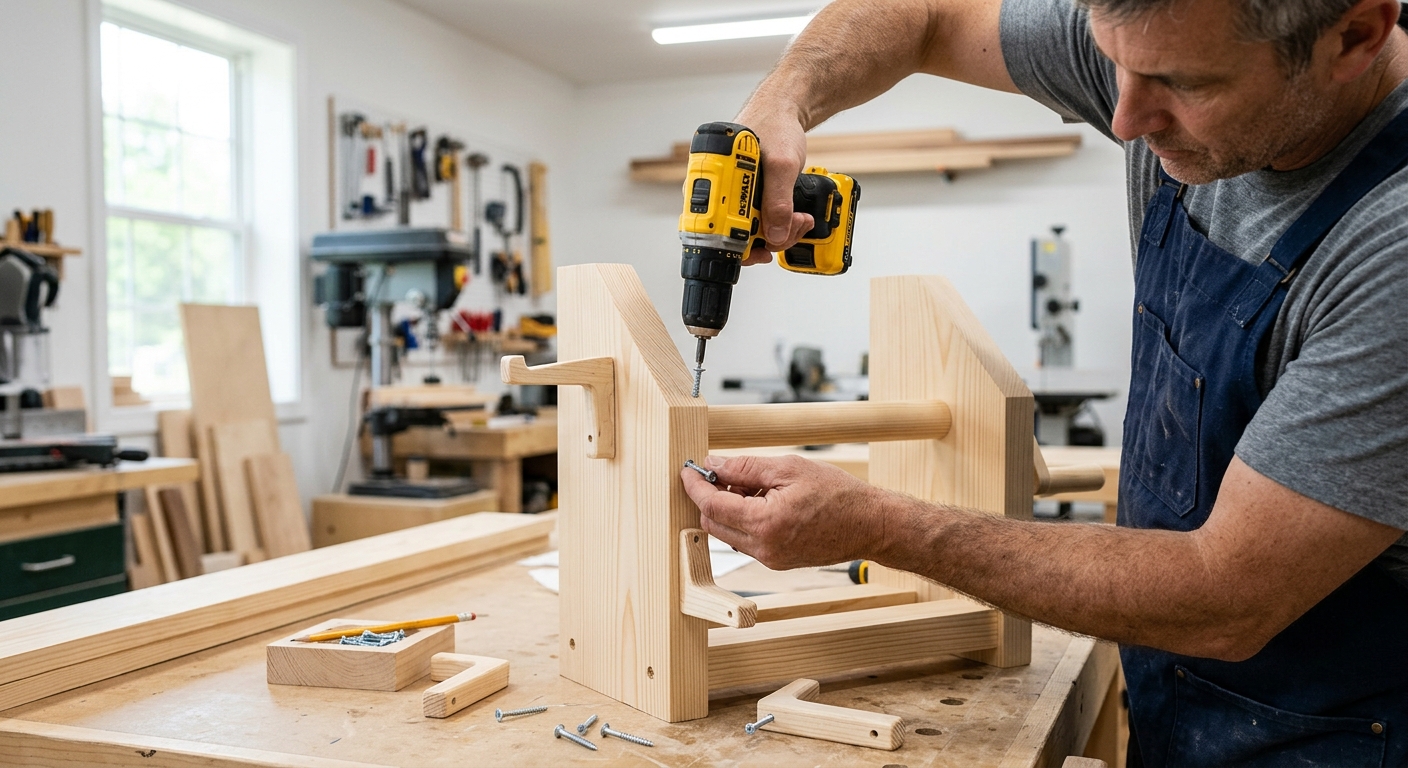
Drill holes in the ledger at each peg location and insert 3-inch diameter wooden dowels cut to 5-inch length. The large diameter of the peg is important – never coil a cord around a small hook or a 1-inch peg. The tight bend damages insulation over hundreds of coiling cycles. A 3-inch diameter is the minimum for safely storing most extension cords.
Step 4 – Label Each Peg
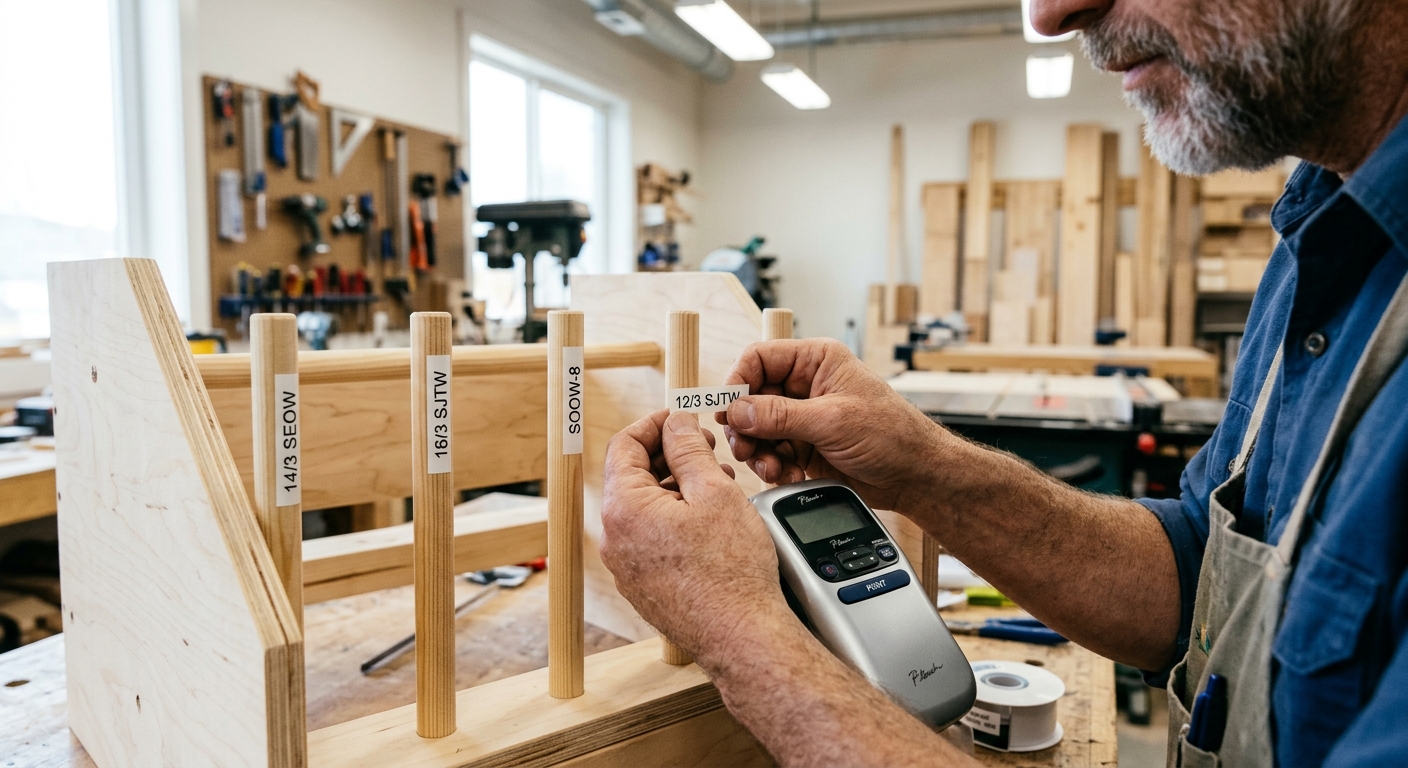
Write the cord’s amperage rating and length on the wall behind each peg. A 12-gauge, 25-foot cord is marked “12ga / 25ft.” This tells you at a glance which cord is available and whether it’s rated for the tool you’re about to use. Never use a 16-gauge cord for a high-current power tool – the label prevents this mistake.
Step 5 – Add a Coiling Hook Below Each Peg
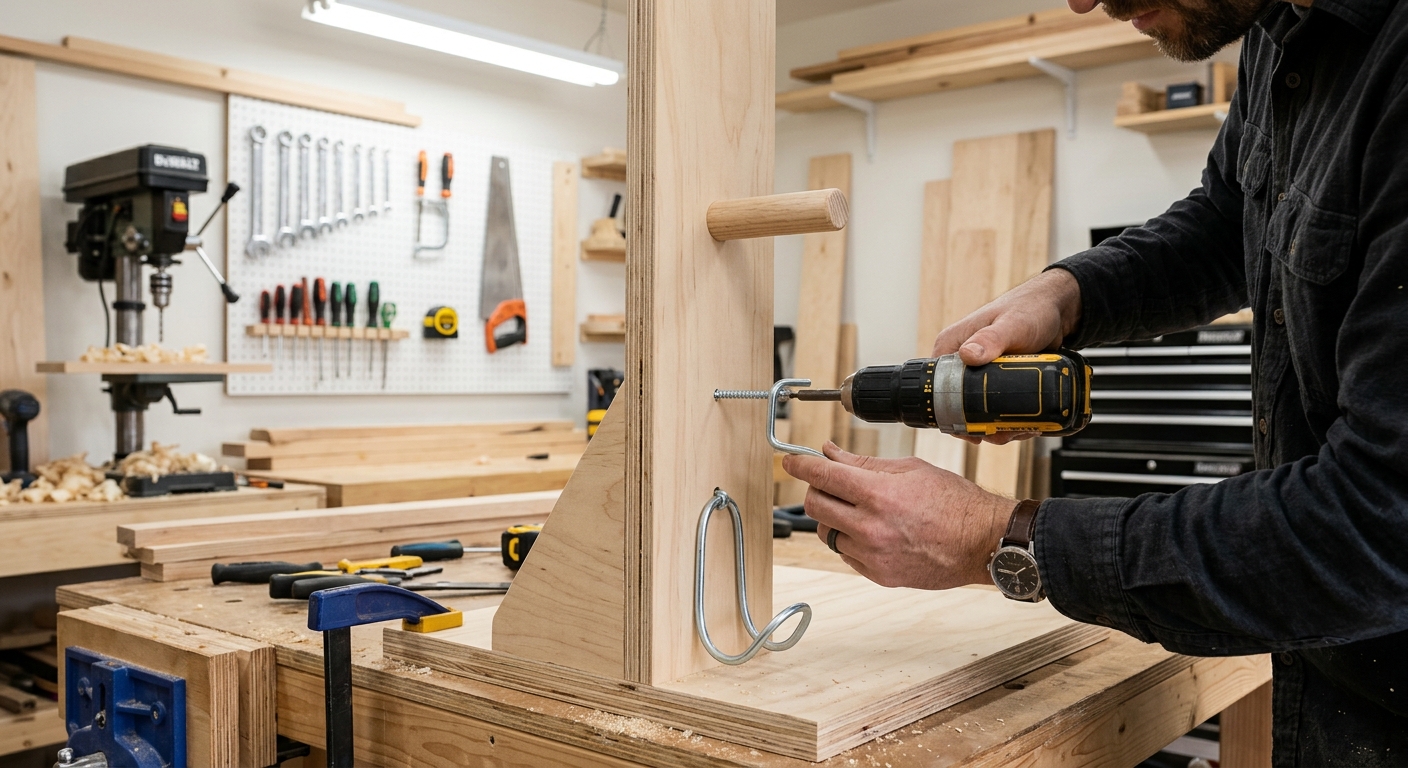
A second hook 12 inches below each peg gives you somewhere to anchor the loose end of a wound cord so it doesn’t unravel from the peg. The plug end or the socket end of the cord wraps once around the lower hook to secure the coil. This one detail keeps the rack neat without clips or ties.
FAQ
Should cords be coiled clockwise or counterclockwise? The cord naturally wants to coil in the direction that doesn’t twist the conductors. Wind each cord in the direction it naturally wants to lay – forcing it the other way builds a permanent twist into the insulation over time. When you uncoil it, it should lay flat without spiraling.
Can I use cable ties to keep cords coiled? Velcro ties are better than traditional cable ties – they can be attached and removed without cutting, and they don’t deform the insulation the way tight cable ties do over repeated cinching.