Build a Power Cord Reel Holder for the Shop Wall or Ceiling
Extension cords on the shop floor are a tripping hazard, a machine hazard, and a source of constant frustration as they tangle with each other and with material being moved across the floor. Cord reels – either retractable or manual wind-up – solve this completely, but only if they’re mounted where they’re actually useful. This project builds a wall or ceiling mounting system for multiple cord reels, keeping every cord ready to deploy and automatically out of the way when not in use.
Materials
- Retractable cord reels, 25 to 50 feet, rated for the amperage of your tools
- 2×6 lumber for ceiling mounts or 2×4 for wall mounts
- Lag screws for structural attachment
- Electrical conduit (optional, for cord routing)
Step 1 – Plan the Cord Zones
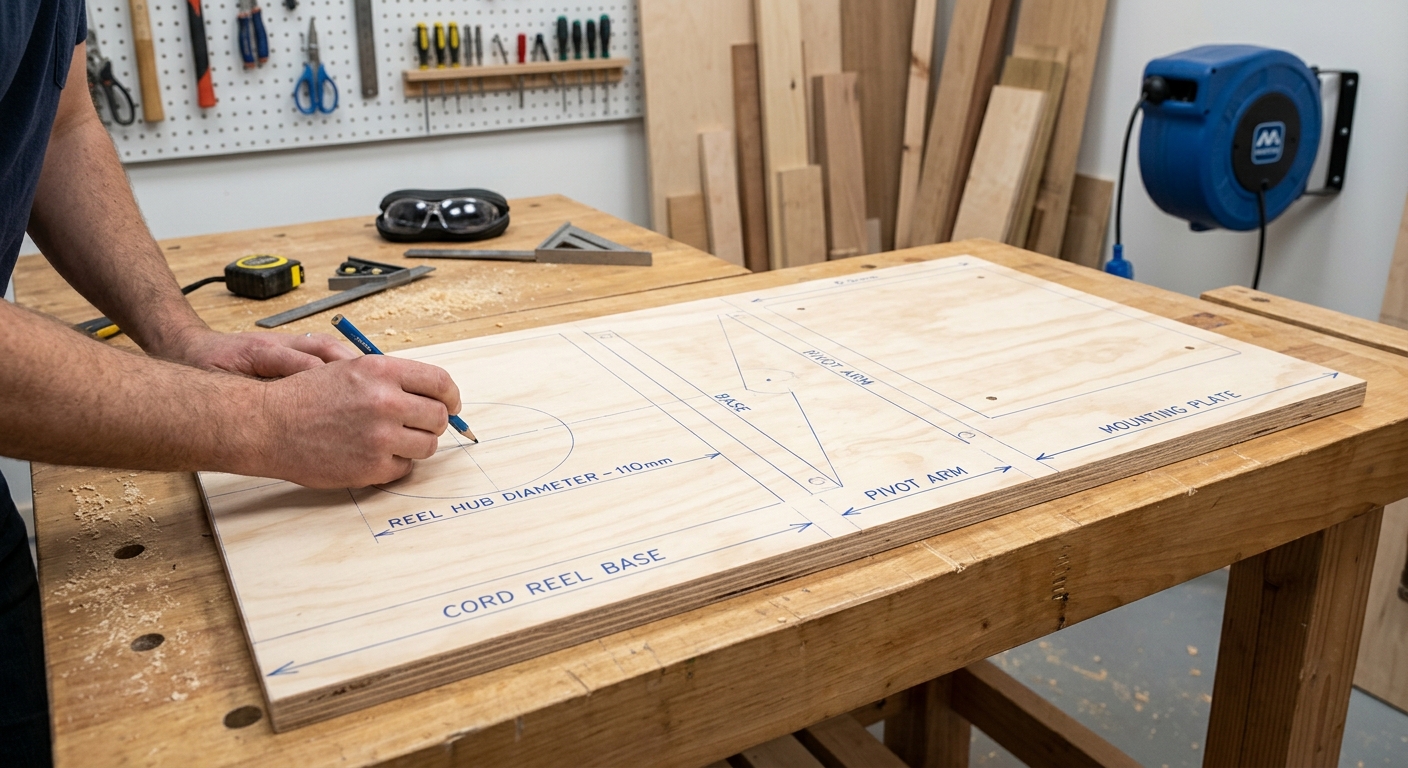
Each cord reel should serve a specific zone of the shop – a table saw zone, a bench zone, a machining zone. Map out where cords are needed and position the reel mounting points overhead or on the wall above that zone. A retractable reel positioned directly above where it’s used means you pull down exactly as much cord as you need and it retracts automatically when done. No coiling, no management.
Step 2 – Build the Ceiling Mount
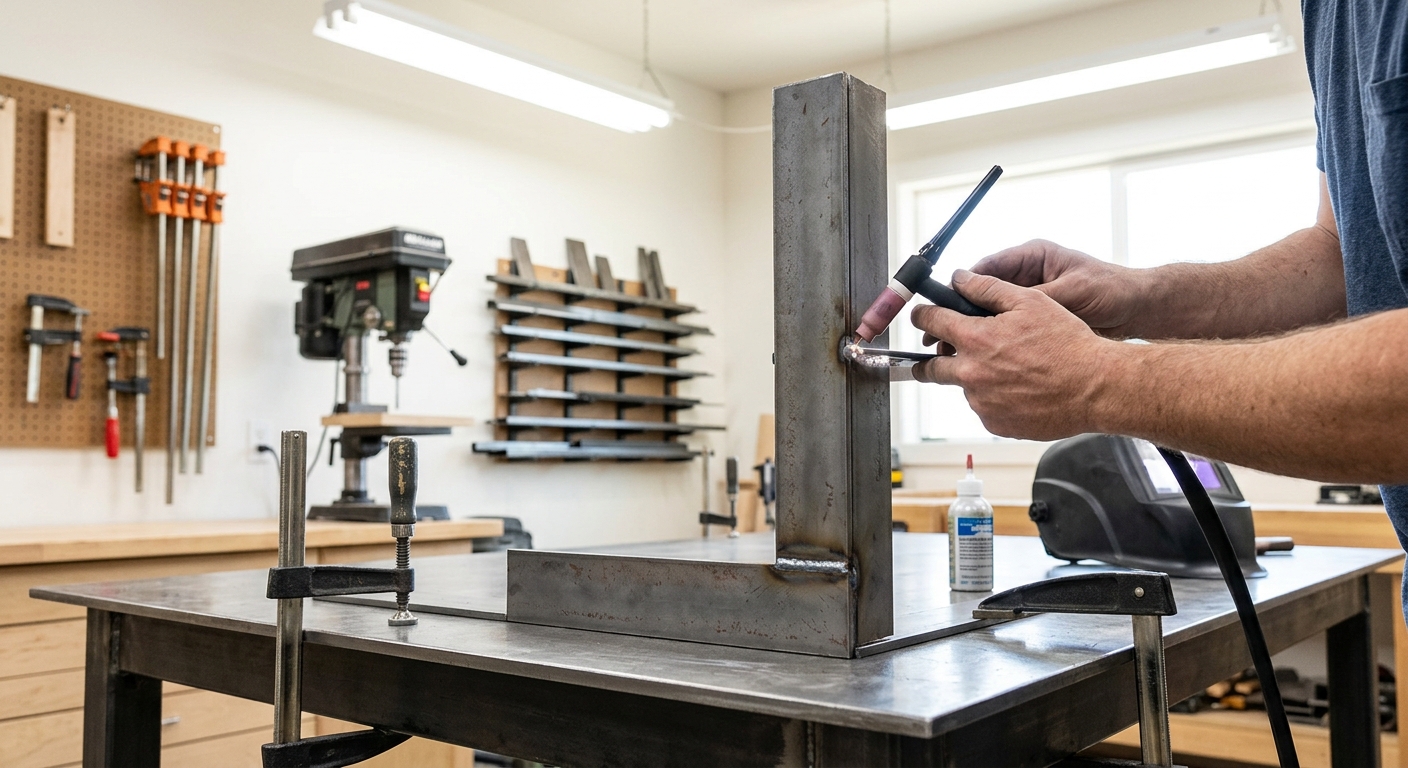
For ceiling mounting: lag a 2×6 ledger board between two ceiling joists, running perpendicular to the joists. The cord reels mount to the underside of this ledger with the hardware supplied with each reel. Space reels at least 18 inches apart to allow the retraction mechanism to clear the adjacent reel. For heavier cord reels (50-foot, 15-amp reels can weigh 10 to 15 pounds), use 5/16-inch lag screws into the ceiling joists for each reel mount point.
Step 3 – Build the Wall Mount
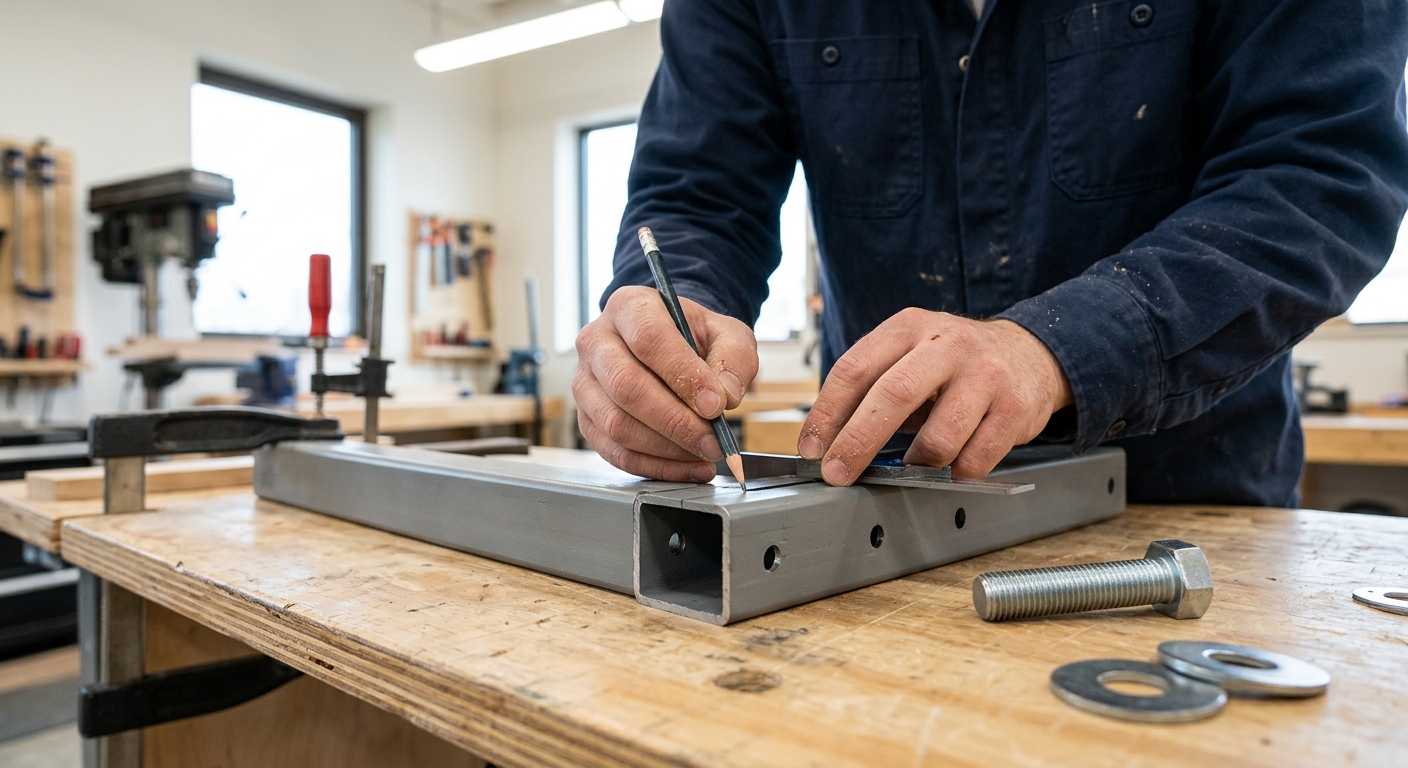
For wall mounting near the main electrical panels or in an area where ceiling mounting isn’t practical: mount reels to a 2×4 horizontal lumber strip at 7 feet from the floor. At this height, the cords drop from the reel to the work area without lying on the floor. Make sure the cord can reach the floor from the reel position with 10 to 15 feet of cord deployed – adjust reel position and cord length if needed.
Step 4 – Label Each Reel
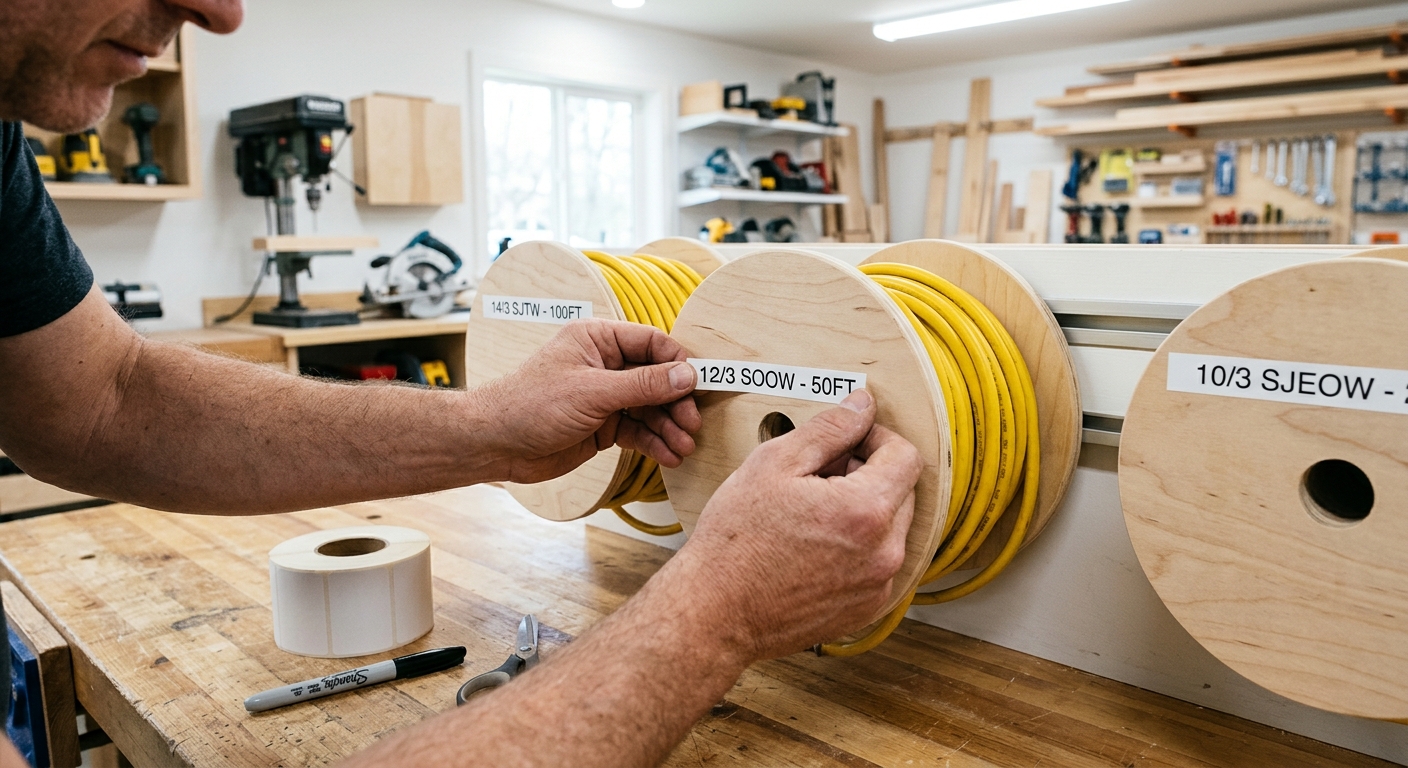
Label each reel with its amperage rating, its cord length, and its intended zone (“Table Saw Zone – 15A/50ft”). This prevents the common mistake of using a 15-amp cord for a 20-amp tool, and makes it obvious which cord to pull for each area of the shop.
Pro Tips
- Buy cord reels rated at or above the amperage of the most demanding tool in their zone. A 15-amp cord on a 15-amp tool is fine at room temperature; a full-length 50-foot cord under full load warms up significantly and should have headroom in its rating.
- Retractable cord reels are worth the extra cost over manual-wind reels. The automatic retraction means cords actually get returned rather than being left hanging half-out of the reel.
FAQ
Can I use a cord reel for 240V tools?
Yes, but you need a 240V-rated reel, which is less common and more expensive. Most shop tools (table saws, dust collectors) draw enough current that proper cord sizing is critical – use a 10-gauge or larger cord for 240V/30-amp applications and never use a standard 12-gauge 120V extension cord for 240V tools.
How do I manage multiple cords from one zone?
One reel per outlet position, or a power strip mounted at a convenient height with one reel feeding the strip. The power strip gives you multiple outlets in the zone without multiple long cords running back to the wall.