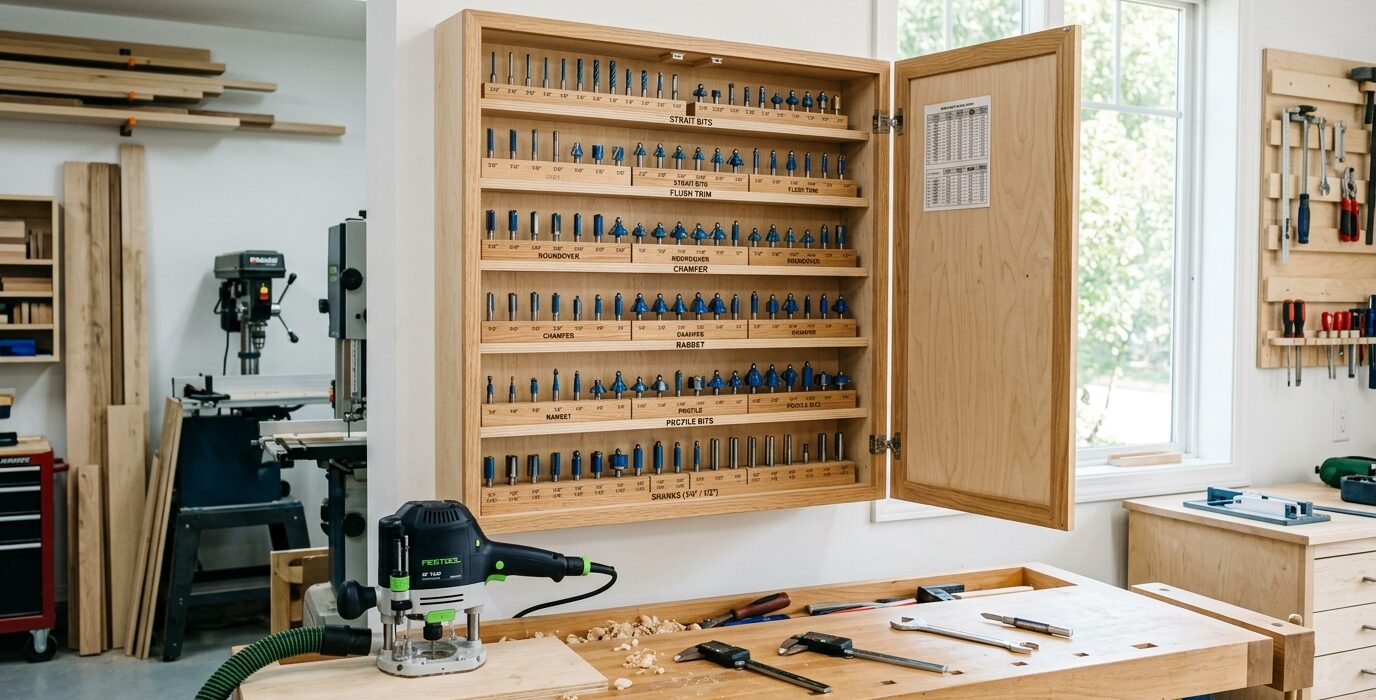
Router Bits Organized, Protected, and Ready
Router bits are precision cutting tools with carbide edges that cost $10-$40 each and can be ruined by improper storage. A dedicated router bit cabinet keeps each bit in its own slot (edges protected), organized by profile type (easy to find the right bit quickly), and dust-free (critical for shanks that need clean collet contact). This is one of the shop builds with the highest return on investment in time saved and tool protection.
Design Overview
The cabinet is a wall-mounted plywood box with a grid of holes in the interior that hold bits shank-down. Bits slide into the holes and rest on their shanks – the cutting edges are up and visible but not contacting anything. The cabinet has a door to keep out dust between uses. Interior sections organize bits by profile: straight bits, roundover bits, chamfer bits, profile bits, flush-trim bits, and specialty bits.
Materials List
- 3/4-inch plywood, 3/4 of a sheet (cabinet box)
- 1/4-inch plywood for back panel and door panel
- 3/4-inch MDF for the bit-holding tray
- Drill bit for shank holes (1/2 inch and 1/4 inch for different bit sizes)
- Small hinge and latch for door
- Optional: foam lining for bit shanks
Step 1: Plan the Interior Layout

Count your bits by shank size (1/4-inch and 1/2-inch are the two common sizes) and by profile type. Group profile types together. A 30-bit collection typically needs a 12×16-inch interior space at minimum. Plan 1-inch spacing between hole centers for 1/4-inch shank bits; 1-1/2-inch spacing for 1/2-inch shank bits. Large-diameter bits (2+ inch cutting diameter) need more spacing.
Step 2: Build the Cabinet Box
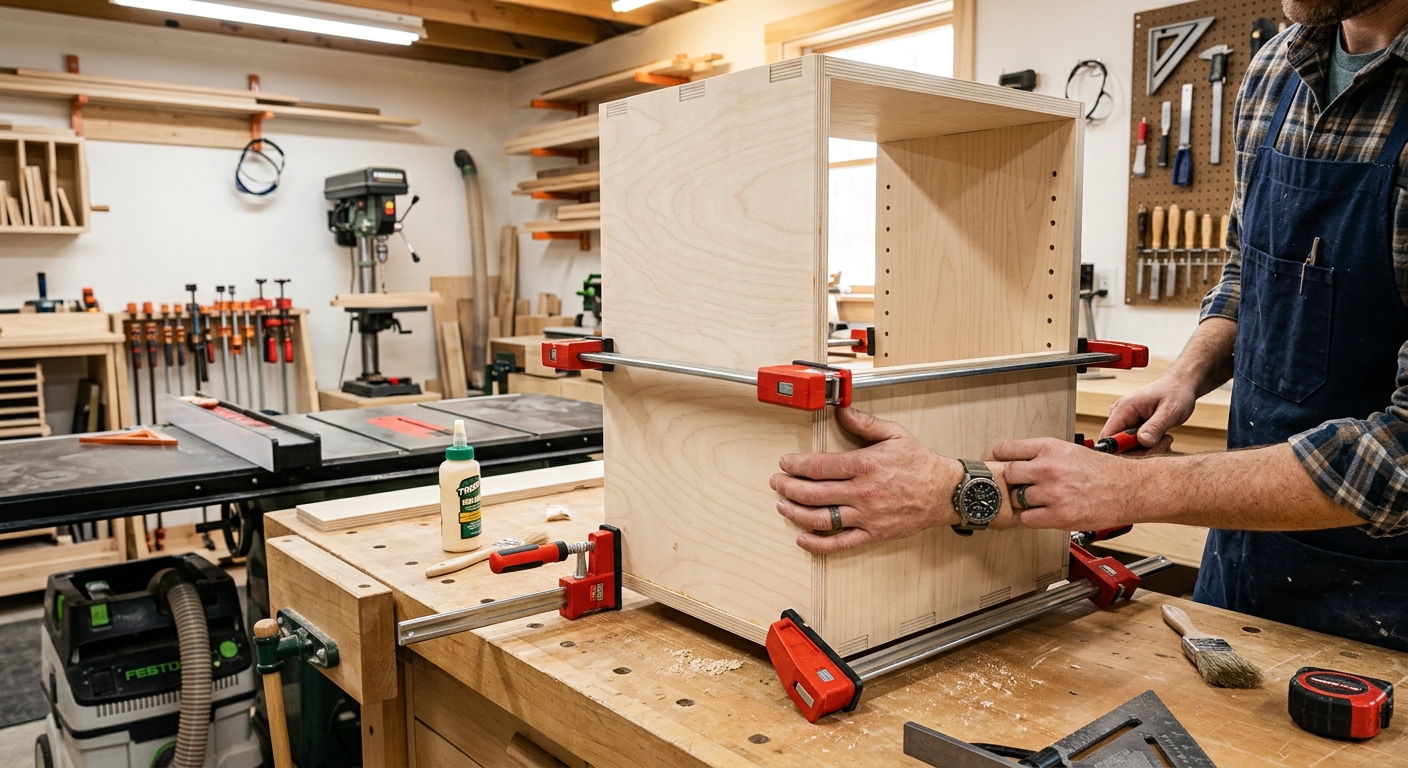
The cabinet can be as simple as a 6-inch deep plywood box. It doesn’t need to be large – router bits are compact. Build a box with a hinged or sliding front door, a back panel, and mounting hardware for wall installation. Make it small enough that it fills efficiently; a half-empty cabinet looks messy and wastes wall space.
Step 3: Build the Bit Tray
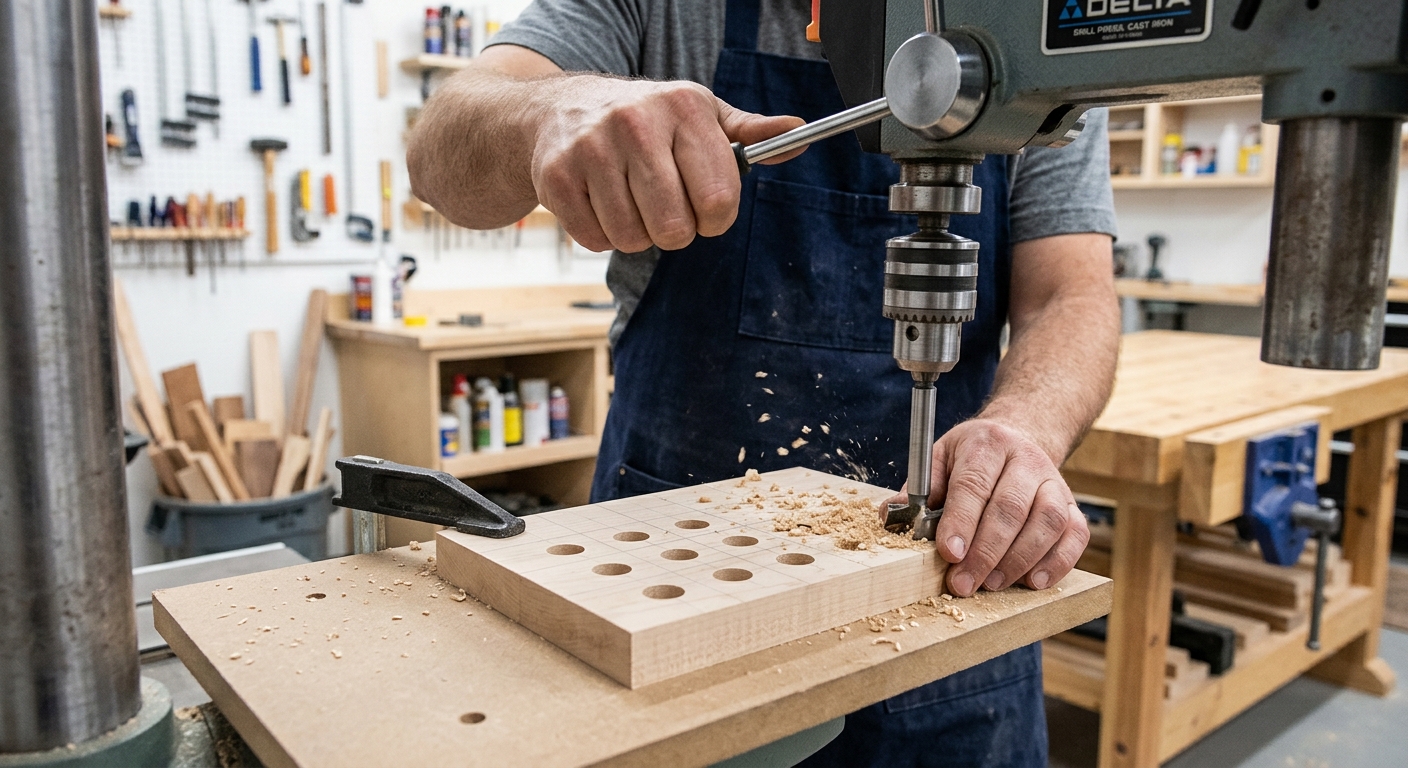
The bit tray is an MDF or plywood panel with holes drilled in a grid pattern. Drill 1/2-inch holes for 1/4-inch shank bits (the hole is slightly larger than the shank to allow easy insertion). Drill 9/16-inch holes for 1/2-inch shank bits. Countersink the top of each hole so bits don’t catch on a sharp edge when inserting. The tray should fit inside the cabinet with 1/2-inch clearance on all sides.
Step 4: Label Each Position
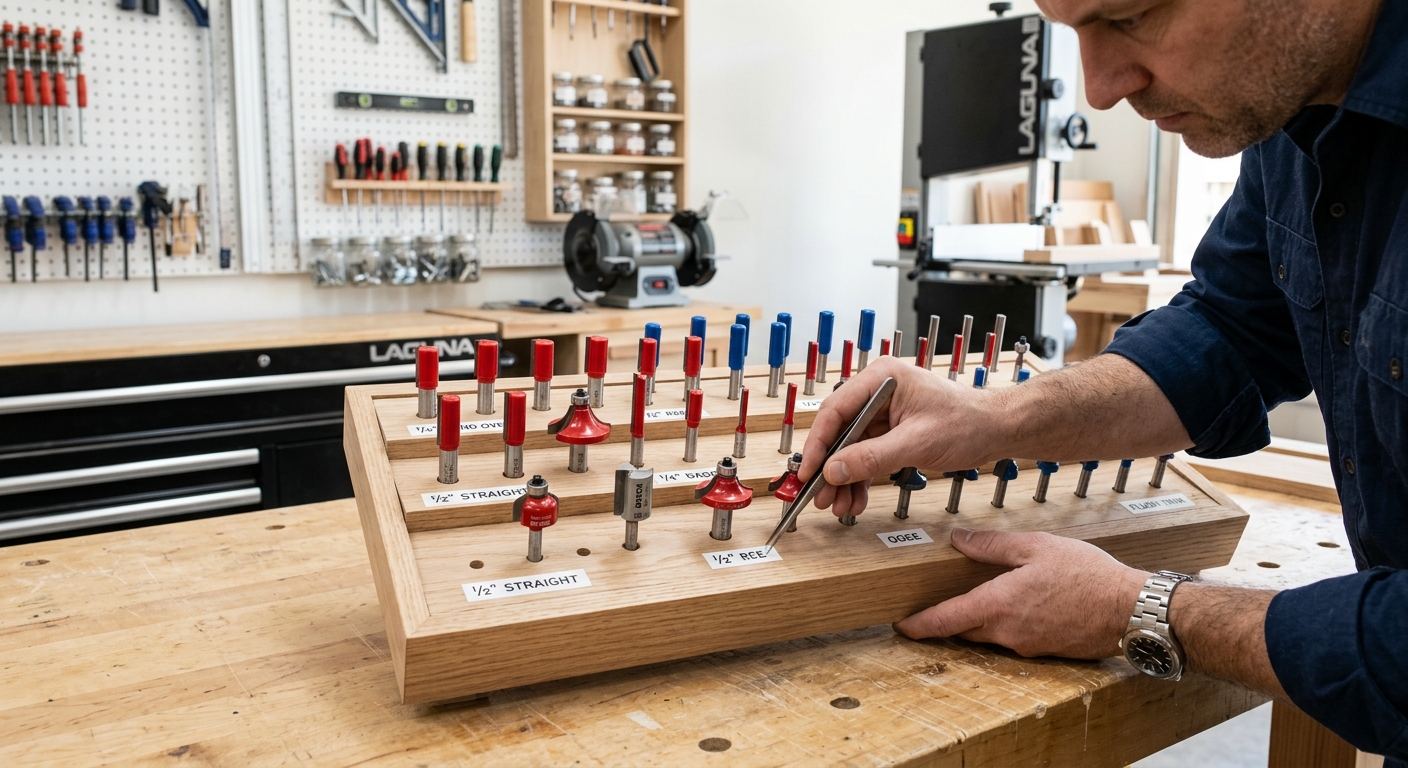
Use a label maker to label each hole position with the bit profile: “1/4 roundover,” “1/2 straight,” “45 chamfer,” etc. This labeling is what turns a storage cabinet into an organization system. A labeled cabinet means you know immediately when a bit is missing from its home.
Step 5: Mount the Cabinet
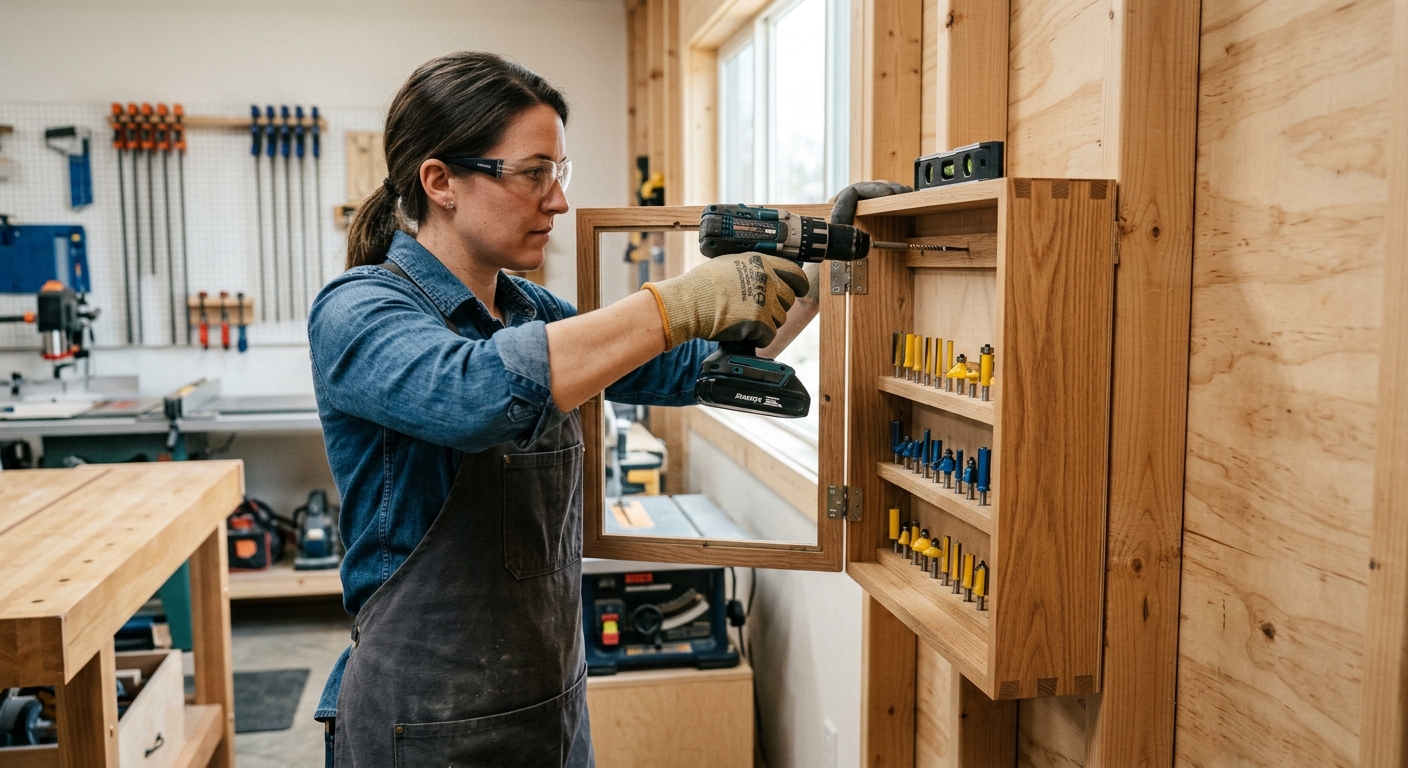
Mount at eye level above the router table or in the area where you set up the router. The door should open without obstruction. If wall-mounted directly above the router table, the door swing should clear the router lift if applicable.
Pro Tips
- Store bits shank-down. Carbide cutters face up and visible, not touching anything. This protects the cutting edges and lets you identify bits without lifting them from the cabinet.
- Group by application, not shape. “Door making” bits (rail and stile, panel raising) together; “box making” bits (box joint, straight, rabbet) together. You reach for bits by what you’re building, not by geometry.
FAQ
How do I protect bits from rust?
Carbide is rust-resistant but the steel shanks are not. Wipe shanks with a light oil or apply a spray rust inhibitor seasonally. Keeping bits in a closed cabinet away from humidity fluctuations is the best long-term rust prevention. Avoid storing bits in damp or unheated garages over winter without this protection.