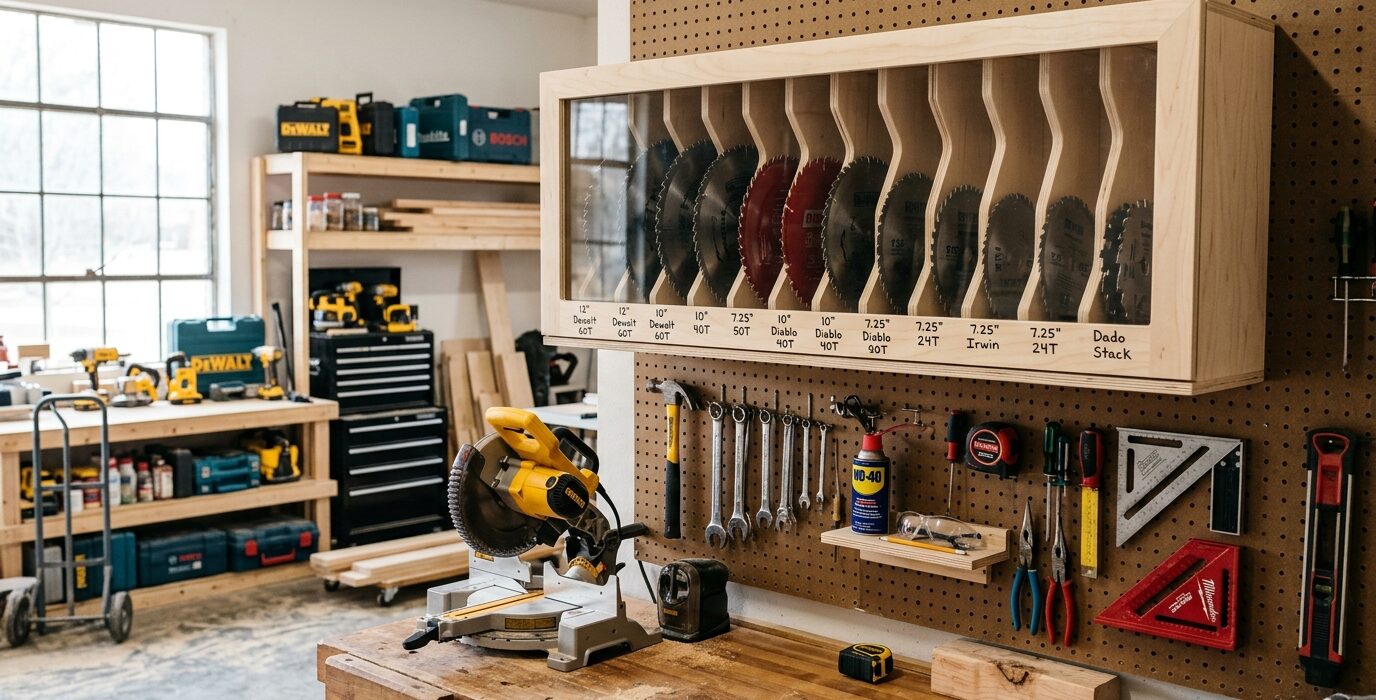
A Saw Blade Storage Case
Circular saw blades, table saw blades, and bandsaw blades are expensive, sharp, and easily damaged by improper storage. A dedicated blade storage case protects the carbide teeth from contact with other blades (which dulls both), keeps blades organized by kerf and tooth count, and makes selecting the right blade for a task quick and safe.
Why Blade Storage Matters
Carbide-tipped saw blades cost $30 to $200 each for quality blades. Carbide is brittle – a single impact against another blade or a hard surface can chip a carbide tip, ruining the blade. Blades that contact each other directly in storage will also exchange carbon and pitch from their surfaces, potentially contaminating cuts. Good storage keeps each blade separated and protected.
Materials
- 3/4-inch plywood for the case body
- Foam inserts or wooden dividers for blade separation
- A hasp or latch for the case closure
- 1/4-inch plywood or MDF for the lid
- Foam weatherstripping for edge protection on dividers
Step 1 – Size the Case to Your Blades
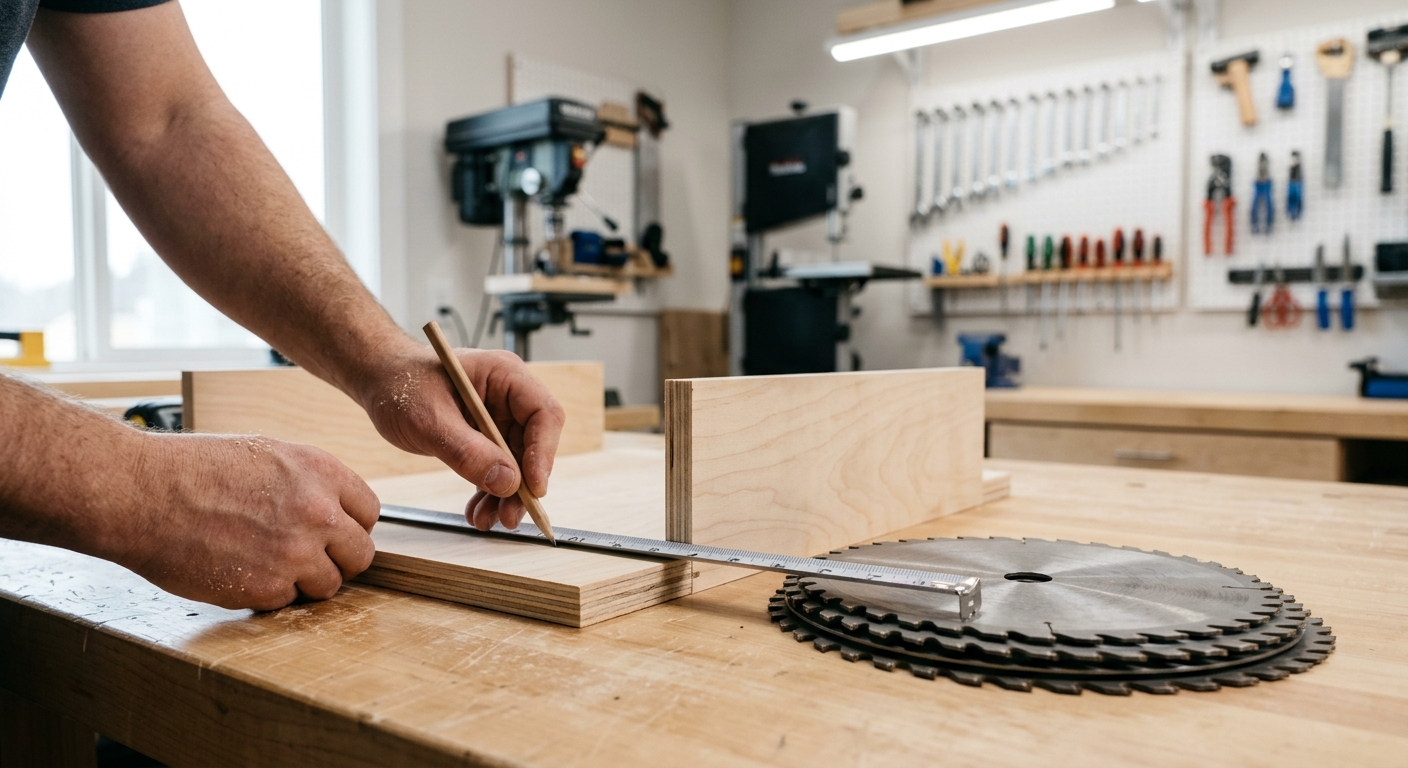
Table saw blades are typically 10 inches in diameter. Circular saw blades run 6.5 to 10 inches. The case interior must accommodate the largest blade with at least 1 inch of clearance on all sides for foam or dividers. Build the case as a shallow box – not much deeper than the blade arbor hole depth plus clearance for the tips.
Step 2 – Build the Box
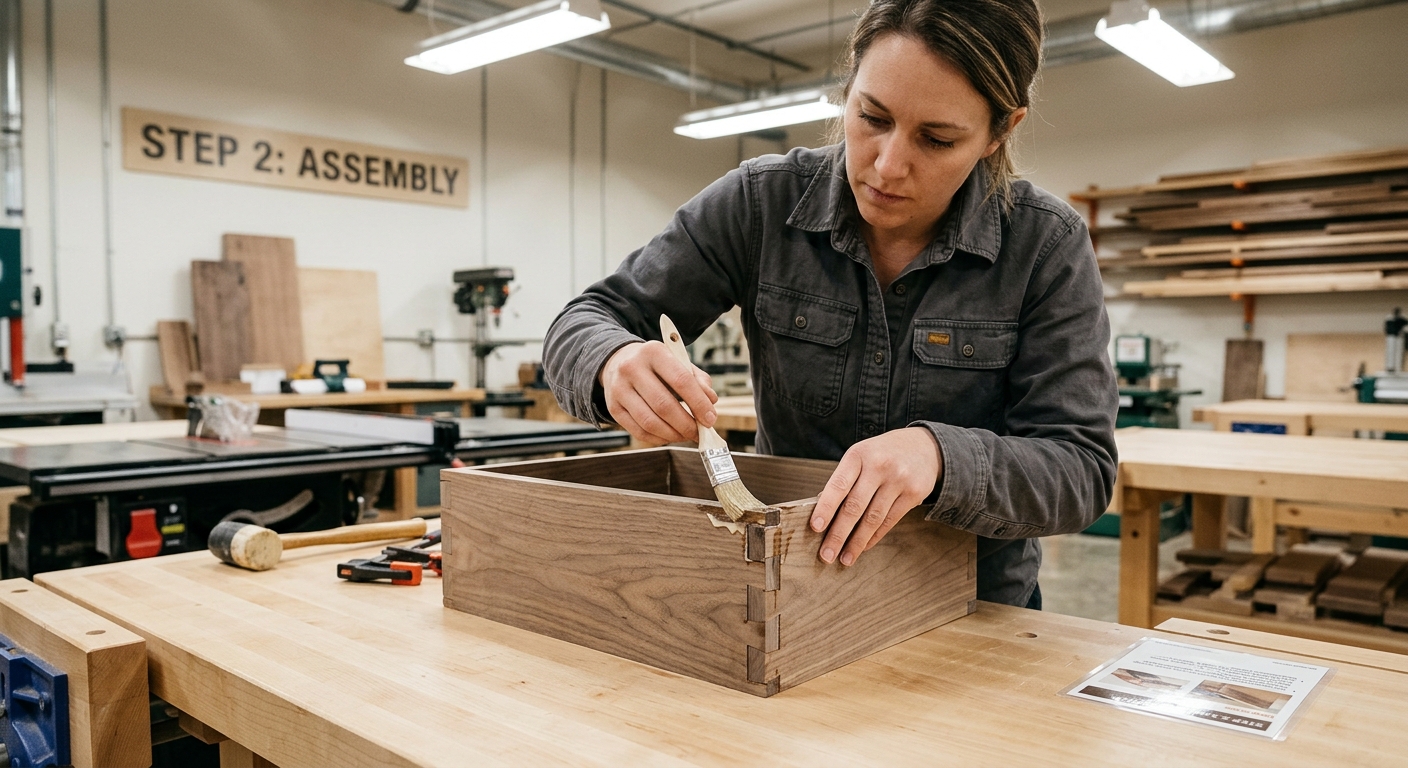
Build a simple plywood box for the blades. Include a plywood bottom and a separate lid that drops on with a hasp. The interior depth should be just enough for two to three blades stacked with foam separators between them. Too deep and the blades rattle; too shallow and you can’t fit your collection.
Step 3 – Add Foam Separators
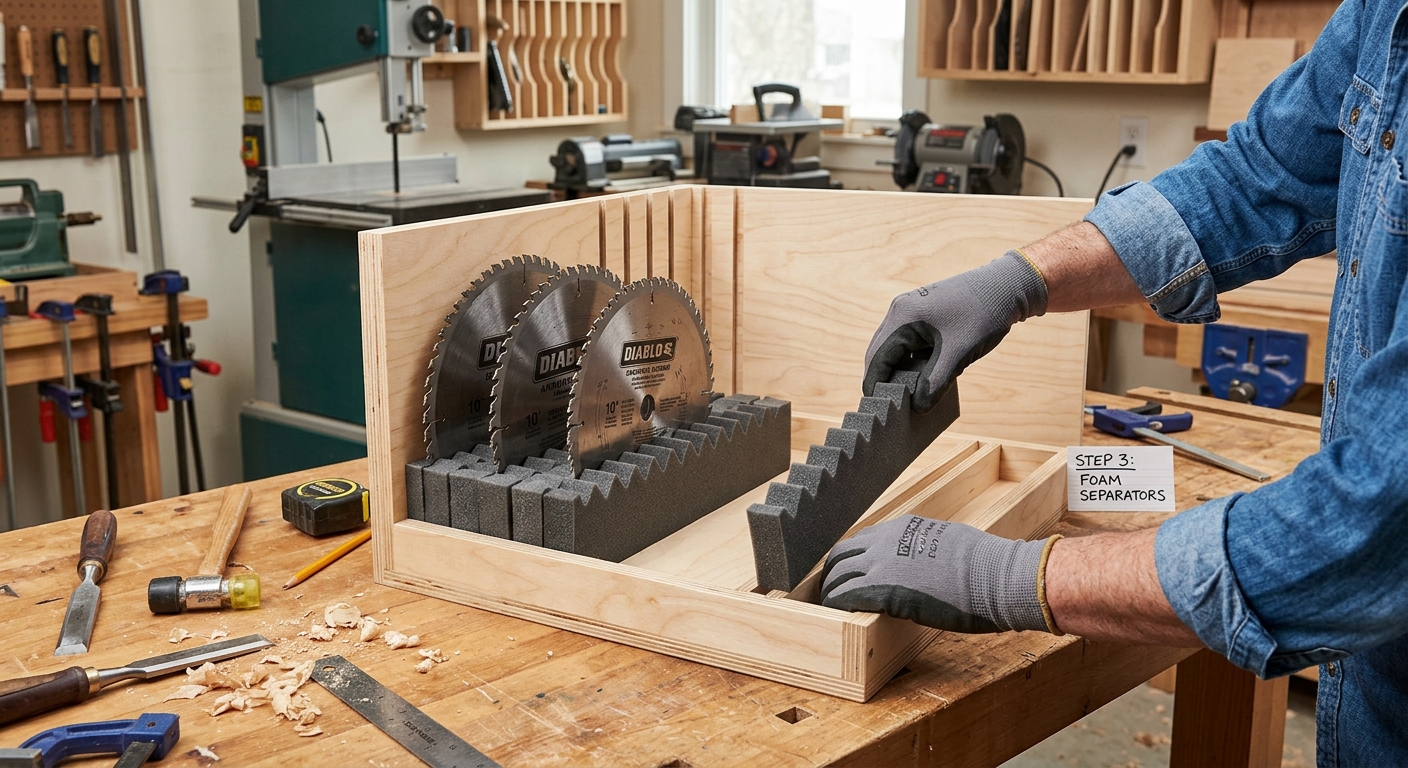
Cut foam circles or squares (craft foam or packing foam) slightly larger than each blade’s diameter. Stack blades with one foam separator between each blade. The foam prevents tooth-to-tooth contact and absorbs the slight movements that occur during transport or when the case is bumped on the wall.
Step 4 – Label Each Blade Position
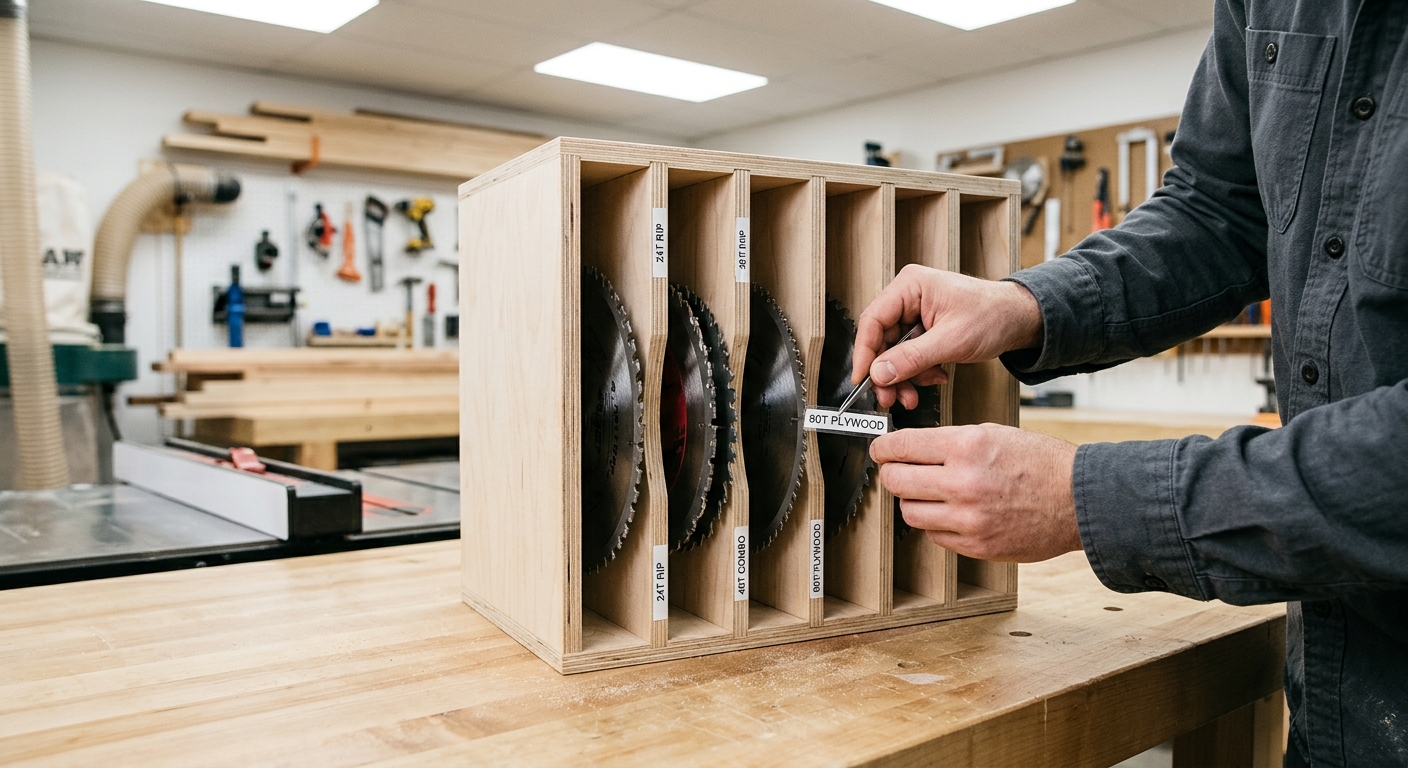
Mark the blade position inside the case (or on the lid interior) with the blade’s specification: tooth count, kerf width, and intended use. When a blade position is empty, you know which blade is missing and where it should be.
Step 5 – Mount the Case on the Wall
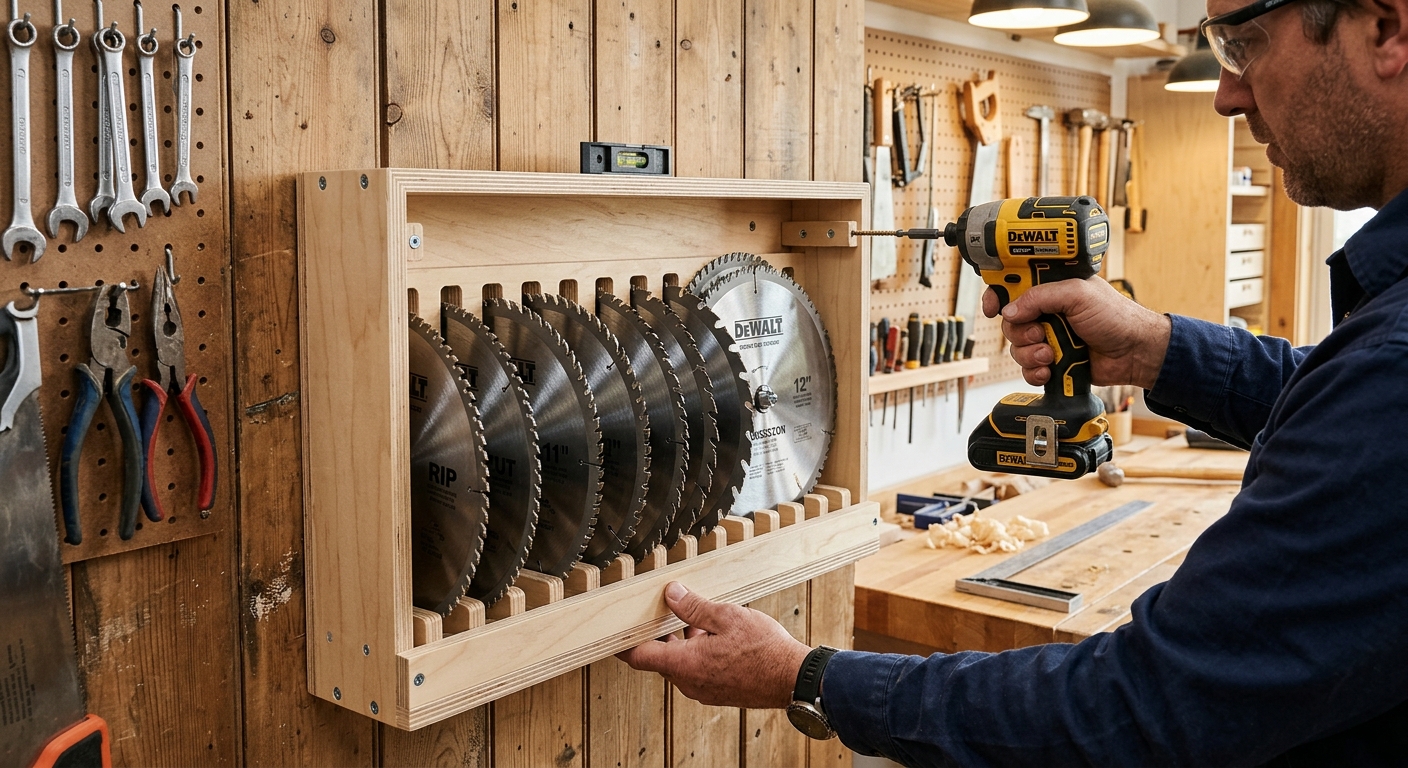
A full blade case is heavy and awkward. Mount it on the wall at chest height with a French cleat mount on the back of the case – this lets you hang it quickly, take it down when you need to access blades, and put it back with one hand. Position it near the table saw where blade changes happen.
FAQ
Can I store dado stacks in the same case? Yes – build a separate section of the case, or a second case, for dado stack components. Dado stacks have chippers and scoring blades that need individual protection and careful organization to reassemble correctly.
How do I transport blades safely? The case described above works for transport. Never carry loose blades in a bag or toolbox – the teeth will damage everything around them and can cut through the bag material.