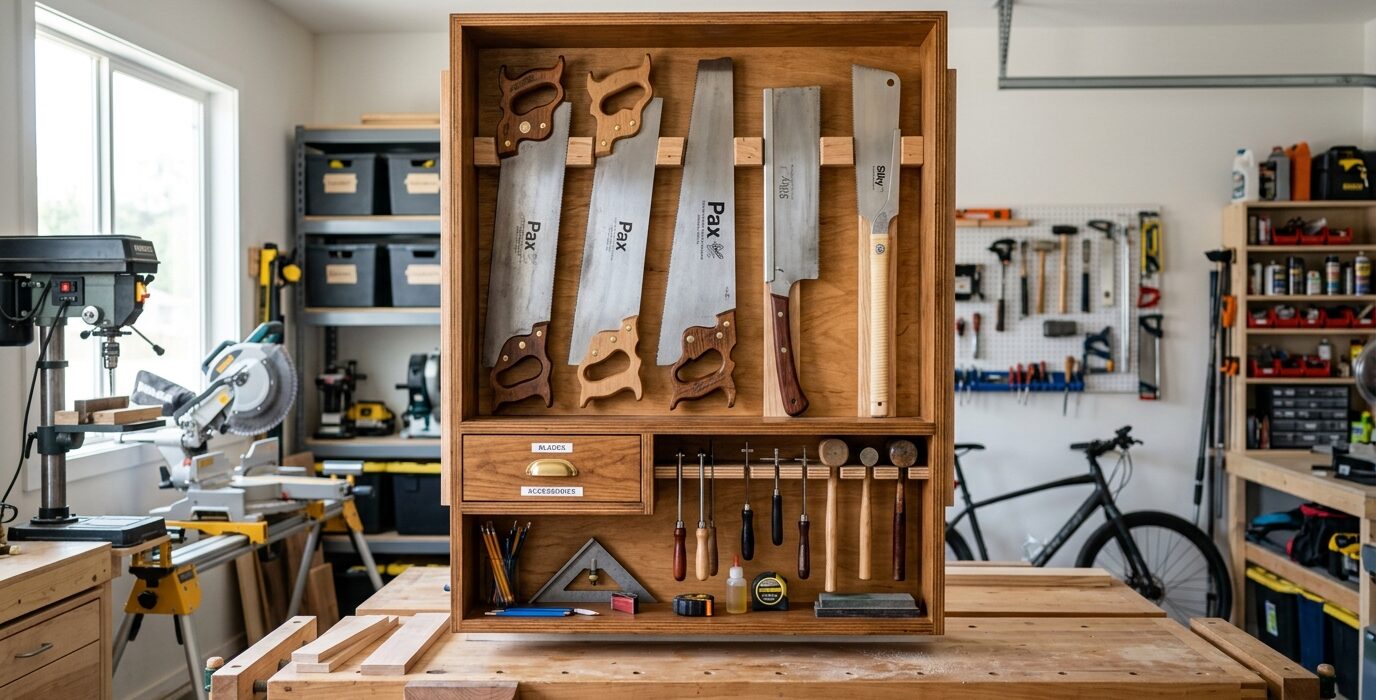
Saw Storage That Keeps Teeth Sharp and Workers Safe
Handsaws, panel saws, back saws, and Japanese pull saws all have one thing in common: exposed teeth that dull on contact with anything and cut skin instantly. Good saw storage protects the teeth, protects you, and makes it fast to retrieve the right saw without shuffling past the wrong ones. This project builds a wall-mounted saw storage cabinet with individual slots for each saw and a magnetic catch that keeps the door closed without requiring a latch.
Materials
- 3/4-inch plywood for the cabinet box – approximately one half-sheet
- 1/4-inch plywood or hardboard for the cabinet back
- 1×4 pine or hardwood for the saw holders inside
- Piano hinge for the door
- Magnetic catches
- Finishing nails and wood glue
Step 1 – Measure Your Saws

Lay every saw flat and measure the longest one. This sets the minimum internal depth of the cabinet. Measure the handle height of your widest saw – this sets the internal width between shelves. Most handsaws have handles 6 to 7 inches tall, so plan for 8 to 9 inches between horizontal storage positions to allow clearance for the handle and a finger for retrieval.
Step 2 – Build the Cabinet Box
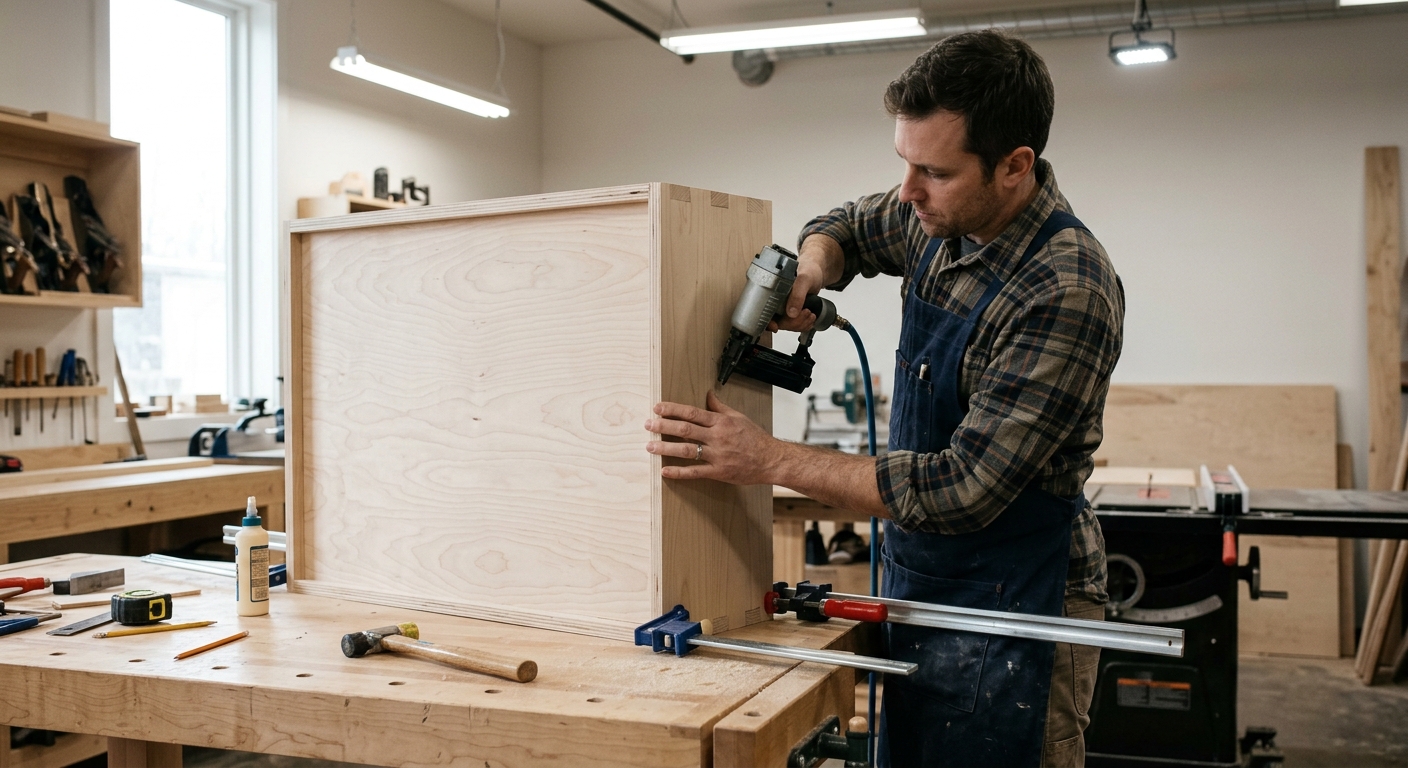
Cut the cabinet sides, top, and bottom from 3/4-inch plywood. The box should be deep enough for your longest saw plus 2 inches of clearance, wide enough for all your saws side by side with 2-inch gaps between them, and tall enough for your largest saw handle. Assemble with glue and screws. Attach the 1/4-inch back panel to square the box.
Step 3 – Build the Saw Holders
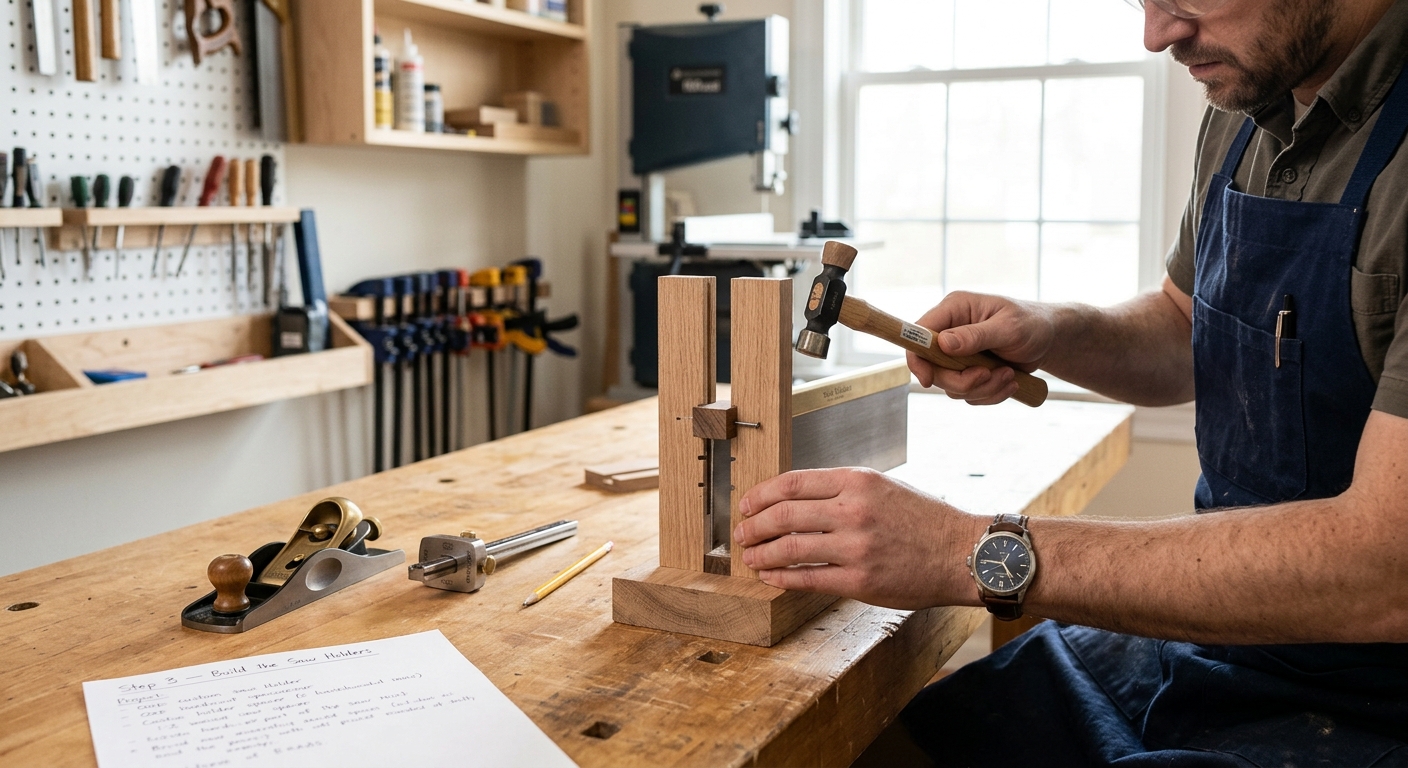
Each saw hangs on a horizontal wooden dowel or a kerf cut into a horizontal bar. The kerf method works best for most handsaws: cut a 1/8-inch-wide slot into the top edge of a 1×3 bar running the full width of the cabinet. This slot captures the blade near the handle so the saw hangs securely. Space the bars to separate each saw by 2 to 3 inches.
Step 4 – Build and Hang the Door
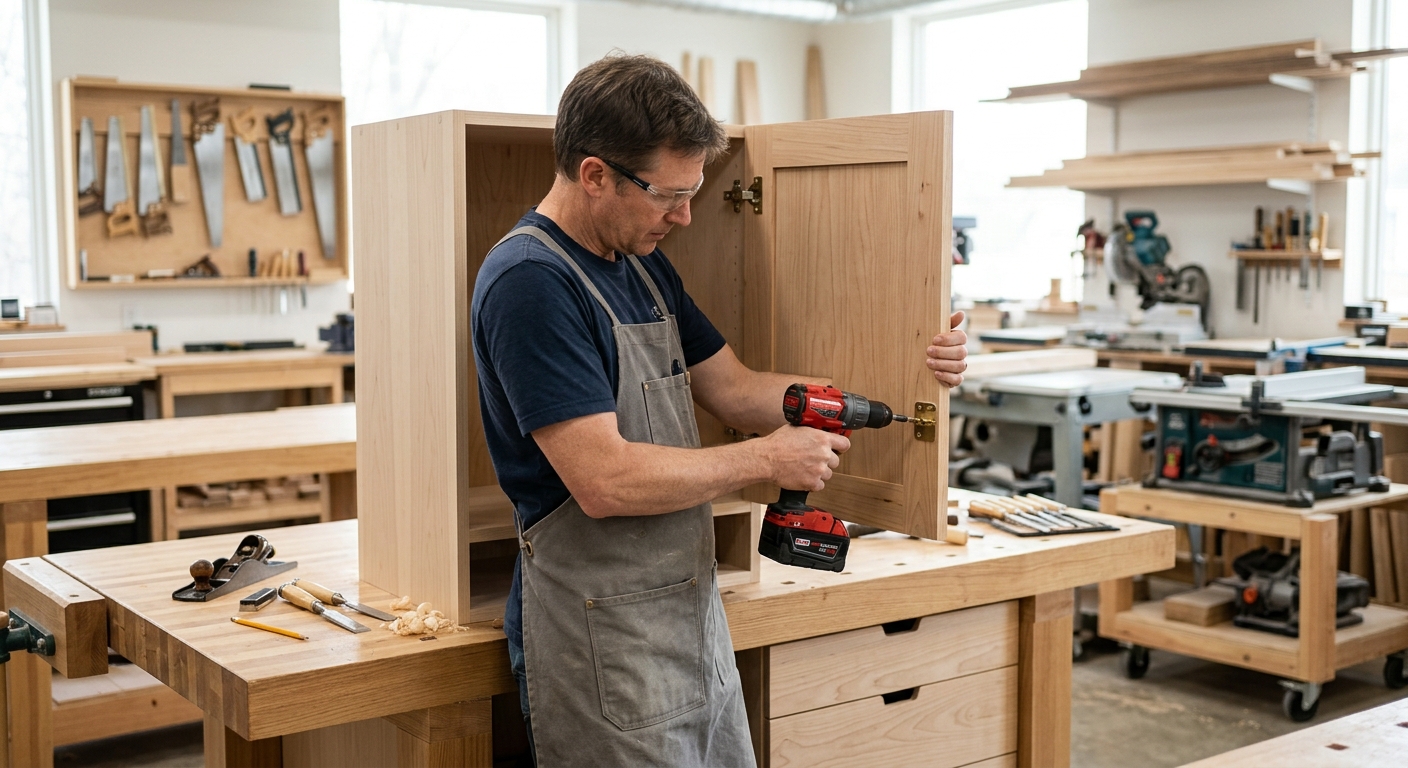
The door is a simple 3/4-inch plywood frame with a 1/4-inch panel. A piano hinge running the full height of the cabinet gives a rigid, gap-free hang. Install magnetic catches at the top and bottom of the door opening – two catches provide enough force to hold the door reliably while still opening easily.
Step 5 – Mount to the Wall
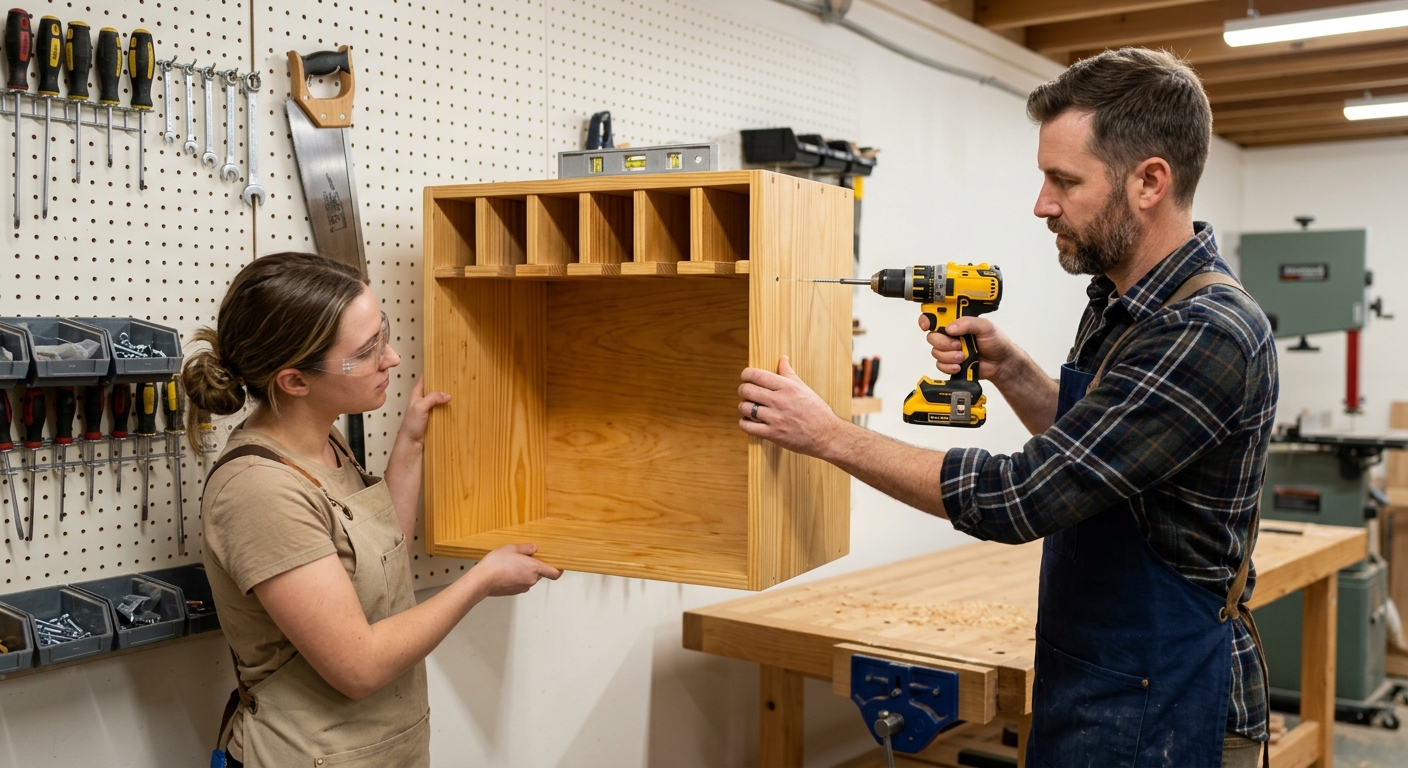
Mount the cabinet at a height where the tallest saw handle clears your shoulder when the door is open – typically 48 to 60 inches from the floor to the bottom of the cabinet. Use lag screws at stud locations. A full cabinet of saws can weigh 20 to 30 pounds with hardware; use at minimum two studs.
Pro Tips
- Inside the door is usable storage space. Shallow hooks or small shelves can hold sharpening files, saw sets, or spare blades without adding to the cabinet’s footprint.
- Label each slot position if you have more than five or six saws. When you reach for a tenon saw and it’s not in the right slot, you want to know immediately which slot it belongs in.
FAQ
Can I store Japanese pull saws in the same cabinet?
Yes, but they need slightly different holders since many have a different balance point and thinner blades. A separate horizontal dowel near the handle works well for both Western and Japanese-style saws.
What about circular saw blades?
Circular saw blades store best in a dedicated drawer or a wall-mounted rack with vertical dividers. Each blade needs its own slot so they can’t contact each other – blade-to-blade contact is how carbide tips chip.