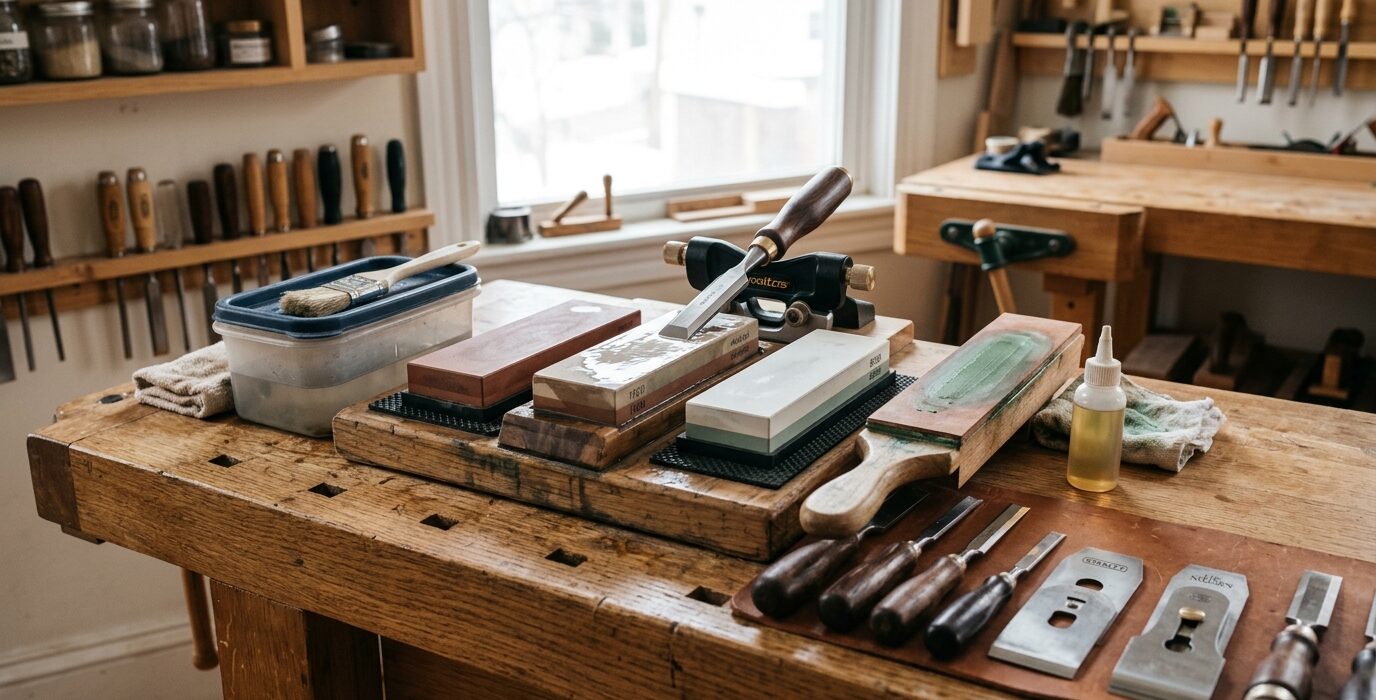
A Shop-Made Sharpening Jig Station
A sharpening jig station is different from a general sharpening station – it’s specifically built around a honing guide or a set of dedicated jigs for achieving perfect, repeatable bevel angles on chisels, plane irons, and skew blades. Rather than depending on freehand sharpening technique, the jig station makes consistent bevel angles achievable for any skill level. Once built, this station turns sharpening from a skill to a procedure.
What This Station Contains
- A flat reference surface for stones (plate glass or granite tile, perfectly flat)
- Sandpaper in multiple grits adhered to the flat surface
- A honing guide (Eclipse or Veritas style)
- A wooden registration block for setting the honing guide to specific angles
- A leather strop mounted at one end
- Storage for fresh sandpaper sheets
Materials
- One piece of 1/2-inch thick plate glass or a 12×12-inch granite surface tile
- 3/4-inch plywood for the station top and sides
- PSA-backed sandpaper in 220, 400, 600, 1000, and 1500 grits
- One commercial honing guide
- Hardwood scrap for the angle-setting registration blocks
- Leather and honing compound for the strop
Step 1 – Build the Station Surface
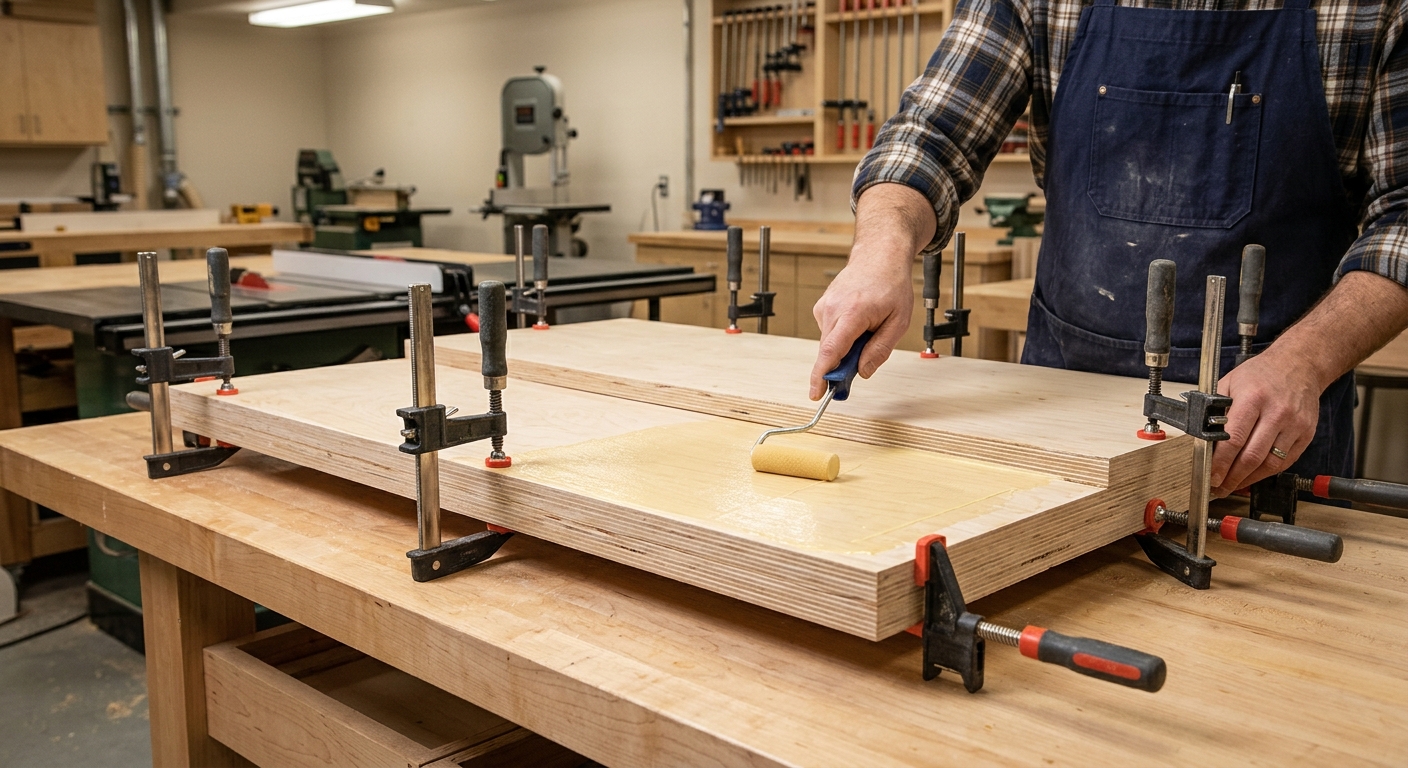
Build a simple plywood station top approximately 12 x 36 inches. Install the glass or granite tile in a shallow recess at one end – it should sit perfectly flush with the surrounding surface. The tile is your primary sharpening surface. Attach adhesive sandpaper to the tile for each session and peel it off when done.
Step 2 – Build Angle Registration Blocks
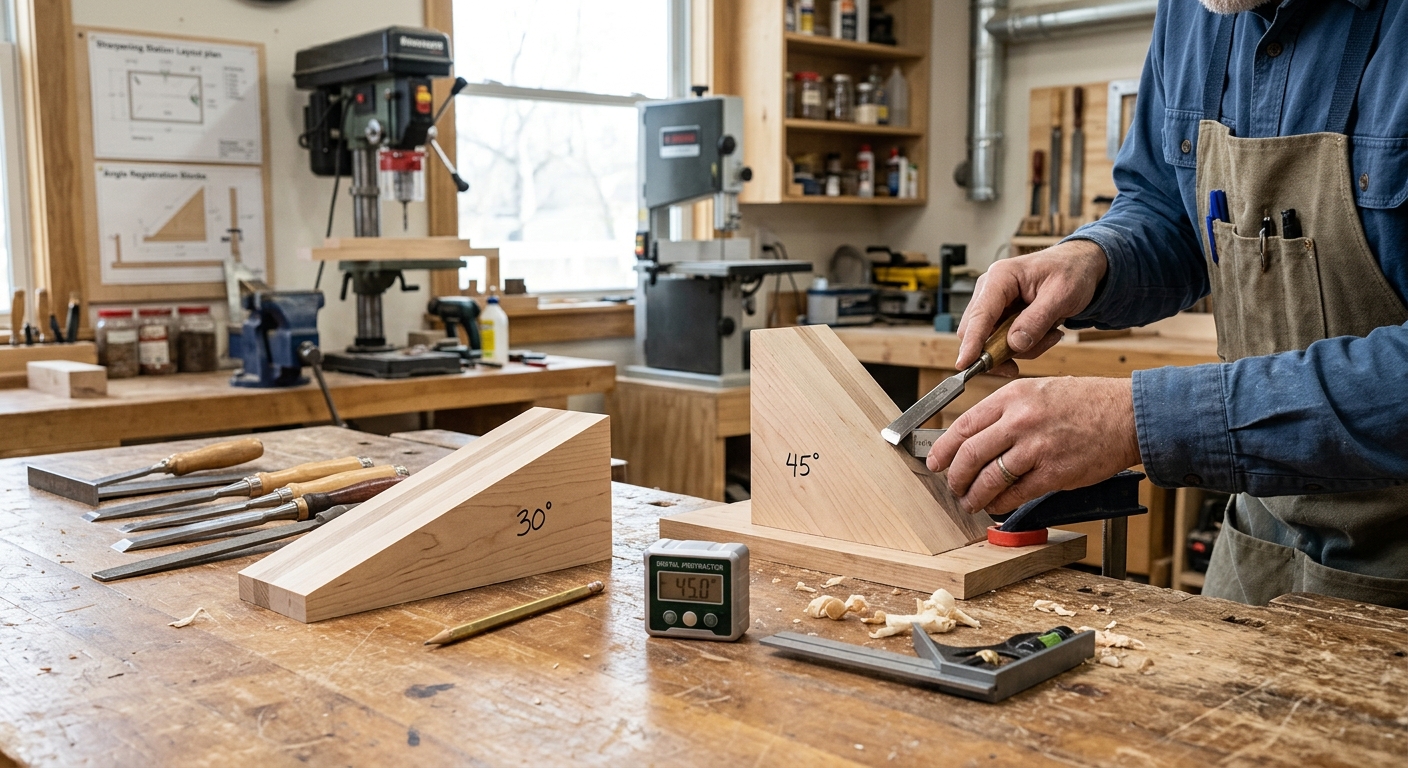
The registration block sets the honing guide to the correct blade projection for a given bevel angle. Different blade widths and different desired angles require different projections. Build a wooden block with multiple steps at different heights – each step is a specific blade projection. Label each step with the resulting bevel angle (25 degrees, 30 degrees, etc.). This block eliminates the need to calculate projections and guarantees consistency between sharpening sessions.
Step 3 – Build a Sandpaper Storage System
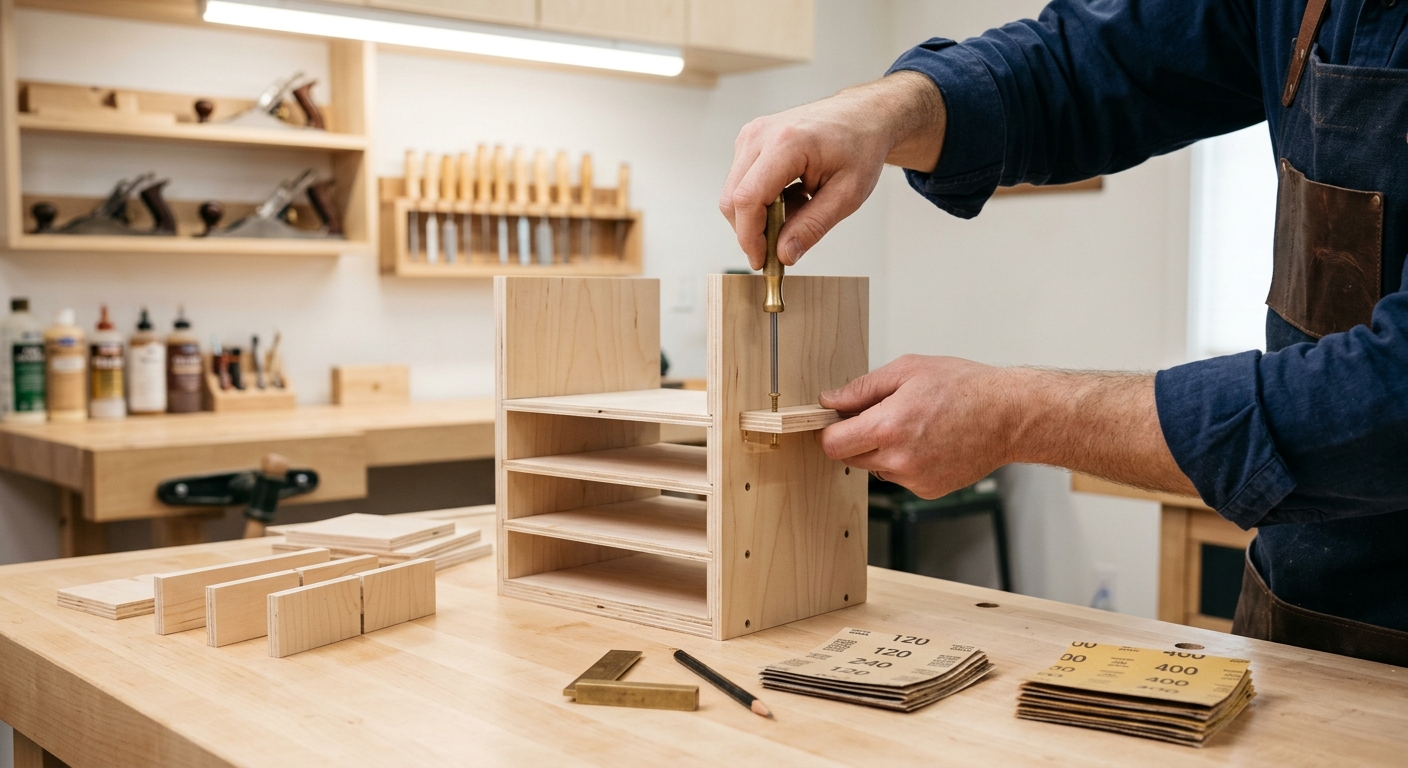
Store fresh sandpaper sheets in a simple slot system built into the station – several vertical slots, one for each grit, each wide enough for a full or half sheet of sandpaper. Label each slot. You should be able to grab a fresh sheet of any grit without searching or unrolling a pack.
Step 4 – Install the Strop
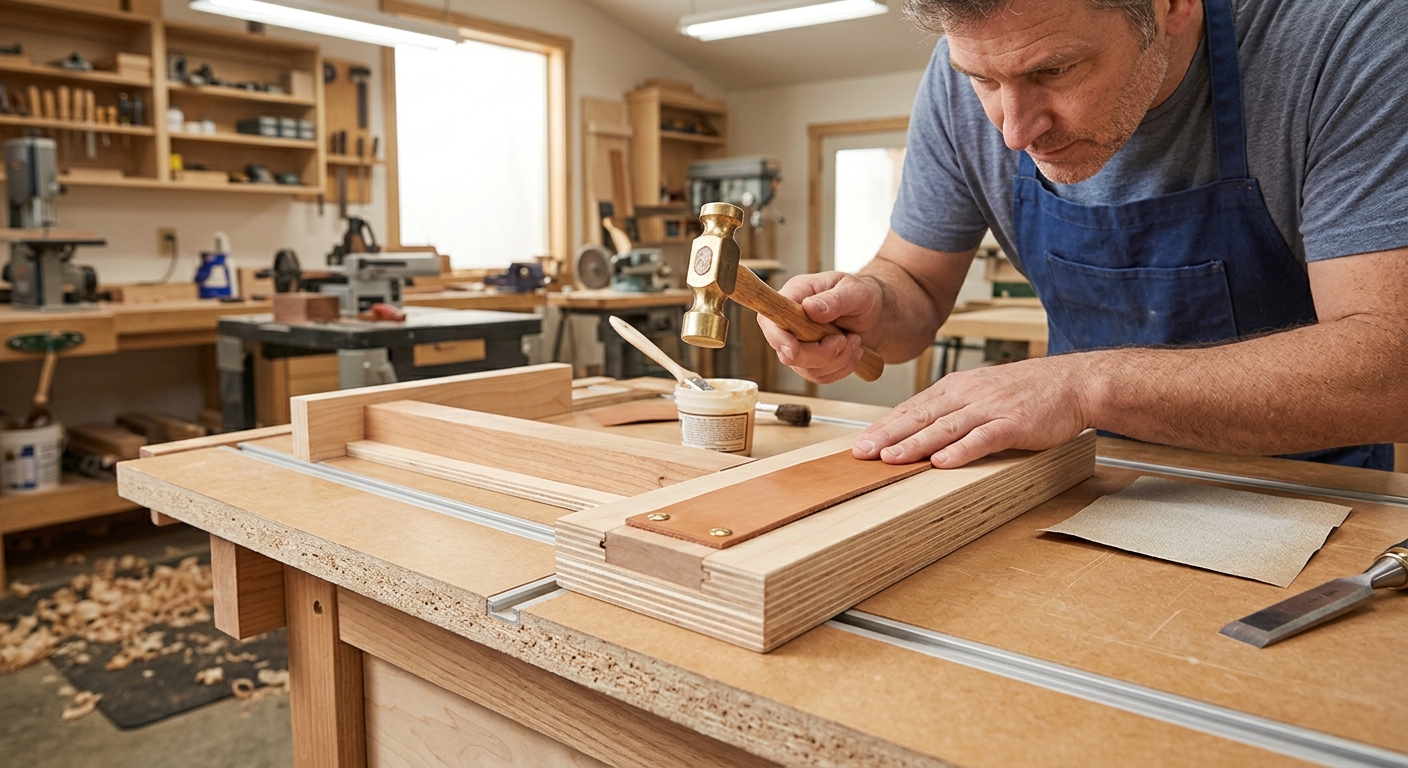
Glue leather to a flat block at the far end of the station. The strop is the last step in every sharpening session – a few passes on the strop loaded with compound removes the wire edge and polishes the bevel to a mirror finish. Keep the compound in a holder on the station surface.
Step 5 – Document Your Angles
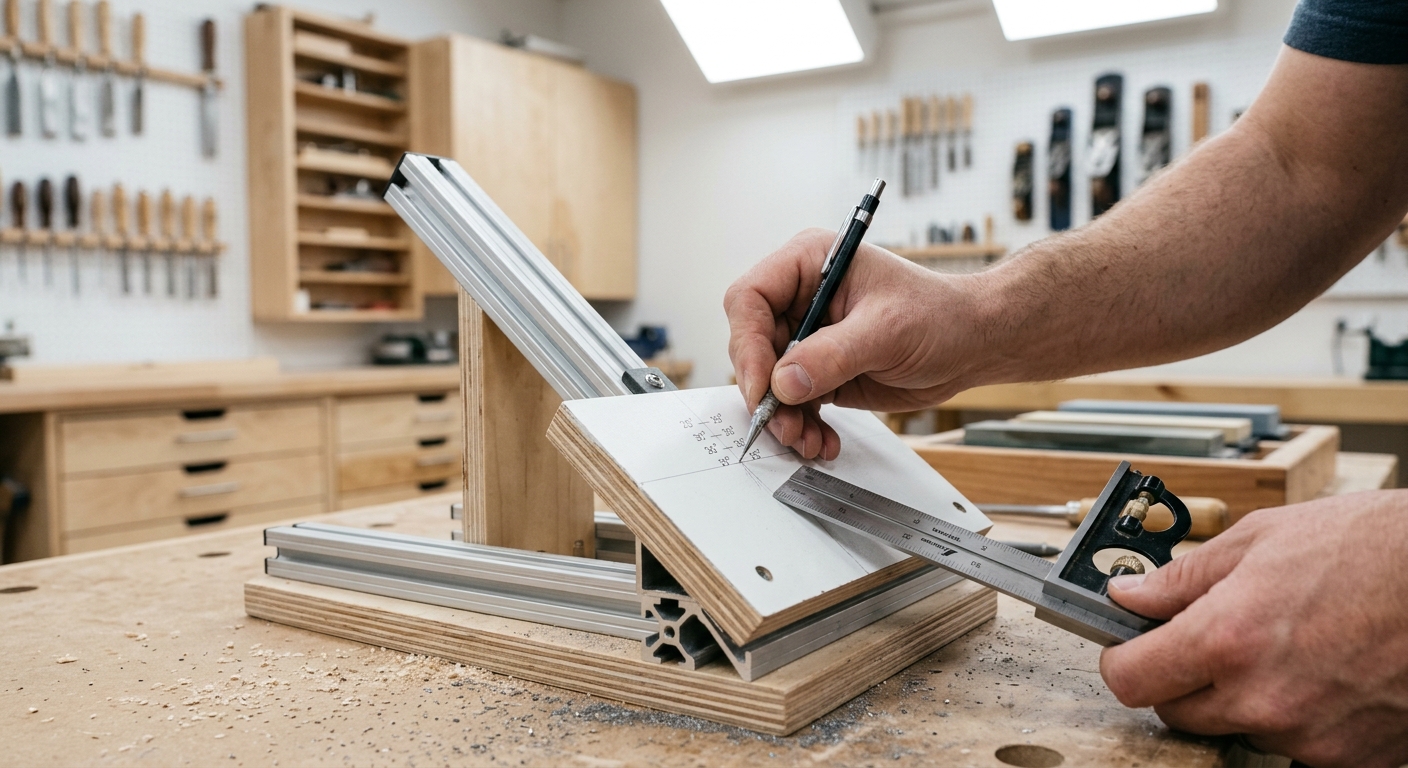
Make a small reference card for the station listing the correct blade projection for each tool type and desired angle. Laminate it and attach it to the station with a small clip. Never guess at angles – reference the card every time until the numbers become instinct.
FAQ
Is a honing guide required? Not required, but it makes consistent results achievable for any skill level. Freehand sharpening produces excellent results once you develop the muscle memory – but that takes months of practice. A honing guide produces consistent results from day one.
Which honing guide is best? The Veritas Mk.II is the most versatile and accurate. The Eclipse style (and its many copies) is less expensive and adequate for chisels and most plane irons. Both work well when used with a proper registration block.