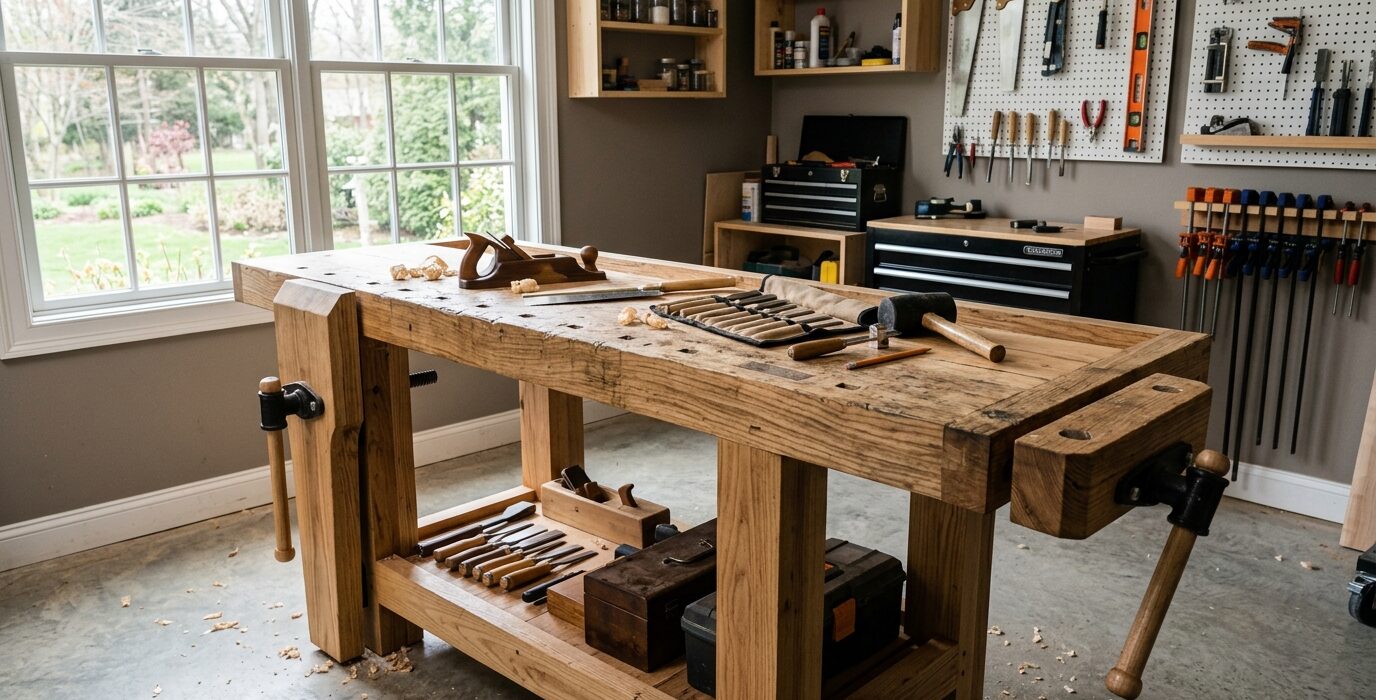
The Split-Top Roubo – The Most Versatile Hand Tool Bench Design
The split-top Roubo workbench is the most popular high-performance hand tool bench design of the past two decades. Popularized by Christopher Schwarz, it features a split top with a gap between the two halves – the gap allows clamps to pass through anywhere along the bench length, eliminating the need for a tail vise for many operations. Combined with a leg vise, a planing stop, and dog holes, the split-top Roubo is the benchmark for serious hand tool woodworking.
What Makes the Split Top Special
The split between the two top slabs (typically 1 to 2 inches wide) lets you drop clamps into the gap and clamp directly to the bench legs from above. No end vise needed for most hold-down operations. The gap also accepts planing stops, holdfasts, and other workholding devices anywhere along the length. The design makes the full bench surface usable for workholding rather than just the front edge.
Materials
- 80 to 100 board-feet of 8/4 hard maple, beech, or ash for the top slabs and legs
- Leg vise hardware (Benchcrafted Glide or equivalent)
- Two holdfasts (Gramercy Tools or similar)
- 2-inch diameter bench screw for the leg vise
- Optional: wagon vise or end vise for one end
Step 1 – Mill and Glue the Top Slabs
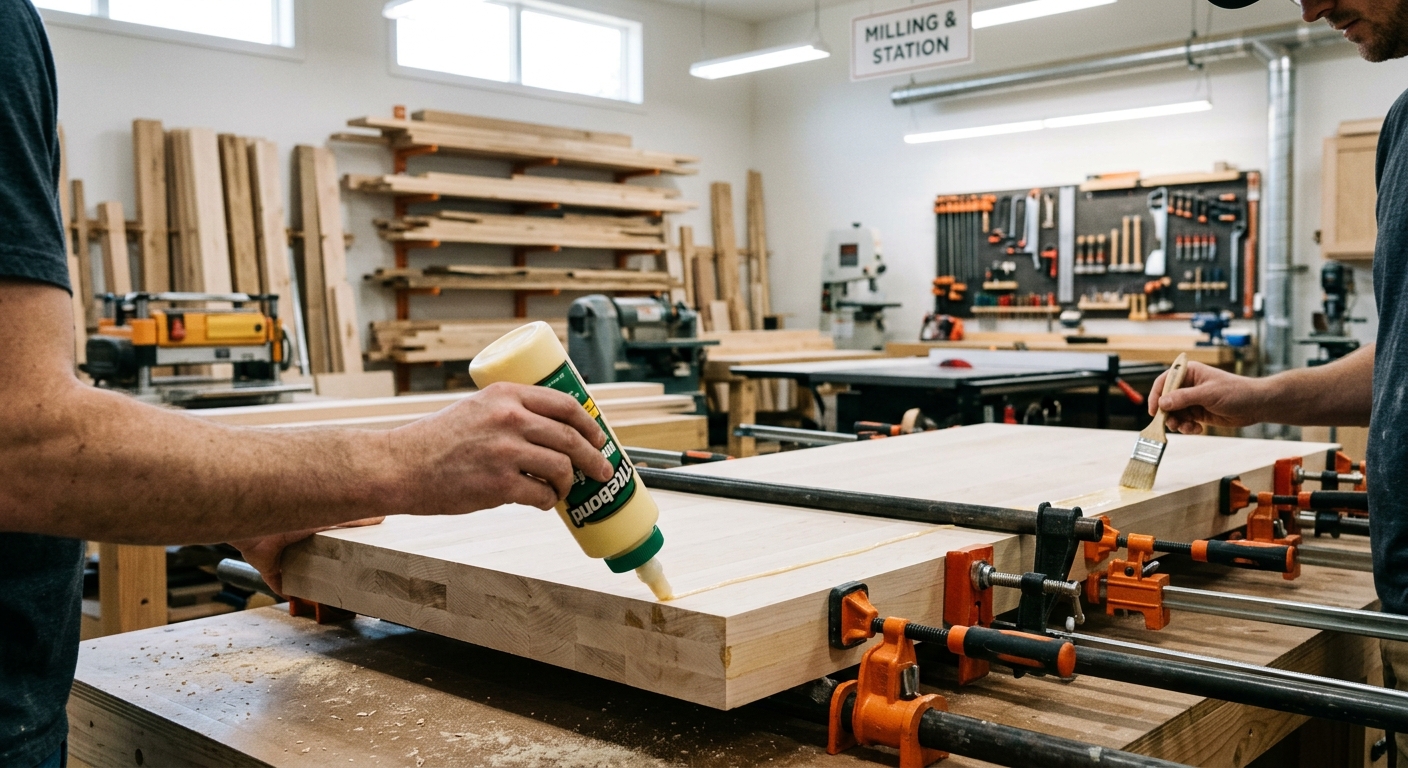
The two top slabs are each approximately 4 to 5 inches wide and 3 to 4 inches thick, laminated from 8/4 stock. Glue up each slab and flatten both surfaces. The gap between them must be consistent – use spacers during installation to set the gap width exactly.
Step 2 – Build the Leg Assemblies
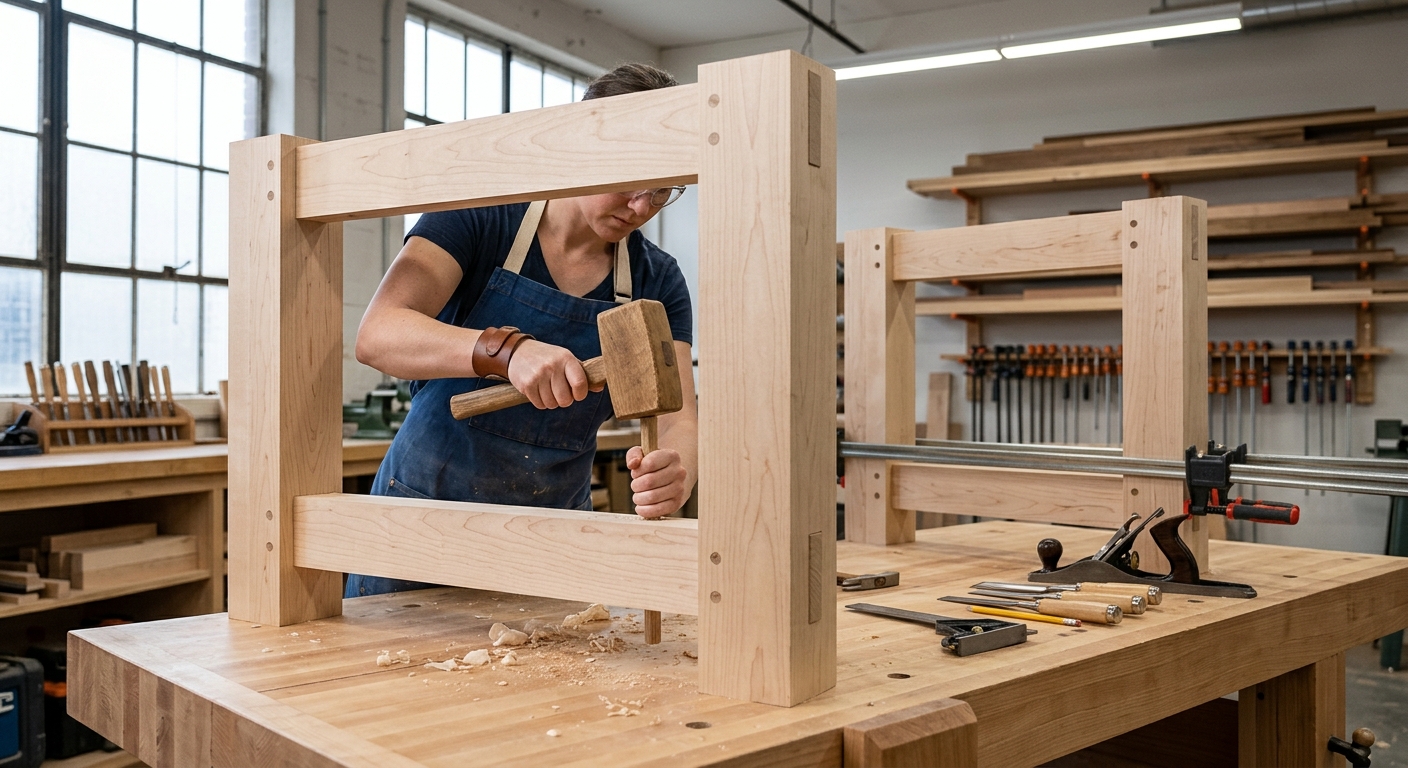
The Roubo leg is massive – typically 4 to 6 inches square. Laminate from multiple pieces of 8/4 stock. The front left leg receives the leg vise installation – size this leg specifically to match your leg vise hardware requirements. The leg assemblies connect front to back with thick, through-tenon stretchers.
Step 3 – Assemble the Base
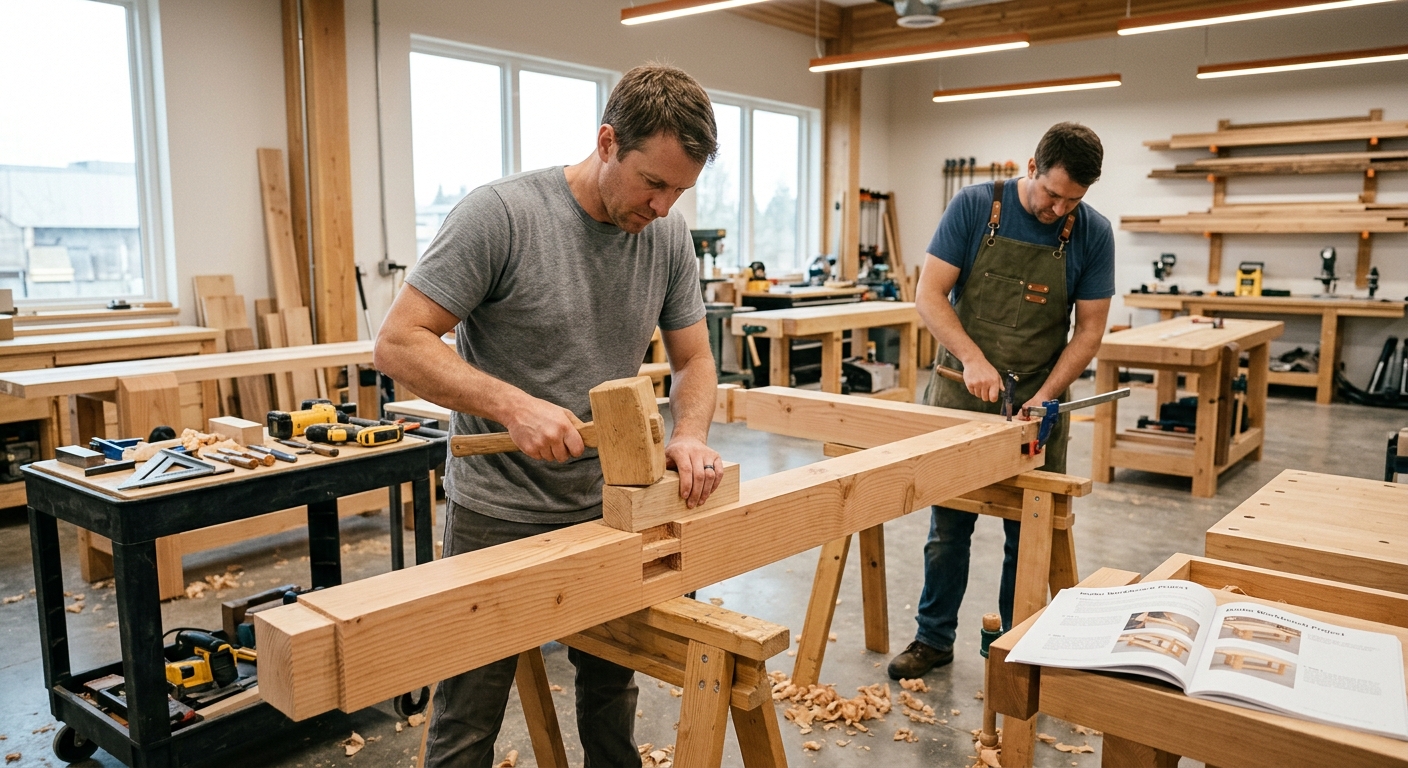
The base assembly is the most joinery-intensive part of the build. Traditional Roubo bases use large mortise-and-tenon joints throughout – 1.5-inch-wide mortises with full-width tenons are not unusual. Glue up the two leg assemblies, then connect them with the front and rear stretchers. The base must be square and stable before the top goes on.
Step 4 – Mount the Top Slabs
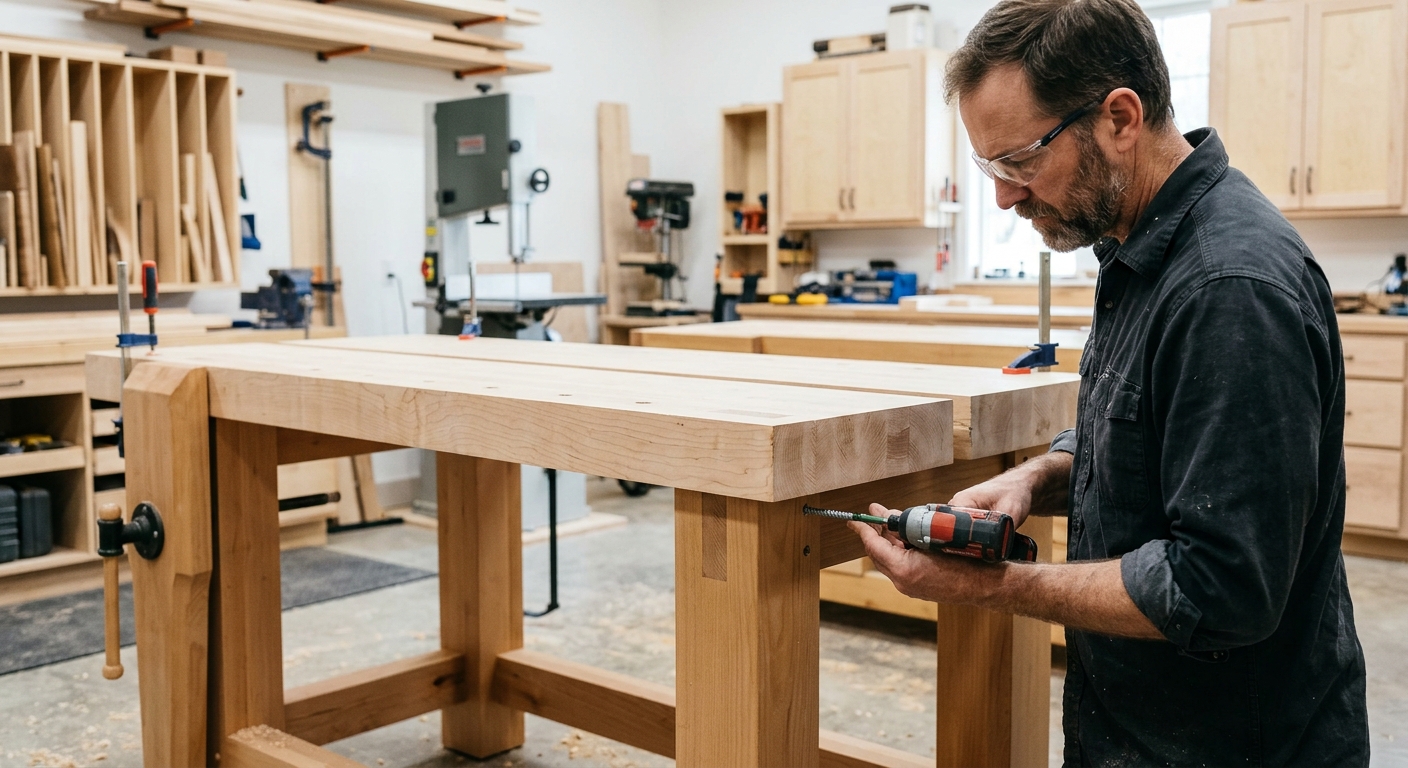
The two top slabs sit in grooves or on ledges at the top of the leg assemblies. The gap between them is set with spacers and must be consistent from end to end. The slabs attach to the base with figure-8 fasteners that allow for seasonal wood movement.
Step 5 – Install the Leg Vise
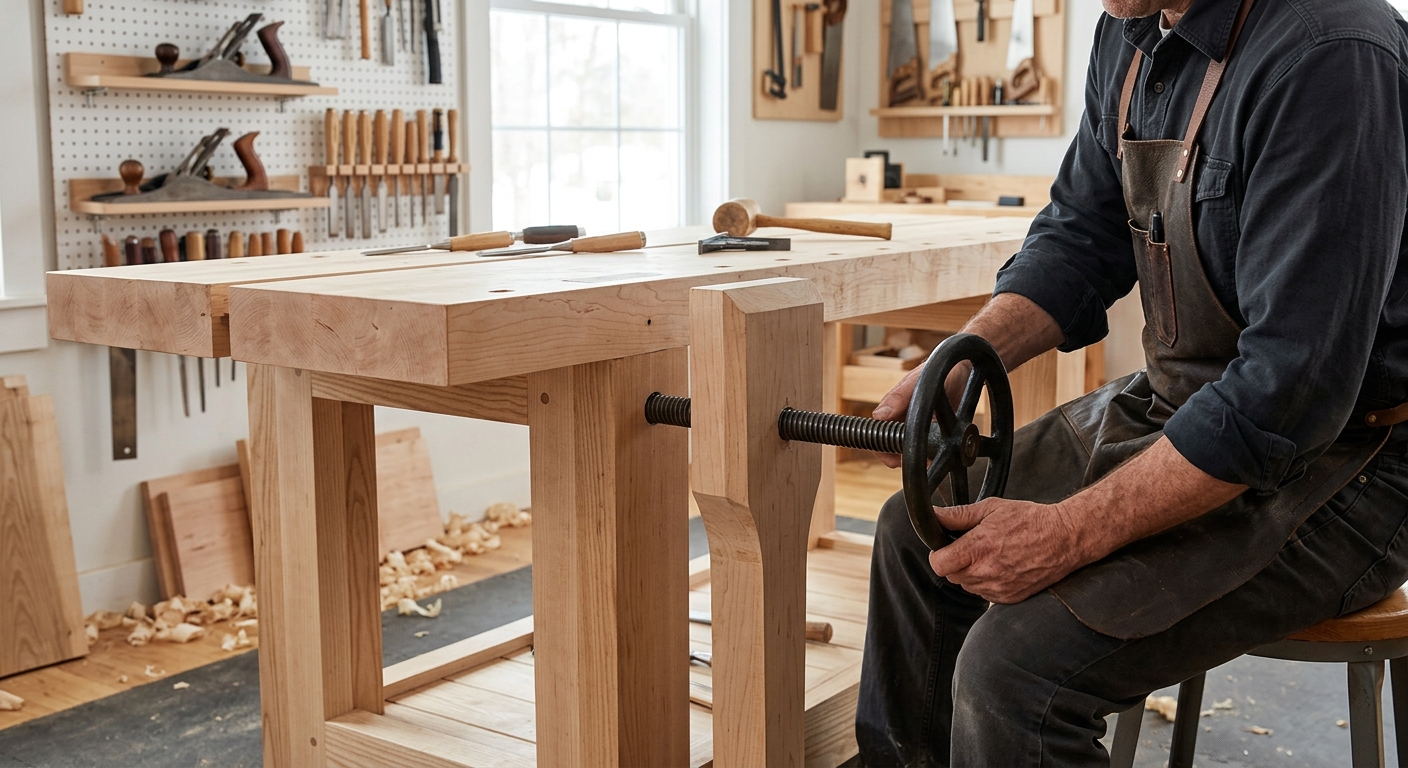
Follow the Benchcrafted or equivalent hardware instructions for the leg vise installation. The leg vise mounts on the front face of the left front leg. Careful alignment during installation ensures smooth operation for decades of use.
Step 6 – Flatten the Top
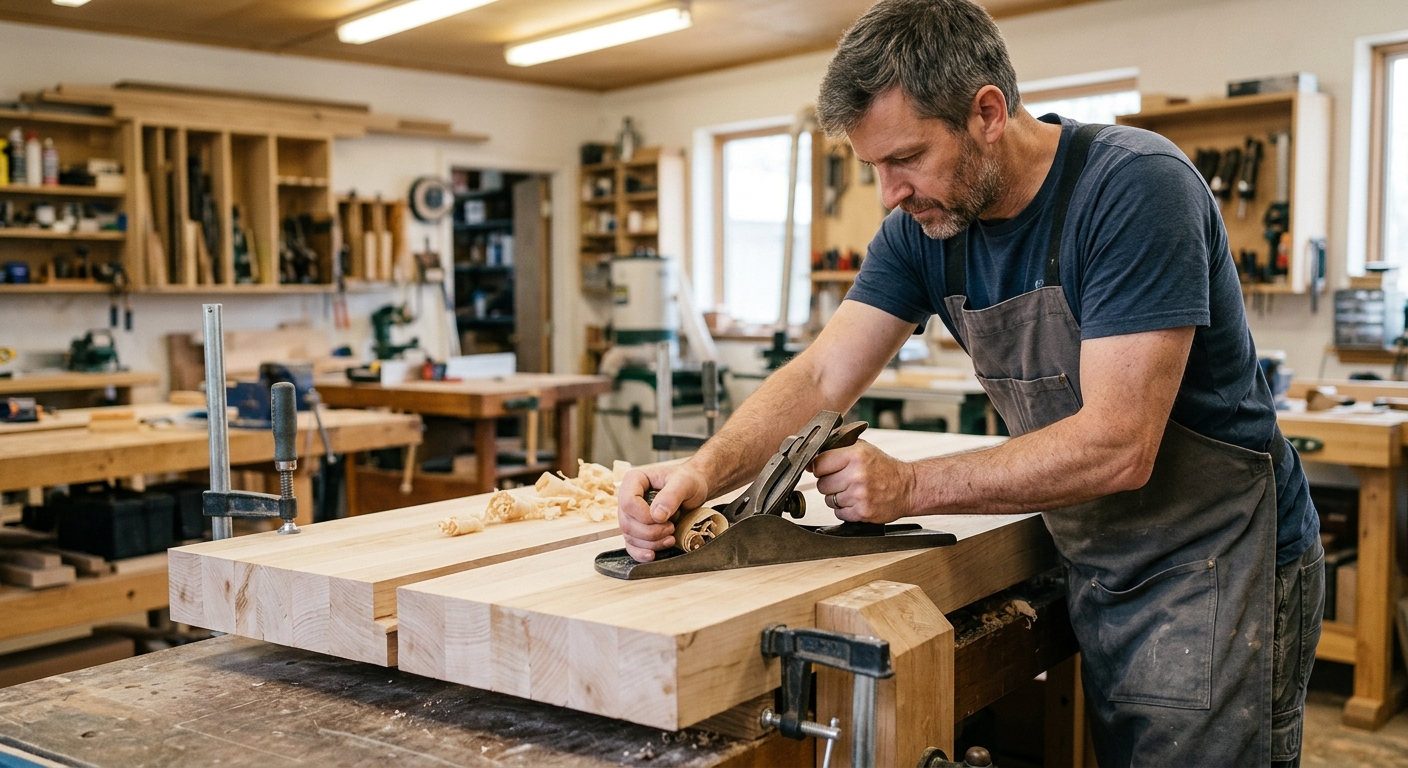
Flatten both slabs with winding sticks and a hand plane – this is the moment you get to use the bench for the first time. The two slabs should be co-planar with each other and flat individually. Aim for flat to within 1/32 inch across the full length.
FAQ
How long does it take to build a split-top Roubo? For a woodworker with intermediate skills, expect 40 to 80 hours of shop time spread over several weekends. For a first bench, budget toward the longer end.
Do I need all that hardwood? The mass is functional – a heavier bench is more stable during planing. That said, a Roubo built from construction-grade Douglas fir is still an excellent bench and costs a fraction of the hardwood version.