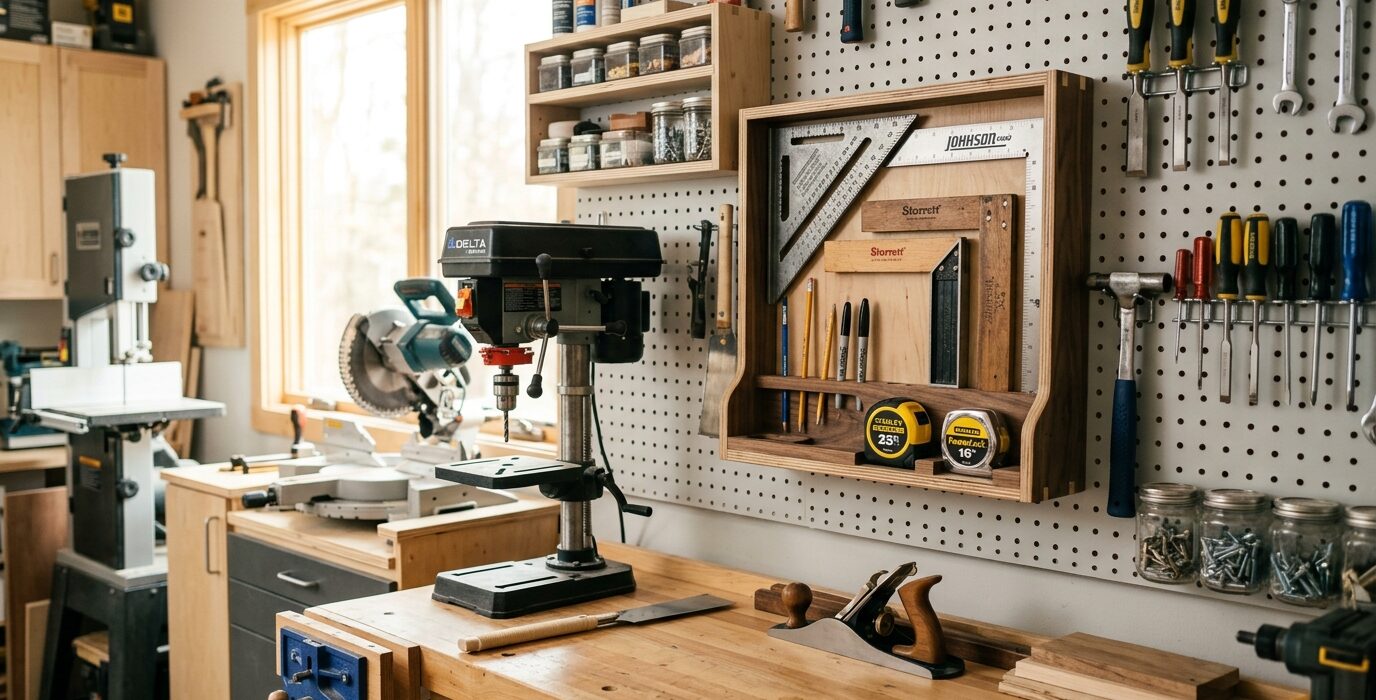
A Tape and Square Holder for the Bench Wall
Tape measures and squares are the most-reached-for tools in any shop and the most likely to be buried under a pile of materials when you need them. A dedicated holder on the wall above the bench puts both within arm’s reach at all times. This build takes 30 minutes and uses material scraps – there’s no reason to wait on this one.
Design
A simple plywood or hardwood strip with a few features: a slot or hook for each tape measure (they need to slide on and off quickly), a vertical holder for squares (combination square, try square, engineer’s square), and optionally a holder for marking tools that always go with the squares during layout work.
Materials
- One piece of 3/4-inch plywood or hardwood: 4 inches wide x 24 inches long
- Two 1-inch wooden dowels for the tape measure hooks
- A short piece of 1×4 for the square slot dividers
- Mounting screws or French cleat
Step 1 – Build the Tape Measure Hooks
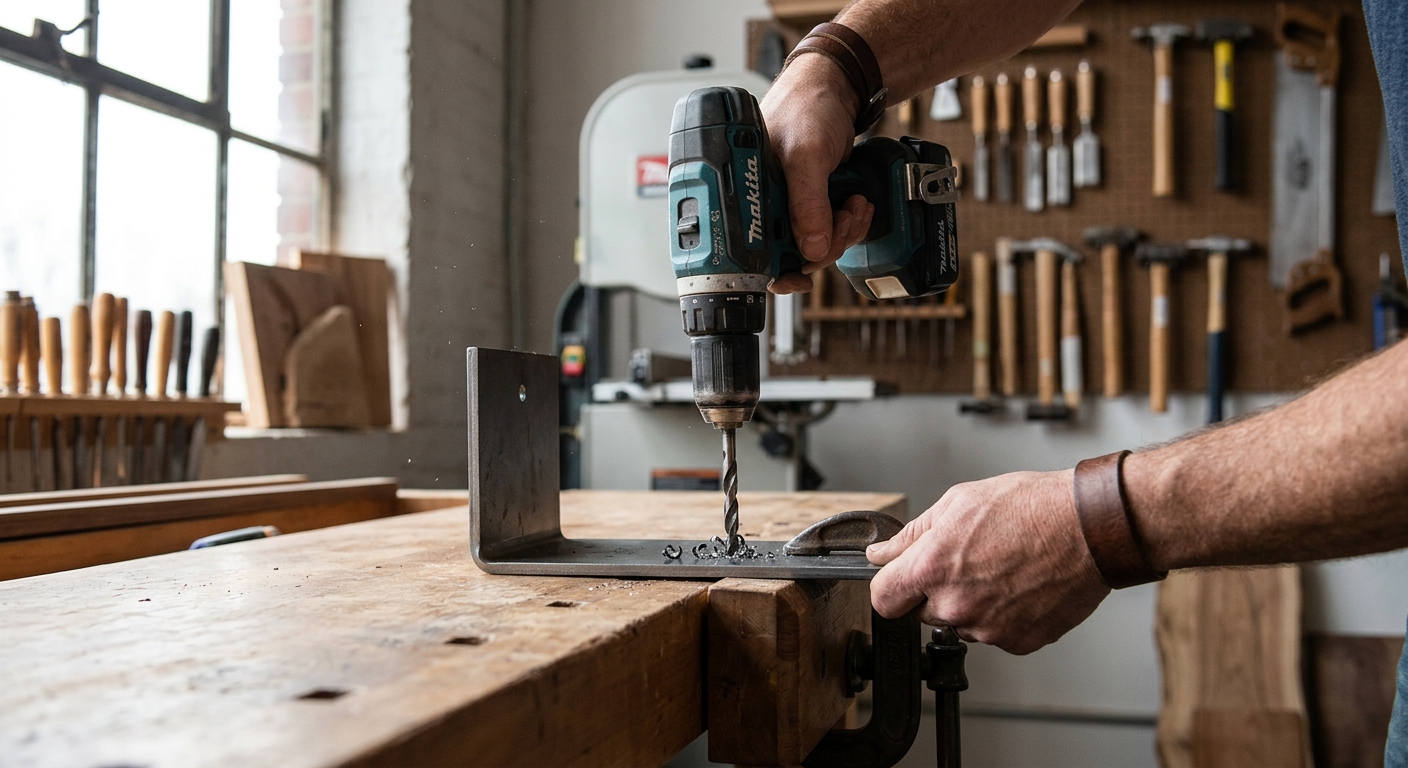
Drill two 1-inch holes in the main strip at the left end. Insert 1-inch wooden dowels 3 inches long into the holes. Each tape measure’s belt clip slides over a dowel – hang the tape, release, and it stays put. The belt clip design of every tape measure is designed for exactly this kind of storage. Space the dowels 3 inches apart for easy access.
Step 2 – Build the Square Holder
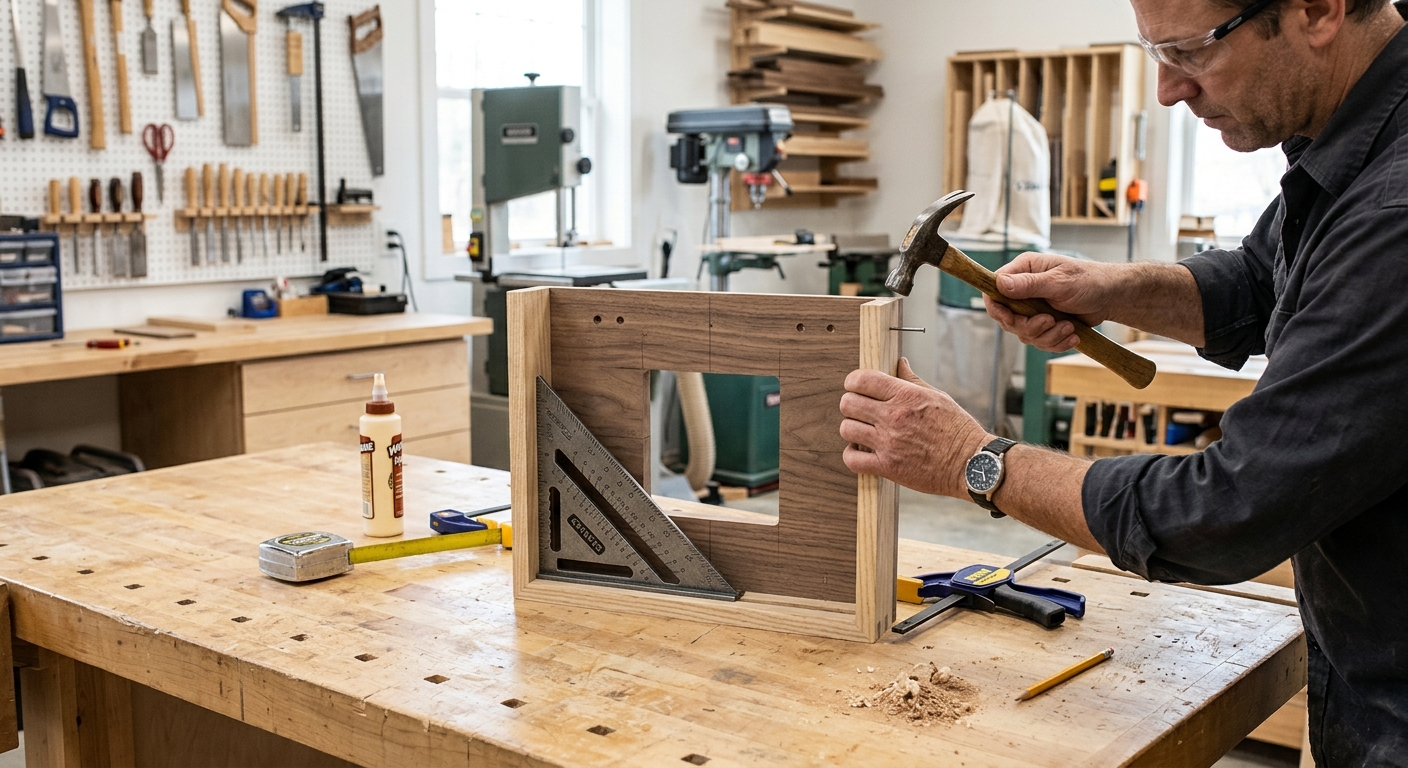
At the right end of the main strip, add two or three short vertical dividers from 3/4-inch plywood or solid wood, spaced to accommodate each square blade between them. The combination square blade slips between dividers and stands upright with the head resting on the main strip. This keeps the blade from contact with other tools and the head accessible for quick grabs.
Step 3 – Add a Marking Tool Section
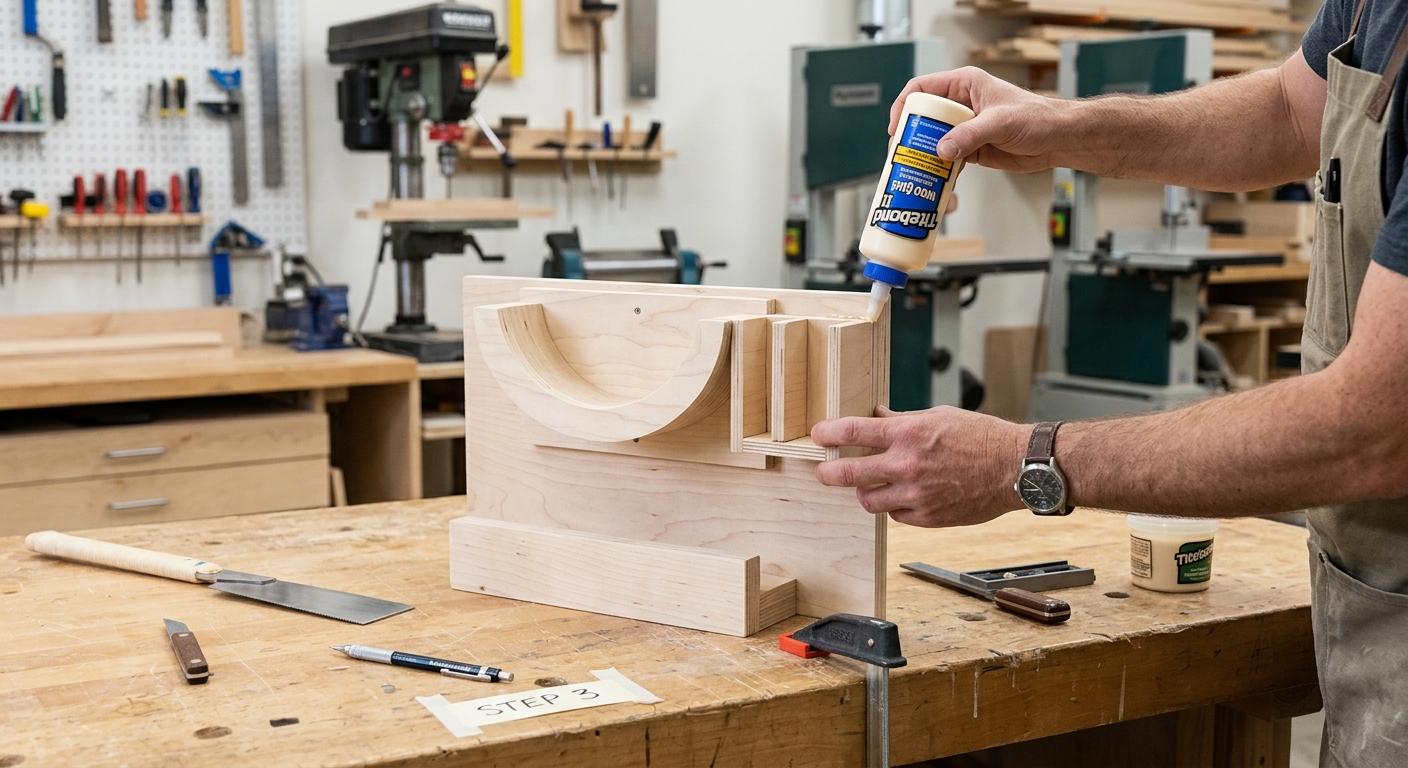
Between the tape measure hooks and the square holders, add a small block with angled holes for pencils and a marking knife. During layout work, you reach for the tape, the square, and the marking knife in sequence – having them all in the same holder means one reach gets everything.
Step 4 – Mount at the Right Height
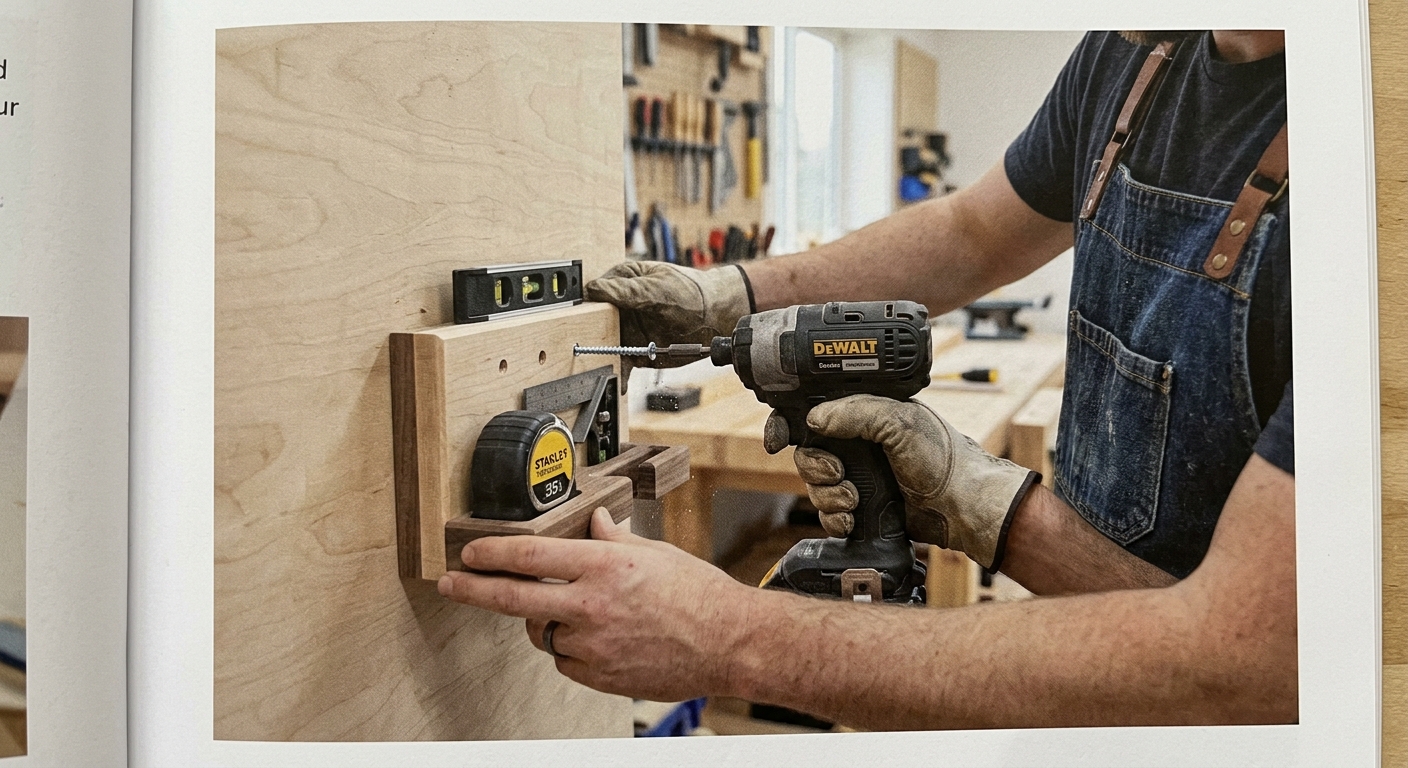
Mount this holder directly above and behind your primary working position at the bench – the spot where you stand for most layout work. The height should let you grab and replace tools without bending or reaching awkwardly. About 18 to 24 inches above the bench surface is typically right.
FAQ
How do I keep the tapes from accidentally retracting? Tape measures with blade locks – the kind where you push a button to lock the tape extended – can be stored extended if needed. Most quality tapes retract smoothly without a lock engaged and the belt clip holds them in the storage position without issues.
Should I store both a 12-foot and a 25-foot tape here? Yes – different project scales call for different tape lengths. A 12-foot tape for bench work and a 25-foot tape for room-size work and cutting sheet goods both deserve dedicated spots on the holder.