Build a Tool Tote for Hand Tools
A tool tote is the original portable toolbox – a simple open carrier with a central handle that lets you carry your most-used tools from the shop to a job site, from one side of the shop to another, or to a worksite with no permanent storage. Unlike a closed tool chest, the tote lets you see every tool at a glance. Unlike a bucket, it holds tools upright in a stable arrangement. A well-made tote is also a shop project in itself – a good excuse to practice hand-cut joinery and practice the same skills you’ll use to build furniture.
Materials
- 3/4-inch hardwood (cherry, walnut, or white oak) for the sides and ends
- 1/4-inch plywood for the bottom
- 1-inch diameter hardwood dowel, 18 to 24 inches long, for the handle
- Wood glue and clamps
- Optional: a divider strip running lengthwise to separate sections
Step 1 – Size the Tote
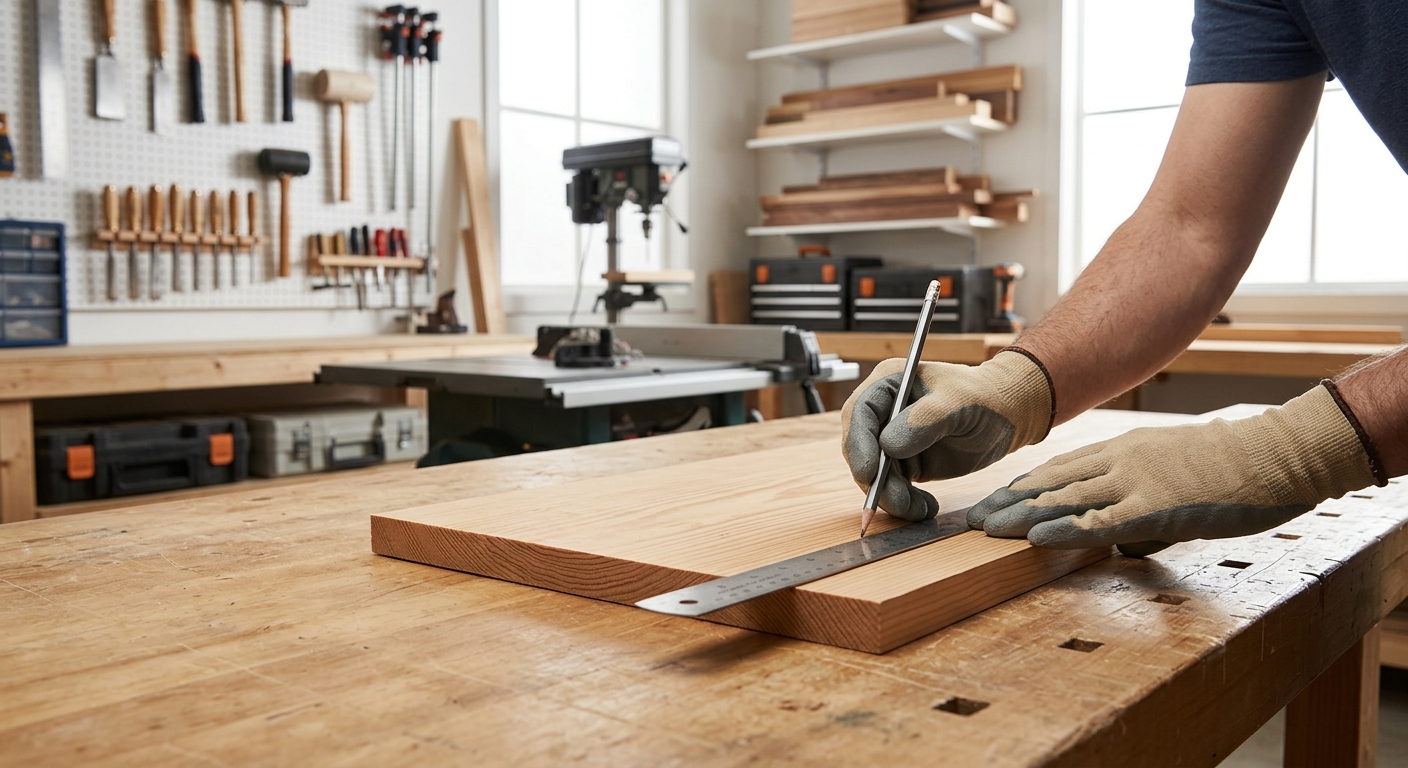
Measure your longest tool – usually a combination square or a 12-inch backsaw – and make the tote interior length 2 inches longer. Width should accommodate the widest group of tools you’ll carry without overcrowding: 5 to 6 inches is typical. Height (the side walls) is determined by the longest handles in the mix – 4 to 6 inches is standard. The base is plywood; the sides and ends are solid wood for durability and joinery practice.
Step 2 – Cut and Join the Sides
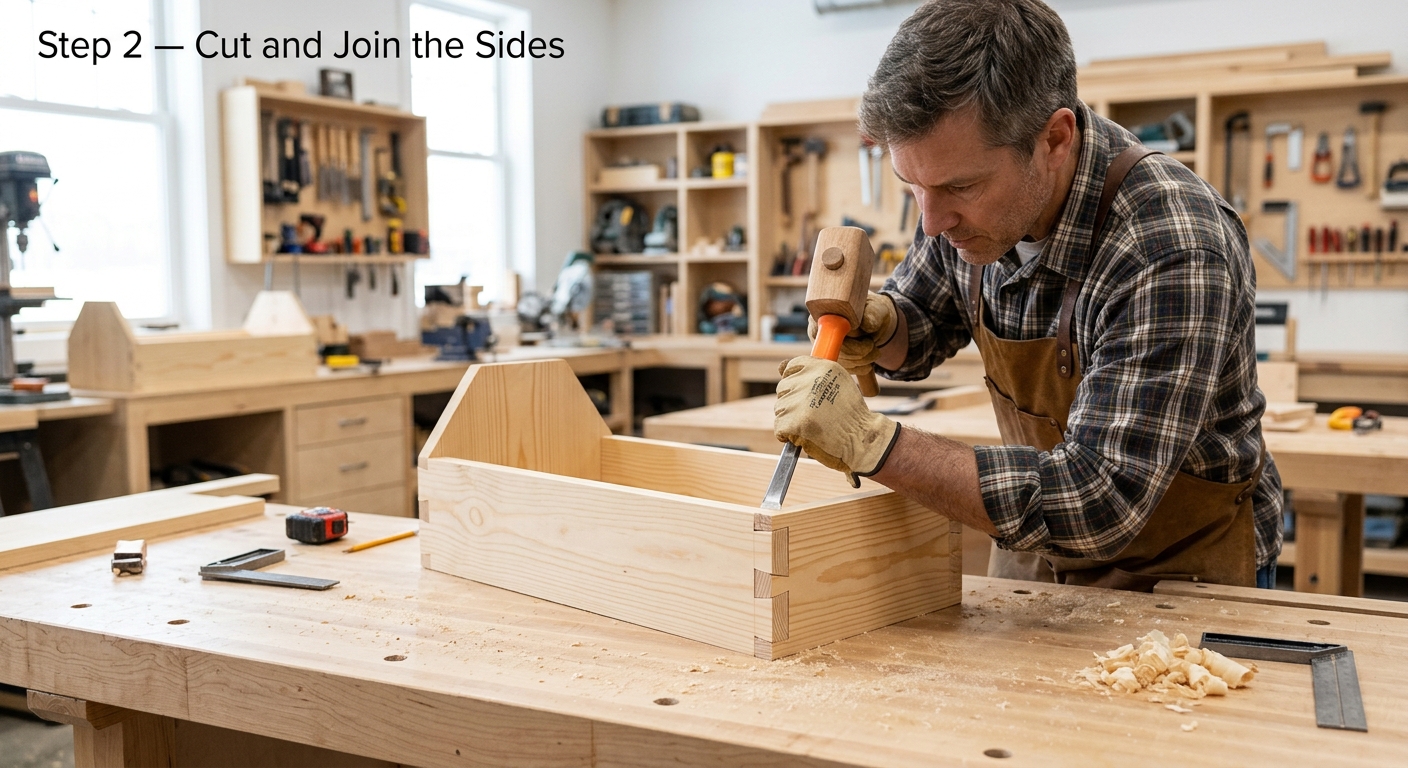
The traditional tote joint is a simple rabbet – the end pieces fit into rabbets cut in the side walls. Cut 3/8-inch-deep rabbets in each end of both side pieces. The end pieces fit into these rabbets with glue and two screws through the side wall into the end grain. A simple butt joint (no rabbet) also works – four screws at each corner, pre-drilled and countersunk. The rabbet version is stronger and looks better.
Step 3 – Add the Bottom
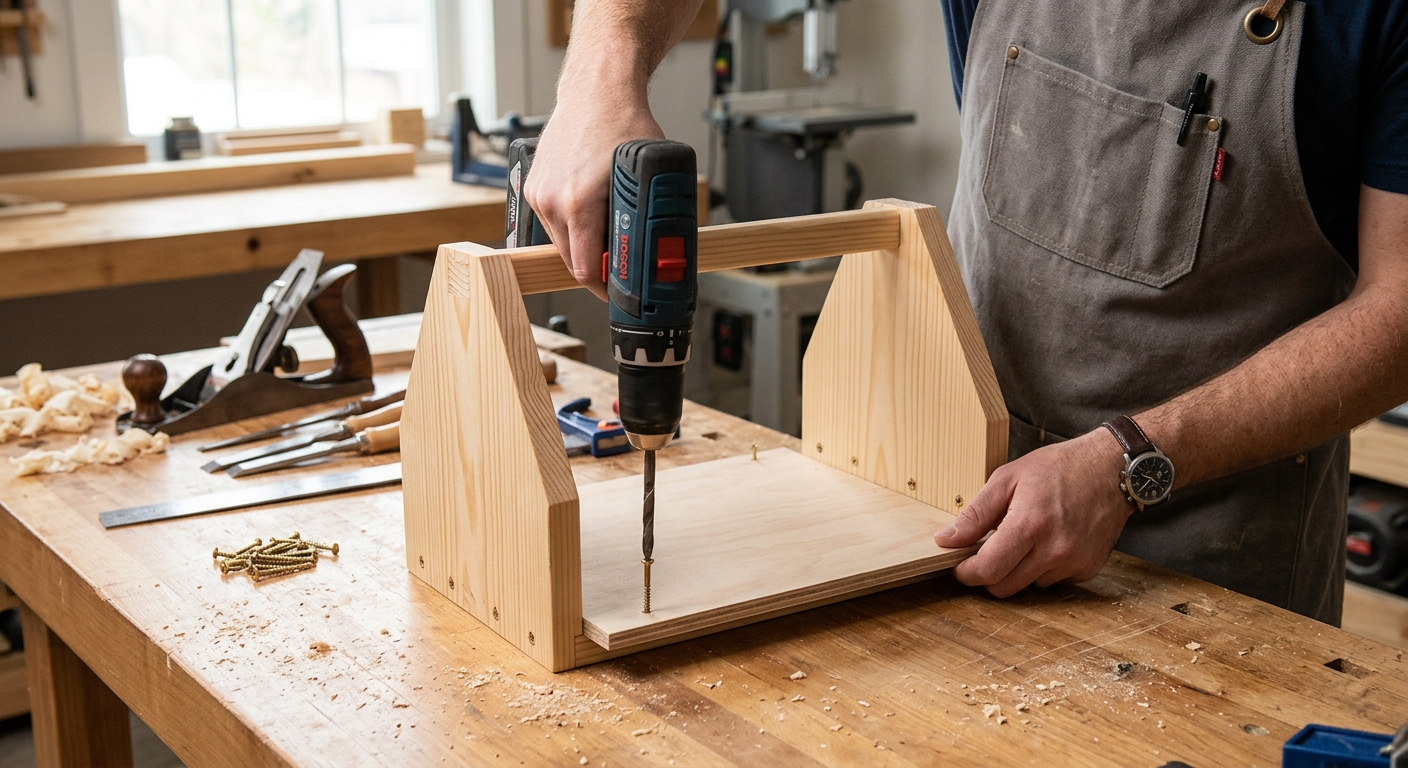
Cut the 1/4-inch plywood bottom to fit inside the assembled box. Attach with glue and brads or finish nails around the perimeter. The bottom doesn’t need to be removable – it’s there to stay. Make sure the bottom is flat before attaching to avoid racking the box.
Step 4 – Install the Handle
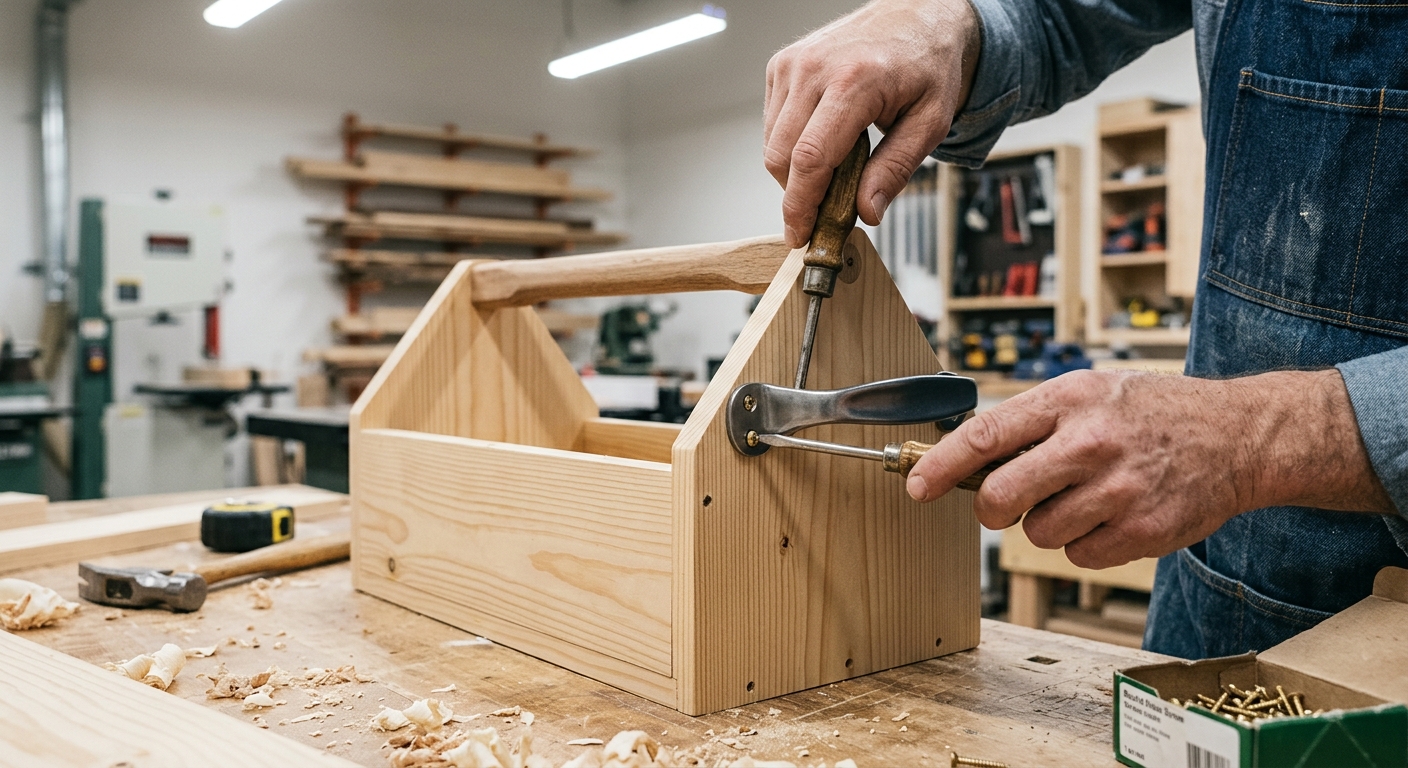
The handle dowel runs through holes drilled in the top of both end pieces. The hole diameter matches the dowel exactly – a snug but not glued fit. Let the dowel project 3/4 inch past each end hole and secure with a wedge or a cross-pin: drill a 1/8-inch hole through the end piece and the dowel, then drive a hardwood pin through to lock the dowel in place.
Pro Tips
- A center divider running the length of the tote doubles the organization – chisels on one side, marking tools on the other, or edge tools separated from striking tools.
- Wax the interior bottom lightly. Tools slide in and out more easily, and the wax protects the wood from the residual oils that transfer from tool handles.
FAQ
What finish should I put on a tool tote?
A penetrating oil finish – Danish oil or linseed oil – provides protection without building a thick film that chips under the inevitable impacts a tote takes in daily use. Apply two or three coats, let cure completely, then put the tote into service.
How heavy should a full tool tote be?
Comfortable to carry one-handed across a shop: typically under 20 pounds. A heavy tote defeats the purpose. Load the tote with the tools you’ll use for the current session, not every tool you own.