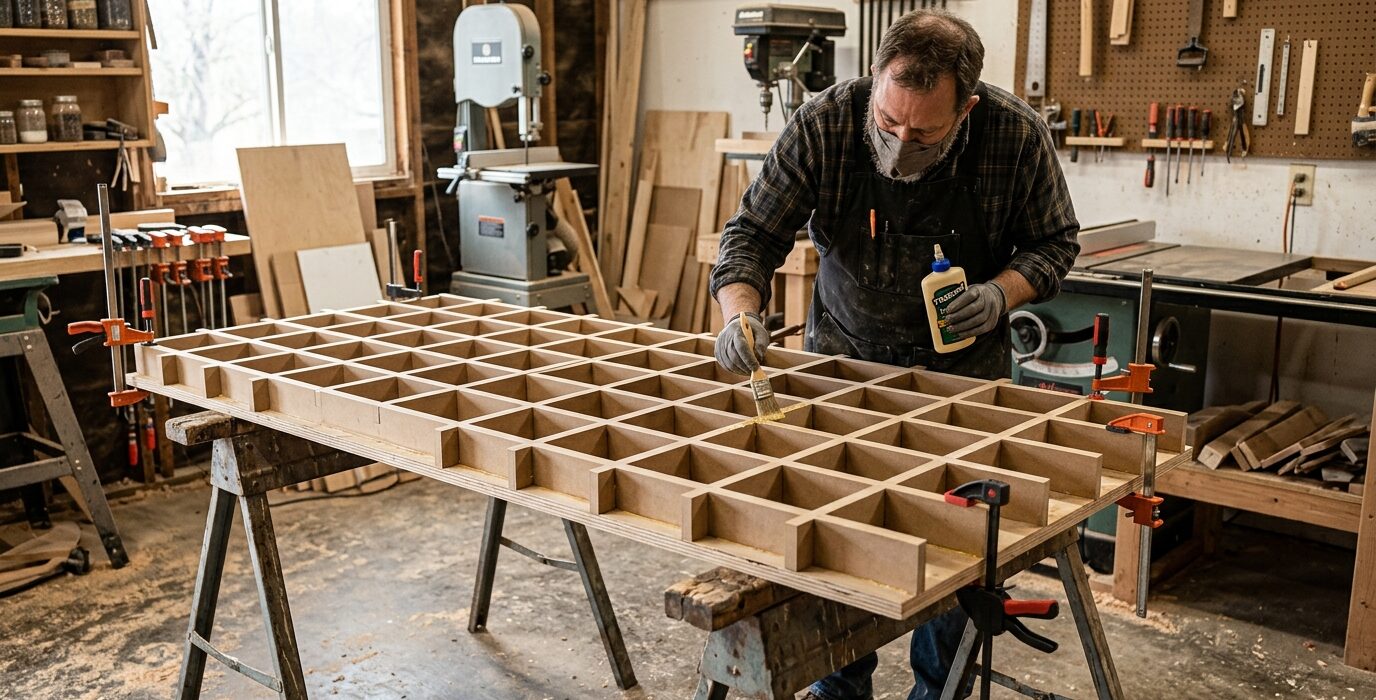
Two Skins and a Grid Make the Flattest Bench Top You Can Build
A torsion box workbench top is the engineering solution to flatness. Two thin skins bonded to an internal grid create a panel that resists warping, stays flat through seasonal changes, and weighs a fraction of a solid hardwood top. Aircraft builders have used torsion box construction for decades. Applied to a workbench, the result is a top that is flat to within 1/64 inch over 6 feet.
Materials
- Two sheets of 1/2-inch MDF for the top and bottom skins
- One sheet of 3/4-inch MDF for the internal grid ribs
- One quart of yellow wood glue
- Brad nailer or staple gun
- A flat reference surface for assembly
- Many clamps or a vacuum bag
Step 1 – Start with a True Reference Surface
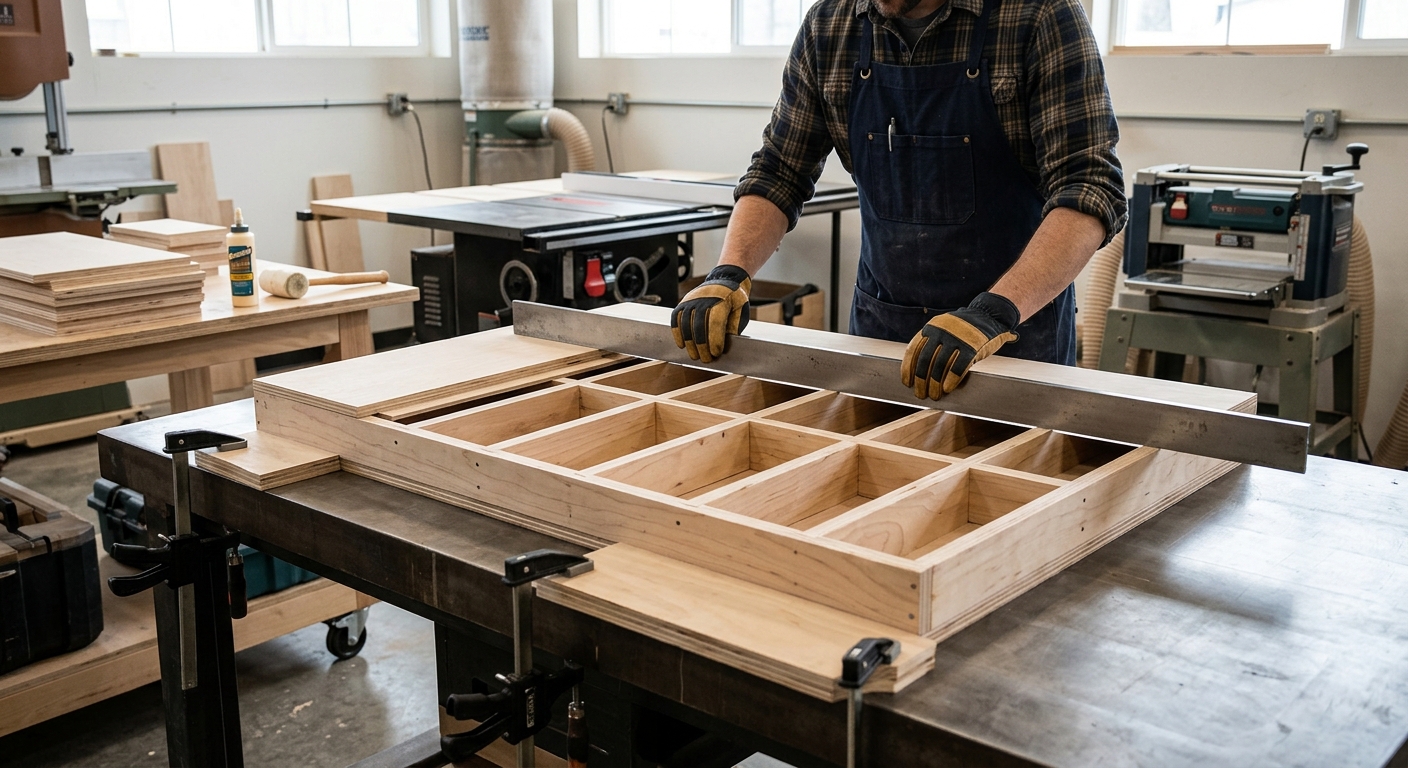
The torsion box will be exactly as flat as the surface you assemble it on. Set up long straightedges across your assembly surface, shim low spots, and confirm flatness to within 1/32 inch. This step cannot be skipped.
Step 2 – Cut the Skins Identically
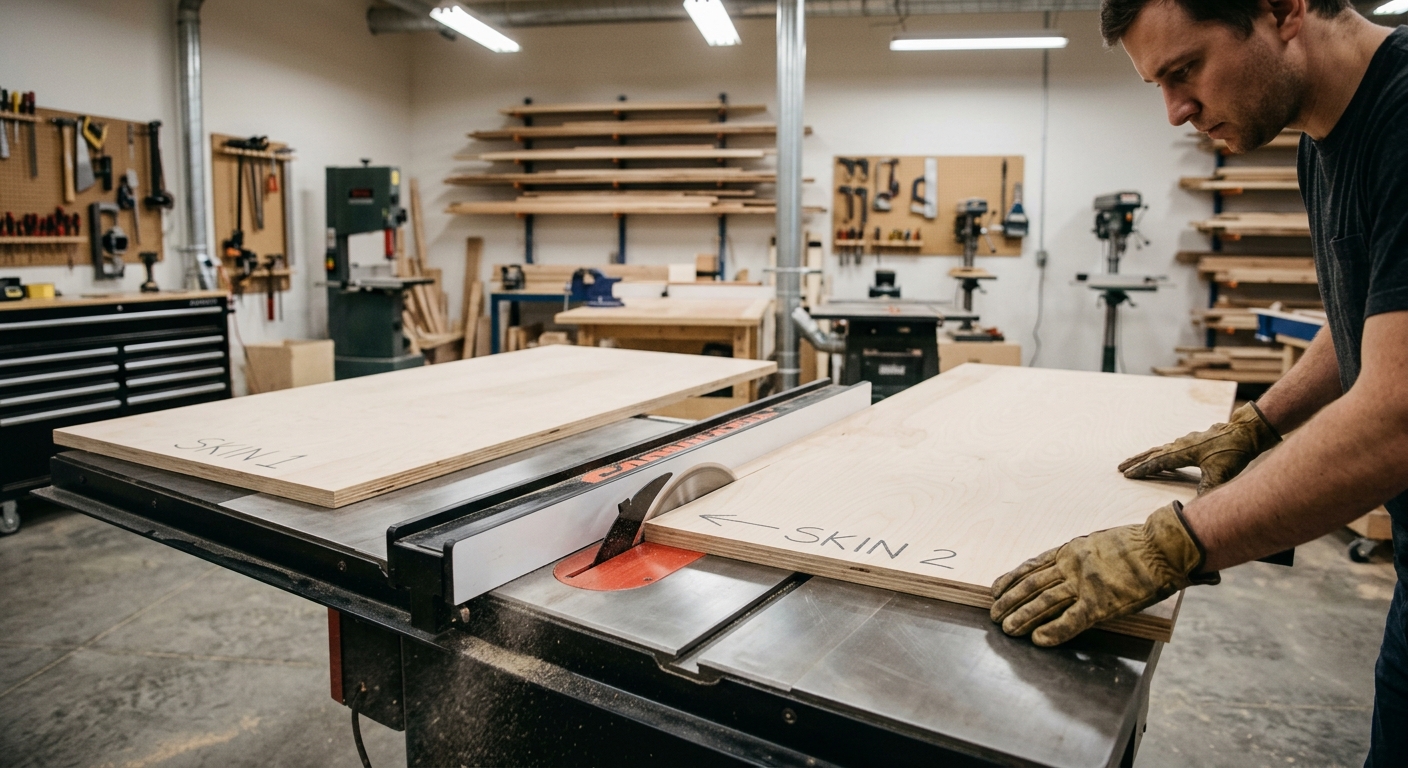
Stack the two skin panels and cut both at once with a circular saw and straightedge to guarantee they’re identical in size. Any difference will show as a step at the edges after assembly.
Step 3 – Build the Internal Grid
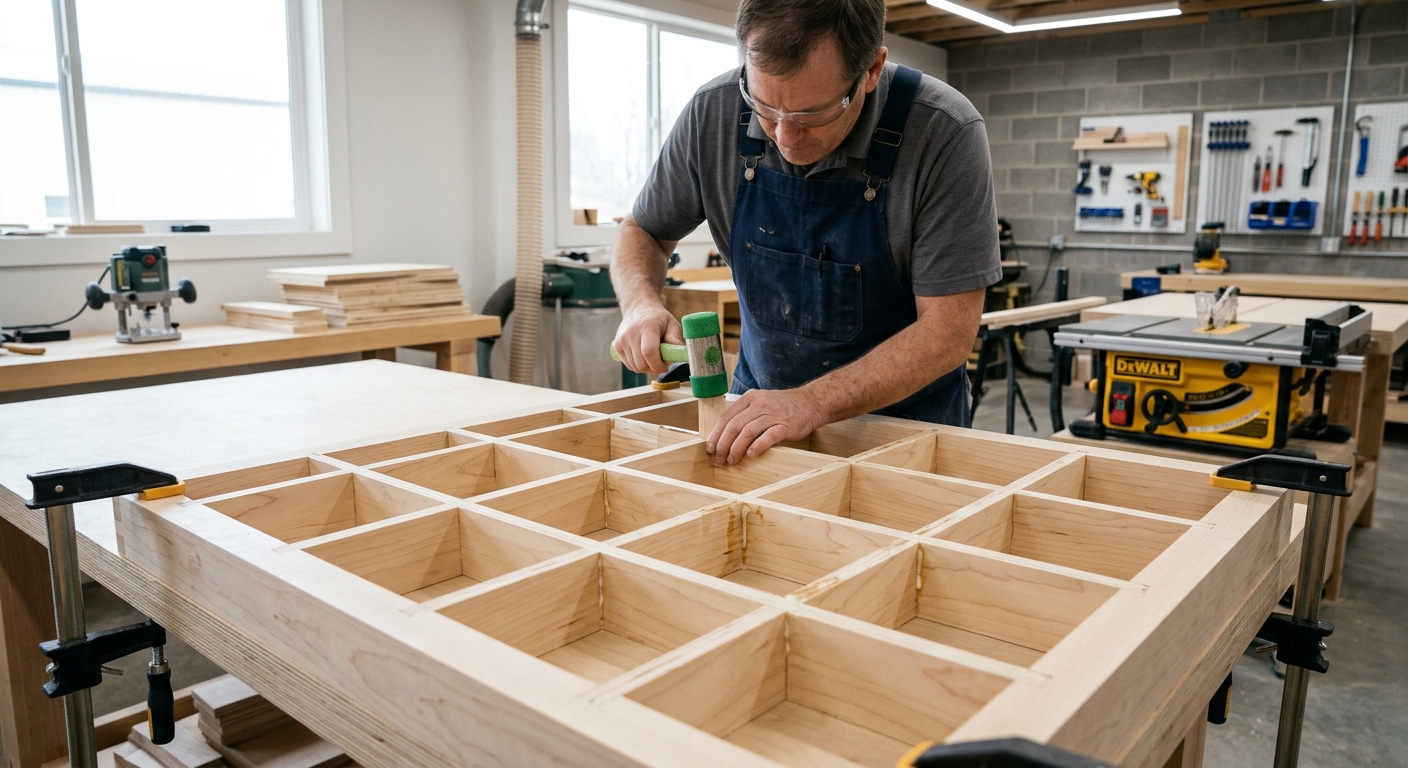
Rip the rib material into 3-inch wide strips, then cut half-lap joints at every intersection so the ribs interlock. Lay out the perimeter frame first, then add interior ribs every 6 to 8 inches along the length and cross ribs every 12 inches.
Step 4 – Glue the Bottom Skin to the Grid
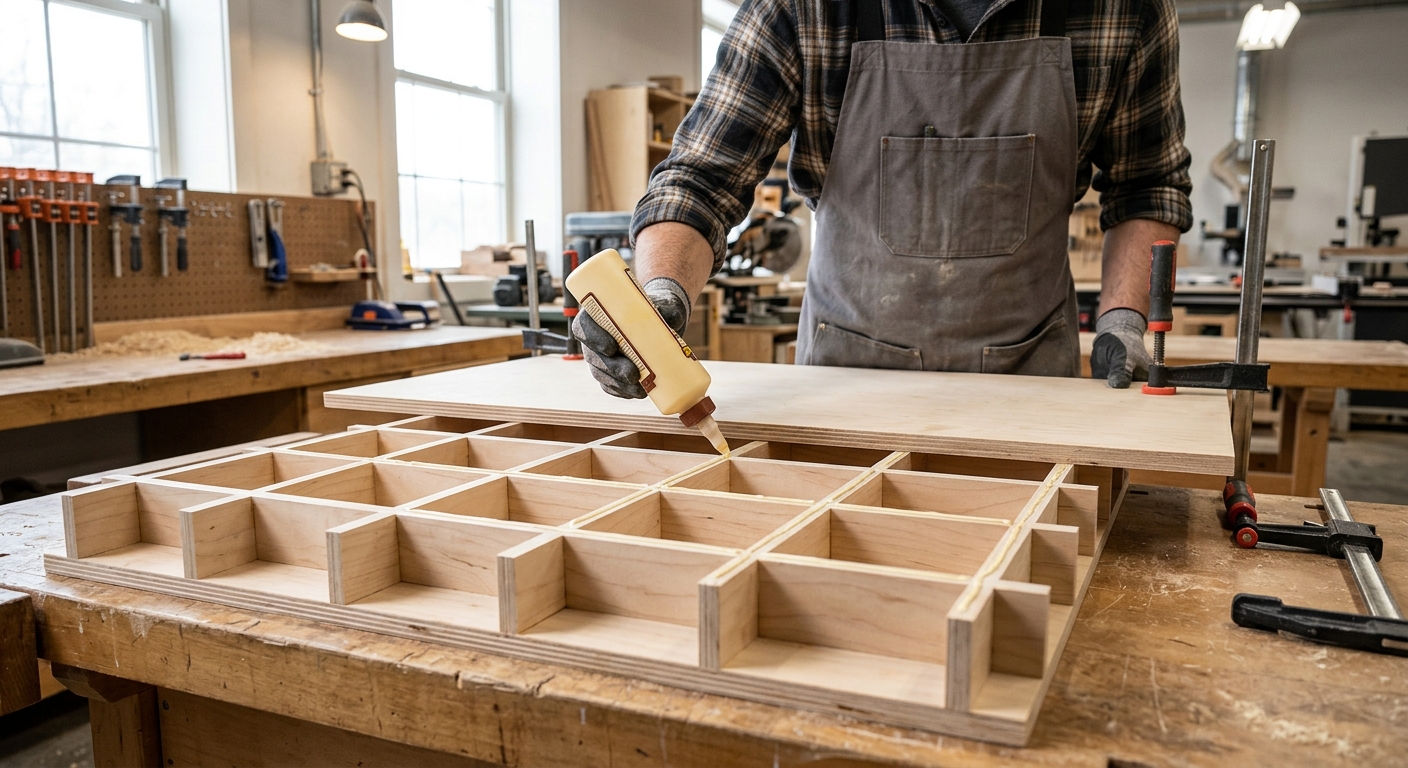
Lay the bottom skin flat on the reference surface. Apply glue to the bottom edge of every rib, set the grid in position, and use brads to hold everything while the glue sets. Let cure at least two hours.
Step 5 – Apply the Top Skin
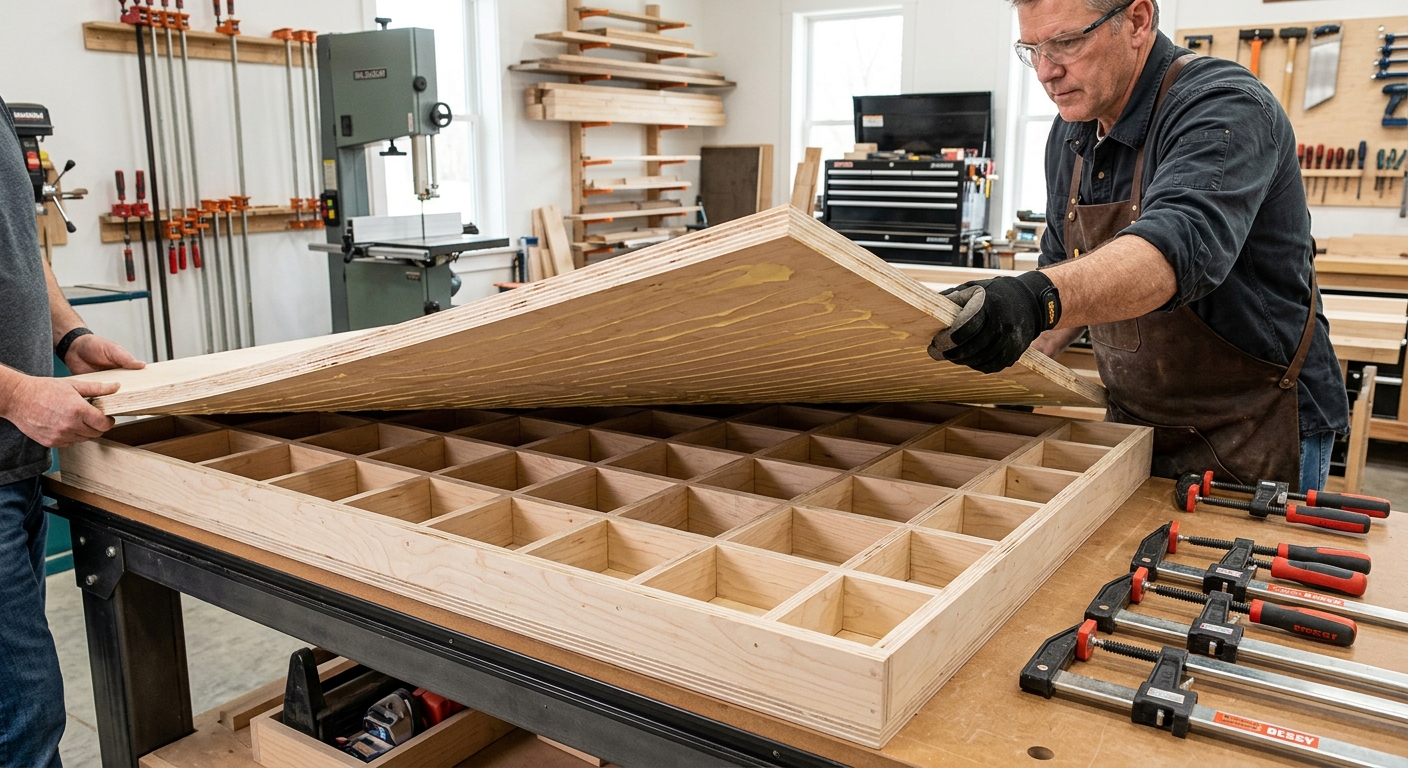
Apply glue to the top edge of every rib. Set the top skin on carefully, aligned to the bottom skin on all edges. Apply uniform clamping pressure across every square foot. Leave flat on the reference surface for 24 hours.
Step 6 – True Up the Edges
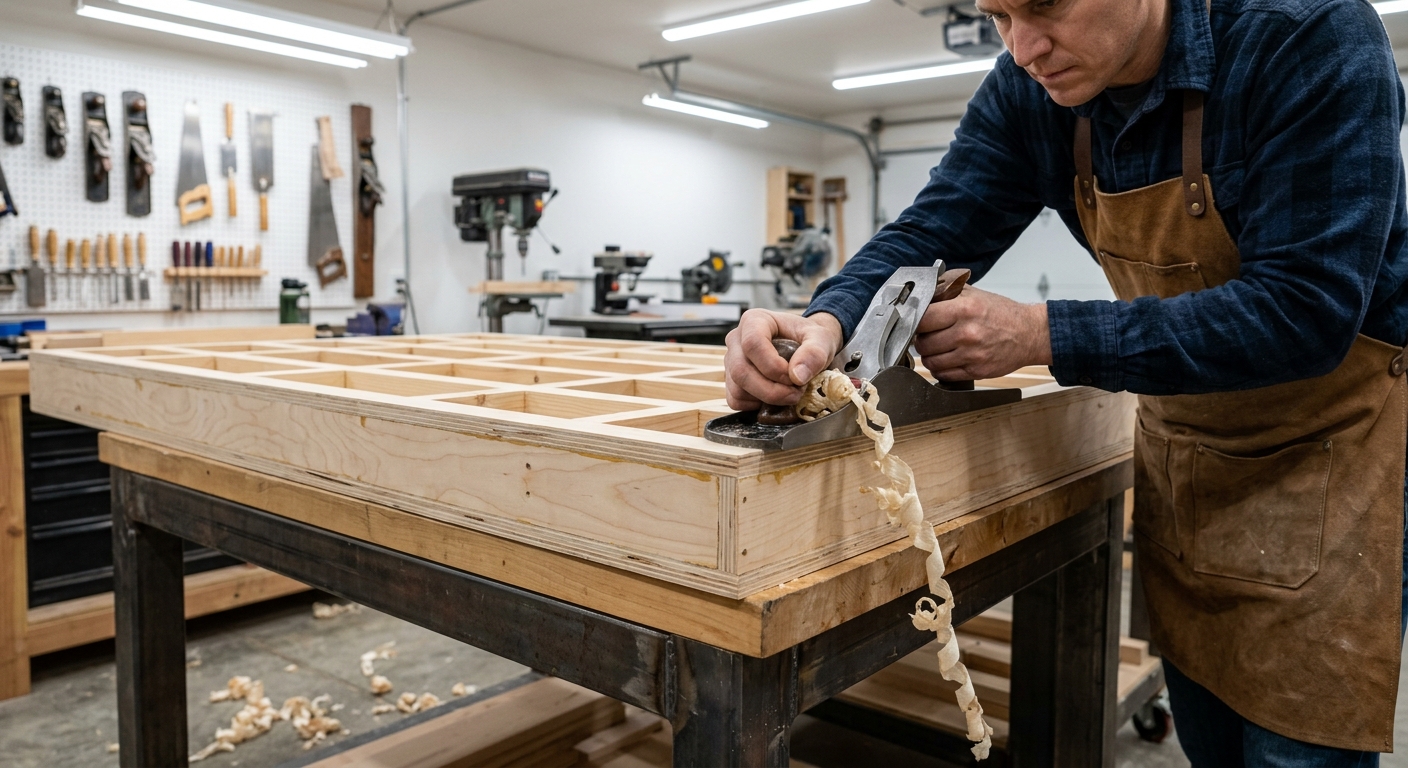
Trim edges flush with a router and flush-trim bit. Apply iron-on edge banding to protect the interior cells. Glue a sheet of 1/8-inch tempered hardboard to the top skin as a smooth, replaceable work surface.
FAQ
Can I add dog holes to a torsion box top? Yes – drill them after assembly. The holes pass through both skins and the surrounding ribs provide support. Space them in the standard 4-inch or 6-inch grid pattern.
How long will it stay flat? Indefinitely if kept dry. Seal all surfaces and never let the top get wet. In a climate-controlled shop, a properly built torsion box top should remain flat for decades.