Build a Workbench Tail Vise from a Pipe Clamp

Build a Workbench Tail Vise from a Pipe Clamp

A Tail Vise from a Pipe Clamp – Cheap, Simple, Effective A workbench tail vise allows you to clamp boards end-to-end along the bench length using bench dogs […]

At a Glance
Time in Shop 1–2 weekends
Skill Level Intermediate
Est. Materials Under $30

A Tail Vise from a Pipe Clamp – Cheap, Simple, Effective

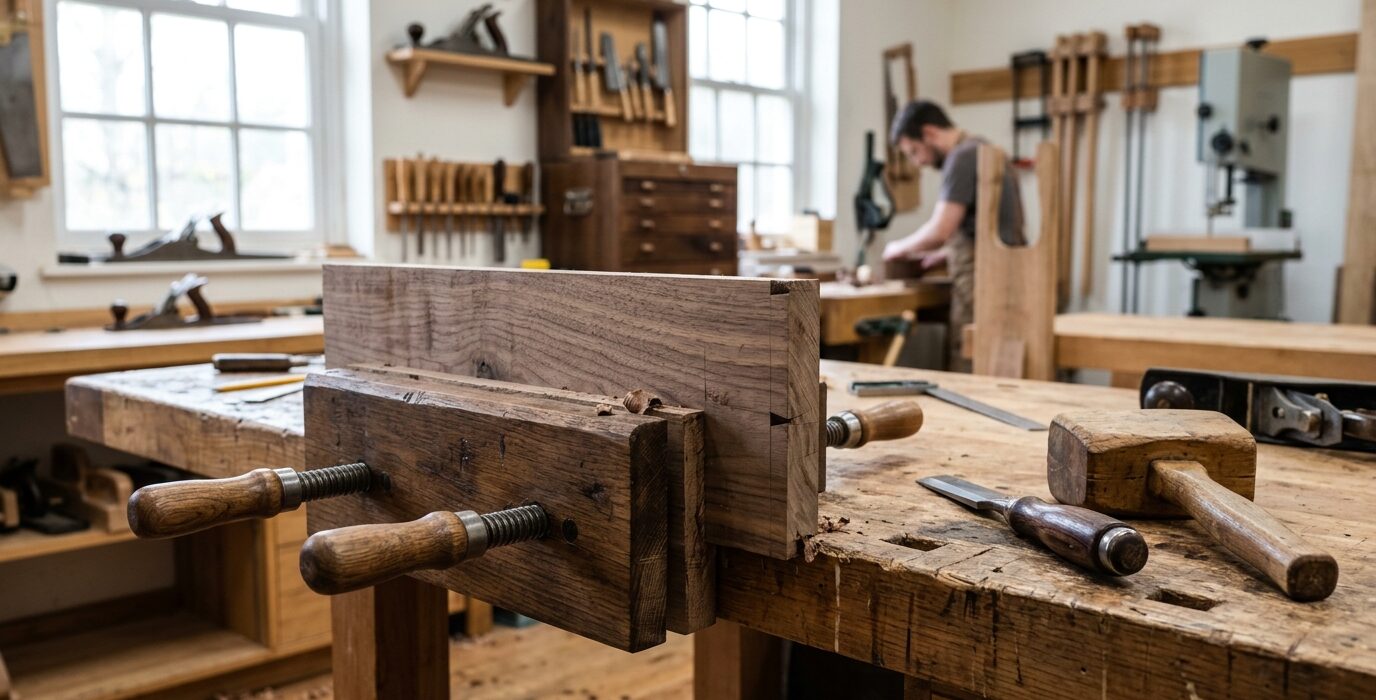
A workbench tail vise allows you to clamp boards end-to-end along the bench length using bench dogs – one in the tail vise jaw, one in the bench top, clamping between them. Commercial tail vises cost hundreds of dollars and require significant mortising. This build uses a pipe clamp as the mechanical core, saving money and dramatically simplifying construction while delivering most of the same functionality.

How It Works

A pipe clamp tail vise mounts the fixed jaw of a pipe clamp to the end of the bench. The movable jaw of the pipe clamp is the sliding dog holder. A bench dog in the dog holder moves along with the pipe clamp handle as you tighten it. A dog in the bench top provides the fixed stop. You clamp boards between the two dogs – perfect for hand planing, edge jointing, and board preparation.

Materials

  • One pipe clamp (3/4-inch pipe, 24-inch capacity)
  • Two pieces of hardwood for the vise jaw blocks
  • Machine bolts for mounting the jaw blocks
  • One commercial or shop-made bench dog
  • A 3/4-inch hole saw for the dog hole in the jaw block

Step 1 – Mount the Fixed Jaw to the Bench End

Step 1  –  Mount the Fixed Jaw to the Bench End

The fixed jaw of the pipe clamp attaches to the right end of the bench. Fabricate a wooden mounting block from 8/4 hardwood sized to hold the fixed jaw at the right height (the bench dog hole in the jaw block must align with the dog holes in the bench top). Bolt this block to the bench end with lag screws or carriage bolts.

Step 2 – Build the Dog Holder for the Sliding Jaw

Step 2  –  Build the Dog Holder for the Sliding Jaw

The sliding jaw of the pipe clamp gets a wooden block that holds the bench dog. Fabricate a block with a 3/4-inch hole for the bench dog and a channel or hole that mounts to the sliding jaw hardware. The dog hole must be at exactly the same height as the dog holes in the bench top so boards sit flat when clamped between dogs.

Step 3 – Install the Pipe

Step 3  –  Install the Pipe

Thread the pipe through both jaw assemblies. The pipe runs through the end of the bench – drill a hole through the end apron to guide the pipe cleanly. The pipe must run parallel to the bench top surface for the dog alignment to work correctly. Use pipe guides if the run is long enough to sag.

Step 4 – Add a Dog Hole in the Bench Top

Step 4  –  Add a Dog Hole in the Bench Top

If you don’t already have dog holes in your bench top, drill at least one row of 3/4-inch holes 4 inches from the front edge, spaced every 4 to 8 inches. These are what the fixed bench dogs go in when using the tail vise. The more dog holes you have, the more board lengths the tail vise can accommodate.

Step 5 – Test and Adjust

Step 5  –  Test and Adjust

Place a board on the bench top, set a dog in the bench top at one end, set a dog in the tail vise jaw, and tighten the pipe clamp handle. The board should be clamped firmly end-to-end. Adjust the jaw block heights if the board rocks – the two dog heights must be precisely matched.

FAQ

How much clamping force does this produce? Plenty for workholding. A standard pipe clamp at moderate tightening produces several hundred pounds of force – more than enough to hold a board solidly during hand planing or edge work.

Is this as good as a commercial tail vise? It’s not as smooth or as fast to operate, but it costs under $30 versus $300 to $600 for a commercial tail vise. For occasional use, it’s an excellent solution. For daily intensive use, a commercial vise is worth saving for.

Materials List

  • One pipe clamp (3/4-inch pipe, 24-inch capacity)
  • Two pieces of hardwood for the vise jaw blocks
  • Machine bolts for mounting the jaw blocks
  • One commercial or shop-made bench dog
  • A 3/4-inch hole saw for the dog hole in the jaw block

Put your shop to work.

Now that the shop is set up, it's time to build something in it. Browse step-by-step project guides at Build This Project.

Browse Project Guides

Free workshop plans, every week.

Join 12,000+ woodworkers and DIYers who get our best shop builds, organization projects, and tips every Tuesday.