Build a Workbench with Built-In Power Strip and Outlet Access
Most shop workbenches are built without any electrical consideration – outlets are accessed by running extension cords across the shop floor, which is a hazard, and by stretching cords across the bench surface, which clutters the work area. Building a power strip into the bench from the start provides access to power at the front edge of the bench, protected by a raceway channel and switched by a circuit breaker at the end of the bench. This guide covers adding built-in power to an existing bench or integrating it into a new build.
Materials
- Heavy-duty power strip with surge protection and individual circuit breakers – 4 to 6 outlets
- 3/4-inch plywood for a raceway channel on the bench front or back
- Conduit clips and cable management hardware
- Proper-gauge extension cord to feed the strip from a wall outlet
Step 1 – Plan the Outlet Positions
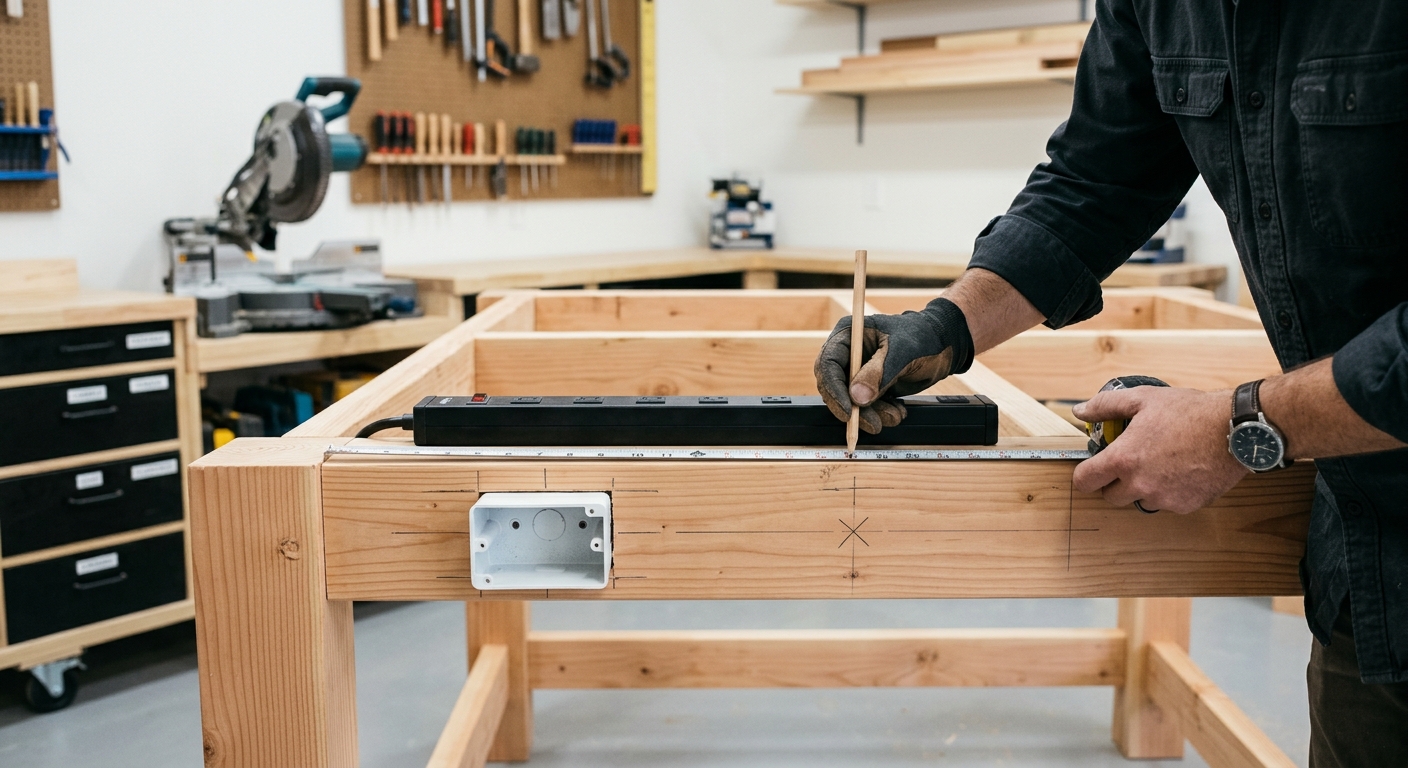
The best outlet position for most benches is on the front apron face, 4 to 6 inches below the top surface. This position puts outlets at a natural hand height when tools are plugged in, doesn’t consume bench top surface, and keeps cords dropping to the floor rather than running across the work area. Alternatively, outlets on the back apron serve tools that live on the back of the bench (like a drill press or bench grinder).
Step 2 – Build the Raceway

A raceway is a channel that routes the power cord neatly through or under the bench apron. Build a simple U-channel from 3/4-inch plywood: two sides and a back, open at the top and bottom for cord entry and exit. The raceway mounts under the bench apron, running the length of the bench. The power strip sits inside the raceway, anchored with a screw through the strip’s mounting holes into the raceway back.
Step 3 – Mount the Power Strip
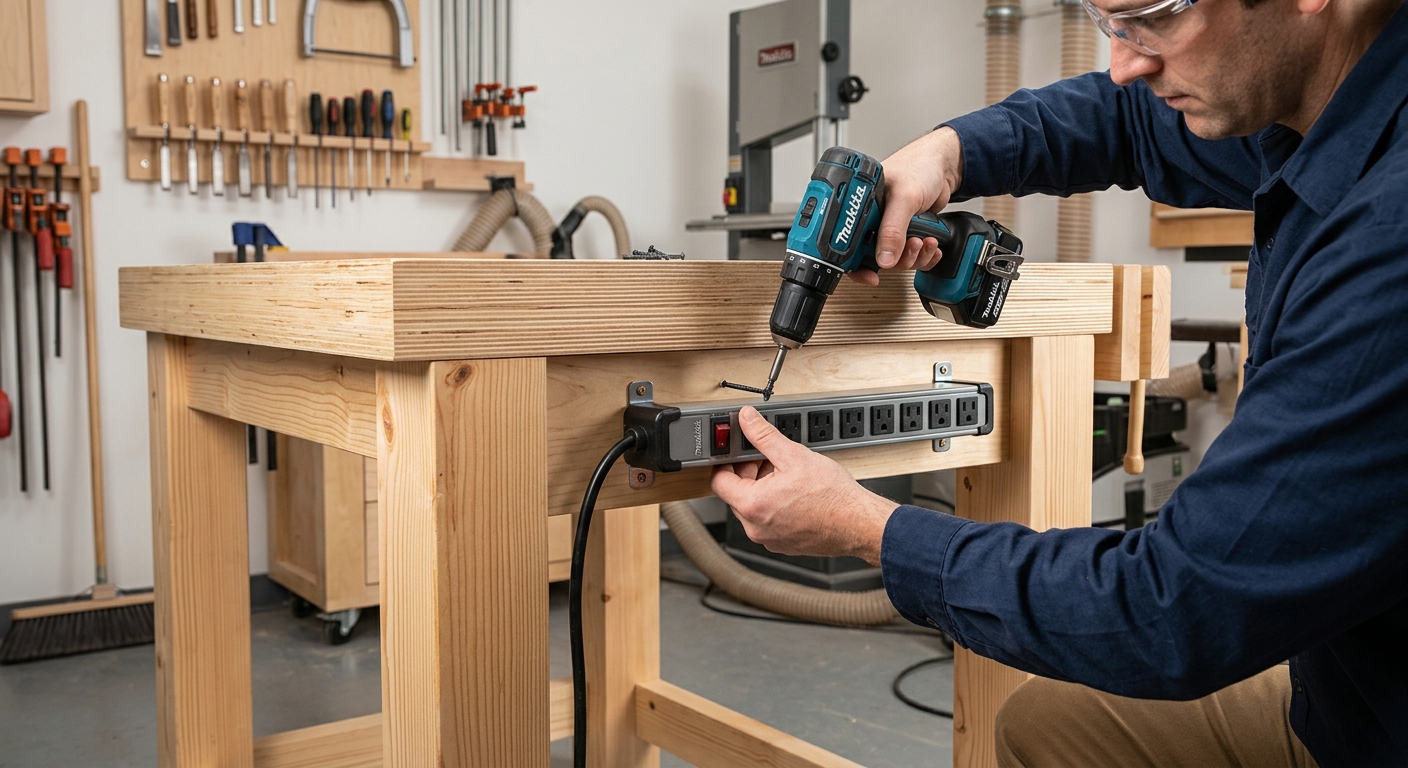
Secure the power strip in the raceway with the outlet faces pointing toward the bench front. Drill outlet access holes through the apron above each outlet so you can see and access the plugs from the front. The holes should be just wide enough for a standard plug – about 2 inches in diameter. A 1.5-inch hole saw or Forstner bit handles this cleanly.
Step 4 – Route the Feed Cord
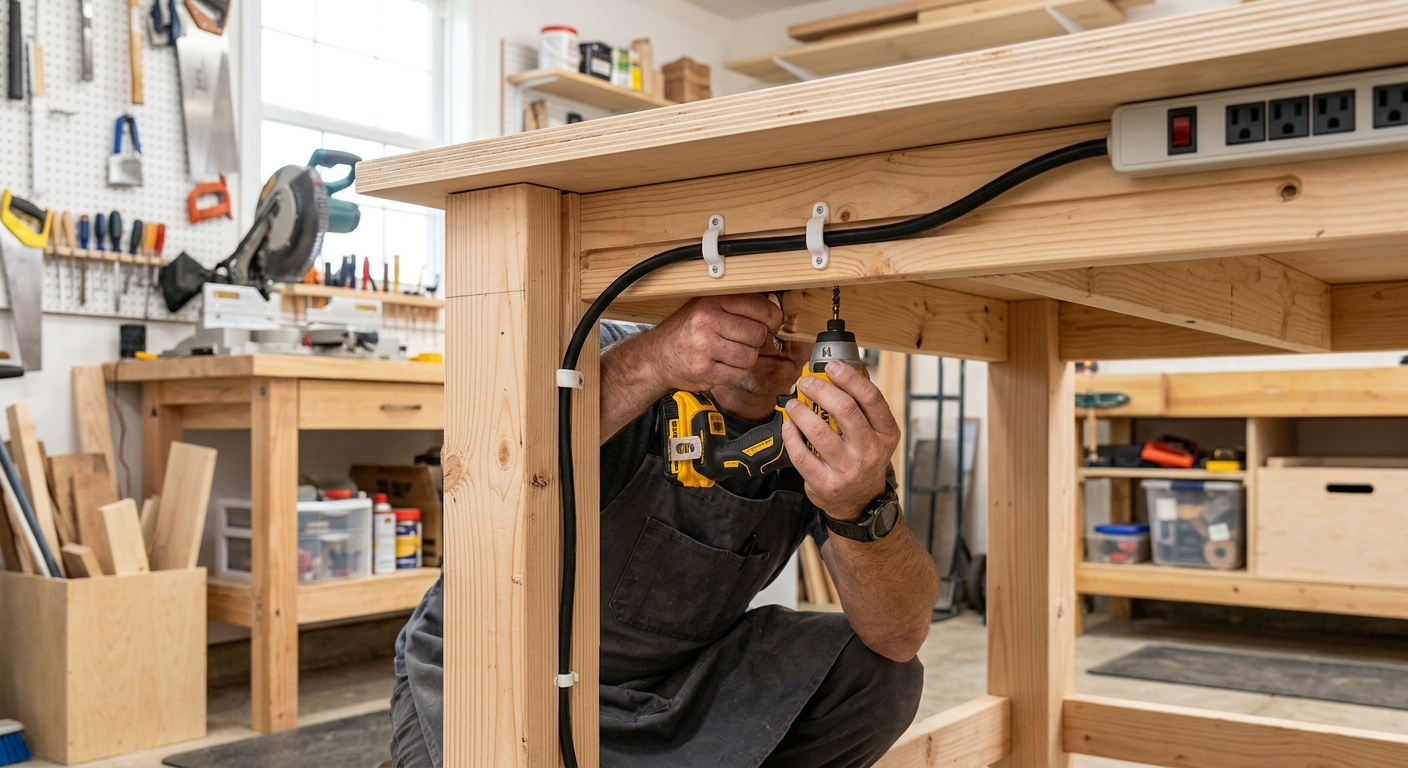
The power strip’s own cord runs from the strip, through a notch at the end of the raceway, and connects to a wall outlet. Secure the cord along its path with conduit clips or cable staples so it can’t be snagged by material or debris. Consider routing through a switch box (a single-pole switch mounted to the bench leg or apron) so you can cut power to the entire bench strip from one location.
Pro Tips
- Use a power strip with a metal housing and an overload protection breaker. Cheap plastic strips with no breaker protection are a hazard in a shop where motor stalls and short circuits are more likely than in a home environment.
- Add a dedicated outlet at the rear corner for a shop light or a lamp above the bench – having the bench light on the same switched circuit as the tool outlets means one switch controls everything at the bench.
FAQ
Can I install hard-wired outlets in the bench apron?
Yes, with a licensed electrician and a permit in most jurisdictions. Hard-wired outlets in a workbench apron are a professional installation and produce a cleaner result than a strip and cord. The cost is higher but the result is permanent and code-compliant.
How many outlets do I need at the workbench?
Four to six is practical for most benches. You’ll typically run: a lamp, a router or sander, a drill charger, and have one spare for a temporary tool. More outlets means less chasing after available plugs when multiple tools are in use.