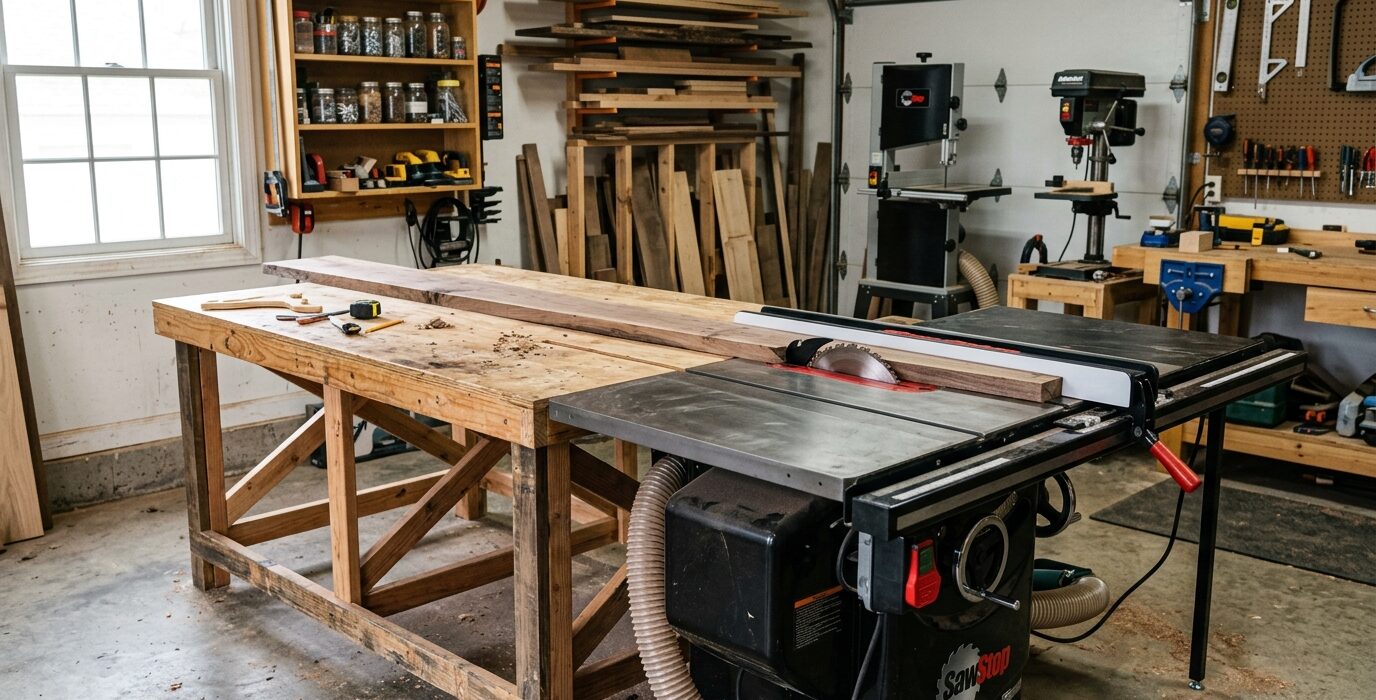
Why You Need an Outfeed Table Behind Your Table Saw
Long boards and sheet goods will tip off the back of your table saw the moment they pass the blade – unless something supports them. An outfeed table solves this problem permanently. It also doubles as a general assembly table, a glue-up surface, and extra shop real estate. This build matches your saw’s table height exactly and rolls under the saw when not in use.
Materials and Tools
- One sheet of 3/4-inch plywood for the top
- 2×4 lumber – approximately 30 linear feet for the base
- Four locking swivel casters rated for at least 150 lbs each
- Wood screws – 2.5-inch and 3-inch
- Construction adhesive
- Tape measure, level, drill, circular saw, square
- Optional: hardboard for the work surface
Step 1 – Measure Your Table Saw’s Height Precisely
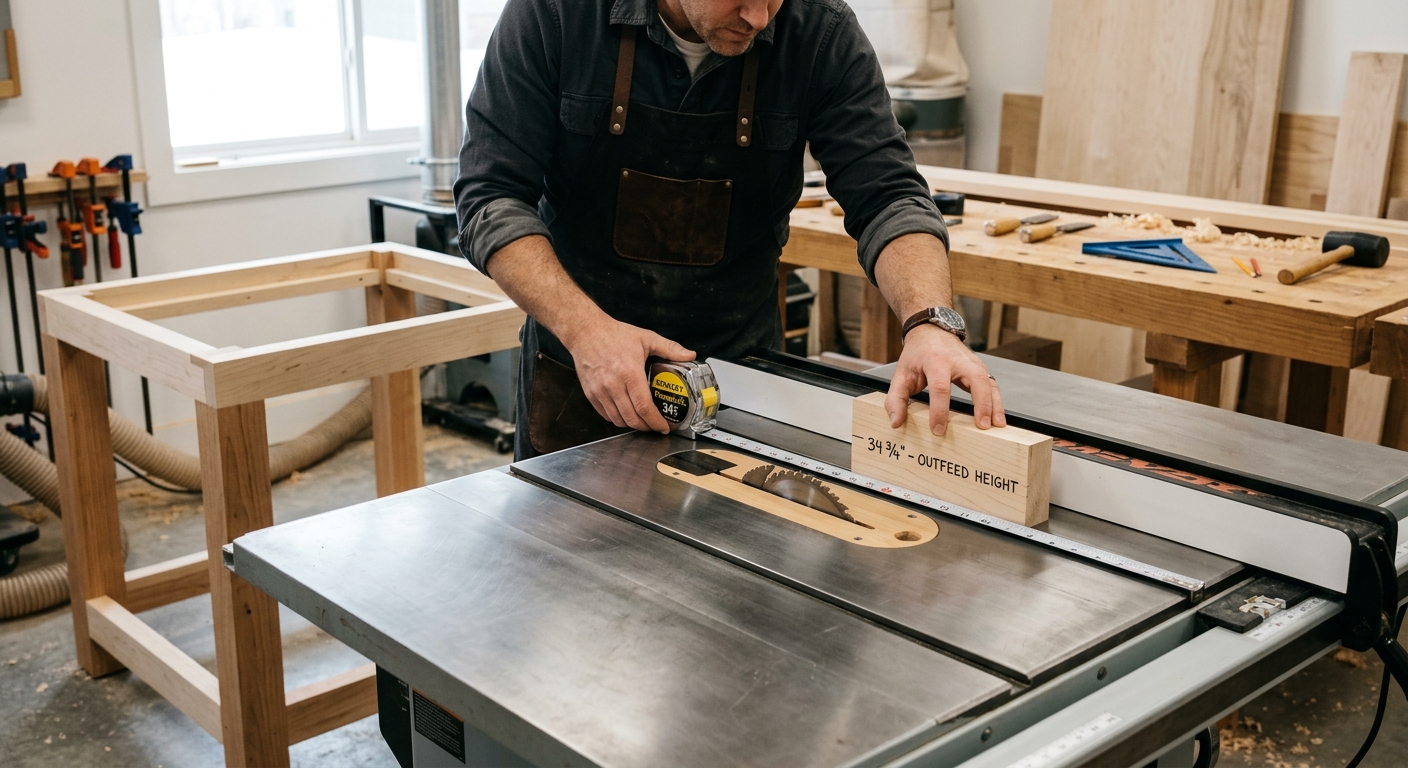
This is the single most critical measurement. Use a steel ruler to measure from the floor to the top surface of your saw’s table, not the wing extension – the cast iron or aluminum table itself. Write this number down. Your outfeed table must be built to this exact height, or within 1/16 inch low (never high, which causes workpieces to catch).
Step 2 – Account for Casters
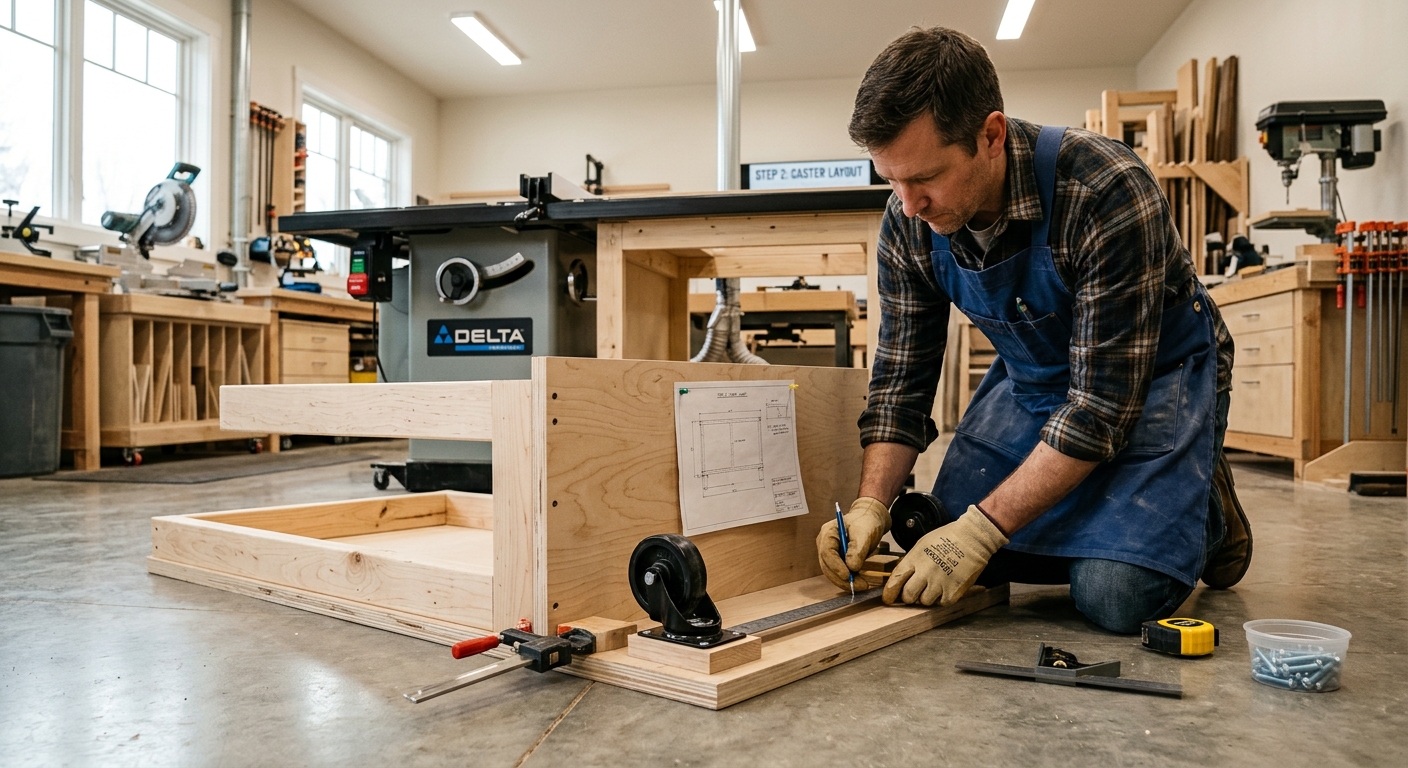
Decide now whether you’re adding casters. If yes, measure the caster height when the lock is engaged and subtract that from your target table height. This gives you the height of the base frame you need to build. For example, if your saw table is 34.5 inches and your casters add 4 inches, your base frame needs to be 29.75 inches tall (accounting for the 3/4-inch top).
Step 3 – Build the Base Frame
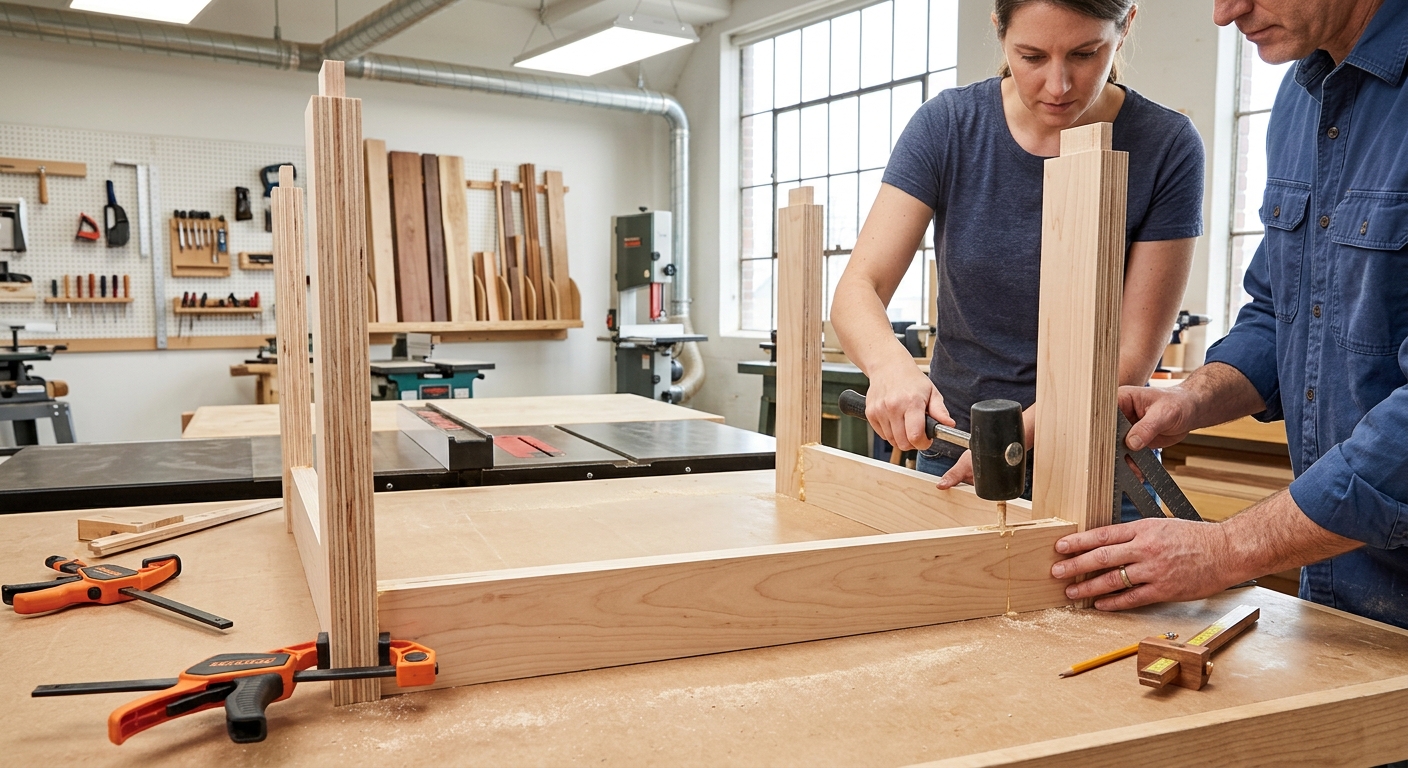
Build a rectangular base from 2x4s using simple butt joints and screws. For a 30×48-inch outfeed table, build a frame with four corner legs, a top and bottom perimeter rail on each face, and a center stretcher for stiffness. Use a square constantly. The frame doesn’t need to be beautiful – it needs to be square and sturdy. Add diagonal cross bracing if it has any wobble.
Step 4 – Build and Attach the Top
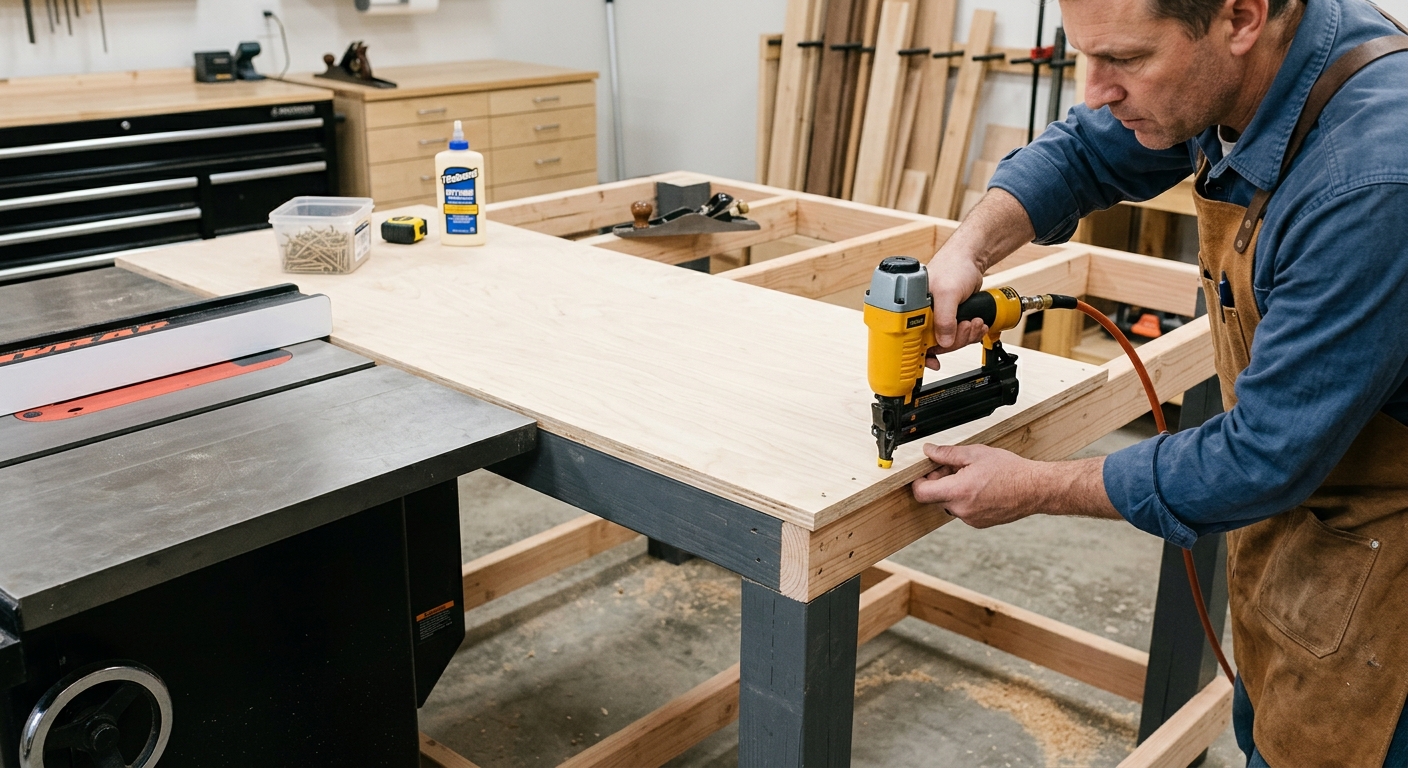
Cut your plywood top to size. For a table saw outfeed table, 30 to 36 inches deep and at least 48 inches wide is ideal. Laminate two layers of 3/4-inch plywood for added stiffness, or use a single sheet for a lighter build. Attach it to the base with screws from underneath. Trim any overhang flush if desired.
Step 5 – Install and Adjust the Casters
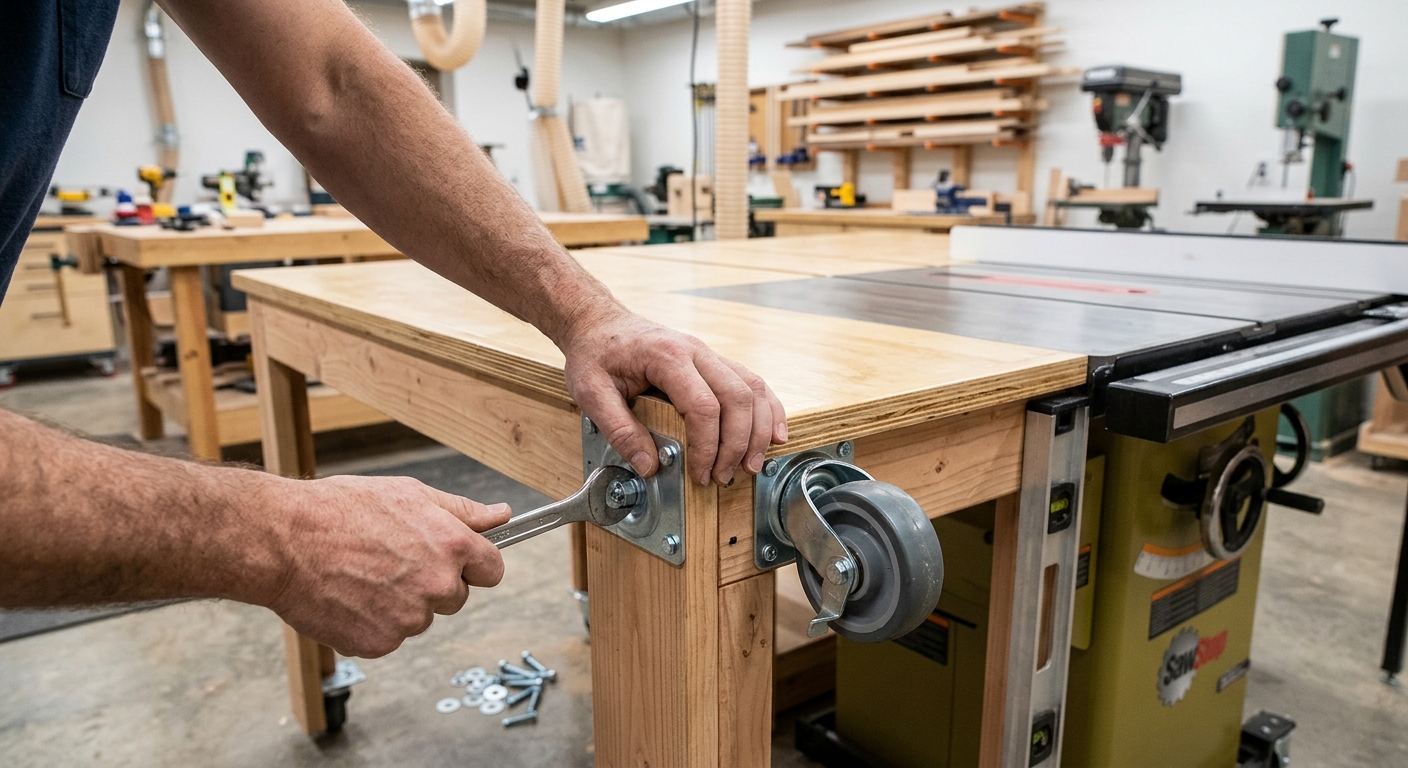
Mount the casters to the bottom of the base legs. Now check the height. Wheel the table into position behind the saw and set a long straightedge from the saw table across the outfeed table. The straightedge should sit perfectly flat with no rocking. If the outfeed table is low, add shims under the caster mounting plates. If it’s high (rare), plane or sand the top surface.
Step 6 – Fine-Tune with Leveling Feet (Optional)
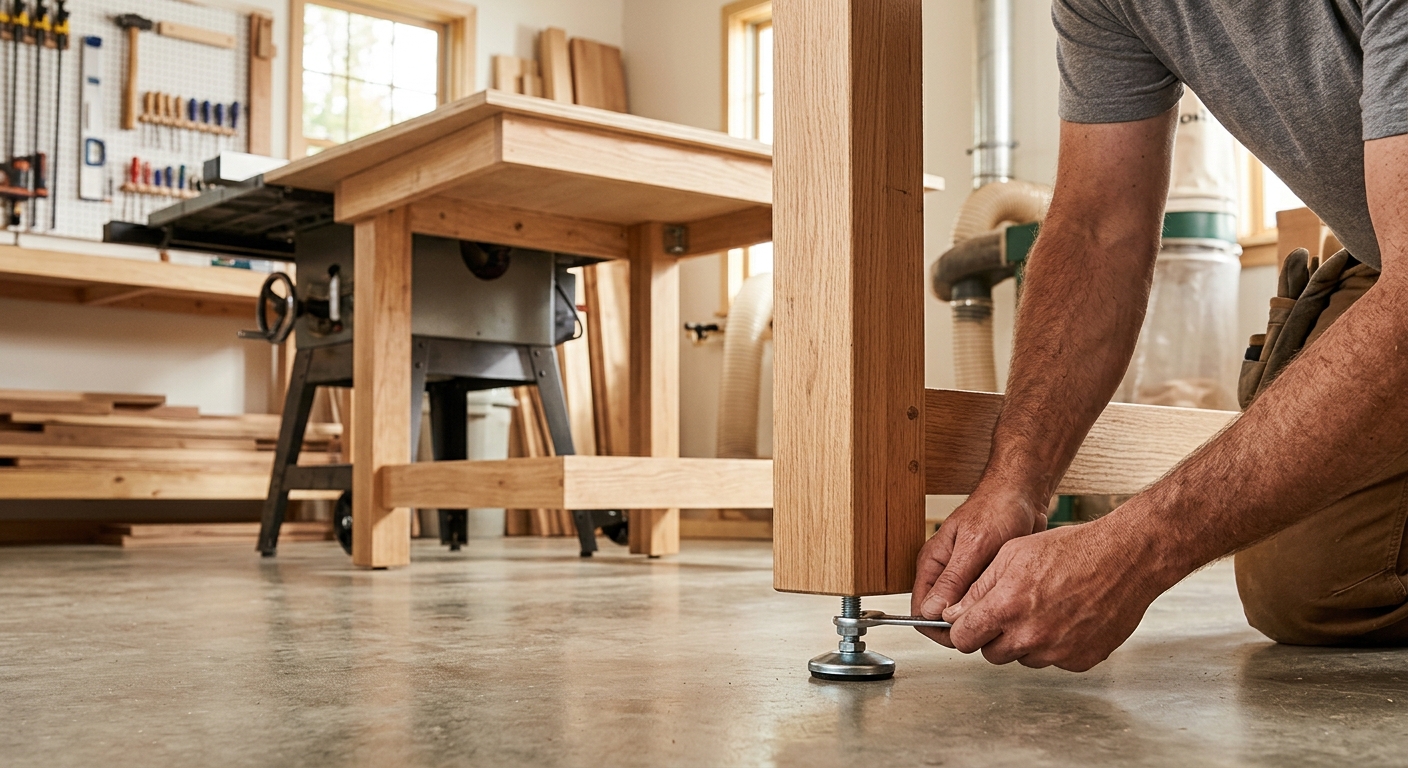
For the most precise setup, replace one or two of the casters with bolt-through leveling feet, or add leveling feet as a third contact point. This lets you dial in the height to within 1/32 inch without shims.
Step 7 – Add a Work Surface
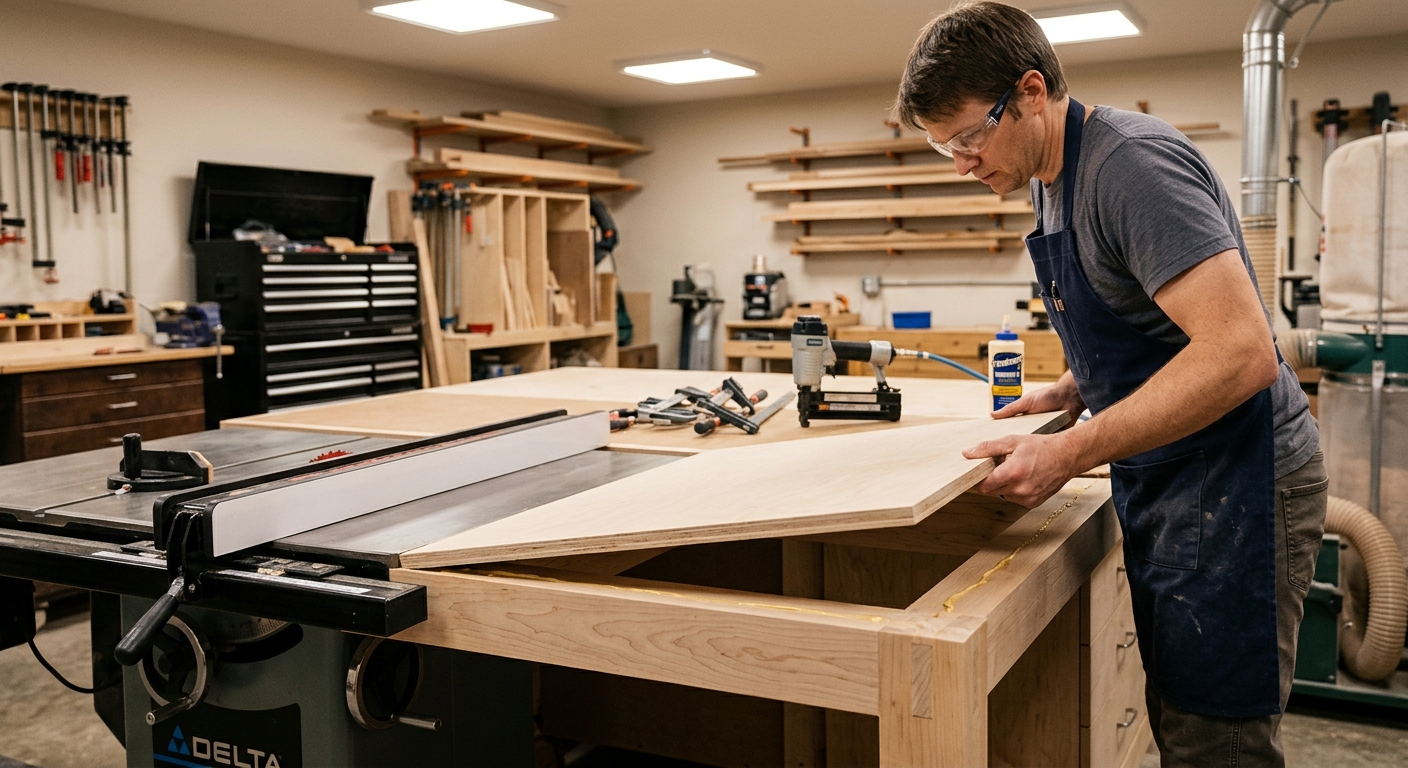
A sheet of 1/8-inch tempered hardboard glued to the top surface creates a slick, smooth surface that workpieces slide across easily without snagging. Replace it every few years when it gets beat up.
Positioning the Table
Push the outfeed table snugly against the saw when ripping long stock. The outfeed table should extend at least 36 inches past the blade for 8-foot boards, more for longer lumber. For sheet goods, you may need the table off to one side to support 4×8 panels as they come off the blade.
FAQ
Can I make it fixed instead of rolling? Yes. Skip the casters and use adjustable leveling feet instead. Fixed tables are slightly more stable but less flexible for shop rearrangement.
My saw’s table height changes when I change blades – is that normal? No. Your saw table height should be constant. If it changes, check that the table is locked down correctly and the mounting bolts haven’t loosened.
Can the outfeed table also work as an assembly table? Absolutely – it’s one of the best multi-use surfaces in the shop. Add a strip of cleats along the back edge for clamping, and you have a full-featured assembly table that rolls out of the way when you need to rip lumber.