The French workbench is the gold standard for hand-tool woodworking. Born in the workshops of 18th-century French craftsmen, it features a massive slab top, a leg vise on the left end, and a tail vise on the right – giving you clamping in every direction. Once you build one, you’ll understand why they’ve been essentially unchanged for 300 years.
What You’re Building
This build covers a full-size French workbench: 8 feet long, 24 inches wide, with a 4-inch-thick laminated top. We’re using Douglas fir throughout – it’s hard, stable, and significantly cheaper than traditional beech. The joinery is drawbored mortise-and-tenon, which pulls tight without clamps and stays tight forever.
Materials List
- 12 pcs 8/4 Douglas fir, 8 ft long (for the top lamination)
- 16 pcs 4×4 Douglas fir, 8 ft (legs, stretchers, and rails)
- Leg vise screw kit (wooden screw or Lee Valley iron screw)
- Tail vise hardware
- 3/4-inch dog holes – bench dog set
- Drawbore pins and mallets
Step 1: Mill and Laminate the Top
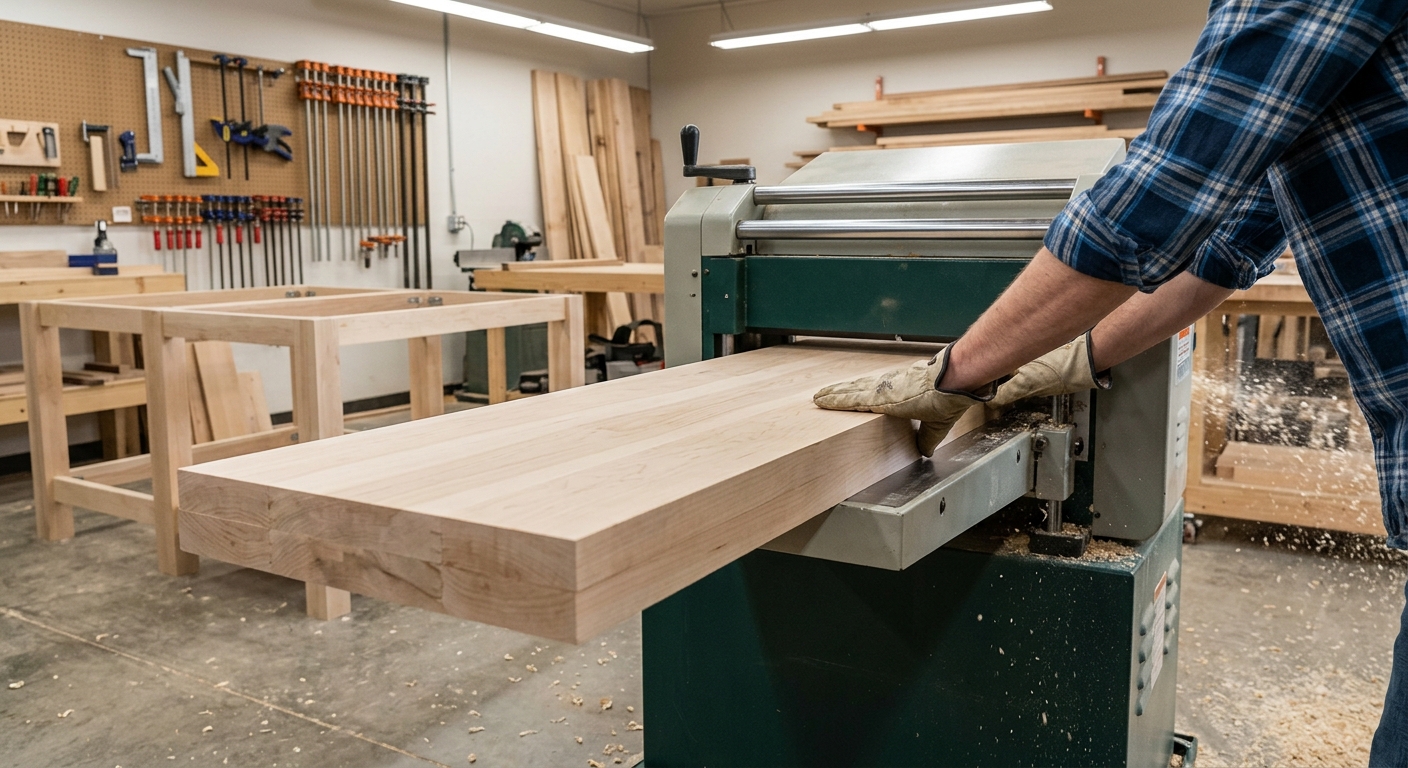
Joint one face and one edge of each board on the jointer. Rip to consistent width. Arrange the boards with growth rings alternating direction to prevent cupping. Glue up in sections of 3–4 boards, then glue the sections together. You need a lot of clamps – a minimum of 12, more is better.
Once glued, flatten the top with a hand plane (No. 7 or No. 8) working diagonally, then along the grain. This is the most labor-intensive part. A good top should be flat to within 1/32 inch across its length.
Step 2: Build the Base
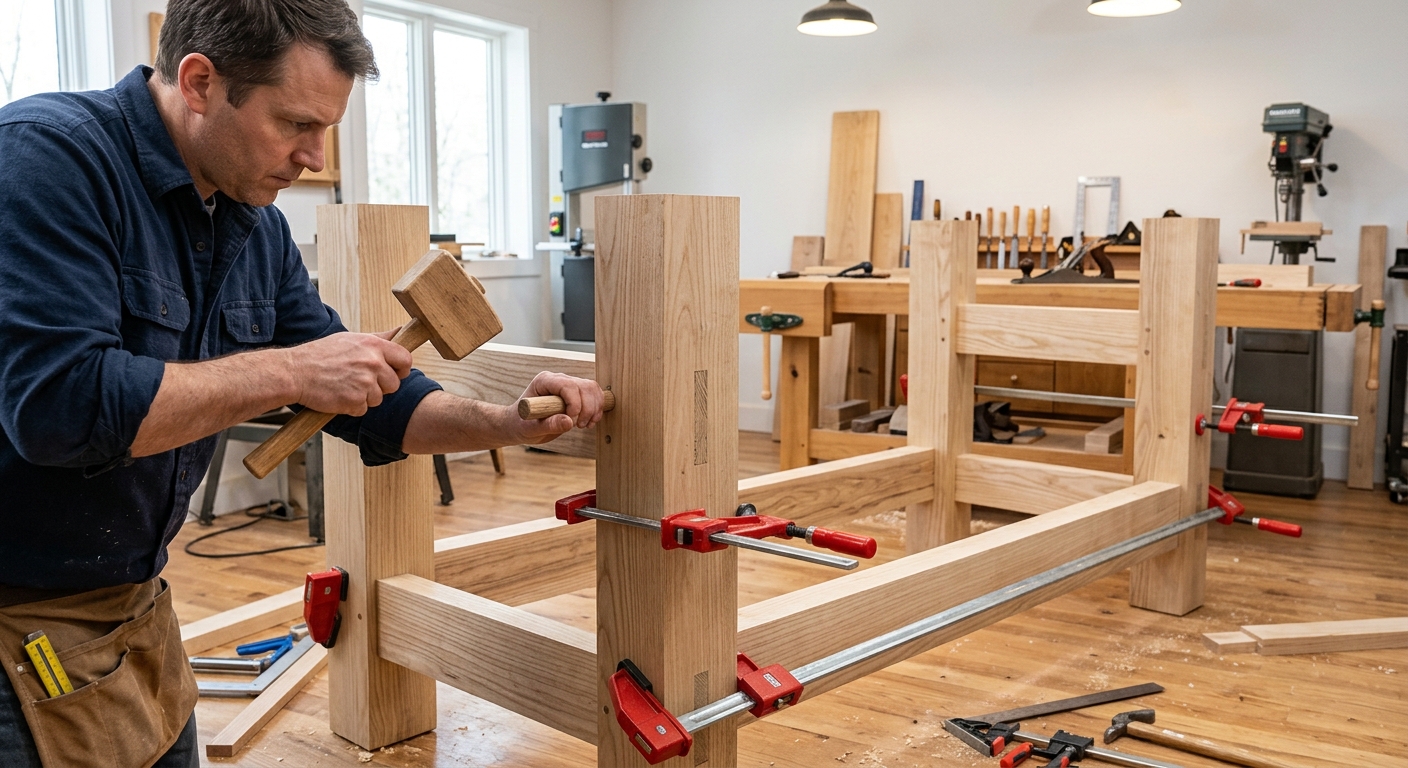
The base consists of two identical trestle assemblies connected by stretchers. Each trestle has two legs connected by a large horizontal rail at the top and a lower stretcher. Cut all mortises before assembling – it’s much easier on flat boards than in assembled frames.
Mortise dimensions: 1.5 inches wide, 3 inches tall, 2.5 inches deep. Haunched tenons for the top rail, standard through-tenons for the stretchers. Cut the mortises with a 1.5-inch bench chisel, working to a layout line from your marking gauge.
Step 3: Drawbore the Joinery
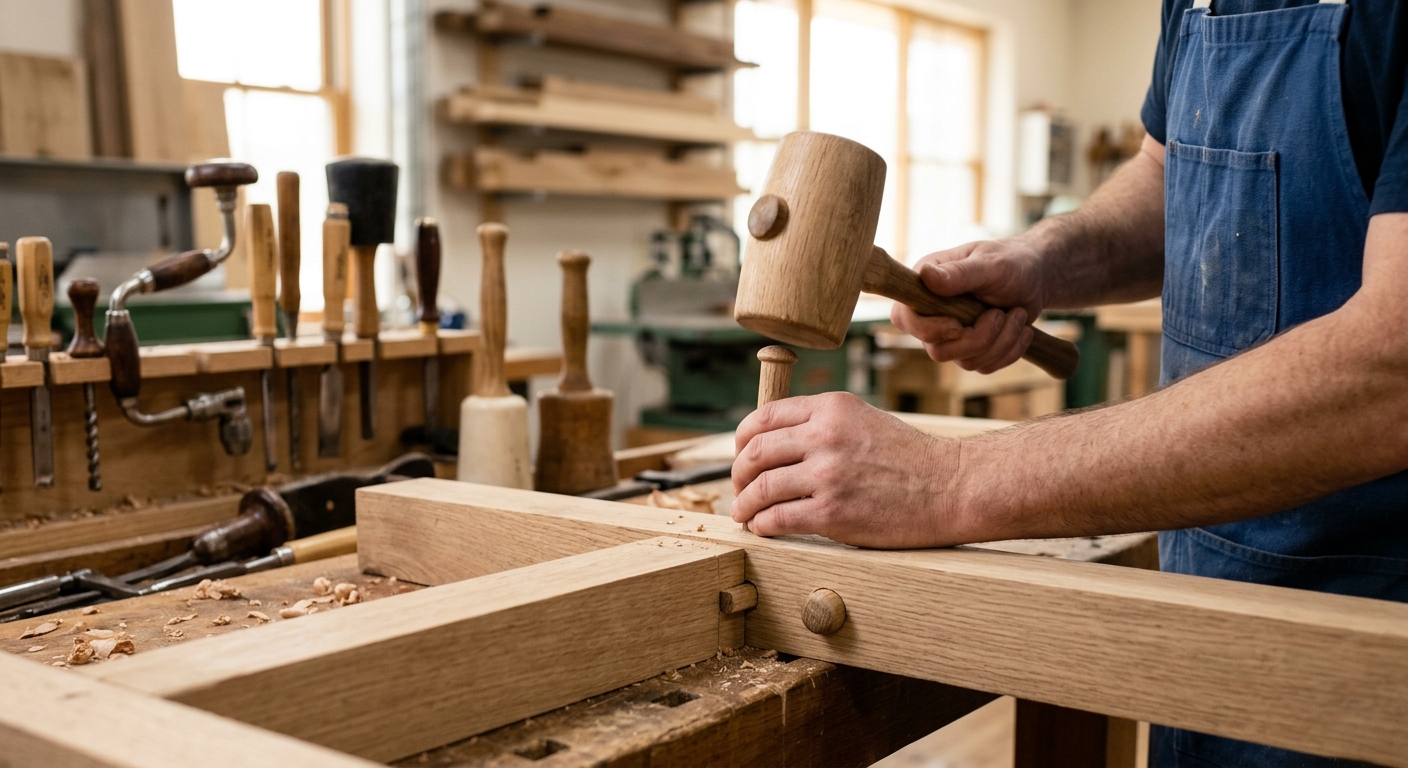
Drawboring is what makes this bench last generations. Drill your peg hole through the mortise wall first. Insert the tenon, mark through the hole onto the tenon, then drill the tenon hole 1/16 inch closer to the shoulder. When you drive the hardwood peg through, it pulls the joint tight mechanically – no glue needed.
Use 5/8-inch riven oak pegs (or quartersawn oak dowels). Drive them with a wooden mallet. The offset creates enormous clamping pressure. Flush-cut the pegs after assembly.
Step 4: Install the Leg Vise
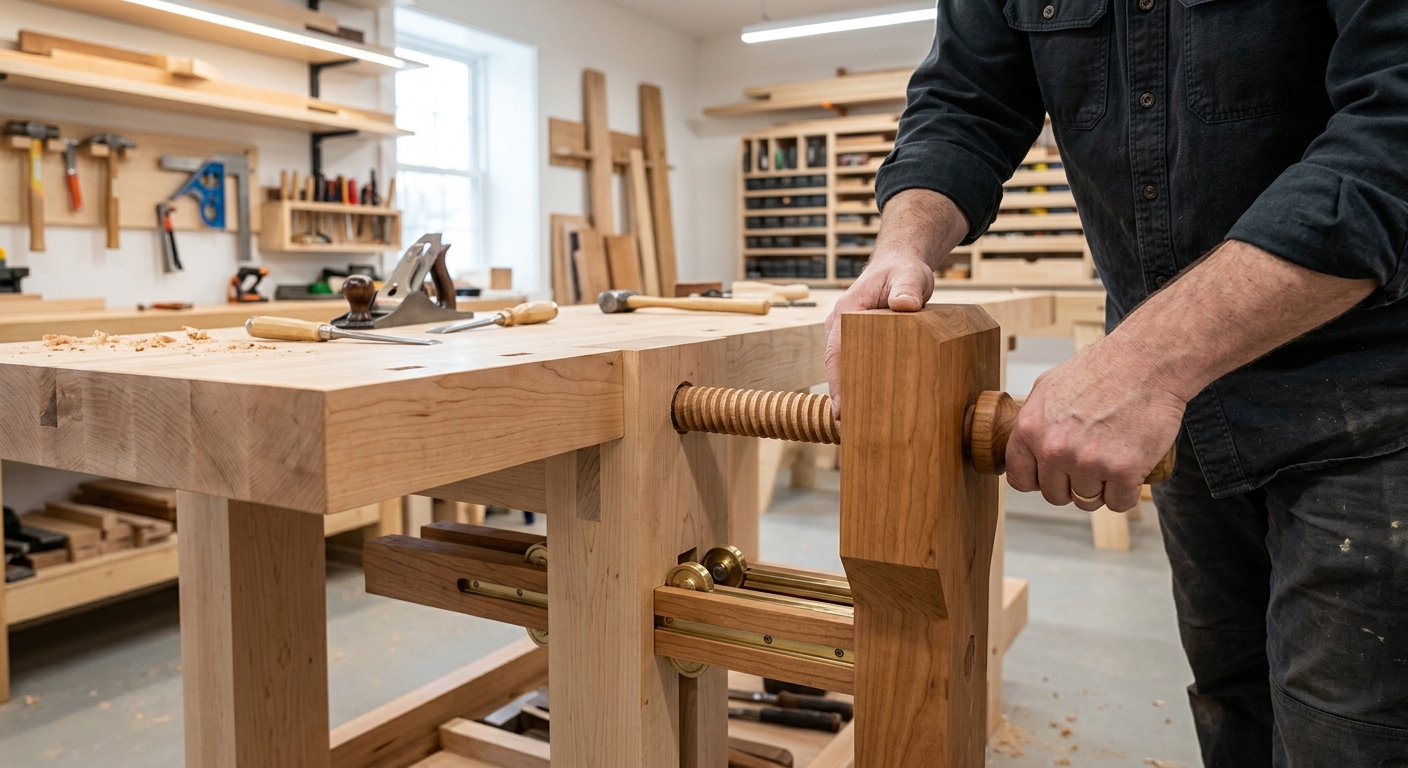
The leg vise chop mounts to the left front leg. Mortise the vise screw through the chop and the leg – the screw should pass through freely. The wooden parallel guide is a long piece of hardwood that rides in a notch in the front leg and prevents the chop from racking. Pin it with a series of holes in the guide and a wooden pin.
If you’re using a wooden screw kit, carve the nut into the underside of a stretcher block and glue it to the underside of the bench. If using a commercial iron screw, follow the hardware instructions for the nut housing.
Step 5: Mount the Top and Cut the Dog Holes
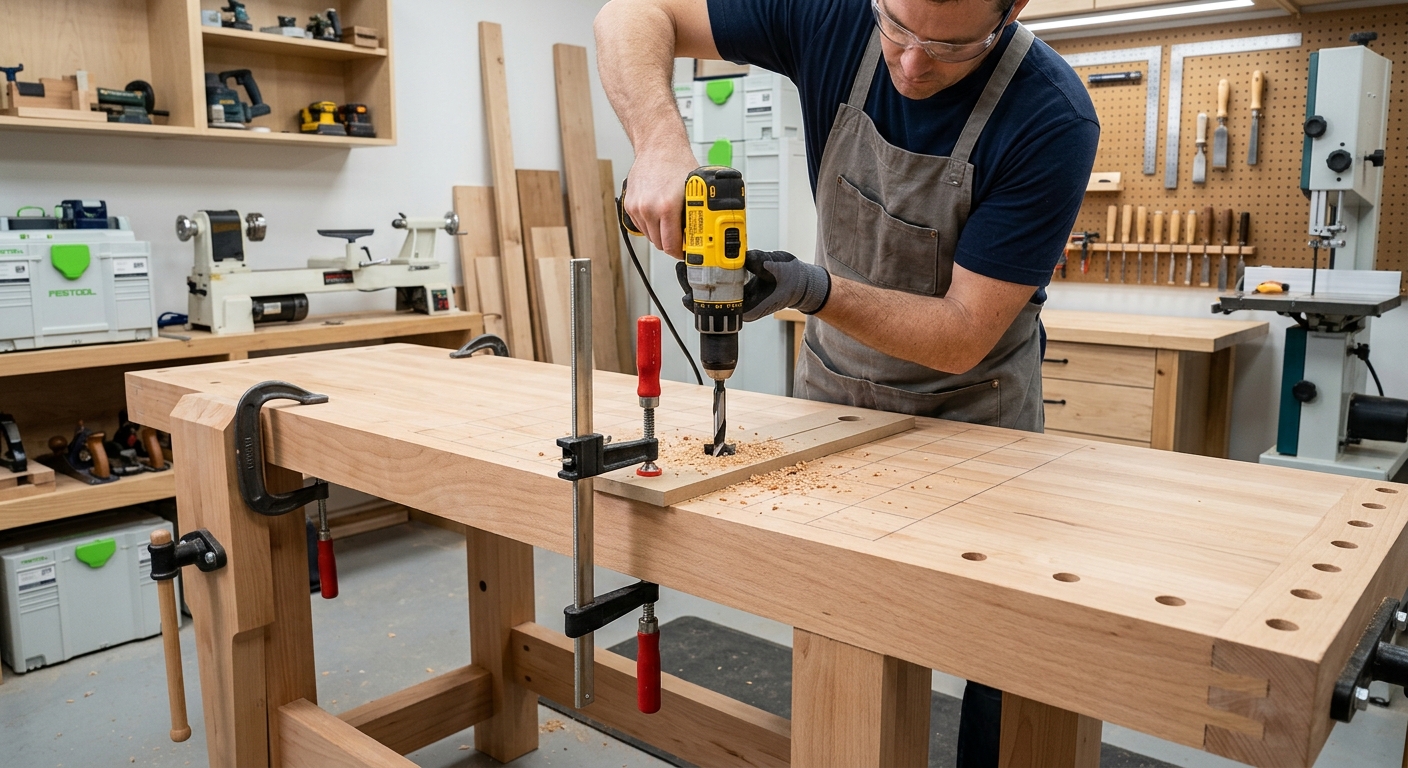
Set the top on the base and check for wind. The top should sit flat on all four corners of the base. Secure the top with wooden buttons that allow for seasonal movement – never glue or screw it rigidly.
Lay out the dog holes at 4-inch intervals along the top, starting 3 inches in from the front edge. Use a brace and 3/4-inch auger bit, or a plunge router with a 3/4-inch spiral bit. Keep the holes perfectly perpendicular – a dog that leans will jam.
Step 6: Install the Tail Vise
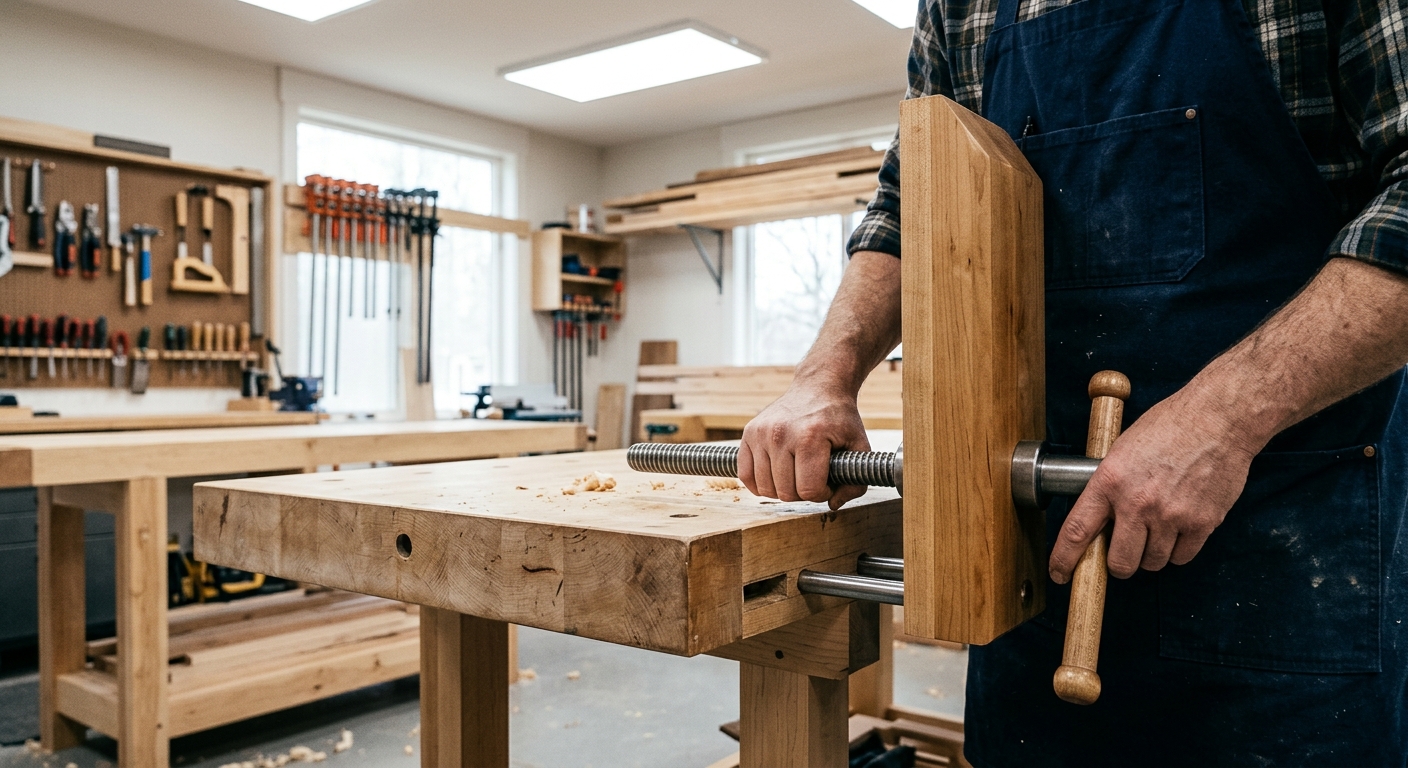
The tail vise is a sliding section at the right end of the bench. It has a dog hole that aligns with the row of holes in the top, letting you clamp work of any length between dogs. This is more complex joinery – the vise box slides in a wooden track and is driven by a large wooden screw.
Cut the slot in the right end of the bench for the vise box. The box must slide smoothly with no racking. Fit the screw assembly and test the action before installing permanently. Wax the sliding surfaces with paste wax.
Finishing
A workbench top should not be finished with film finishes – they make the surface slippery. Apply two coats of boiled linseed oil, allowing each to penetrate and cure fully. This protects the wood from moisture and glue squeeze-out without building a film. Wipe off all excess; BLO left on the surface becomes tacky and never cures properly.
Final Thoughts
This bench will outlast you. Budget two full weekends – one for the top lamination and one for the base and vise work. The drawbored joints require patience but the result is a bench that won’t move under hand-planing pressure, won’t rack under clamp loads, and requires zero maintenance beyond occasional oiling. Worth every hour.