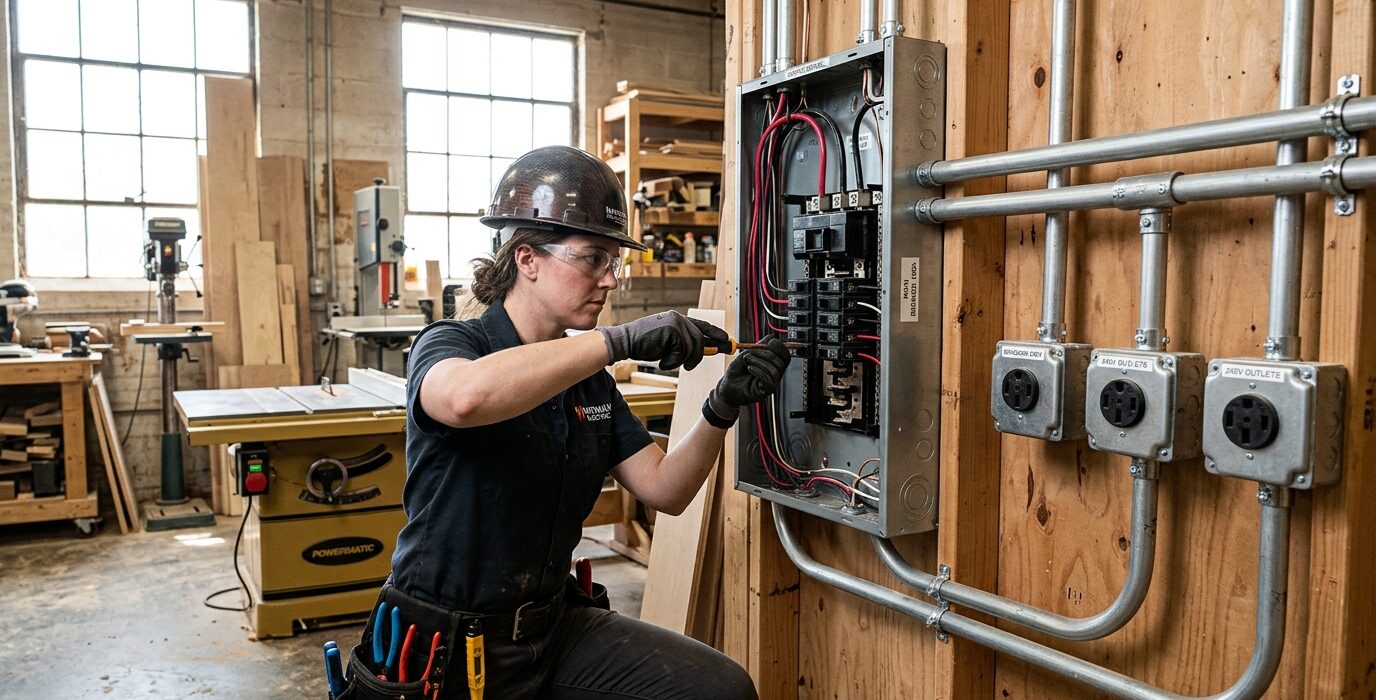
Adding Circuits the Right Way
A garage that came with one 15-amp circuit powering a single overhead light is not a workshop. A real workshop needs dedicated circuits for stationary tools, a separate circuit for lighting, and outlets every 4-6 feet along the walls so you’re never hunting for somewhere to plug in. Adding electrical capacity is the single most impactful infrastructure investment you can make in a home shop.
This guide covers what circuits you need and how the installation works – you’ll want a licensed electrician for the actual panel work, but understanding what to specify saves you from getting the wrong installation.
What Circuits a Shop Needs
- 240V, 20-amp circuit for the table saw (most contractor and cabinet saws require this)
- 240V, 15-amp circuit for the dust collector if it’s a larger model
- 120V, 20-amp circuit for the miter saw and other single-phase tools
- 120V, 20-amp circuit for workbench area outlets
- 120V, 15-amp circuit for lighting (separate from tools)
- 120V, 20-amp circuit for an air compressor if used regularly
Step 1: Evaluate Your Panel Capacity
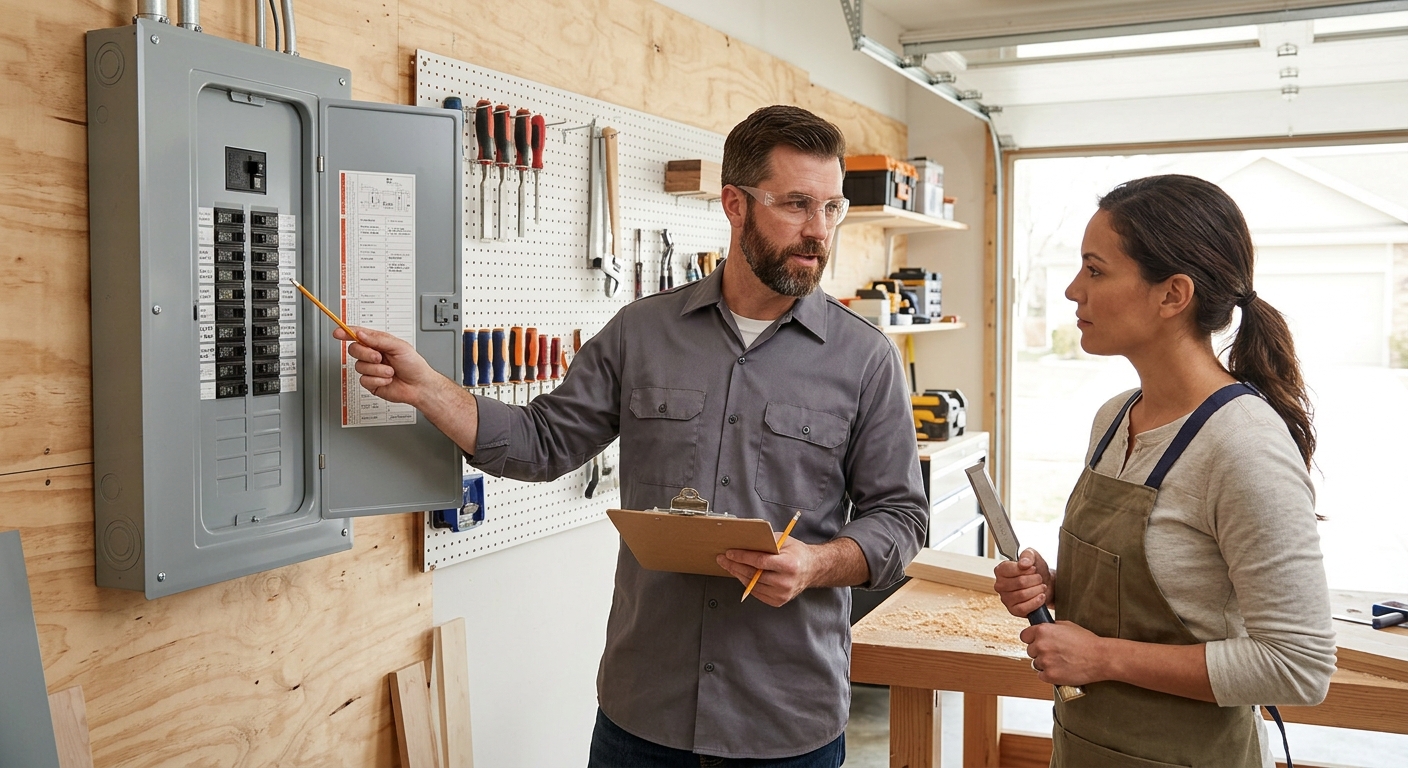
Check your main electrical panel for available breaker slots and total ampacity. A 100-amp service panel (common in older homes) may not have capacity for a full shop. A 200-amp service is the minimum for a shop with a table saw, dust collector, and multiple tools. If your panel is undersized, discuss a service upgrade with your electrician before planning tool purchases.
Step 2: Plan Outlet Placement
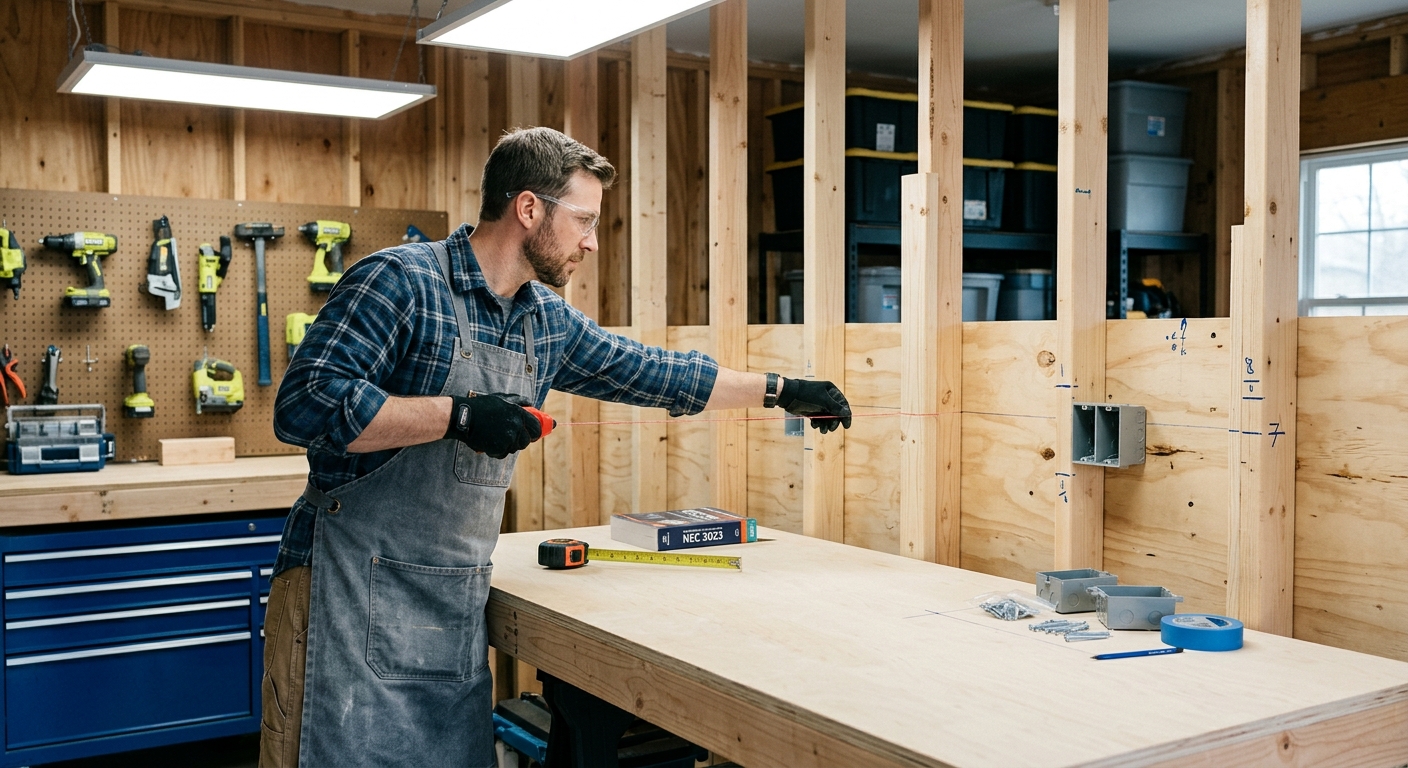
Walk around your planned shop layout and mark where you want outlets: at each major machine, every 6 feet around the workbench wall, at the miter saw station on both sides, and at the assembly table. Plan for outlets at 48 inches above the floor (mid-wall height) – this keeps them accessible without bending.
Step 3: Specify Outlet Types
Use 20-amp duplex outlets (T-slot receptacles) on 20-amp circuits. Add a NEMA 6-20 (240V, 20-amp) outlet for the table saw location. Specify weatherproof covers for any outlet near potential water sources (spray area, near a utility sink). Add one or two quad outlets at the workbench – the extra capacity is always useful.
Step 4: Hire the Right Electrician
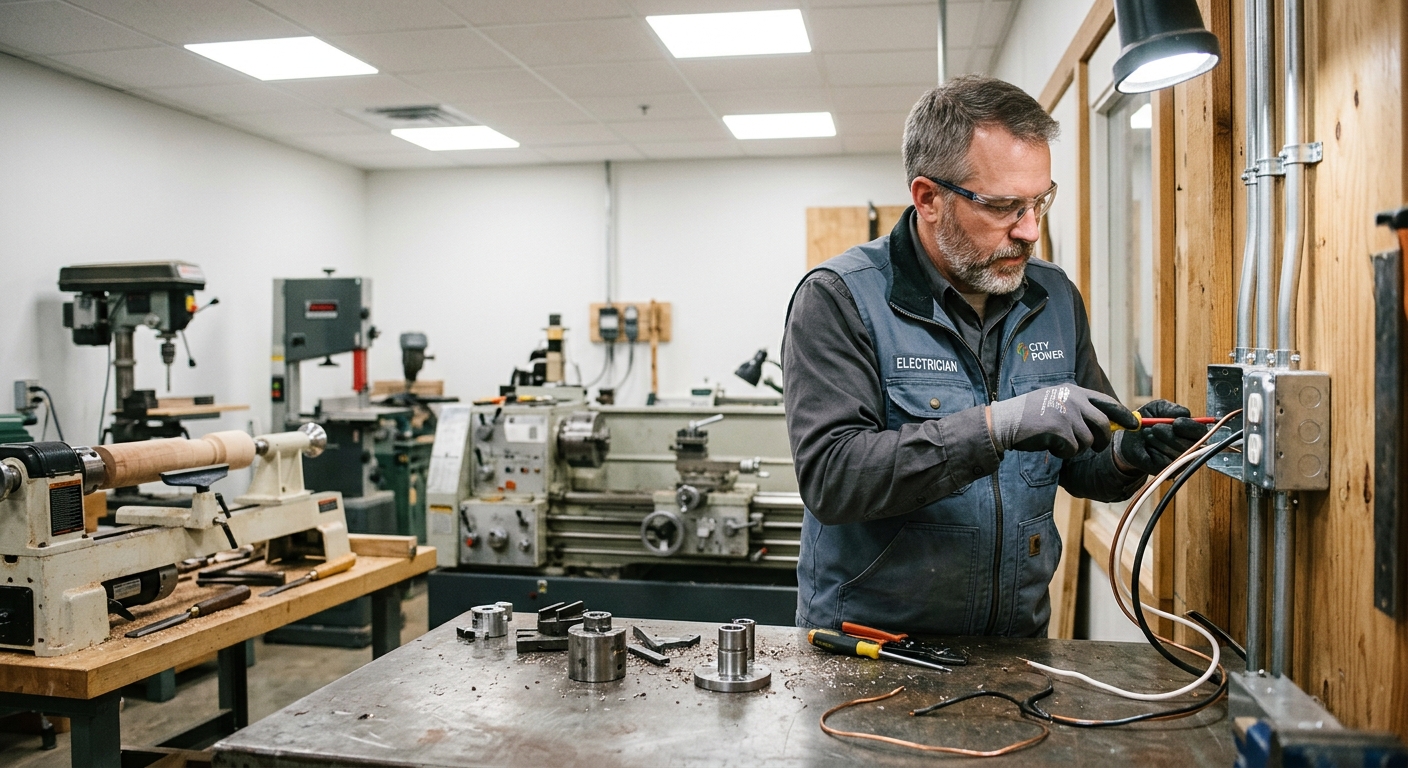
Specify a licensed electrician who has experience with workshop installations. Show them your tool specifications (voltage and amperage requirements) and outlet plan. Get the work permitted – this protects you if you ever sell the house and ensures the installation meets code. A typical shop electrical upgrade costs $800-$2500 depending on panel capacity and the amount of new wiring.
Shop Electrical Safety Notes
- GFCI protection is required within 6 feet of water sources – install GFCI outlets or breakers in those locations
- Don’t daisy-chain extension cords for machine use – run to the outlet directly or have a proper outlet added
- Label every circuit breaker clearly with what it controls – saves time when you trip a breaker mid-project
FAQ
Can I do the wiring myself?
In most jurisdictions, homeowners can do their own electrical work with a permit and inspection. The work must meet local code. For a garage workshop, the main risks are undersized wire, incorrect box fill calculations, and missing GFCI protection. If you’re not confident in these areas, hiring an electrician is worth the cost.