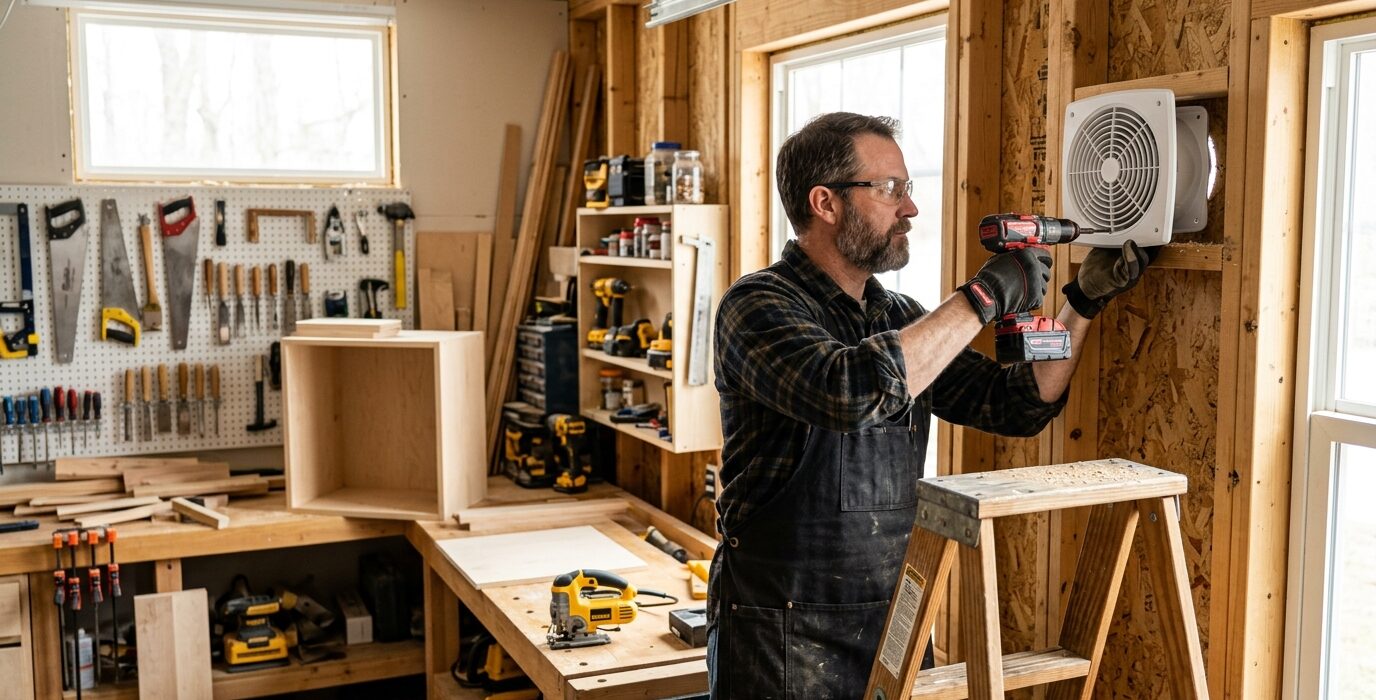
Adding Ventilation to a Garage Workshop
A garage workshop accumulates solvents, wood dust, humidity, and heat at levels that make a well-ventilated shop not just more comfortable but genuinely safer. Solvent vapors accumulate at floor level where they can reach explosive concentrations. Wood dust in the air causes respiratory damage over time. Humidity warps lumber and corrodes tools. Proper ventilation manages all of these. Here is how to add effective ventilation to an existing garage shop.
What Good Ventilation Does
- Removes solvent vapors during finishing operations
- Replaces fine wood dust in the air with fresh air during and after machine use
- Controls humidity in humid climates
- Exhausts heat buildup in summer
- Provides fresh air exchange for CO safety when using combustion heaters
Materials
- One or two window exhaust fans (at least 200 CFM each for a one-car garage, 400+ CFM for a two-car)
- Fan hoods for exterior protection
- Fresh air intake louver for the opposing wall
- Optional: a whole-house exhaust fan for maximum airflow
Step 1 – Understand Cross-Ventilation
Effective ventilation requires an exhaust fan on one side and a fresh air inlet on the opposite side. The exhaust fan pulls air through the shop from the inlet, sweeping contaminants across the shop and out. Without an adequate inlet, a strong exhaust fan creates negative pressure that reduces its own effectiveness and can pull back-draft from combustion appliances.
Step 2 – Position the Exhaust Fan Low for Solvents
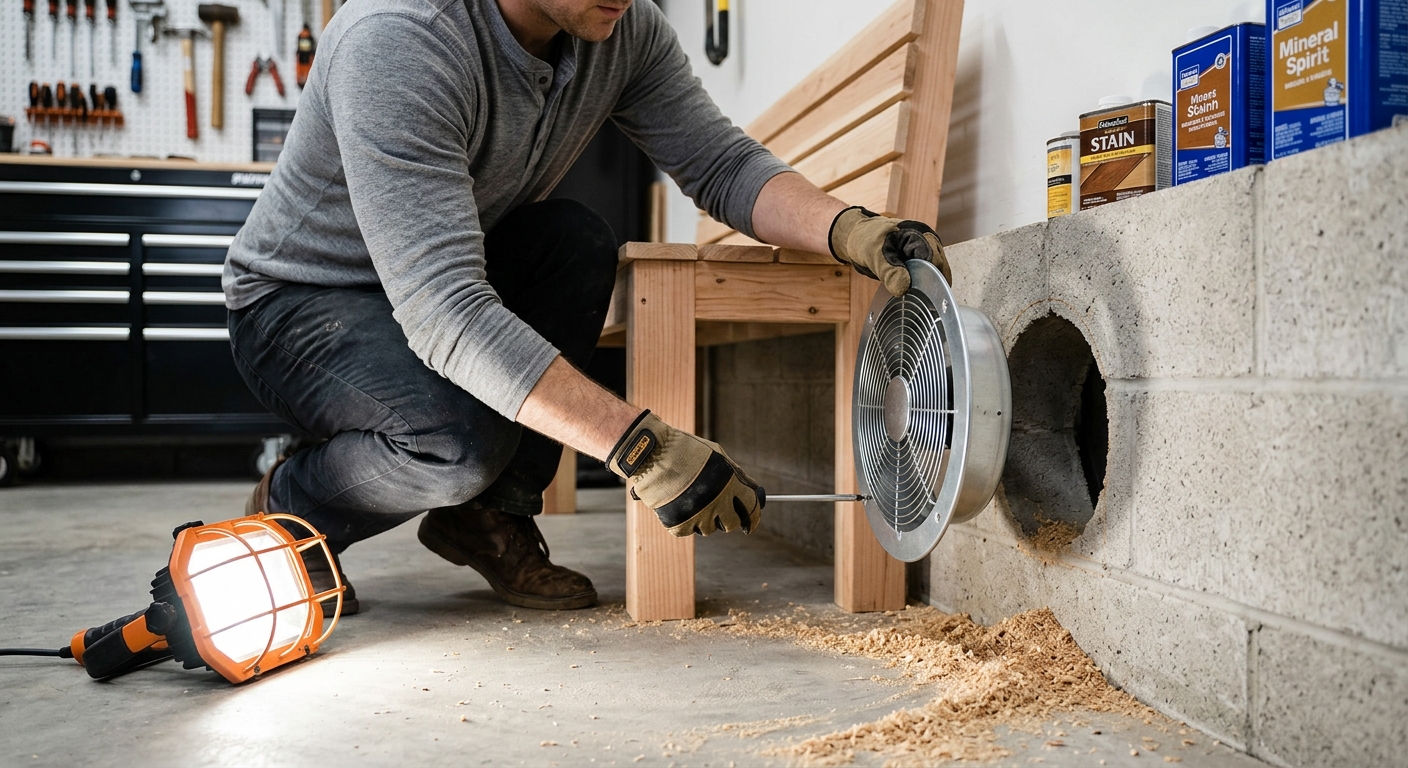
Solvent vapors are heavier than air – they sink to floor level. For shops that do solvent-based finishing, position the exhaust fan as low as practical (within 12 inches of the floor) on the wall opposite the fresh air intake. This sweeps solvent vapors across the floor and out before they can accumulate. A fan mounted high on the wall is far less effective for solvent removal.
Step 3 – Install the Fresh Air Intake
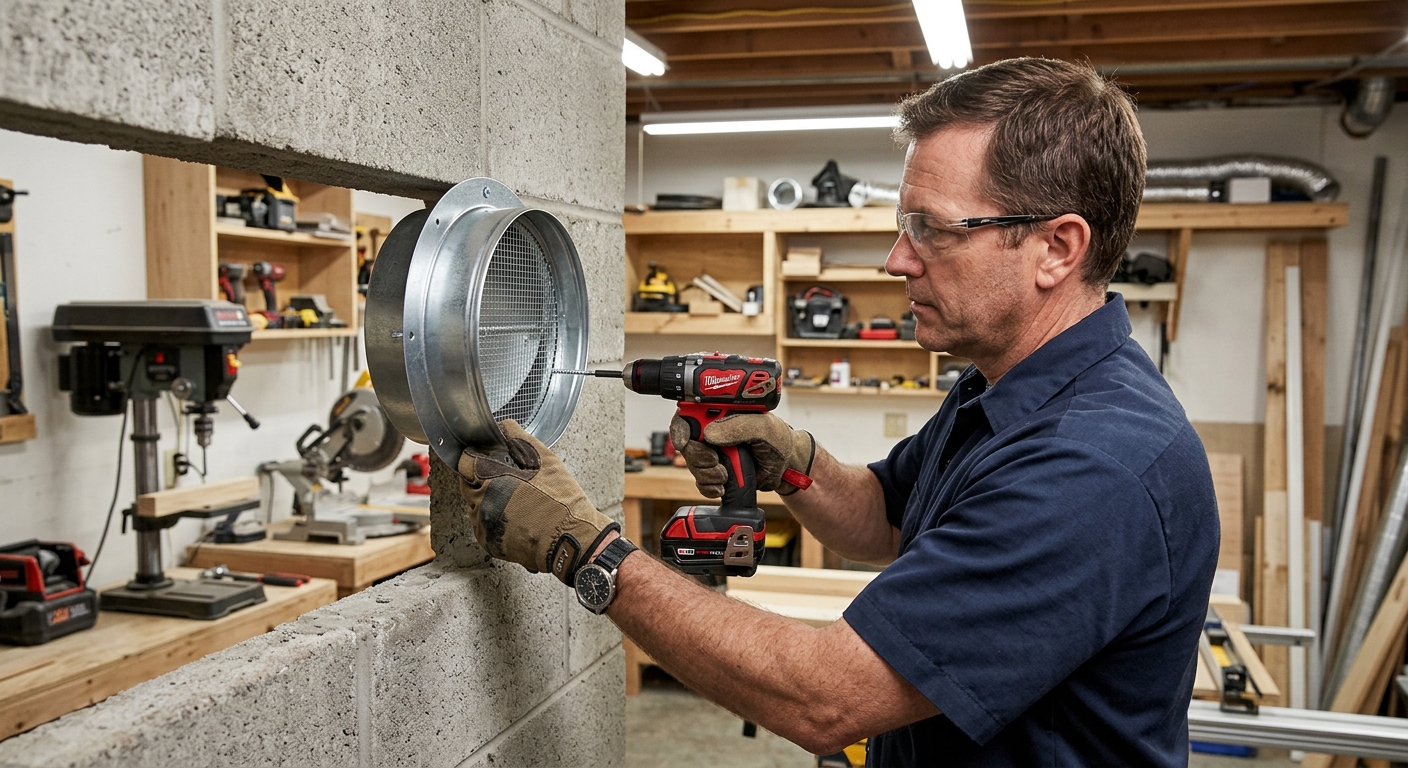
Cut a louvered intake opening on the wall opposite the exhaust fan. Size the intake at least as large as the fan opening – a restrictive intake reduces airflow through the system. Install a louvered cover that opens automatically when the fan pulls air and closes when the fan is off (preventing cold or hot air infiltration between sessions).
Step 4 – Wire the Fan to a Dedicated Switch
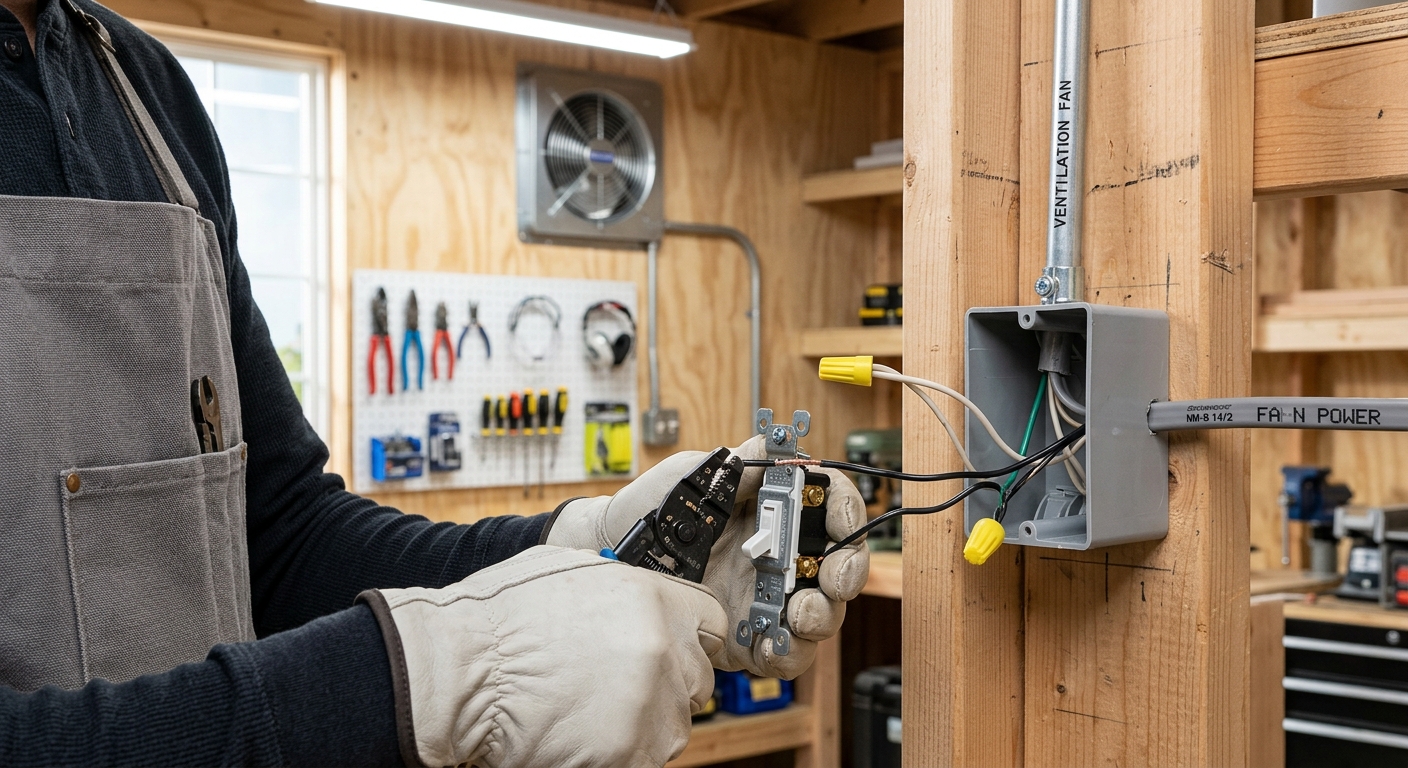
The ventilation fan needs its own switch near the shop entrance so you can turn it on before entering during finishing sessions and leave it running after finishing to clear residual vapors. A variable-speed fan is useful – low speed for general air exchange during normal work, high speed for finishing and solvent use.
Step 5 – Use a Timer for Post-Session Exhaust
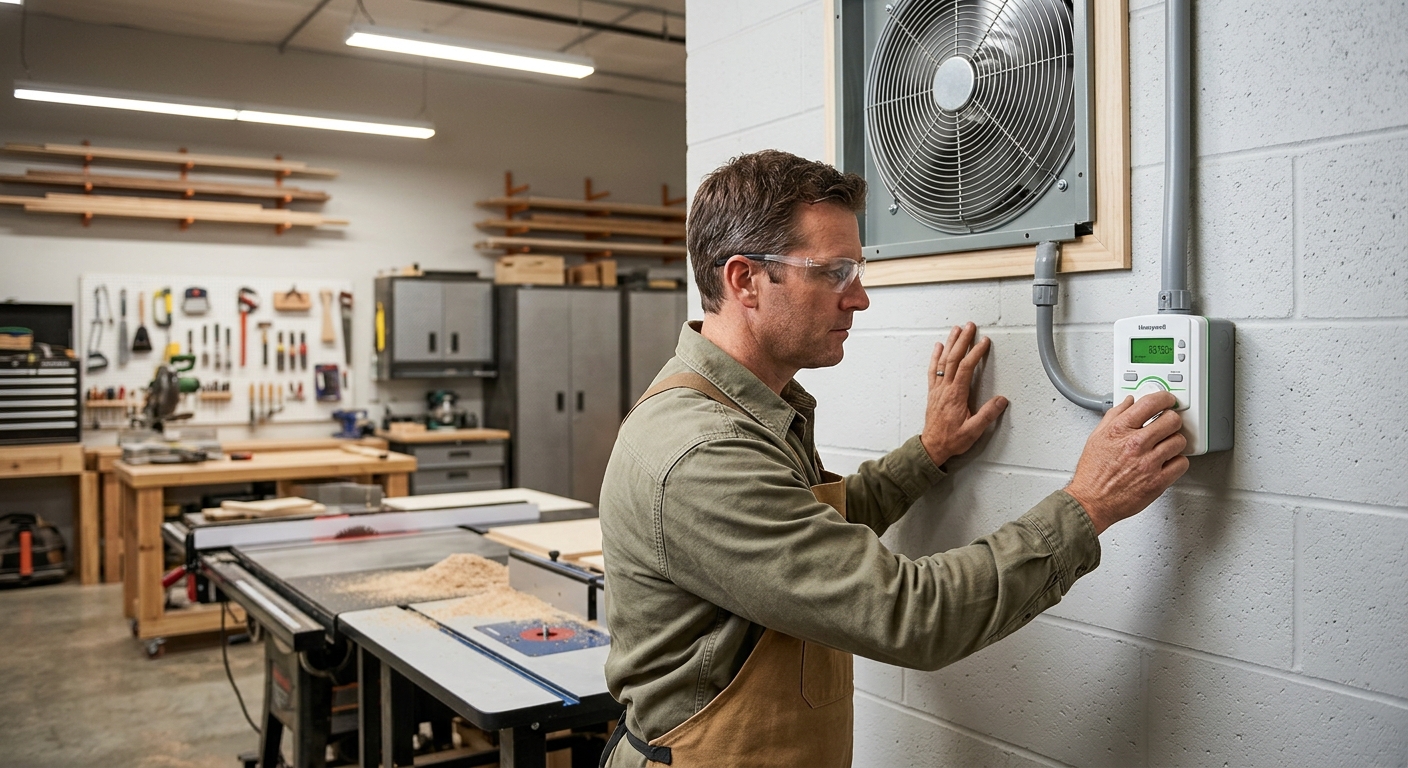
A spring-wound timer switch lets the ventilation fan run for 30 to 60 minutes after you leave the shop. This clears the residual vapors and dust that settle after finishing without requiring you to return to the shop to turn the fan off.
FAQ
Can my dust collector provide ventilation? A dust collector recirculates air through a filter – it doesn’t exchange shop air with fresh outside air. Always add a separate ventilation fan rather than relying on the dust collector for air quality.
How much CFM do I need? Target 6 to 10 air changes per hour for a shop with active finishing. For a 20 x 20 x 9-foot shop (3,600 cubic feet), you need 360 to 600 CFM of exhaust capacity.