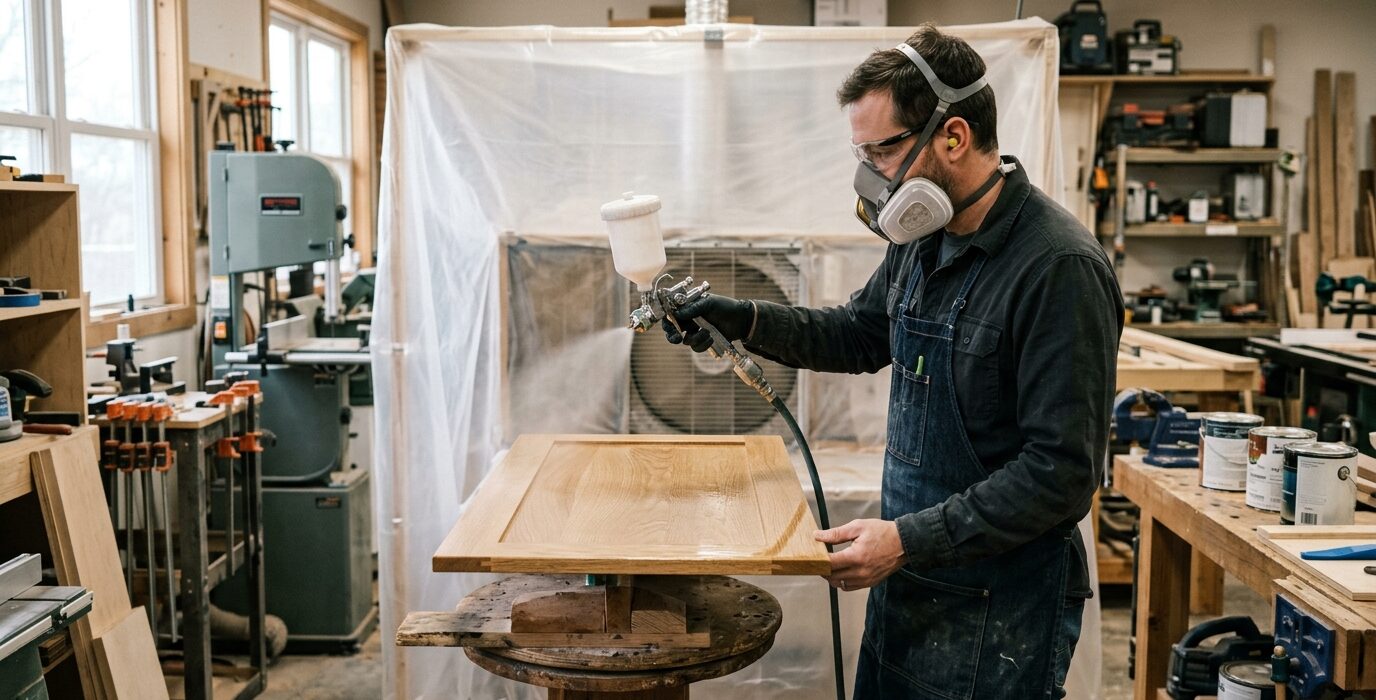
How to Apply Polyurethane for a Glass-Smooth Finish
Oil-based polyurethane is the most durable finish available to home woodworkers – more scratch-resistant than lacquer, more water-resistant than oil, and more durable than most water-based finishes. But it’s also the most unforgiving to apply: runs and drips are visible, brush marks show through if you rush, and dust contamination during the long cure time is a constant battle. Applied correctly, it produces a finish that can last decades on a high-use surface.
Surface Preparation
Oil-based polyurethane shows every surface defect. Sand to 180 grit minimum, 220 grit for best results, using random orbital, belt, or hand sanding in sequence. Finish by hand-sanding with the grain – random orbital scratches are visible under poly. Remove all dust with a vacuum, compressed air, and a tack cloth just before the first coat. Any dust in the surface will telegraph through the finish.
Step 1: Thin the First Coat
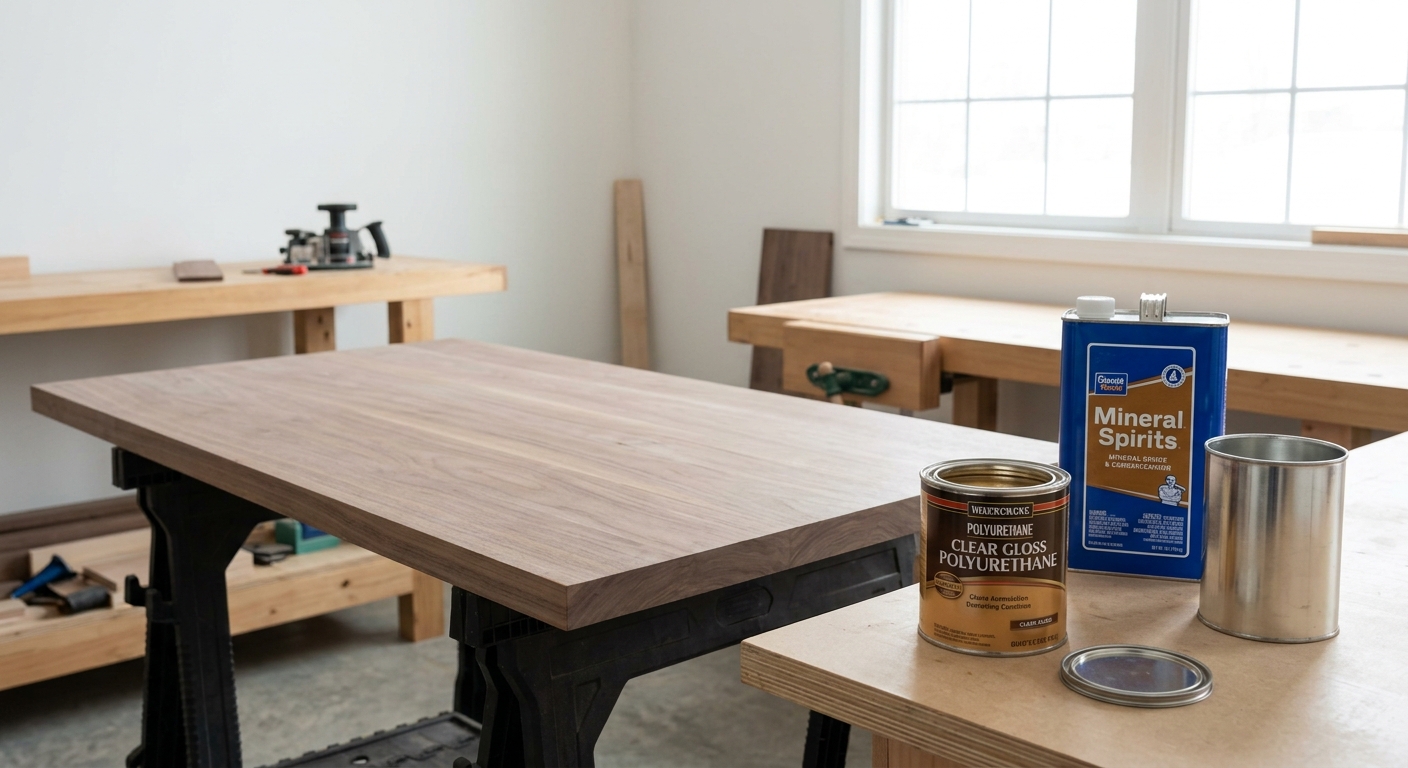
Thin the first coat of oil-based poly 10-15% with mineral spirits. The thinned coat penetrates the wood fibers and creates a binding layer for subsequent coats. Full-strength poly on an unsized surface can have adhesion issues. Apply the thinned coat with a quality natural bristle brush, working with the grain in long, even strokes.
Step 2: Let Dry Completely and Scuff-Sand
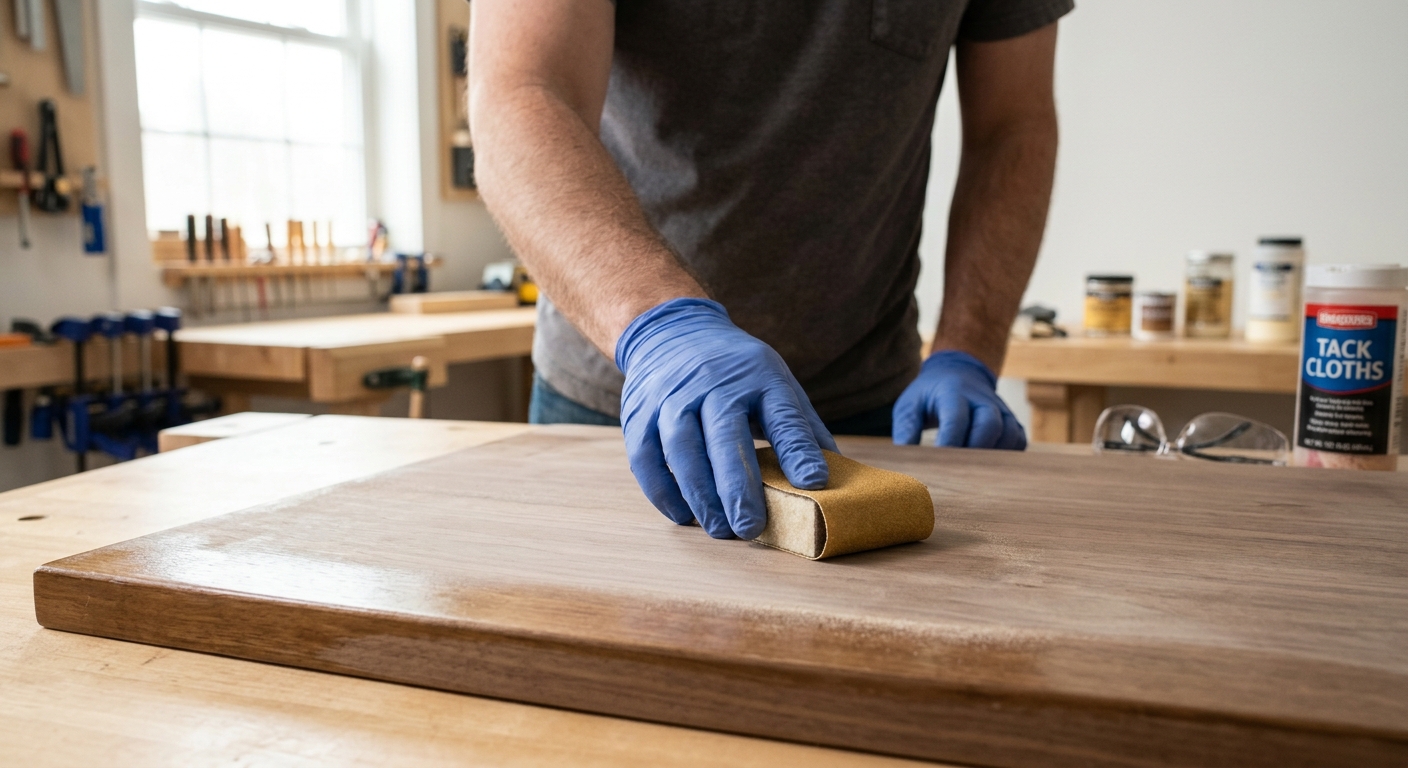
Let the first coat dry 24 hours (48 in cool or humid conditions). The surface will feel rough – raised grain fibers and slight imperfections. Sand lightly with 320-grit sandpaper, using just enough pressure to knock down the roughness without sanding through the finish. Vacuum and tack cloth again thoroughly.
Step 3: Apply Subsequent Coats Full-Strength
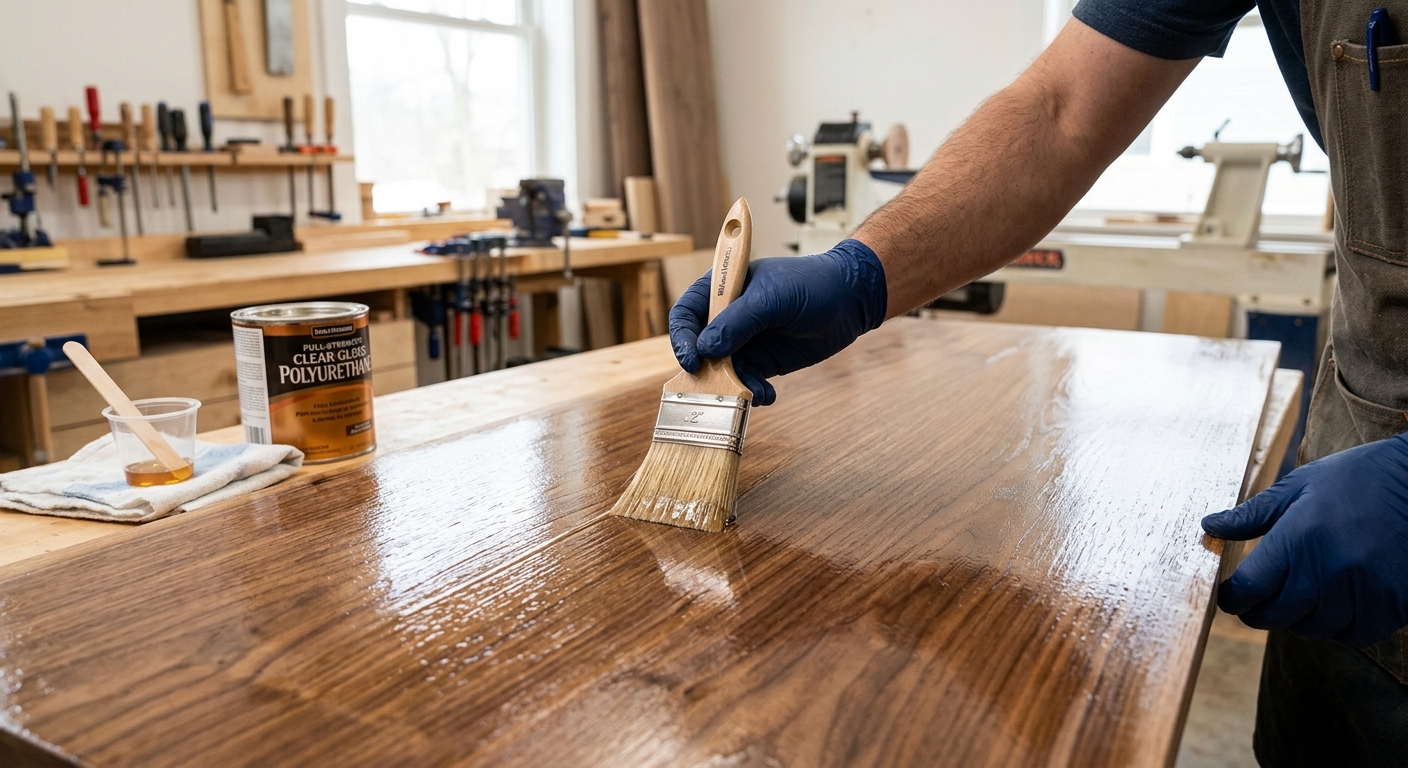
Apply the second and third coats of poly at full strength. Use a quality natural bristle or foam brush – cheap brushes leave bubbles. Work in long strokes with the grain. Keep a wet edge – work fast enough that you’re always stroking into wet finish, not dry edges. Bubbles from too much brush manipulation are the most common application problem.
Step 4: Sand Between Coats
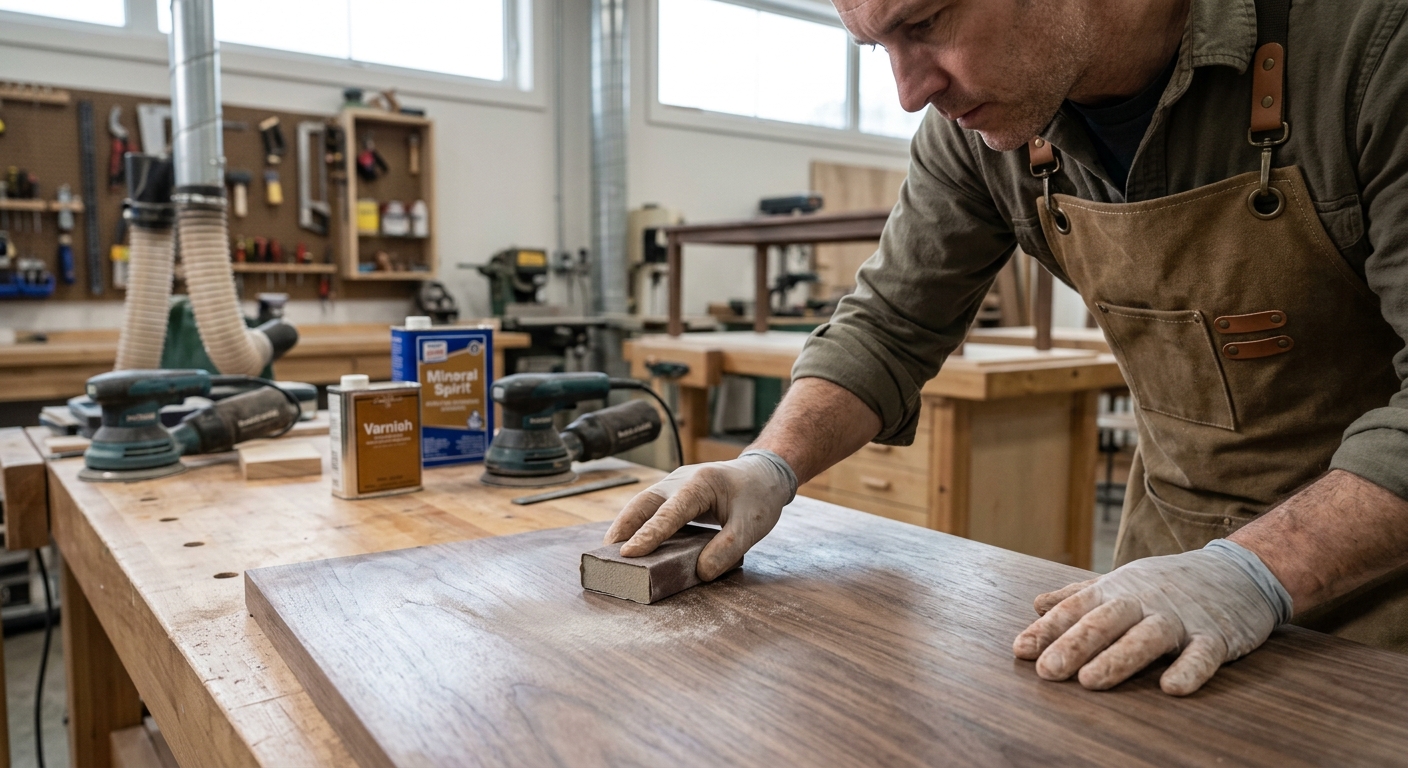
Scuff-sand between every coat with 320-grit. The goal is not to remove the finish but to level any brush marks, dust particles, or imperfections. Sand until the surface feels uniformly smooth, vacuum and tack cloth, then apply the next coat. Three coats total (first thinned, two full) is the minimum for adequate protection on furniture. Four coats for tabletops or high-use surfaces.
Step 5: Final Finishing
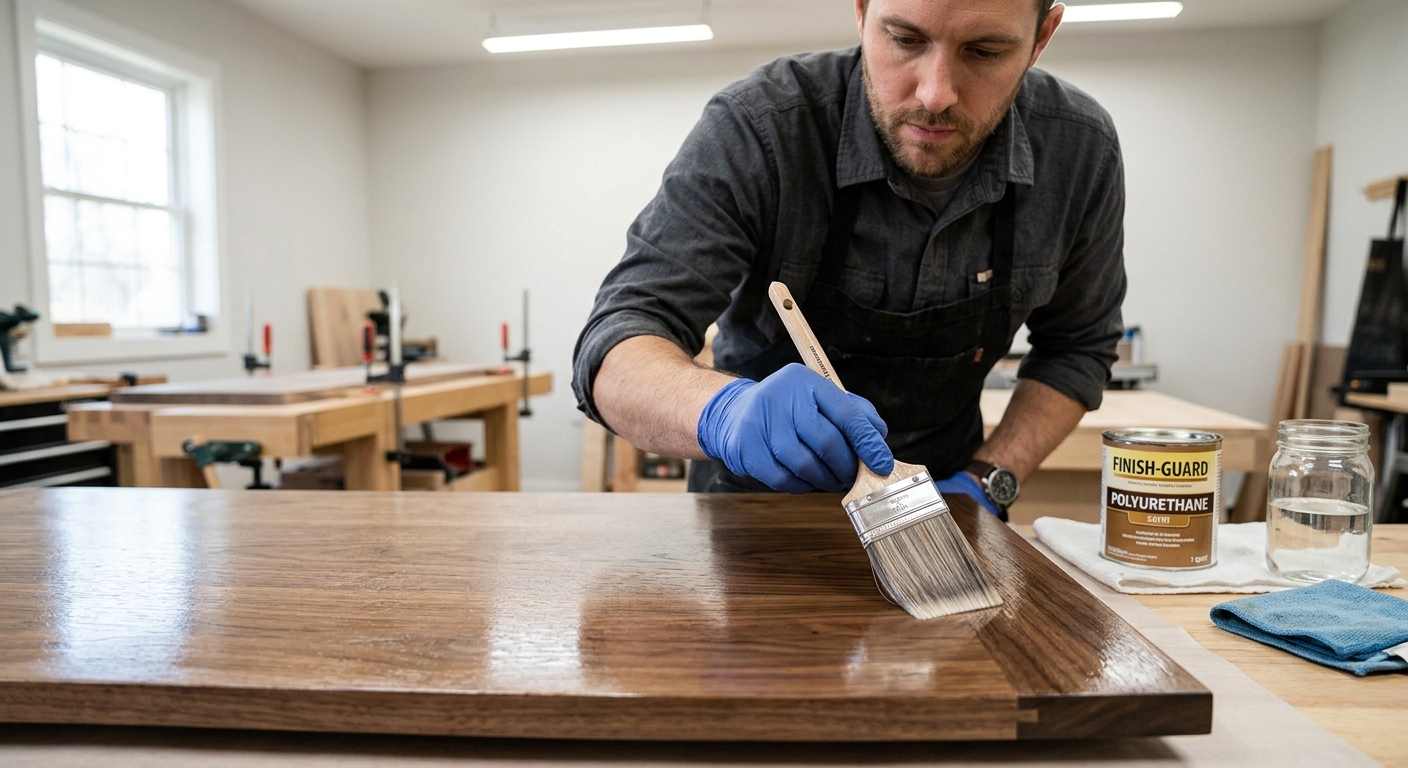
After the final coat fully cures (3-7 days for oil-based poly), you can level the surface for a ultra-smooth result. Sand with 400-grit, then 600-grit wet/dry paper with water as lubricant. Follow with rubbing compound and paste wax. The result is a flat, even sheen that looks nothing like the typical “plastic” look of heavy poly – it looks like a perfectly controlled film finish.
Pro Tips
- Temperature matters. Apply poly in a shop above 65 degrees F. Below that temperature, the finish thickens, brush marks don’t flow out, and cure time extends dramatically.
- Use a dust-free environment. Poly’s long cure time means dust settles into it for hours. Mist the floor before applying (to knock down dust), then don’t walk in the area until the finish is tack-free.
FAQ
Water-based or oil-based polyurethane – which should I use?
Water-based poly dries faster, cleans up with water, and has lower VOC content. It’s not as durable as oil-based but has improved significantly. Use water-based for: projects where you want to preserve the wood’s natural color (water-based adds less amber tone), projects in a poorly-ventilated space, or when you need fast turnaround. Use oil-based for: any high-durability application (tabletops, floors), when you want enhanced warmth and depth in the color, and when you have adequate ventilation.