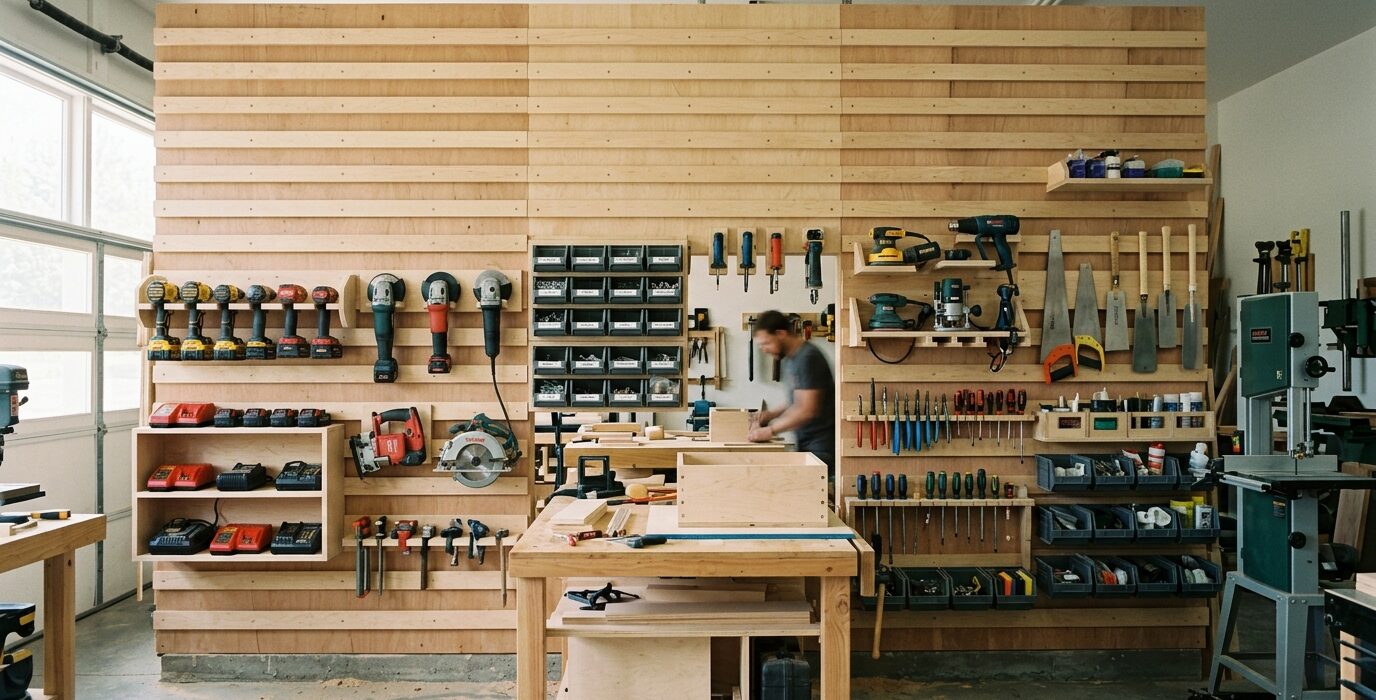
A French cleat wall system is the most flexible tool storage solution in a home shop. Instead of fixed shelves and dedicated hooks, everything on a French cleat wall is rearrangeable in seconds – you pull one holder off, slide another in, and reorganize the entire wall without tools. This guide shows you how to build and install a full shop wall with French cleats from scratch.
How French Cleats Work
A French cleat is a strip of plywood ripped at a 45-degree angle. One strip mounts horizontally on the wall with the angled edge facing up and out. A matching strip on the back of any holder hangs over it – gravity locks the connection, and the holder can slide anywhere along the wall cleat or lift off entirely. Add a new row of cleats and you can fill 100 square feet of wall with a perfectly organized, fully reconfigurable tool storage system.
Materials
- 3/4-inch plywood – one sheet per 16 square feet of wall (use Baltic birch for cleanliness)
- Table saw (required – you need a consistent 45-degree rip)
- 2-1/2-inch screws for mounting to studs
- Level, stud finder, tape measure
- Safety glasses (45-degree rips produce significant dust)
Step-by-Step Installation
Step 1 – Find Studs and Mark Your Layout
Use a stud finder to locate every stud in your target wall. Mark them at the top and bottom with tape. Standard stud spacing is 16 inches on center, but older houses can be 24 inches or irregular. Your cleats will span multiple studs, so the exact spacing matters less than knowing where to put screws.
Step 2 – Rip Your Cleats
Set your table saw blade to 45 degrees. Rip a sheet of 3/4-inch plywood into 3-1/2-inch strips. Each rip produces two pieces – one wall cleat and one holder cleat. Rip more than you think you need; you will run out faster than expected.
Step 3 – Install the First Row
Start at a comfortable height – typically 48–60 inches from the floor, depending on what you want at eye level. Hold the first cleat against the wall with the angled edge facing out and up. Level it precisely. Drive 2-1/2-inch screws through the cleat and into every stud it crosses. Do not skip studs – each screw takes the load of whatever hangs above it.
Step 4 – Fill the Wall
Work upward, spacing each new cleat row 1-1/2 to 2 inches below the previous one (the gap gives you room to hook and unhook holders). Cover from just above floor level to as high as you can reach. Leave the bottom 24 inches for a base cabinet or workbench if desired.
Step 5 – Build Your First Holders
The simplest holder is a piece of plywood with a mating 45-degree cleat glued and screwed to the back. A drill holder: a shelf with holes drilled for each drill and driver. A square holder: a narrow shelf with a slot for each square. A clamp holder: a horizontal dowel or two spaced to grip the clamp bar. None of these require more than scrap plywood and 15 minutes to build.
Pro Tips
- Paint the wall white first – it reflects light into dark corners and looks professional
- Rip cleats from a full sheet, not scrap – consistent width matters for a level install
- Use a spacer block to maintain equal gaps between rows during installation
- Label each holder on the back so you can quickly identify unmounted holders in a stack
What to Hang First
Start with the tools you reach for every session: drill, driver, tape measure, square, pencils. Once those have homes, the rest of the organization follows naturally – you will see what is left on the bench and build holders for those next.