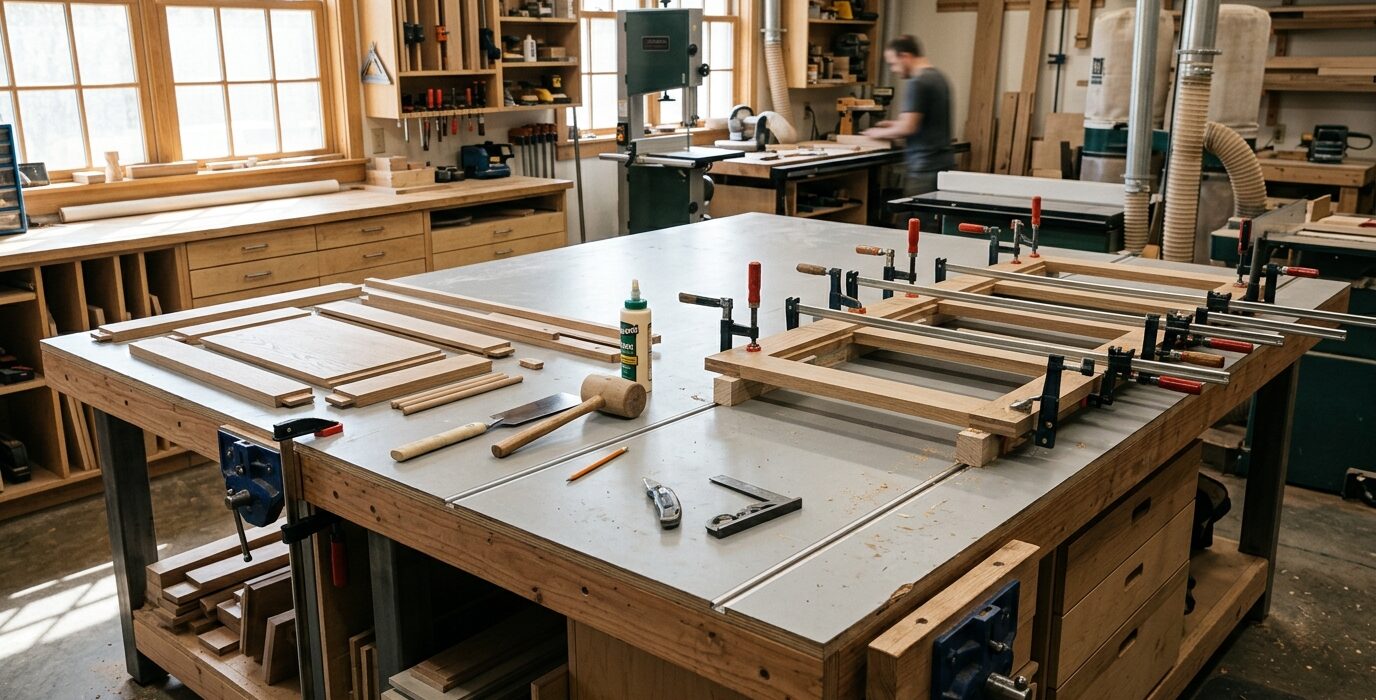
A Roll-Away Assembly Table for Small Shops
A roll-away assembly table solves the small shop’s central dilemma: you need a flat surface for glue-ups and assembly, but a dedicated table takes up space you can’t spare. A roll-away table on heavy-duty casters rolls out from the wall when needed, does its job, and rolls back when the project moves to another stage. This build is optimized for a shop where every square foot of floor space counts.
Design Priorities
- Rolls out and locks in position in under 30 seconds
- Flat to within 1/32 inch for accurate glue-ups
- Low-profile when stored – thin and tall rather than wide
- Storage on the table itself for items used during assembly
Materials
- 3/4-inch MDF or plywood for the top (MDF is flatter)
- 2×4 lumber for the base frame
- Four heavy-duty locking swivel casters
- Melamine sheet or hardboard for the work surface
- Lower shelf for clamp storage during use
Step 1 – Build a Compact but Sturdy Base
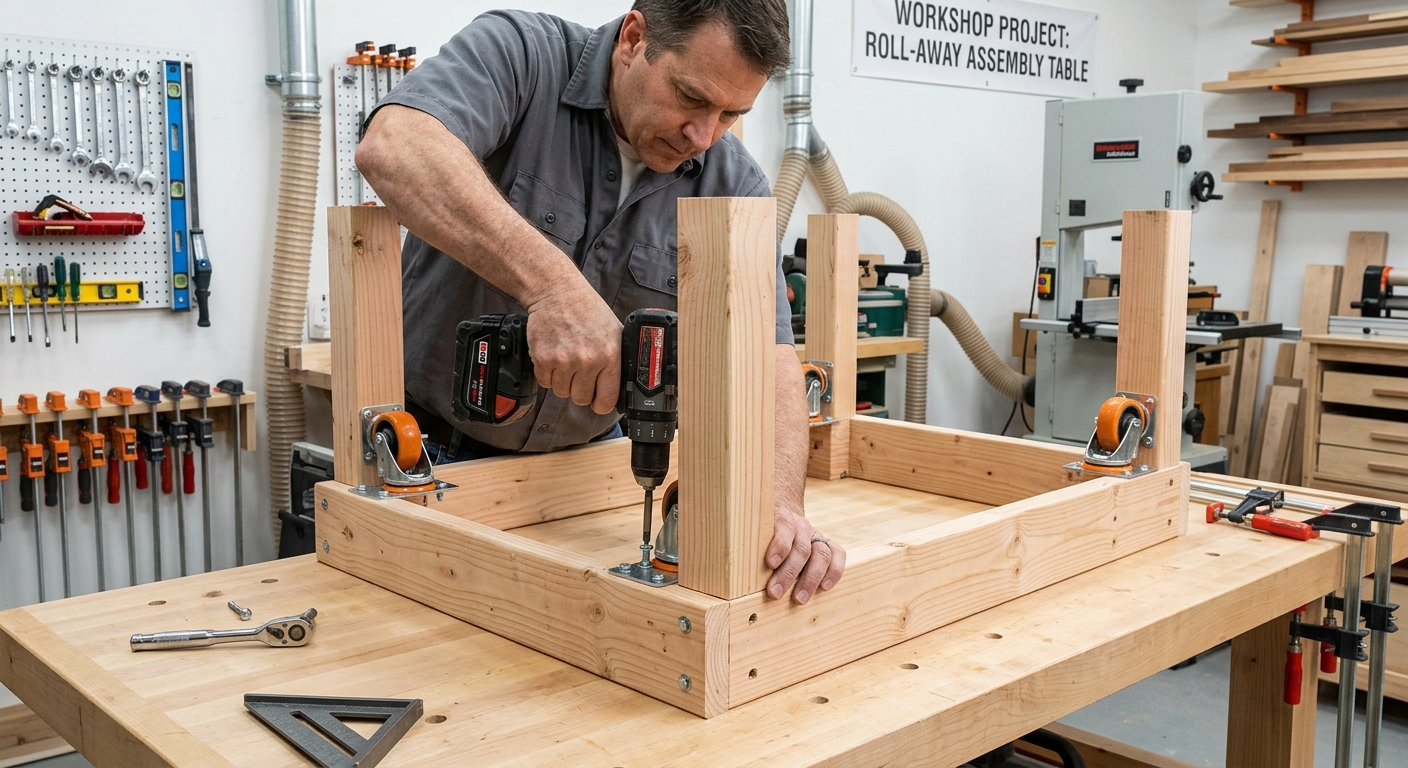
Build the base frame from 2x4s at assembly table height – 32 to 33 inches for most people. The base width should be minimal: 24 inches is wide enough for most assembly work and narrow enough to roll through a shop aisle without hitting anything. The length can be up to 48 or 60 inches depending on the largest project you typically assemble.
Step 2 – Choose the Right Casters
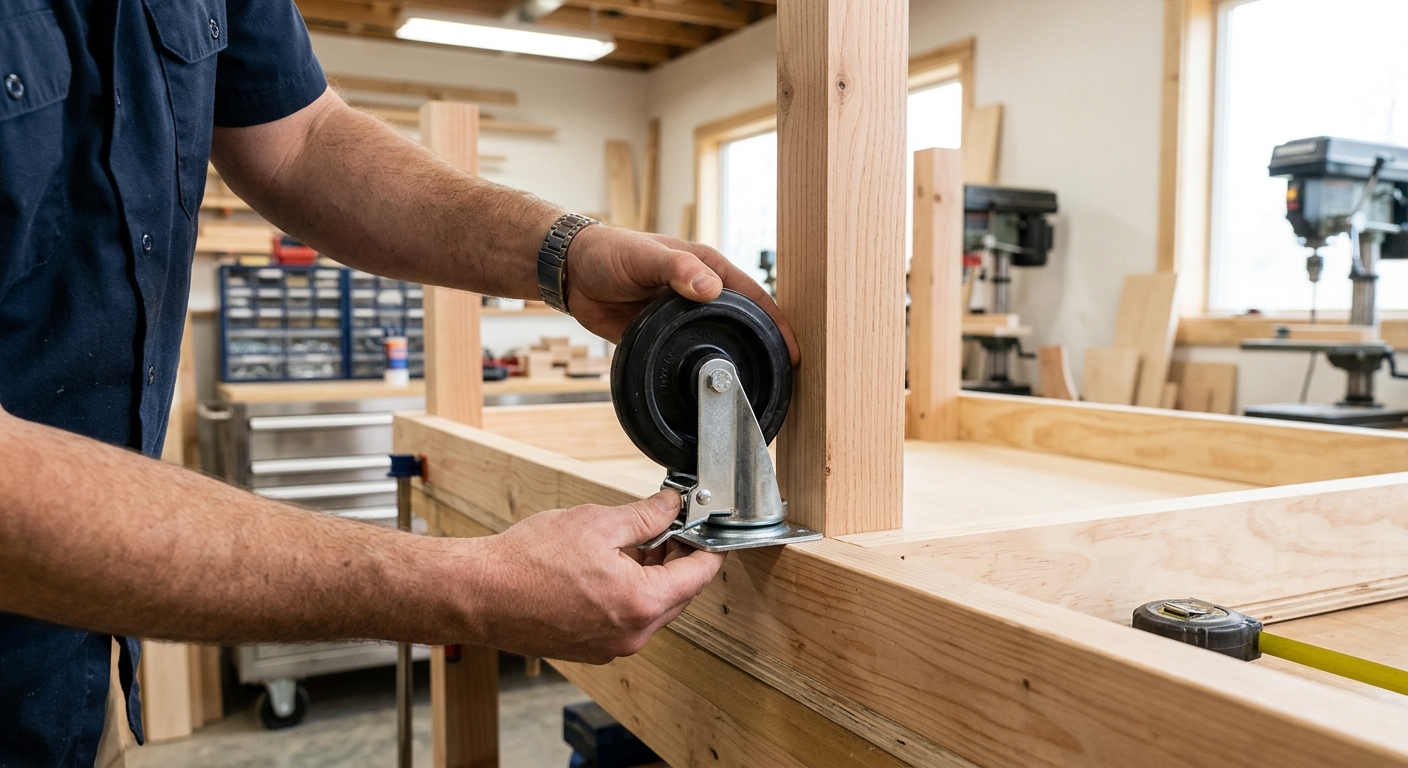
This is the most important decision in a roll-away table. Choose casters with:
- Total load rating of at least 400 pounds
- Positive locking on both swivel and wheel (double-locking)
- 3-inch or 4-inch wheels that roll easily over floor imperfections
- Rigid polyurethane or rubber wheels that don’t leave marks on concrete
Step 3 – Build and Level the Top
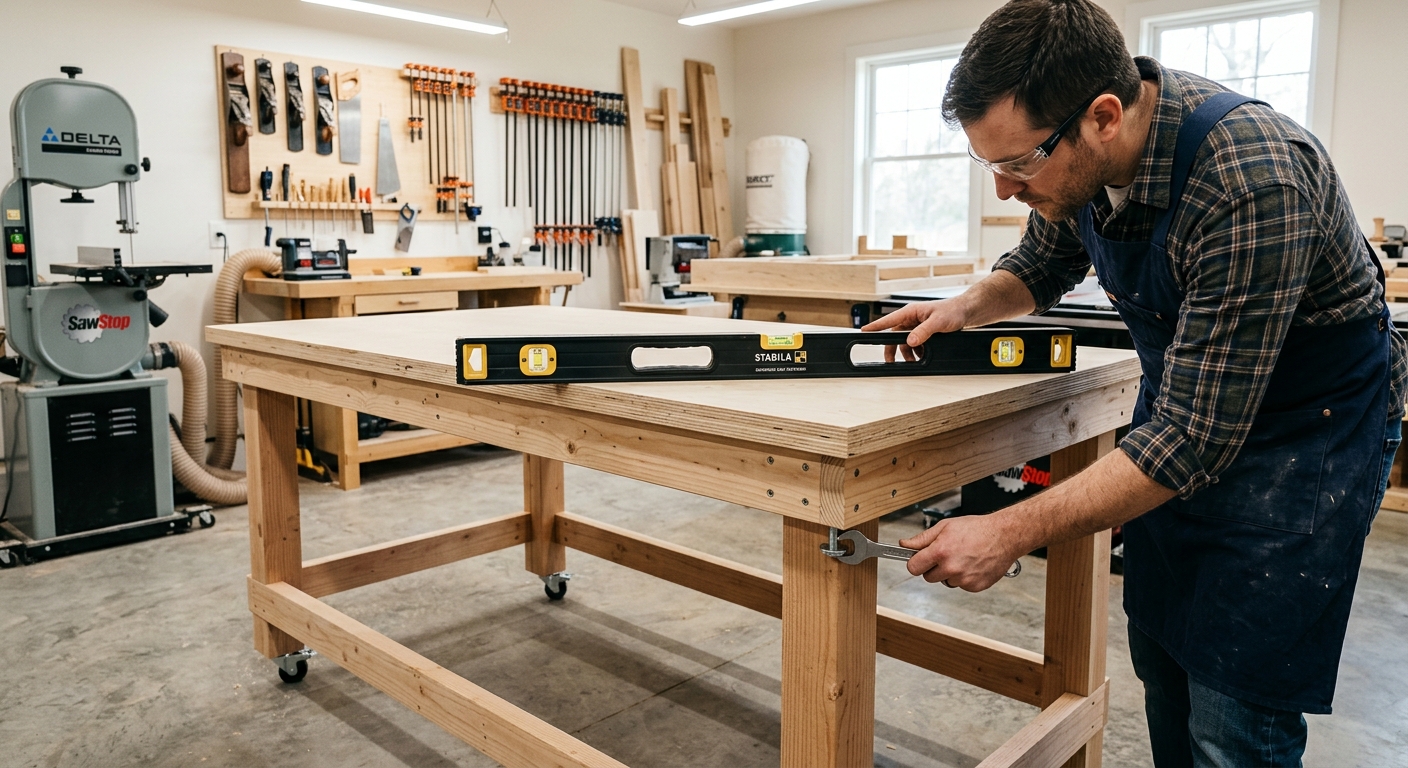
Attach the MDF or plywood top to the base frame and check it for flat with a long straightedge. Shim any low spots with adhesive-backed aluminum tape before applying the melamine work surface. Apply paste wax to the melamine surface so dried glue releases cleanly.
Step 4 – Add a Lower Shelf for Active Storage
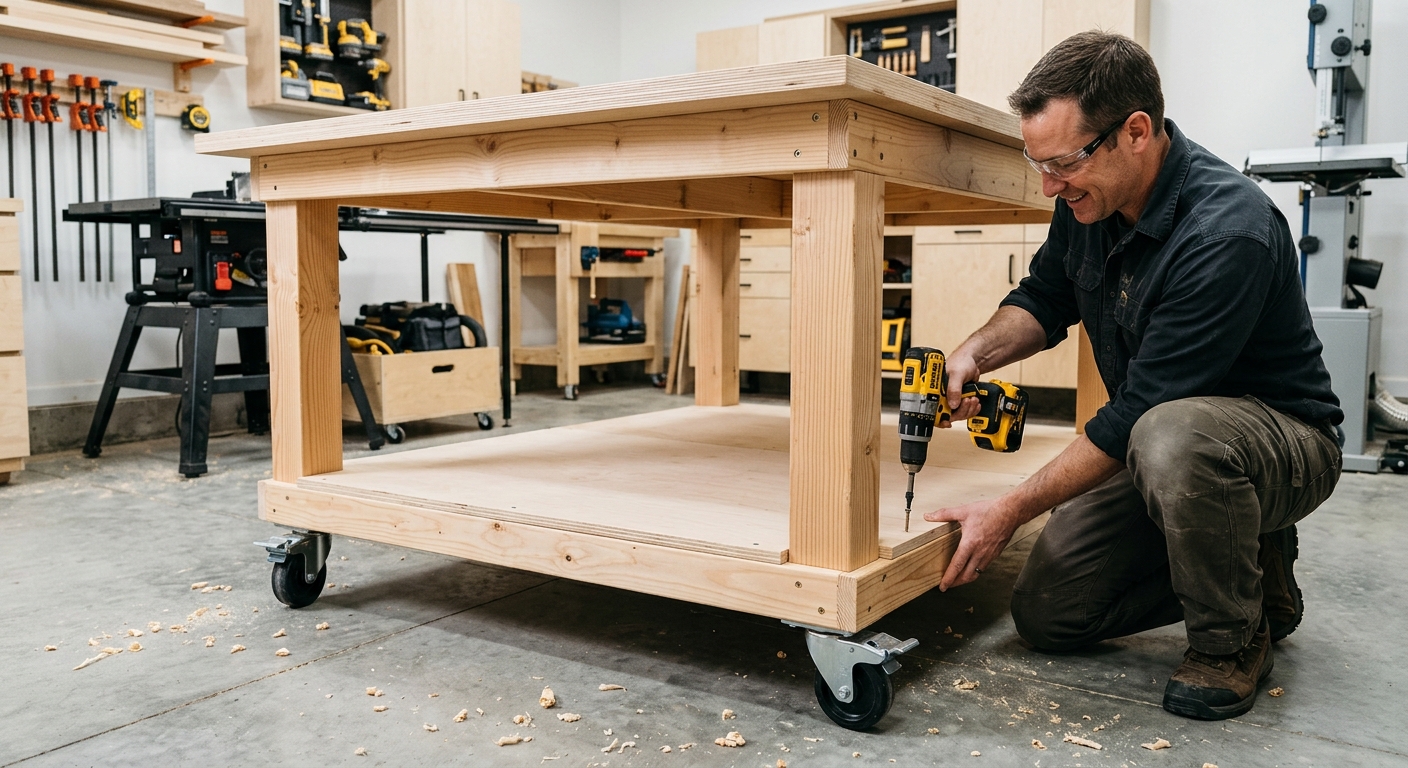
Build a plywood shelf into the base frame. This shelf holds clamps during a glue-up – you want clamps at hand without having to walk to the clamp rack while glue is open. Store only what you need for the current project on this shelf; the table’s value comes from its mobility, not its storage capacity.
Step 5 – Create a Defined Home Position
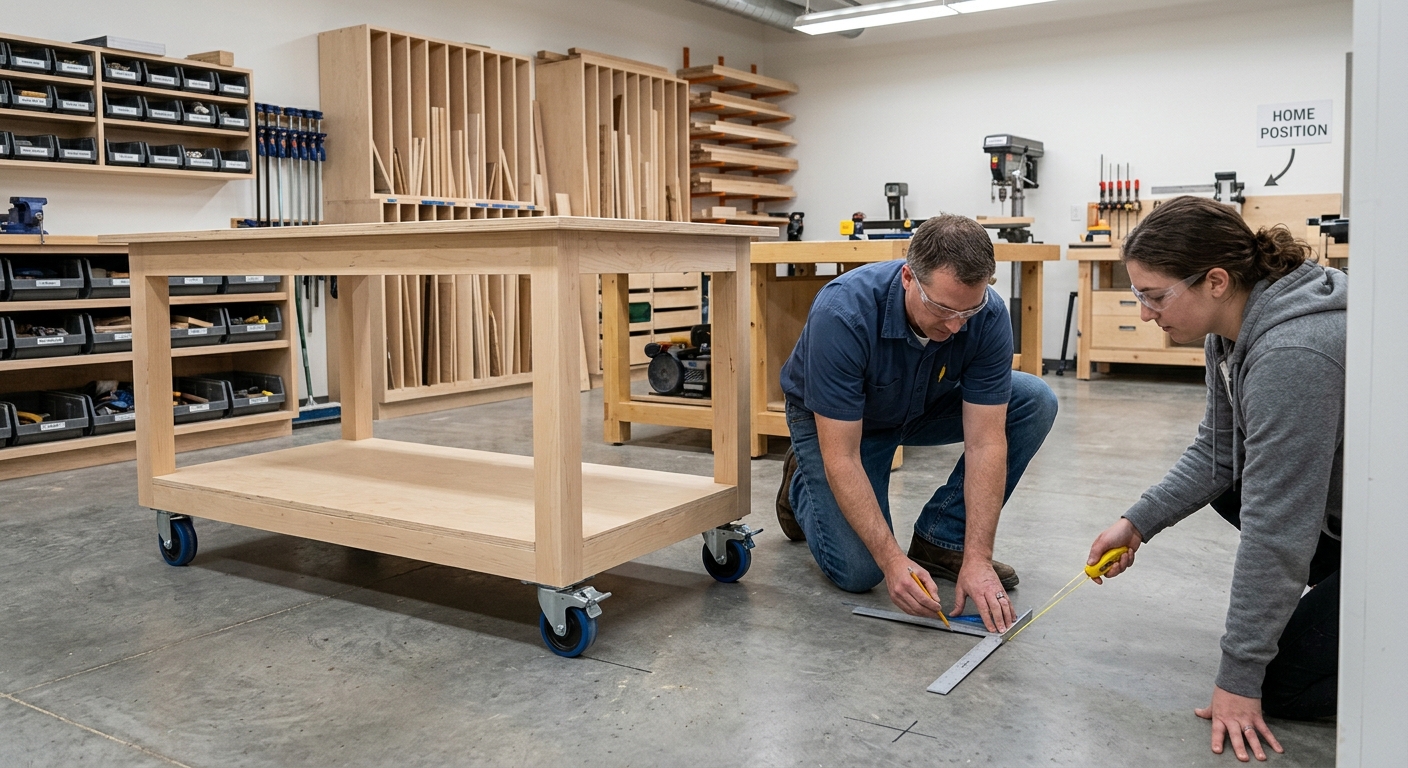
Mark the table’s home position on the floor with a piece of colored tape – a 24-inch square at the storage position along the wall. When the table is in its home position, the tape is visible on both sides, confirming correct placement before rolling away. This habit ensures the table doesn’t creep into permanent storage positions that block other work.
FAQ
How flat does an assembly table really need to be? For frame-and-panel work, door frames, and most cabinet assembly, 1/32 inch over 48 inches is more than adequate. For precision panel work and drawers, you want closer to 1/64 inch. MDF is naturally flatter than plywood and is the better top material for precision assembly.
Can I use the table for finishing too? Yes – cover the top with a sheet of kraft paper for finishing sessions. The paper catches drips and is thrown away after each session, keeping the melamine clean for glue-up work.