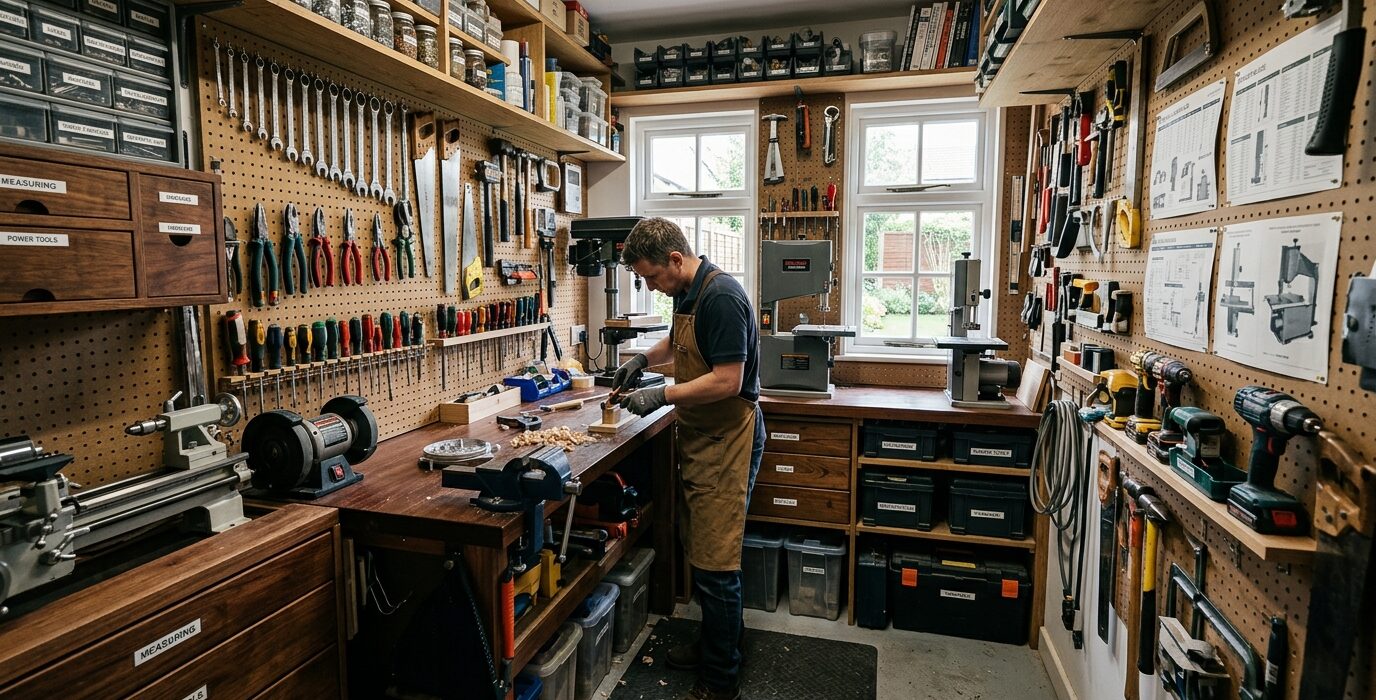
Drying Green Wood in the Garage
Green or freshly sawn lumber contains 30 to 100 percent moisture content by weight and must dry to 6 to 9 percent before it can be used in furniture or cabinetry without later movement problems. Many woodworkers miss an opportunity by throwing away beautiful urban tree wood or wet lumber because they don’t have a drying setup. A simple garage drying area handles air-drying with minimal cost and can process significant amounts of lumber over time.
How Air Drying Works
Air drying removes moisture by evaporation from the wood surfaces. The rate of drying depends on temperature, humidity, airflow, and the wood’s starting moisture content. As a general rule, wood dries at about 1 inch of thickness per year for softwoods and 1.5 to 2 years per inch for hardwoods. A 4/4 (1-inch thick) board of oak takes about 18 months to air dry properly.
Step 1 – Sticker the Lumber
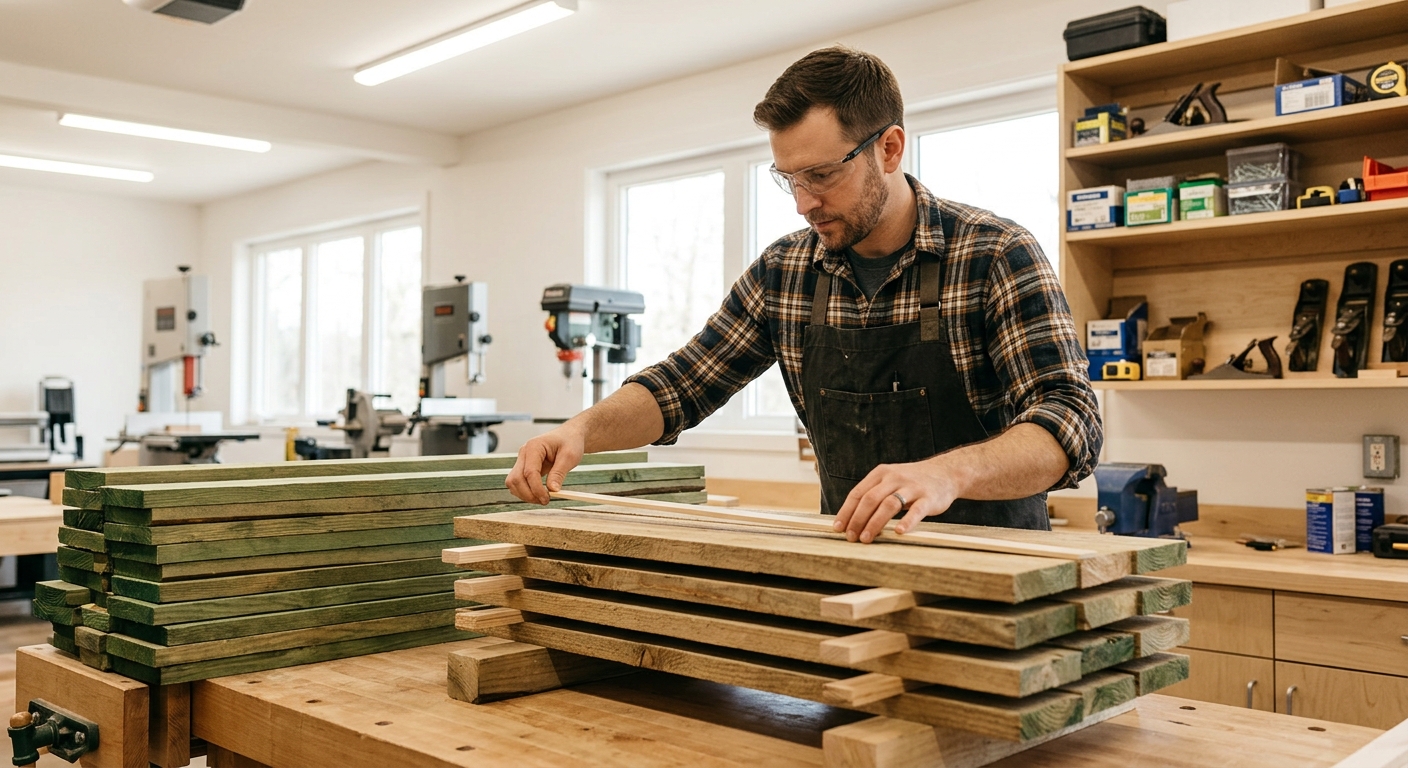
Stickers are the thin strips of wood (typically 3/4-inch square) that separate the layers of drying lumber. They must be placed every 16 to 24 inches and must all be at the same position along the stack (aligned vertically through all layers) to prevent boards from bowing around uneven support. Sticker alignment is the most important technique in successful air drying.
Step 2 – Build the Drying Stack Off the Floor
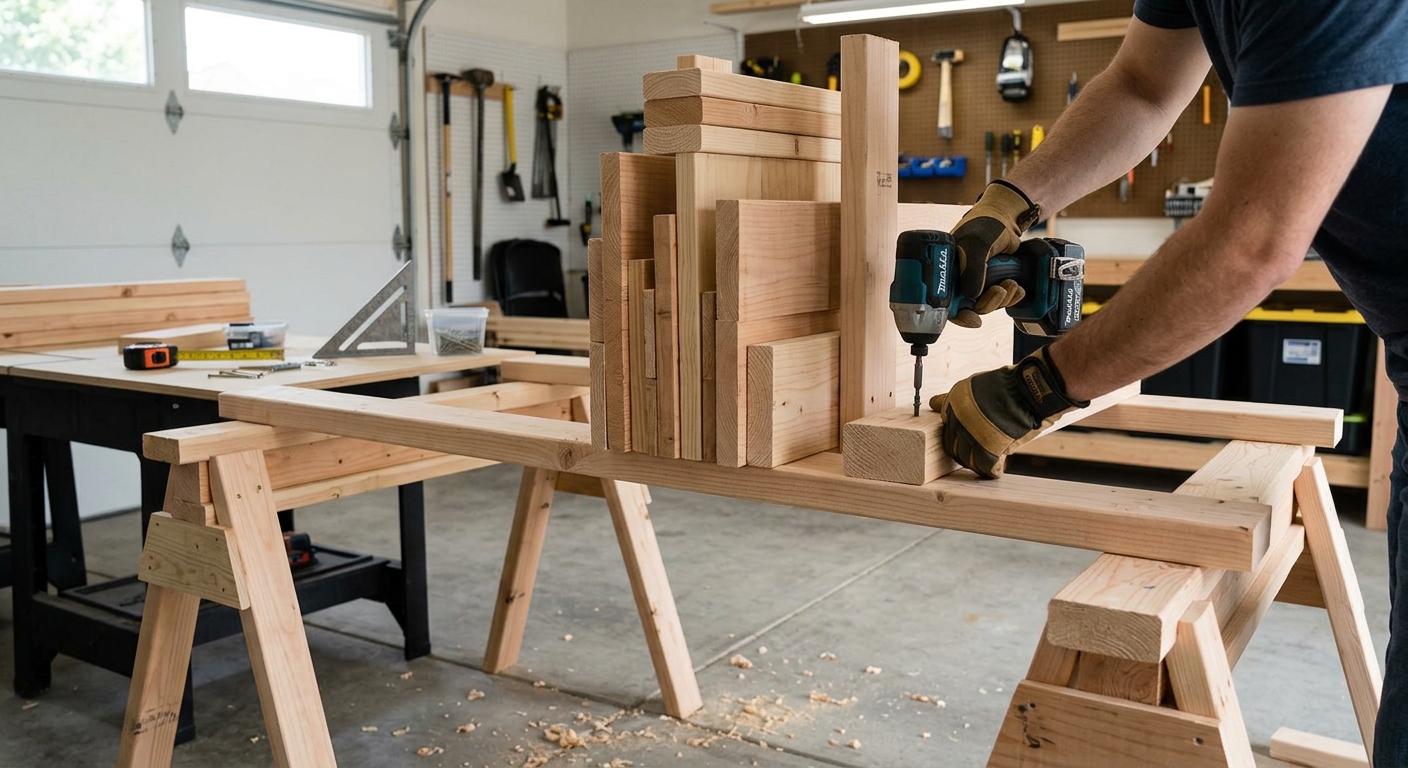
Build or assemble a low platform from pallets or 4x4s that elevates the lumber stack at least 6 inches off the floor. This allows air circulation under the stack and keeps the bottom boards out of moisture that accumulates at floor level, especially on concrete garage floors.
Step 3 – Seal the Ends
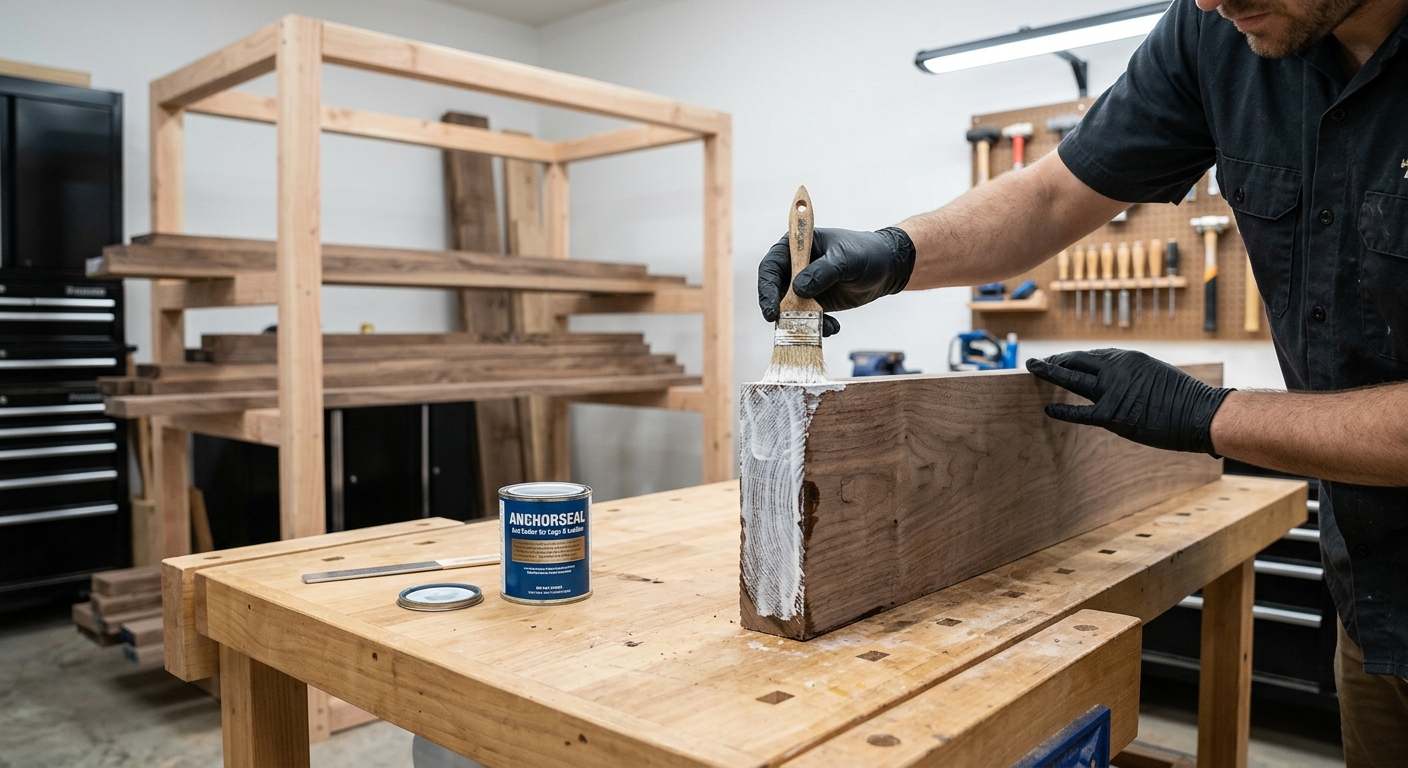
Lumber loses moisture from all surfaces but dries fastest from the end grain – often five to ten times faster than from the face and edge. This end-grain drying causes checking (splitting) as the end dries and shrinks faster than the rest of the board. Seal the ends with wax, commercial end-seal, or even latex paint applied thickly. This slows end-grain drying to match face-grain drying, dramatically reducing checking.
Step 4 – Provide Airflow
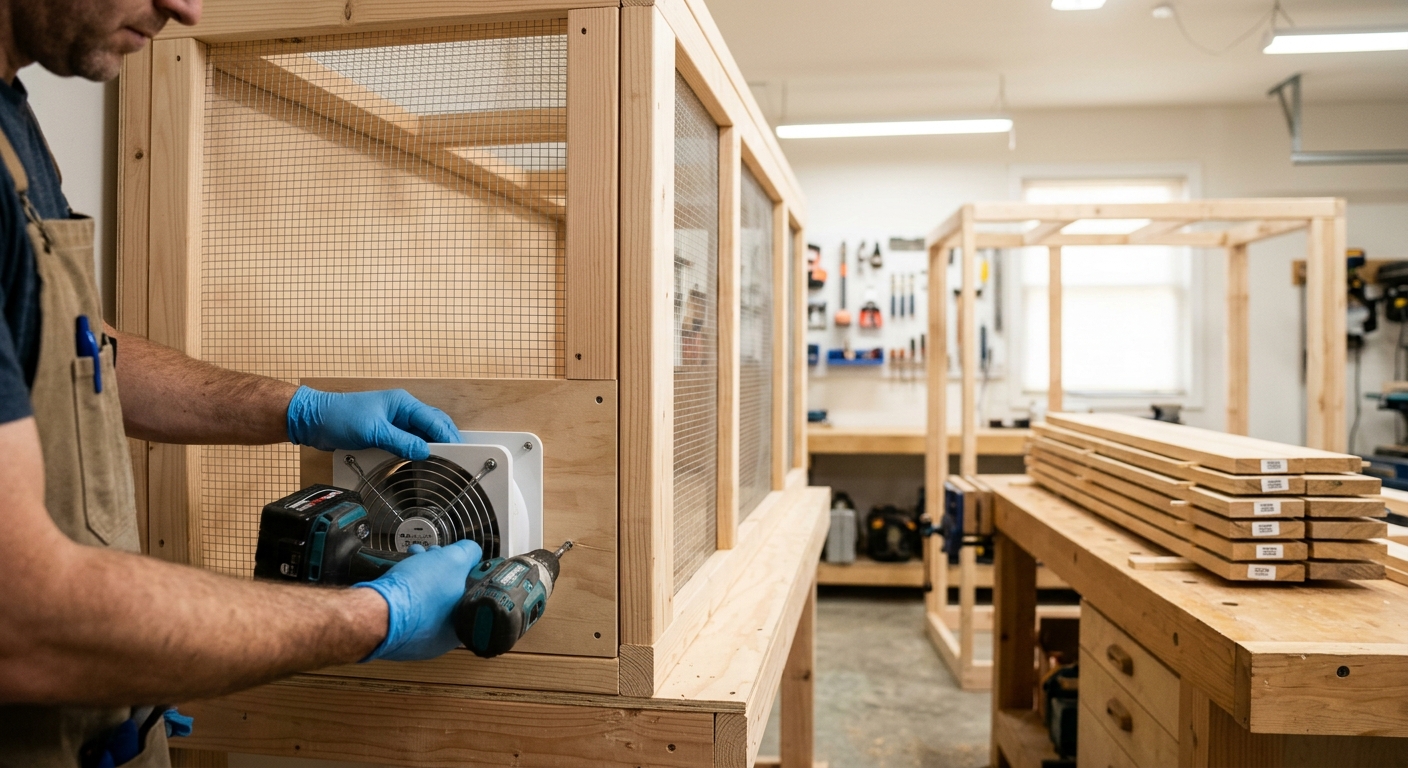
Good airflow around the stack accelerates drying. Position the stack where air can circulate on all sides. Add a small fan to increase airflow during the warmer months – a box fan on the floor aimed under the stack is remarkably effective. In a garage, open the door during warm, low-humidity days for maximum drying benefit.
Step 5 – Monitor Moisture Content
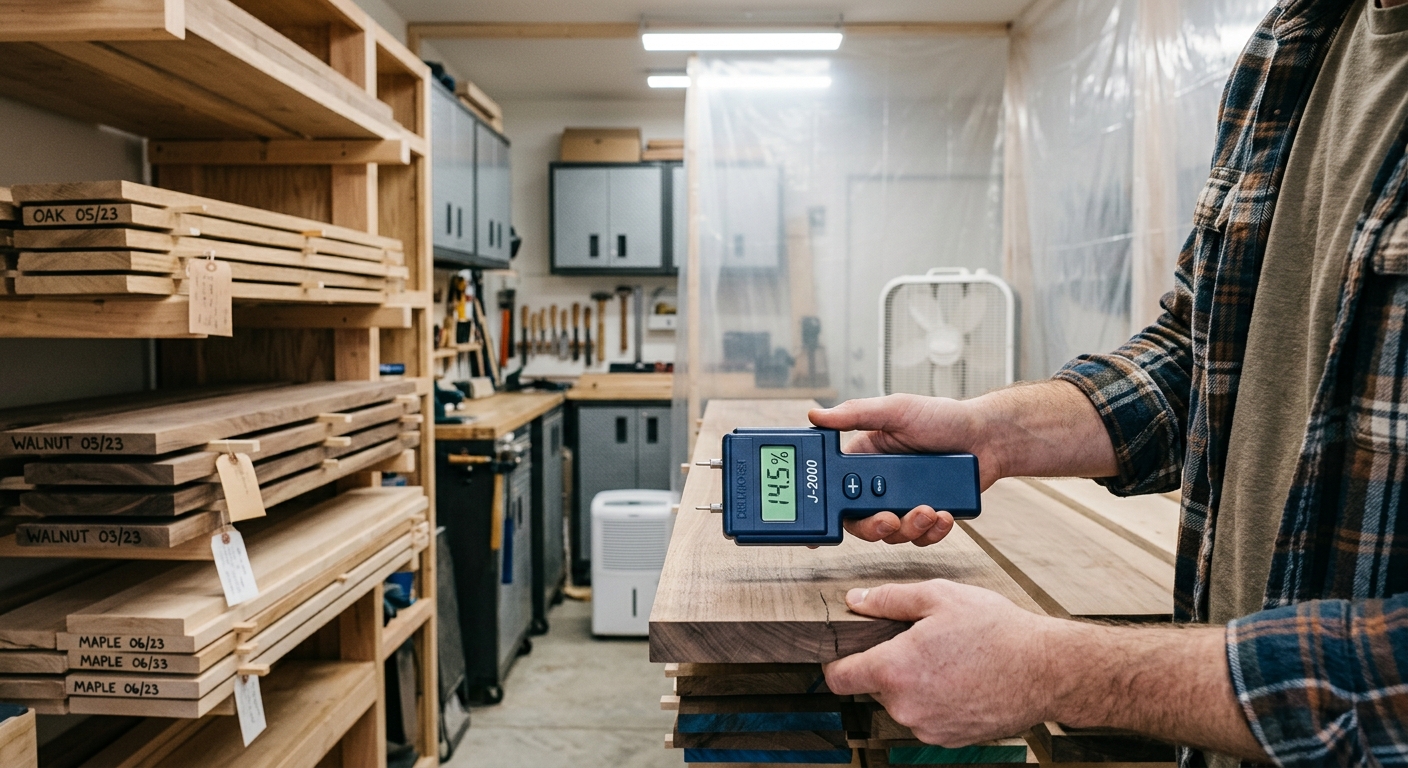
A moisture meter costs $25 to $100 and is essential for knowing when lumber is ready to use. Check boards monthly. Target 6 to 9 percent moisture content for interior furniture in a heated home. Don’t rely on calendar time alone – drying rates vary enormously with conditions.
FAQ
Can I accelerate drying in a garage? Yes – a dehumidifier in a sealed area around the stack can cut drying time significantly. A dedicated drying kiln built in a corner of the shop is the most controllable approach but requires more investment.
What’s the difference between air-dried and kiln-dried lumber? Kiln-dried lumber is heated to specific temperatures to kill insects and dry to a target moisture content faster than air drying. Air-dried lumber dried slowly is generally considered superior for working properties and stability, though both work well when properly dried to the target moisture content.