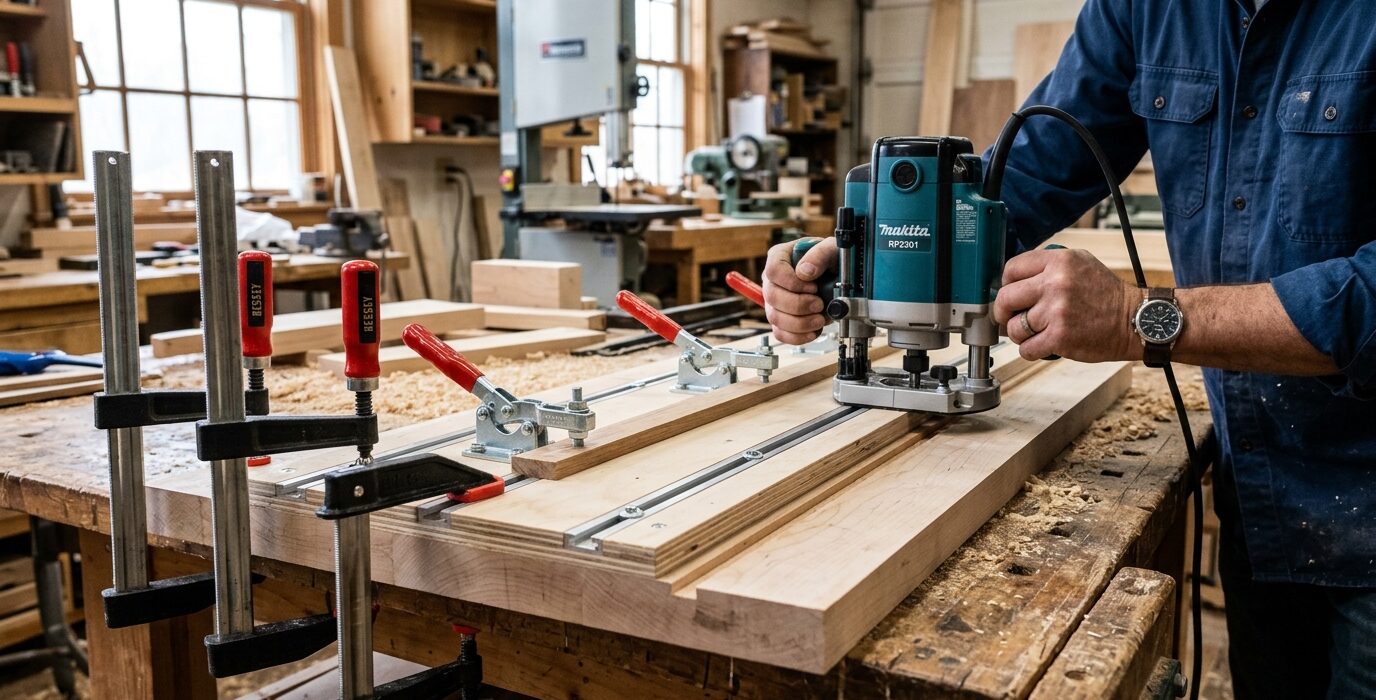
Building Better Jigs: Design Principles for Any Cut
A well-designed jig does three things: it positions the workpiece accurately, holds it securely during the cut, and guides the tool (or the workpiece relative to the tool) in a controlled path. Understanding these three functions in isolation lets you design jigs for cuts you’ve never made before – not just copy plans from the internet.
This guide isn’t about any one specific jig. It’s about how to think through jig design so you can build the right jig for any cut your projects require.
The Three Functions of a Jig
- Positioning: The jig places the workpiece in exactly the right location relative to the cutting tool before the cut begins. References for positioning can be an edge, a face, a hole, or a previous cut.
- Holding: The jig keeps the workpiece from moving during the cut. Holding is provided by clamps, toggle clamps, friction (common in router table operations), or the geometry of the jig itself.
- Guiding: The jig constrains the path of the cut – either by guiding the tool (a router fence) or by guiding the workpiece (a sled in a miter slot). Good guidance eliminates reliance on the operator’s skill to keep a straight line.
Step 1: Define What Accuracy You Need
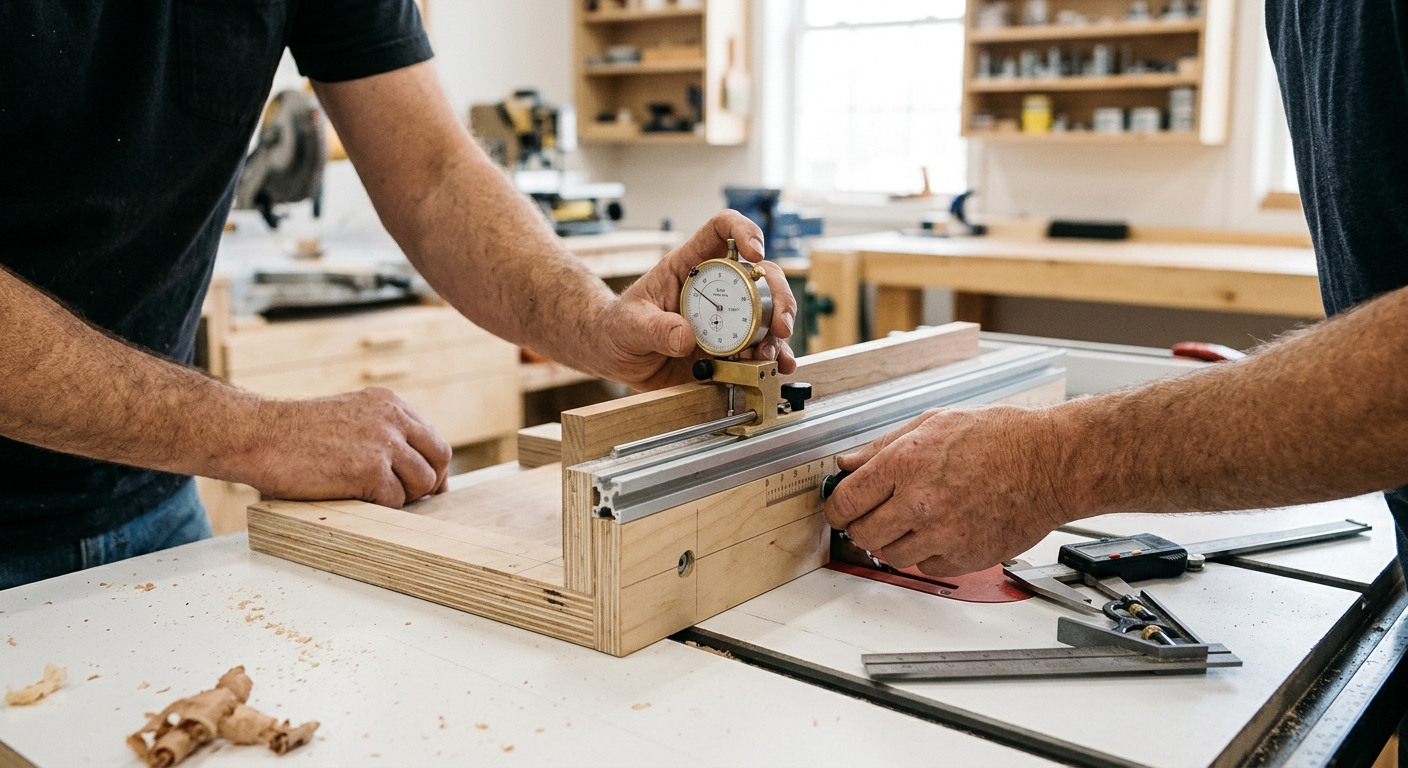
Before building a jig, define the required accuracy. A box joint jig needs to be accurate to within 0.001 inch – variations show as gaps in the joint. A shelf dado jig needs to be accurate to within 1/32 inch – variations are invisible. Over-engineering a jig wastes time; under-engineering one produces bad results. Design to the accuracy the operation actually requires.
Step 2: Choose Your Reference Surfaces
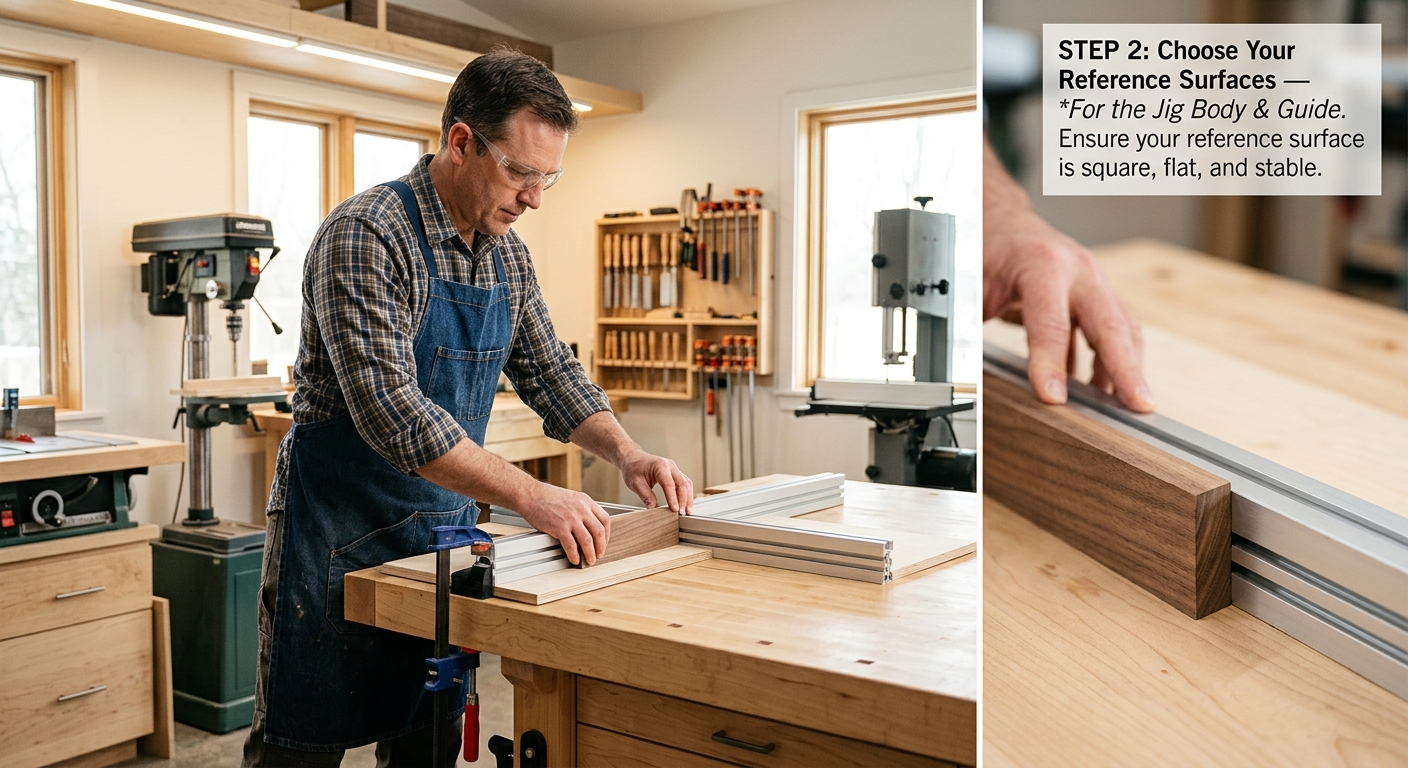
Every jig references off one or more surfaces: a flat table, a straight fence, a miter slot, or the workpiece itself. The best reference surfaces are: machined steel (the saw table, the router table), the workpiece’s reference face (its flattest, squarest face), or previously machined surfaces. Never reference off a rough or unknown surface.
Step 3: Design the Holding Mechanism
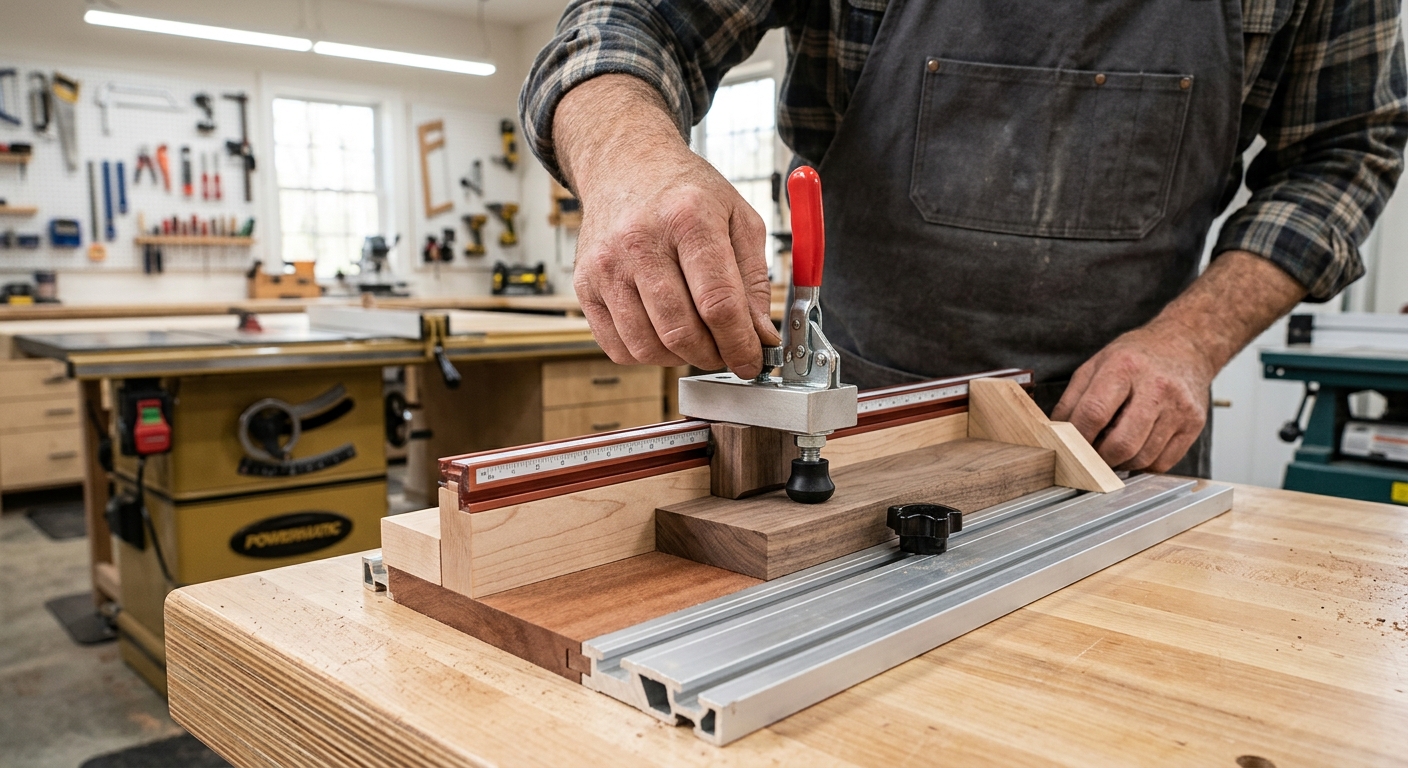
The workpiece must not move during the cut – any movement produces error. Options for holding: toggle clamps (fast, reliable, mechanical advantage), wedges (self-tightening under load), stepped stops (locate and stop movement), and gravity (the workpiece rests on a support surface). For router jigs, the bearing or fence provides enough resistance to prevent the workpiece from moving in the direction of cut; the jig only needs to prevent sideways movement.
Step 4: Build a Test Version in Scrap
Before building a jig from your best materials, build a test version from plywood scrap at full size. Test it on scrap material. Find the failure modes: does the workpiece slip? Does the reference shift? Is the guidance accurate? Fix these in the test version before building the final jig. The test version takes 30 minutes; the final version takes two hours. You don’t want to discover problems in the final version.
Step 5: Add Indexing for Repetitive Operations
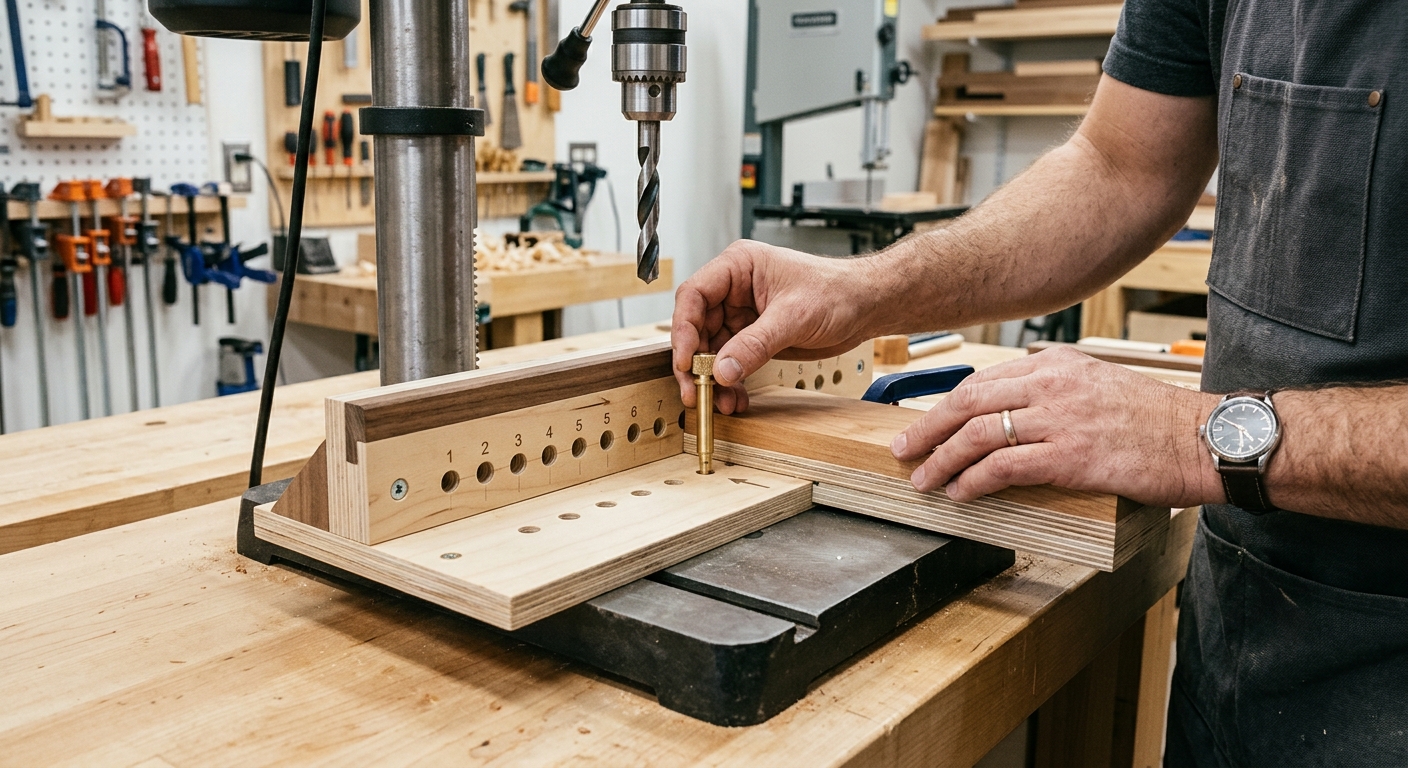
If the jig will be used to make multiple identical cuts (box joints, through-mortises in a series of legs), add an indexing pin. An indexing pin drops into a previous cut and automatically positions the workpiece for the next cut. This is the principle behind the box joint jig and the dovetail jig – the previous cut positions the next one. Without indexing, repeating a cut requires remeasuring each time.
Pro Tips
- Label every jig immediately. Write on the jig what it does, what machine it’s for, and what settings it requires. A jig with no label is a mystery when you find it six months later.
- Store jigs hanging or flat, not stacked. Jigs stacked in a corner warp and get damaged. A dedicated jig cabinet with individual slots keeps them accessible and undamaged.
FAQ
Should I buy commercial jigs or build my own?
For operations you’ll do hundreds of times (box joints, dovetails), a commercial jig like the Leigh D4R is worth the price – it’s more accurate and faster to set up than most shop-made versions. For operations you’ll do occasionally, a shop-made jig is usually better: sized exactly for your machine, your workpiece, and your working style.