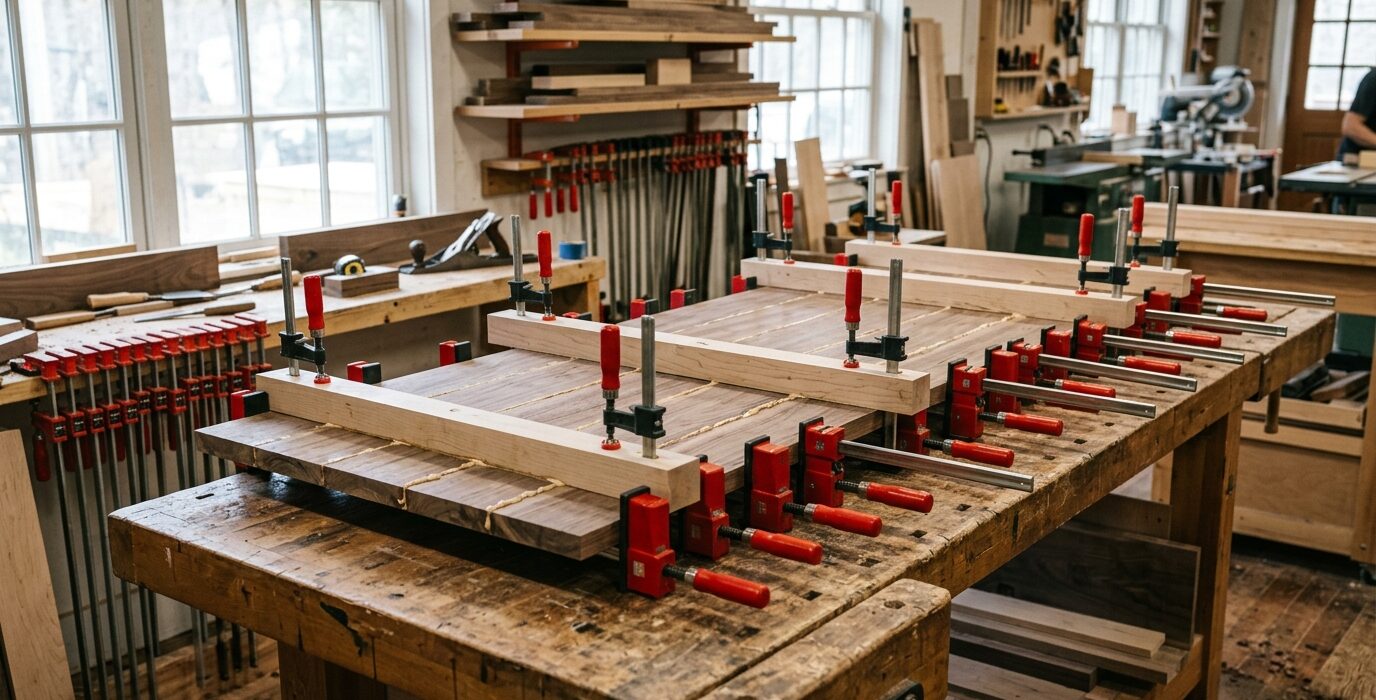
Create Perfectly Flat Panel Glue-Ups
Panel glue-ups are where most woodworking projects live or die. A tabletop or cabinet side that glues up flat – truly flat, no twist, no cupping – is a joy to work with in subsequent steps. One that comes out of the clamps warped means hours of flattening work and the possibility that the panel is ruined if it warped too severely. The difference between a flat glue-up and a warped one is entirely preparation and technique.
Why Panels Warp During Glue-Up
Panels warp for three main reasons: the individual boards weren’t flat before gluing, the clamps pulled the assembly out of flat, or uneven moisture content in the boards caused differential movement after glue-up. Solving the problem requires addressing all three causes simultaneously.
Step 1: Mill the Boards Dead Flat First
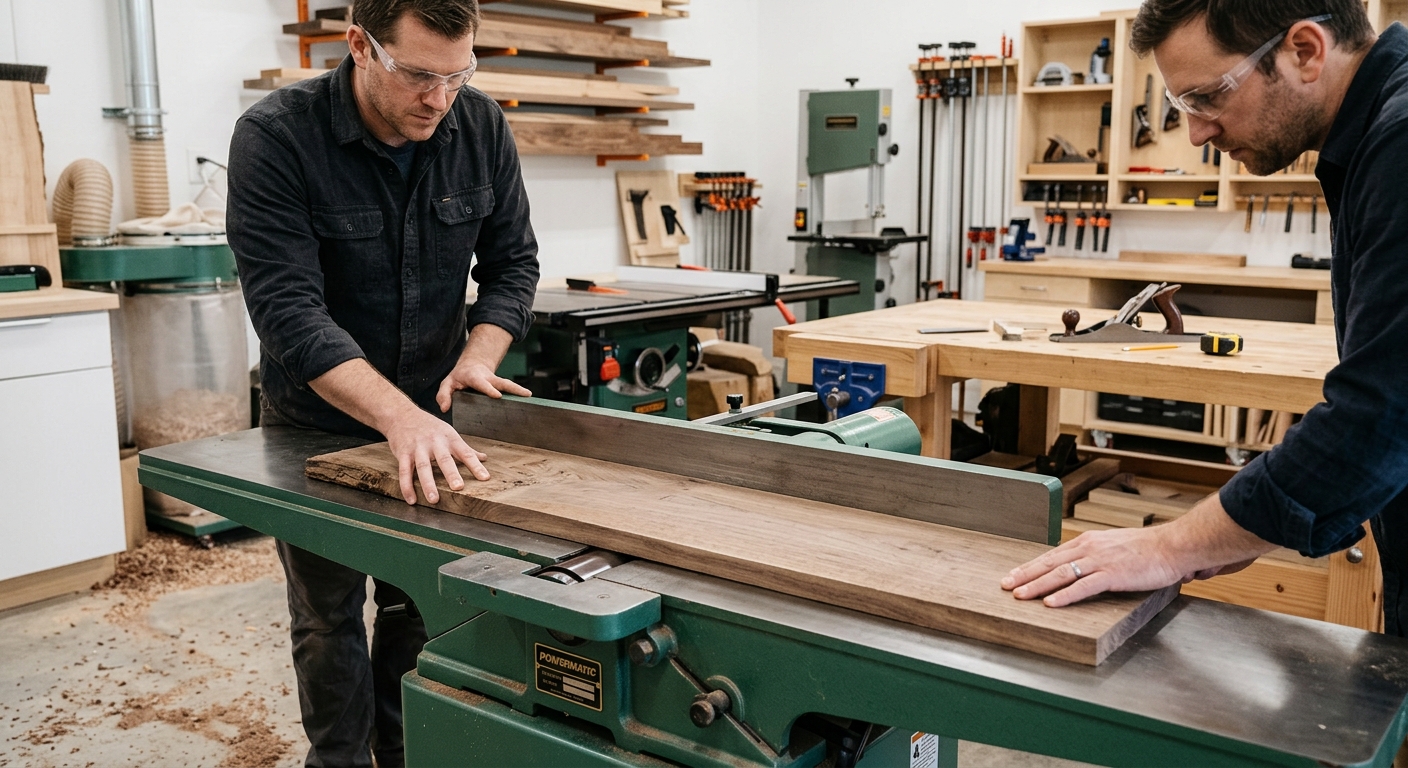
Every board in the panel must be flat and square before gluing. Face joint, then thickness plane to final size. Check each board with winding sticks – any twist in a board becomes a twist in the finished panel. If a board has twist, joint it flat and plane it again. Never glue up twisted boards hoping the clamps will pull them flat – they won’t, and you’ll have a permanently twisted panel.
Step 2: Arrange Boards for Best Grain Match and Stability
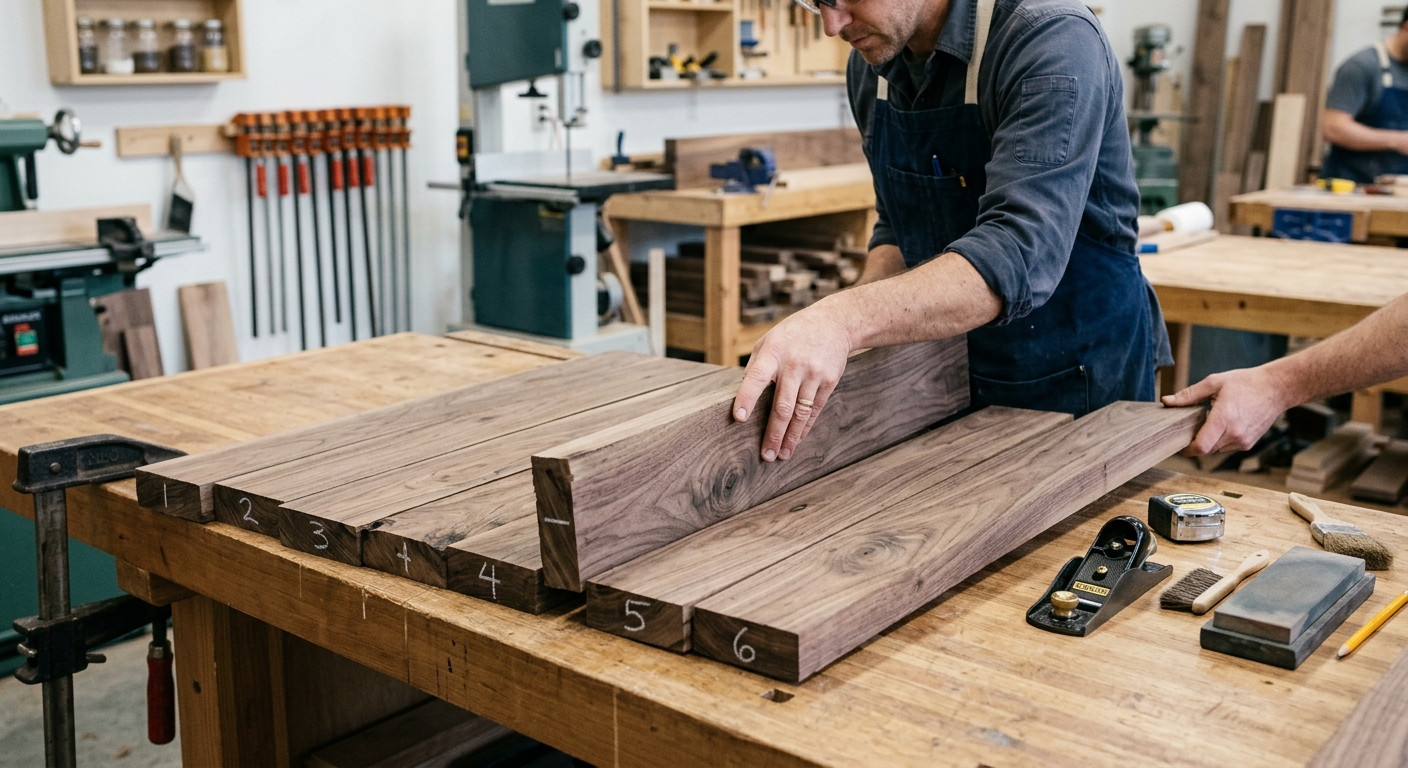
Before gluing, arrange the boards in the order and orientation that gives the best visual result. Consider reversing alternating boards (growth rings alternating direction) for stability – this controversial technique reduces the tendency of wide panels to cup, though modern kiln-dried lumber makes it less critical. Mark the arrangement and the face of each board.
Step 3: Use Cauls to Keep the Panel Flat
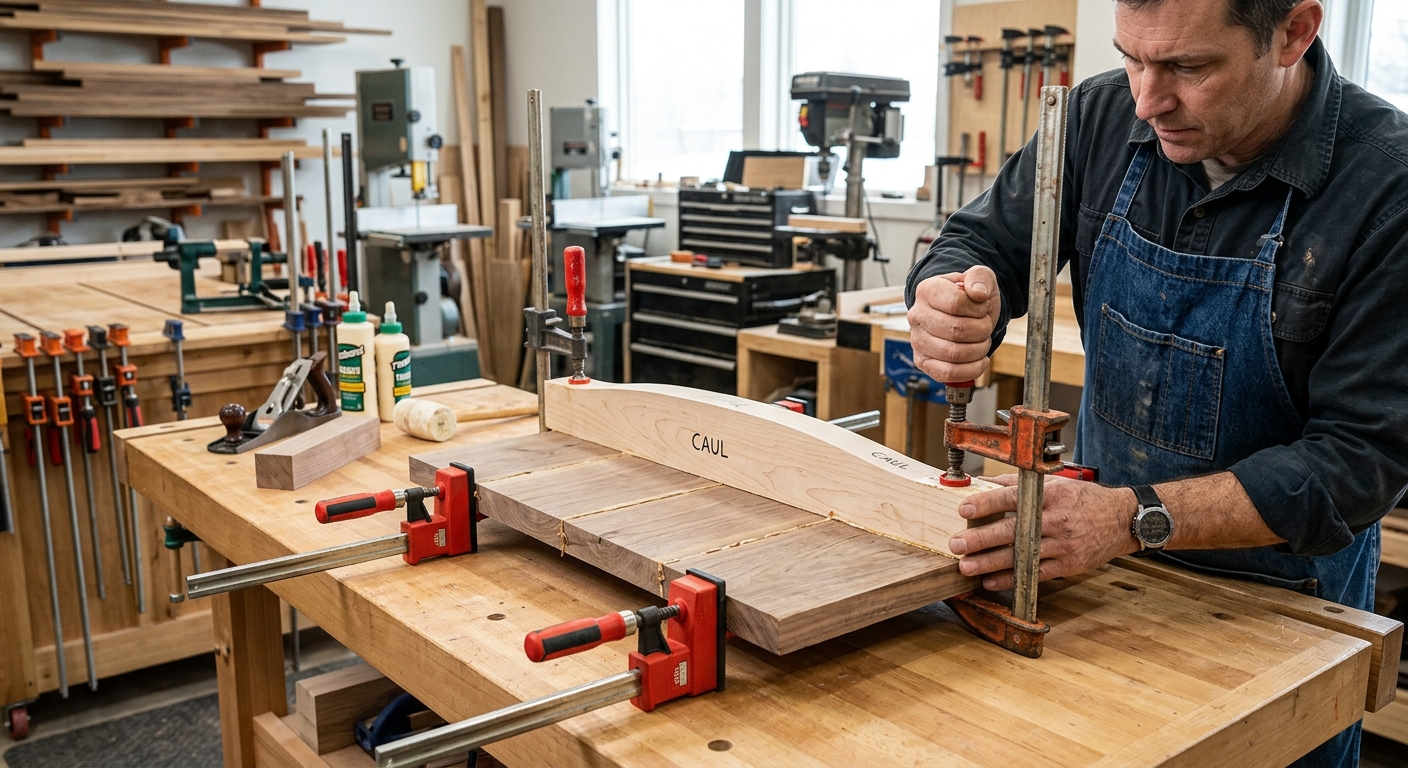
Cauls are straight pieces of wood or aluminum that clamp across the panel perpendicular to the joint lines, keeping the panel flat against the clamp bars. Without cauls, clamp pressure can produce a wavy surface as the clamps pull the joints tight but don’t control the surface. Make cauls from straight hardwood scraps, waxed on the face that contacts the panel.
Step 4: Apply Glue and Clamp Quickly
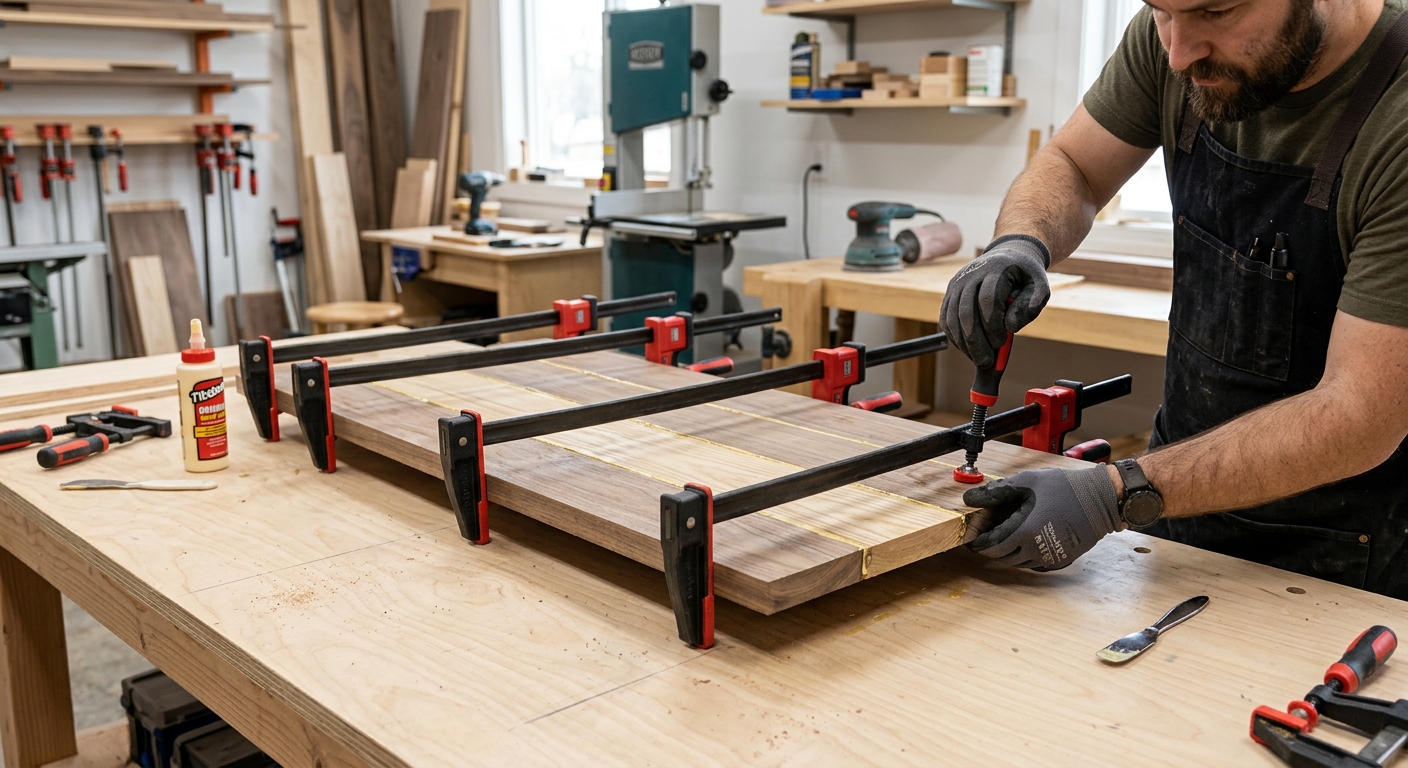
Open time for PVA is 5-8 minutes. With a wide panel, you need to work fast. Apply glue to both mating edges of each joint (not just one) for maximum coverage. Spread thin and even – thick glue squeezes out excessively without adding strength. Set the clamps in position before applying glue so you can clamp immediately after the last joint is glued.
Step 5: Check for Flat Before the Glue Sets
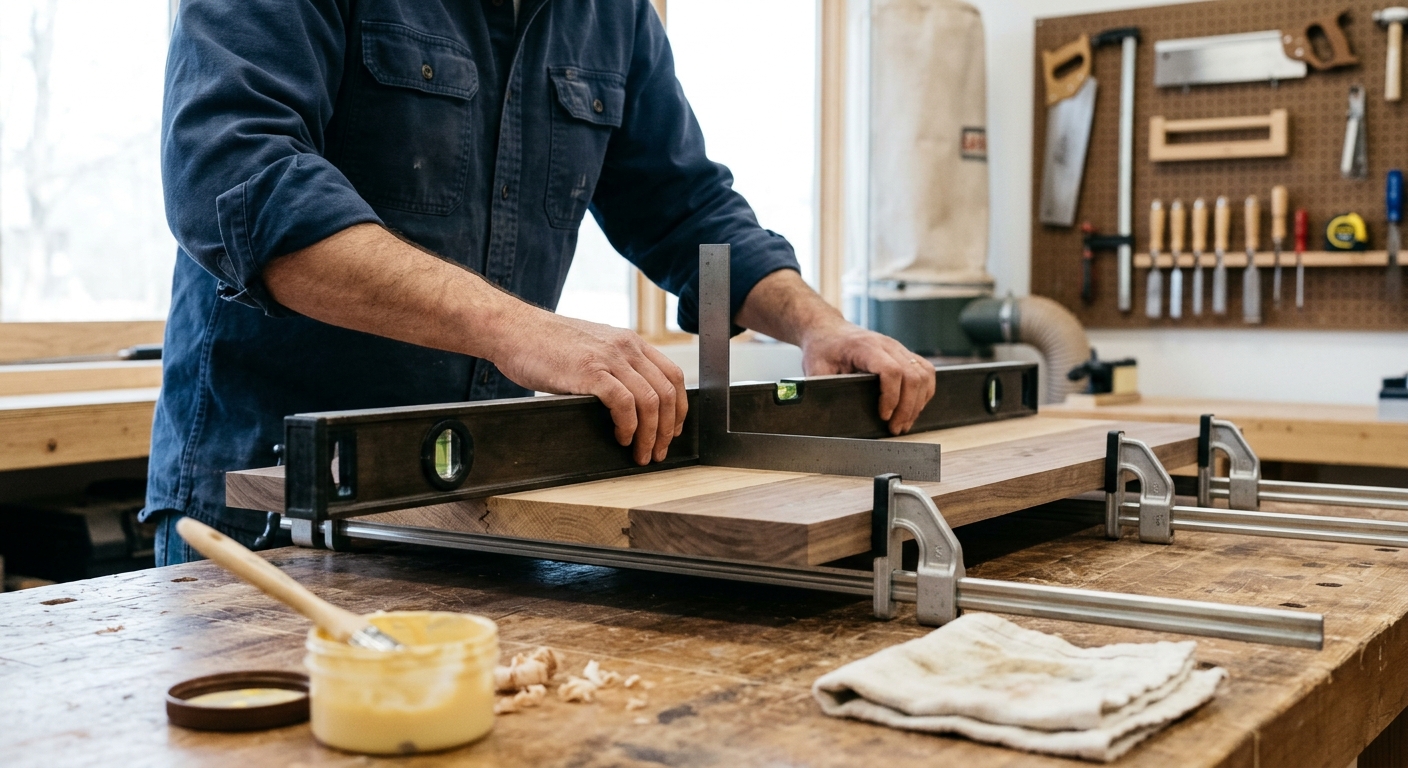
Immediately after clamping, check the panel surface for flat with a straightedge in multiple directions. If the panel isn’t flat, you have 2-3 minutes to adjust before the glue skins over. Add or move cauls, adjust clamp positions, or apply downward pressure at a high spot. Once flat, leave the assembly undisturbed until full cure (1 hour for clamping, 24 hours for full strength).
Pro Tips
- Use enough clamps. For a standard edge glue-up, one clamp every 8-12 inches is adequate. Too few clamps create pressure variations that show up as joint irregularities after the glue dries.
- Alternate clamps above and below. One clamp on top of the panel, the next below, alternating. This distributes clamping pressure more evenly than clamping all from one direction.
FAQ
How much glue squeeze-out is correct?
A consistent bead of glue squeezing out along the full length of every joint indicates correct glue amount and even clamping pressure. No squeeze-out means insufficient glue or pressure. Excessive squeeze-out (3/4-inch beads) means too much glue – you’re not getting stronger joints, just wasting glue and adding cleanup time. Let squeeze-out gel (about 30 minutes) then cut it off with a chisel – it comes off cleanly at this stage.