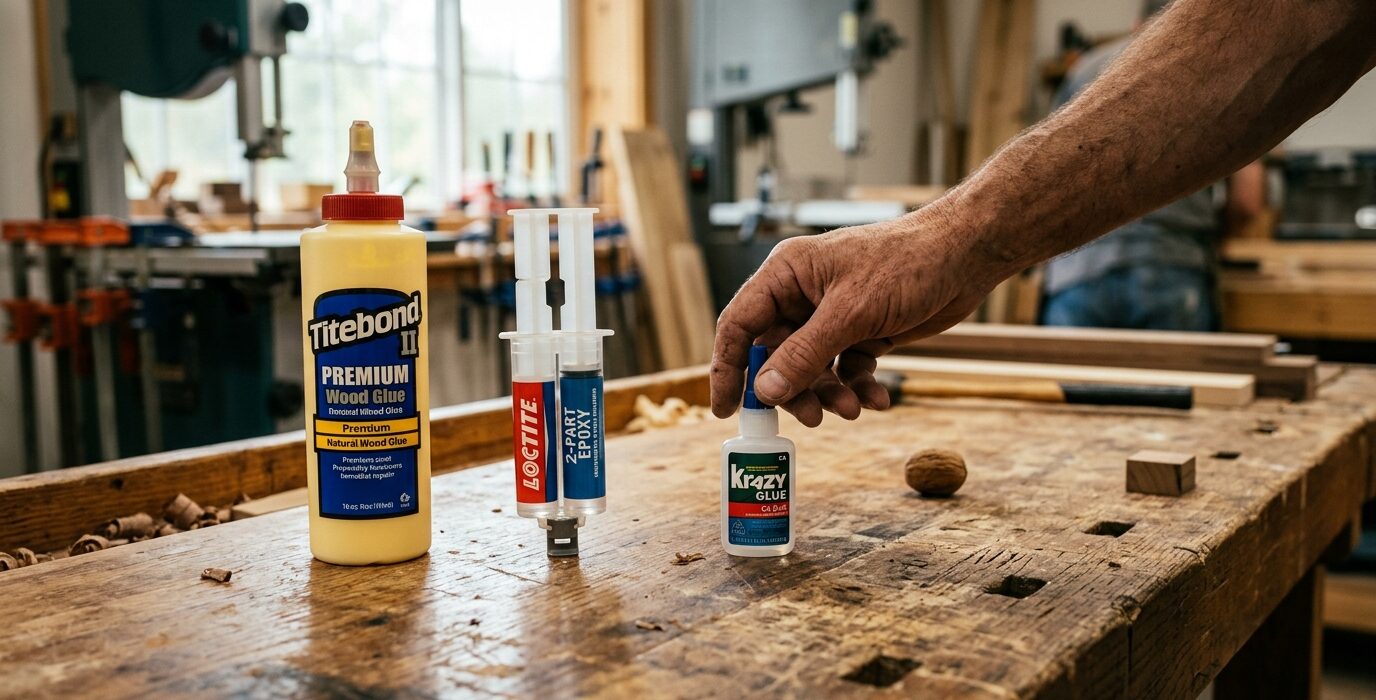
How to Fill Knots and Voids with Epoxy
Live edge slabs, knotty pine panels, and figured hardwood boards often have knots, bark inclusions, voids, and checks that need to be filled before finishing. Epoxy is the ideal filler for these situations – it bonds permanently to the wood, sands flush, takes stain and finish over it, and can be colored with pigments or left clear to show what’s underneath. This guide covers choosing the right epoxy, mixing correctly, and achieving a bubble-free, level fill.
Choosing the Right Epoxy
Not all epoxies are suitable for wood filling. You need a low-viscosity (thin) epoxy that flows into voids and doesn’t trap air bubbles during pouring. Two systems work well:
- Table-top / bar-top epoxy: Very thin, self-levels, designed for wood surfaces. Brands include TotalBoat, System Three, and MAS. These are designed for exactly this application.
- Slow-cure marine epoxy: Thinner than standard epoxy, very strong, waterproof. West System 105 with 207 hardener is excellent for wood filling.
Step 1 – Prepare the Void
Clean the void of all loose bark, dirt, and debris. Blow it out with compressed air. If the void goes through the board, seal the bottom with packing tape applied from the underside – this forms a temporary dam that holds the epoxy until it cures. For side voids or knots, tape the bottom and sides as needed.
Step 2 – Mix the Epoxy Accurately
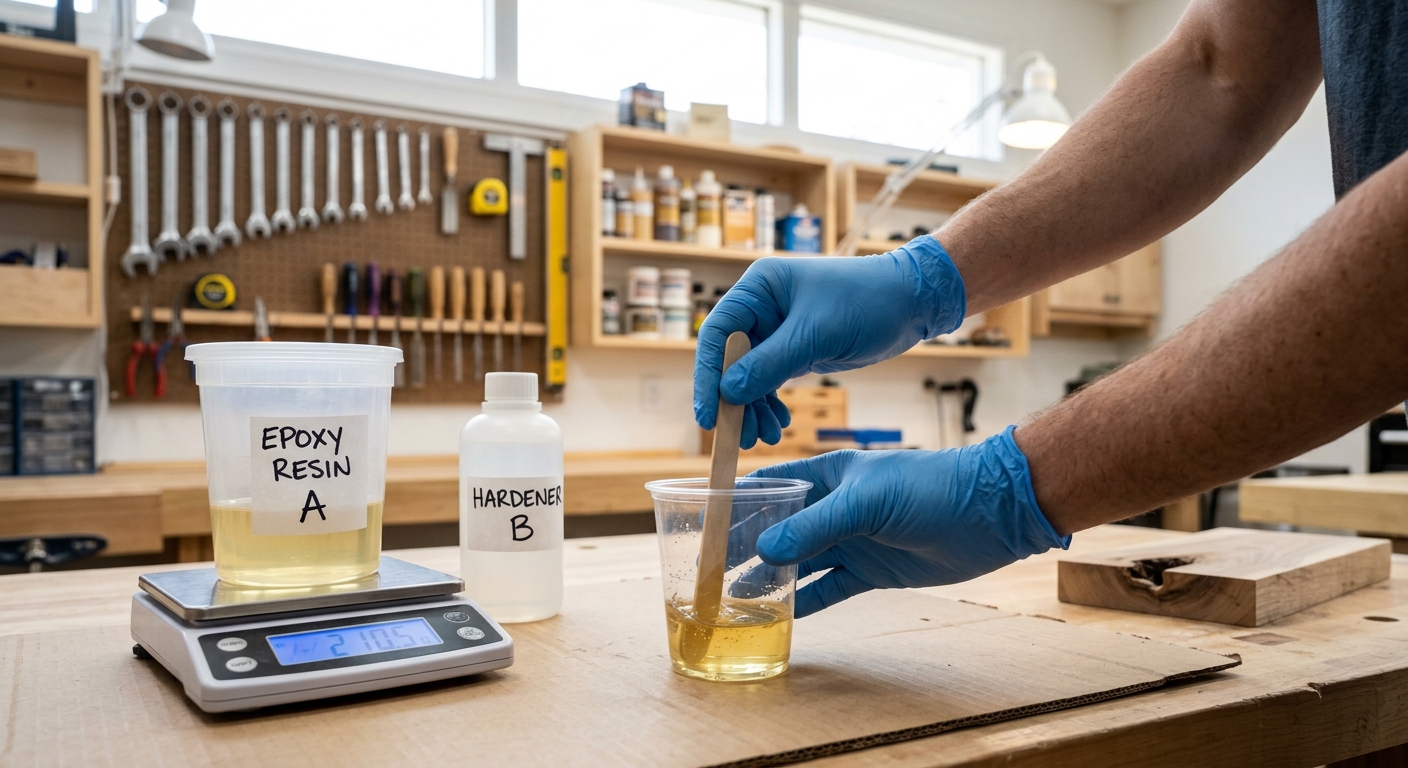
Epoxy requires precise ratio mixing – typically 1:1 or 2:1 by volume depending on the system. Use measuring cups (not kitchen cups – use cups designed for epoxy or graduated mixing cups). Incorrect ratios produce epoxy that never fully cures. Mix thoroughly for the time specified by the manufacturer – typically 2 to 3 minutes of thorough mixing.
Step 3 – Add Color If Desired
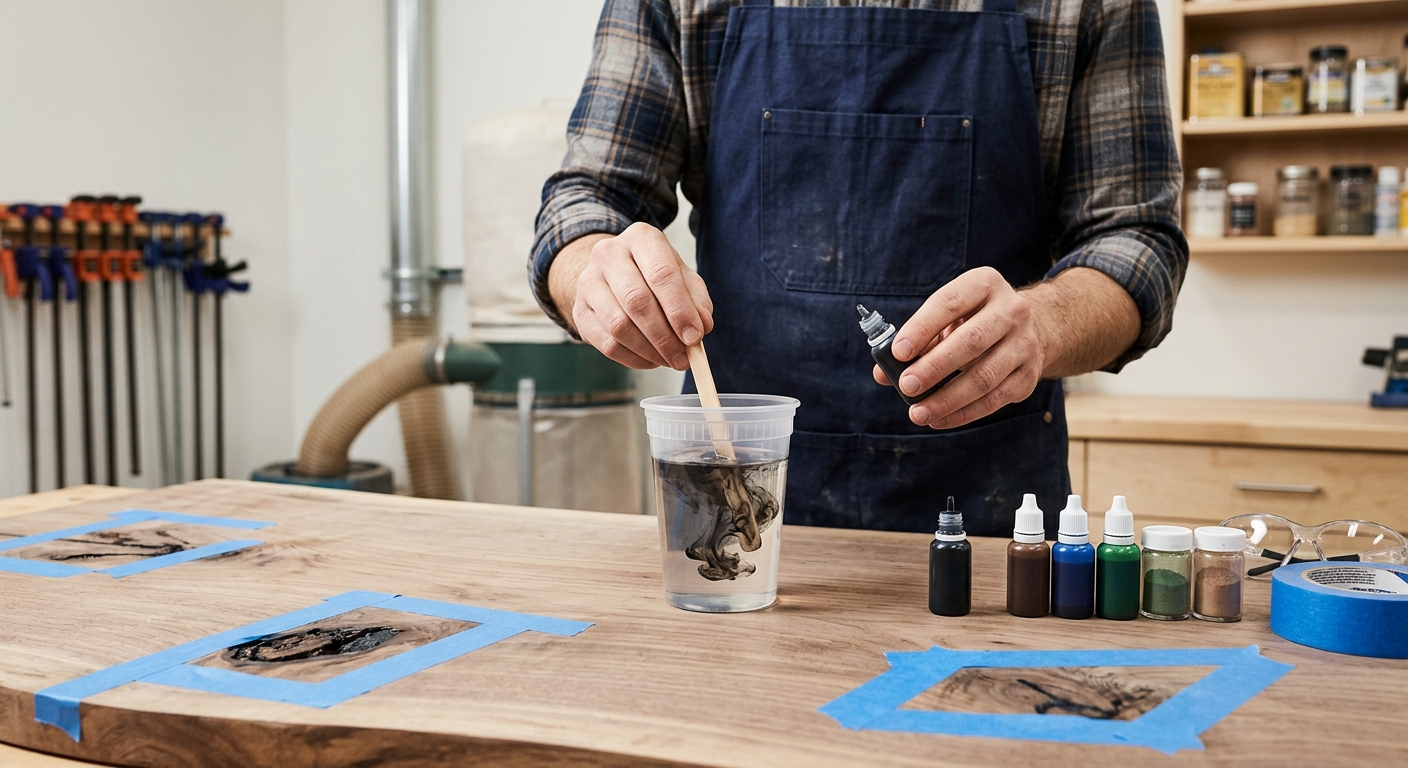
For a natural-looking fill, leave the epoxy clear. For a contrasting fill (black in particular looks striking in knotty wood), add epoxy pigment or black iron oxide pigment to the mix before pouring. Tinted fills often look intentional and beautiful rather than repairs.
Step 4 – Pour in Thin Layers
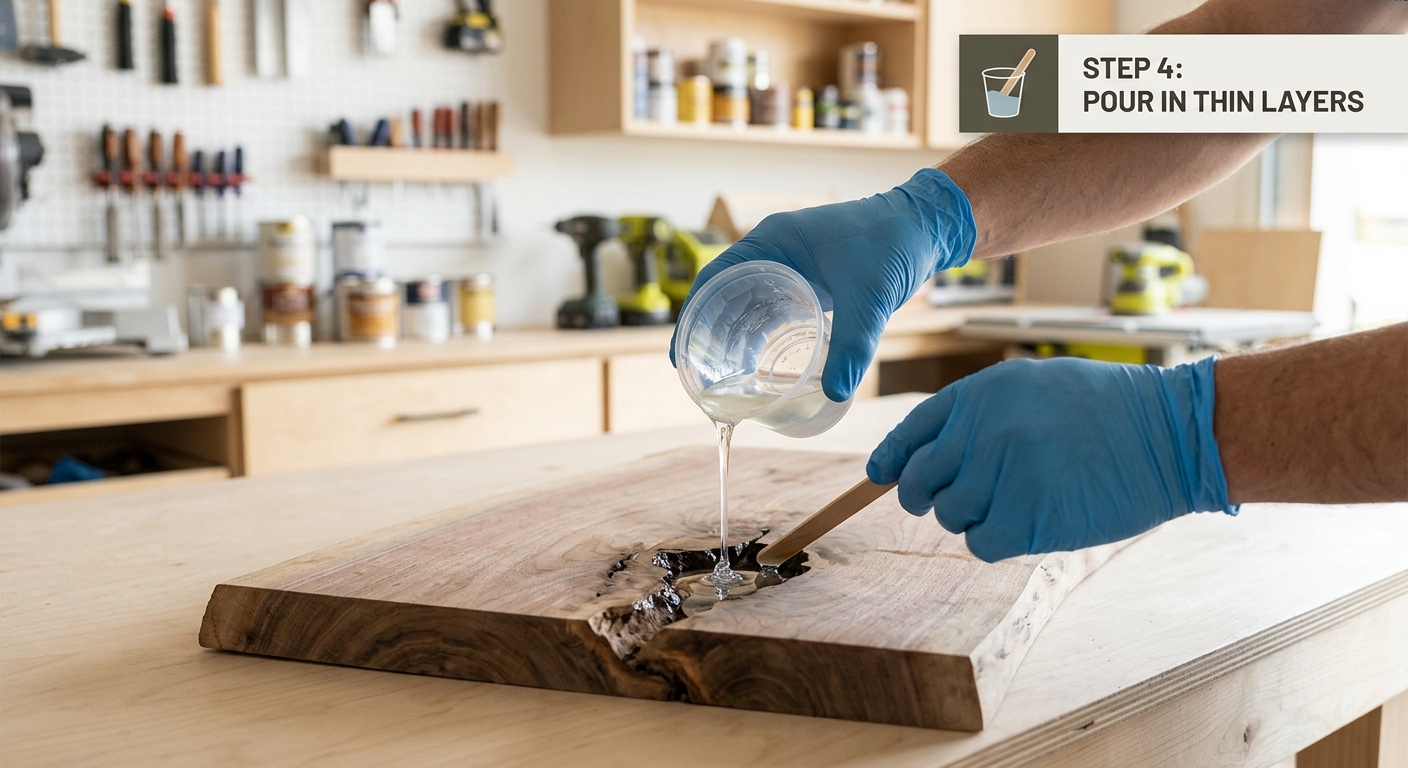
For deep voids (more than 1/4 inch), pour in multiple thin layers rather than one deep pour. Deep pours of thick epoxy can generate significant heat during curing (exothermic reaction) that causes cracking and yellowing. Let each layer reach a firm gel stage before adding the next. This patience produces a bubble-free, clear fill.
Step 5 – Remove Bubbles
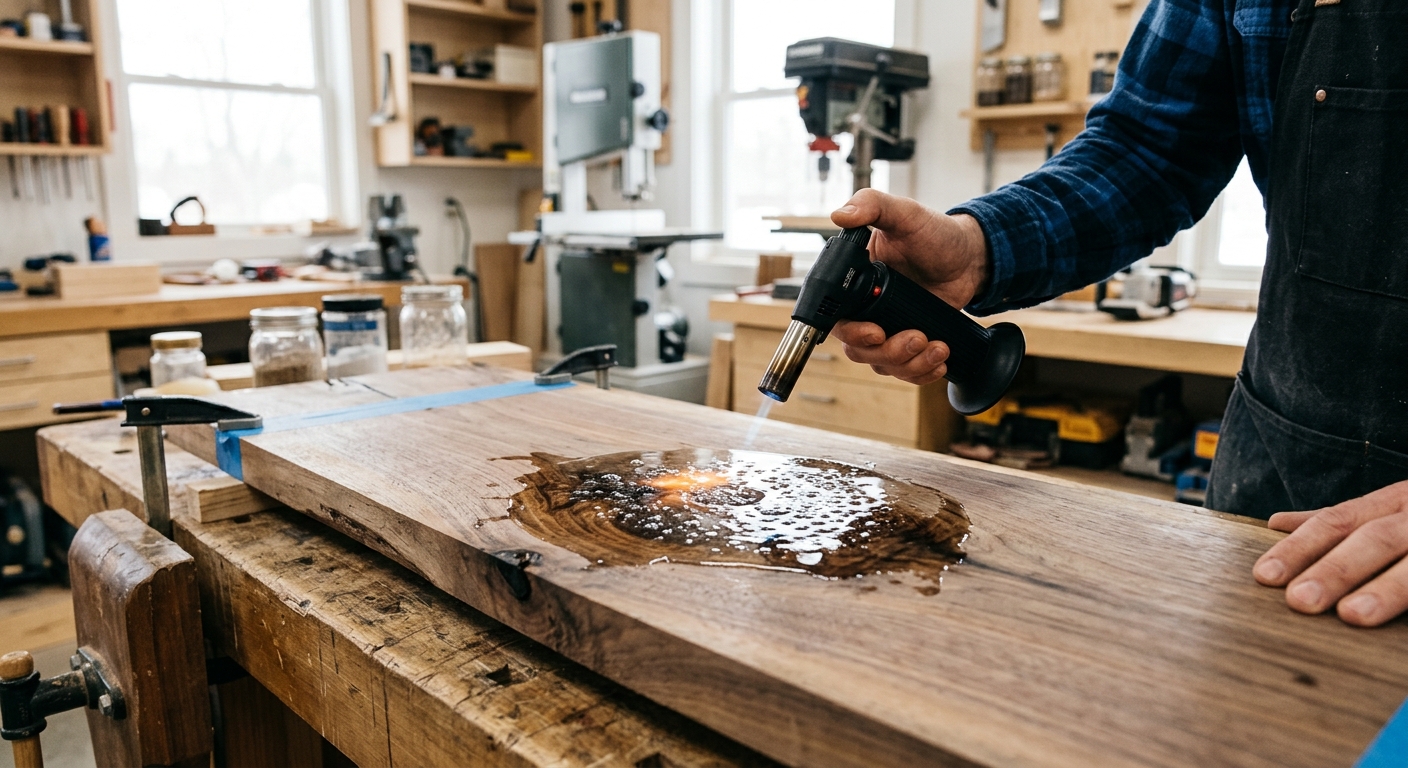
Surface bubbles form within the first 30 minutes of pouring. Pass a propane torch or heat gun briefly over the surface – the heat causes surface tension to drop and bubbles to pop. Keep the heat source moving and don’t linger – too much heat can yellow the epoxy or cause it to bubble from beneath.
Step 6 – Sand Flush After Full Cure
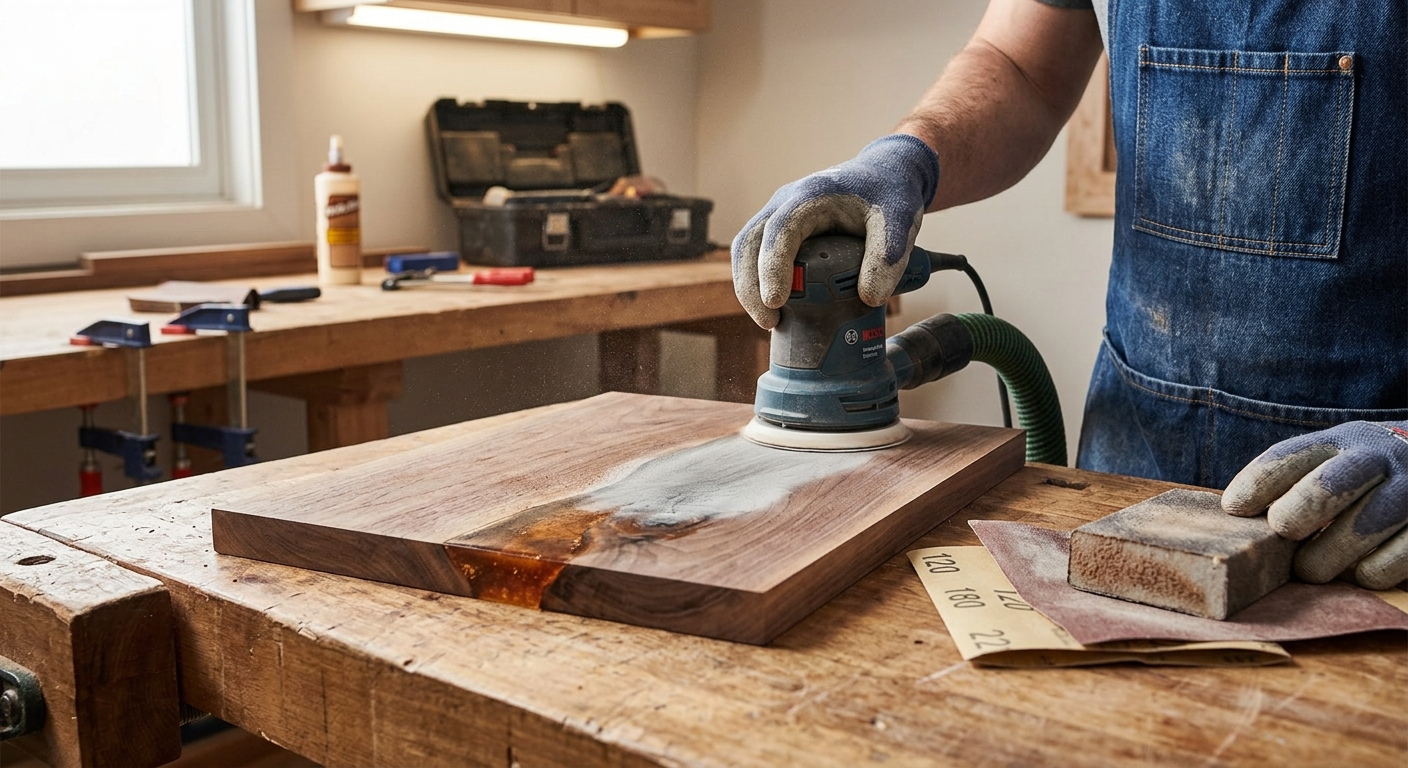
After full cure (typically 24 to 72 hours), the epoxy is proud of the wood surface. Sand flush with a random orbital sander starting at 80-grit, then 120, then 150, then 220. The epoxy will appear milky during sanding but will clear up again when the topcoat is applied.
FAQ
Will epoxy fills take stain? No – cured epoxy doesn’t absorb oil-based stains. Plan your staining sequence so the wood is stained before the epoxy fill, or choose a clear topcoat that works on both the stained wood and the natural epoxy.
What if the epoxy fill shrinks? Minor shrinkage sometimes occurs with the first fill in very deep voids. Apply a second pour to top up. The second pour bonds to the first fill, and shrinkage of thin layers is negligible.