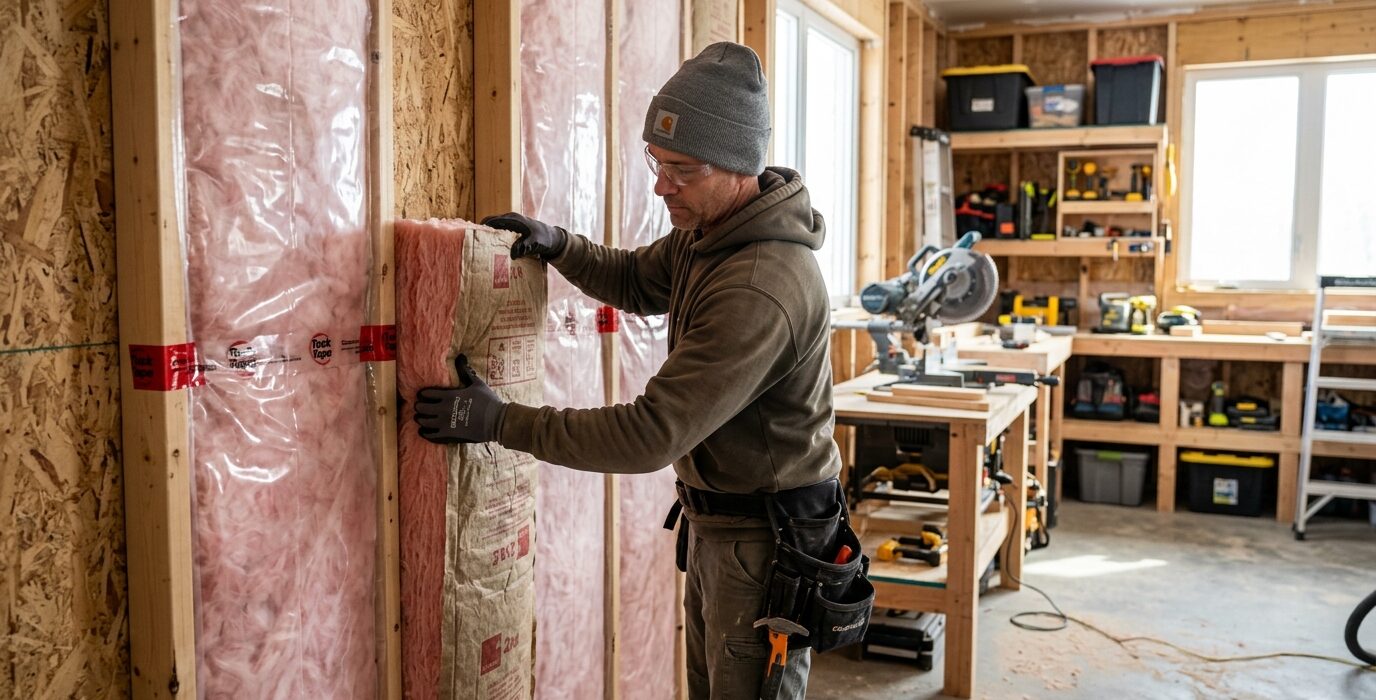
Work Year-Round Without Freezing Out Your Tools
An uninsulated garage can hit 0 degrees Fahrenheit in winter and 120 degrees in summer. At those temperatures, water-based glues freeze and fail, finishes won’t cure, waterstones crack, and your own hands get too cold to work with any precision. Insulating a garage workshop is the upgrade that turns a seasonal shop into a year-round one – and it makes the space easier to heat in winter and marginally cooler in summer.
Where to Insulate and How Much
In a cold climate, prioritize: the walls (R-13 to R-21), the ceiling or attic floor (R-38+), and the garage door (R-8 to R-16 with a kit). The concrete floor loses some heat but is the lowest priority – a fatigue mat is a cheaper solution than floor insulation for most shops. In hot climates, the ceiling insulation is even more critical since heat comes from the roof.
Step 1: Insulate the Walls
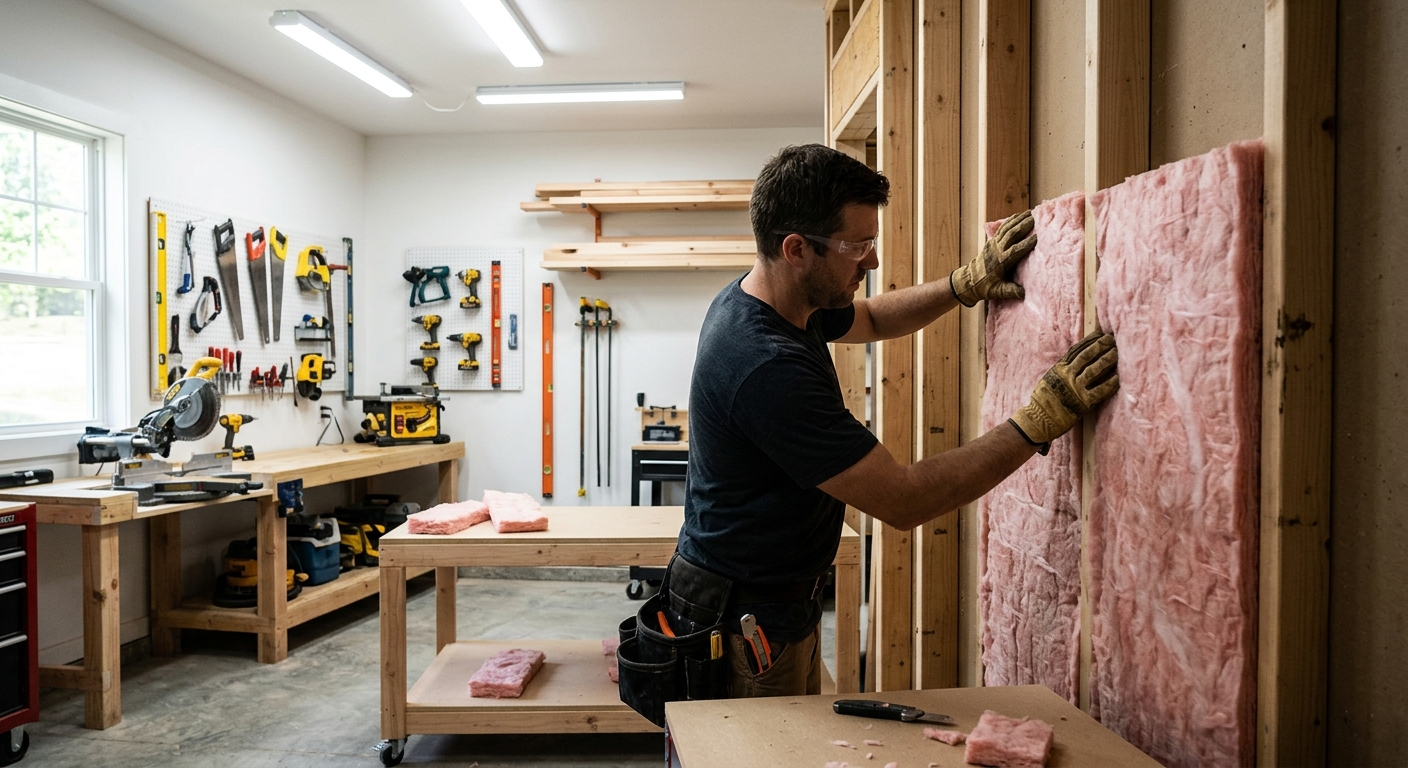
If your garage walls are unfinished (studs exposed), you can insulate before adding drywall. Fiberglass batts in R-13 or R-15 fit standard 2×4 stud bays. Cut batts to fit around electrical boxes and outlets. Don’t compress the batts – compression reduces R-value. Staple the kraft paper facing to the stud faces if you’re adding a vapor barrier.
Step 2: Insulate the Ceiling
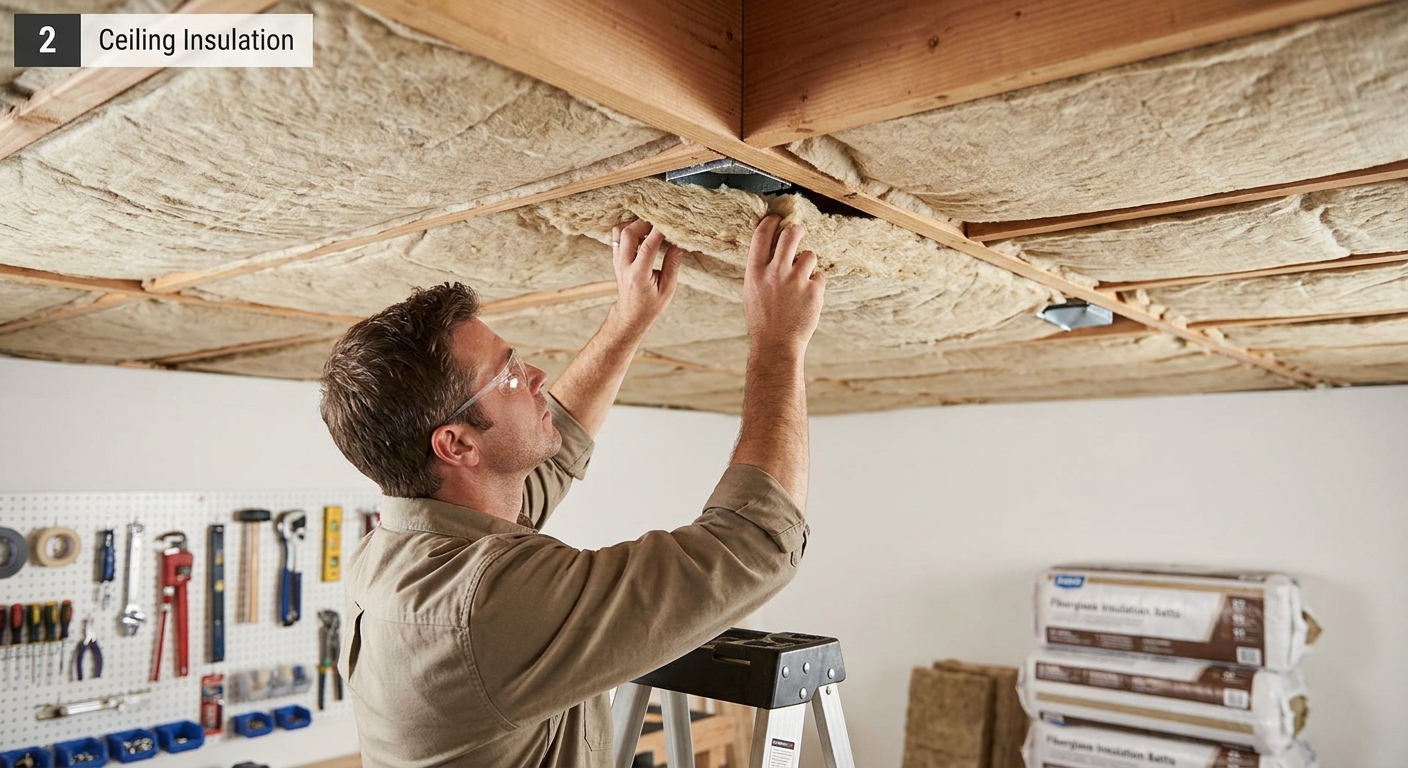
If there’s accessible attic space above the garage, adding blown-in cellulose or fiberglass up there is the cheapest way to get significant R-value. Target R-38 minimum for cold climates. If the garage has a living space above it, you’ll need to insulate between the garage ceiling joists – use R-19 or R-21 batts in 2×6 joists.
Step 3: Insulate the Garage Door
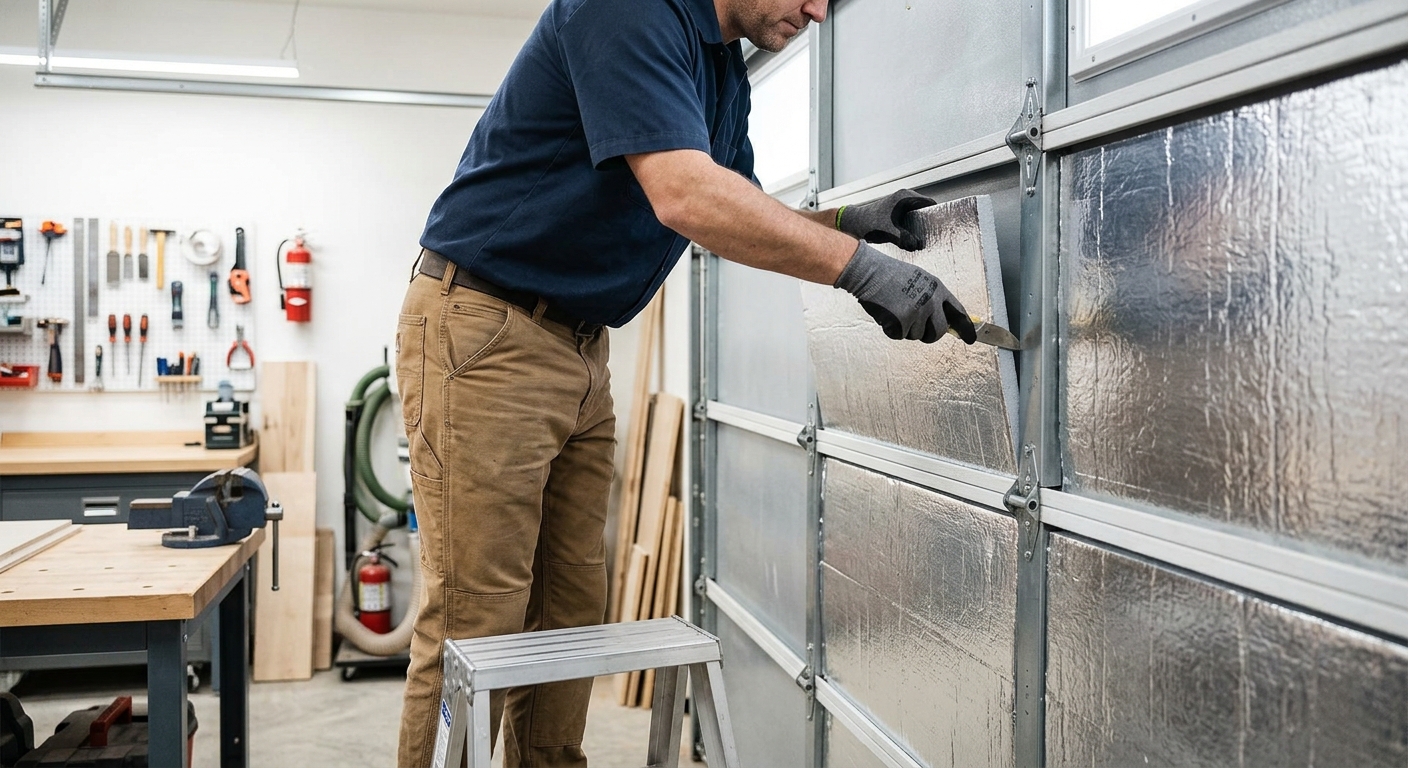
Garage door insulation kits are available for $40-$80 and add R-8 to R-12 to the door. Most kits use polystyrene panels that cut to fit the door panel bays and press-fit or tape in. An insulated door makes a meaningful difference in shops with large garage door areas. If the garage door is at end-of-life, replacing it with an insulated door (R-16 to R-18 models available) is worth the investment.
Step 4: Air Seal Before Adding Drywall

Air sealing is as important as insulation. Use acoustic sealant or expanding foam to fill gaps around electrical boxes, pipe penetrations, and the gap between the top plate and the ceiling drywall. A garage that’s well-insulated but leaky will lose half its heat on a windy day.
Step 5: Add Drywall
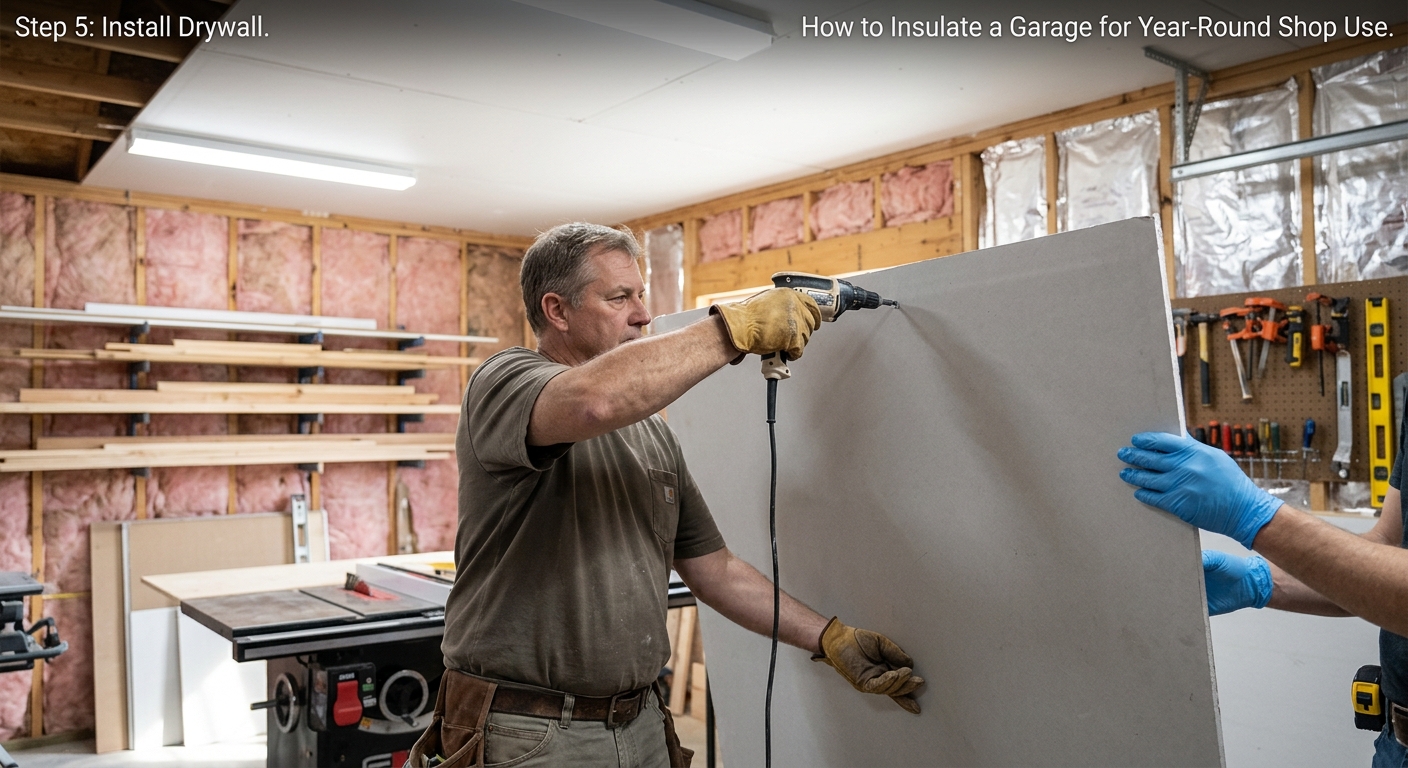
Drywall is the final layer over the insulation. For a garage workshop, 1/2-inch drywall is fine. The drywall protects the insulation from damage, provides a fire barrier (required in attached garages by most codes), and gives you a smooth surface for mounting cabinets and French cleats.
FAQ
Do I need a vapor barrier in a garage?
In cold climates, a vapor barrier on the warm side of the insulation (the inside face) is recommended. In hot-humid climates, the vapor barrier strategy reverses. Check with your local building department – vapor barrier placement requirements vary significantly by climate zone.
How much will insulating reduce heating costs?
In a cold climate, insulating an uninsulated garage can reduce the heating load by 50-70% depending on how leaky the original structure was. In mild climates the savings are proportionally smaller, but the comfort improvement is significant regardless.