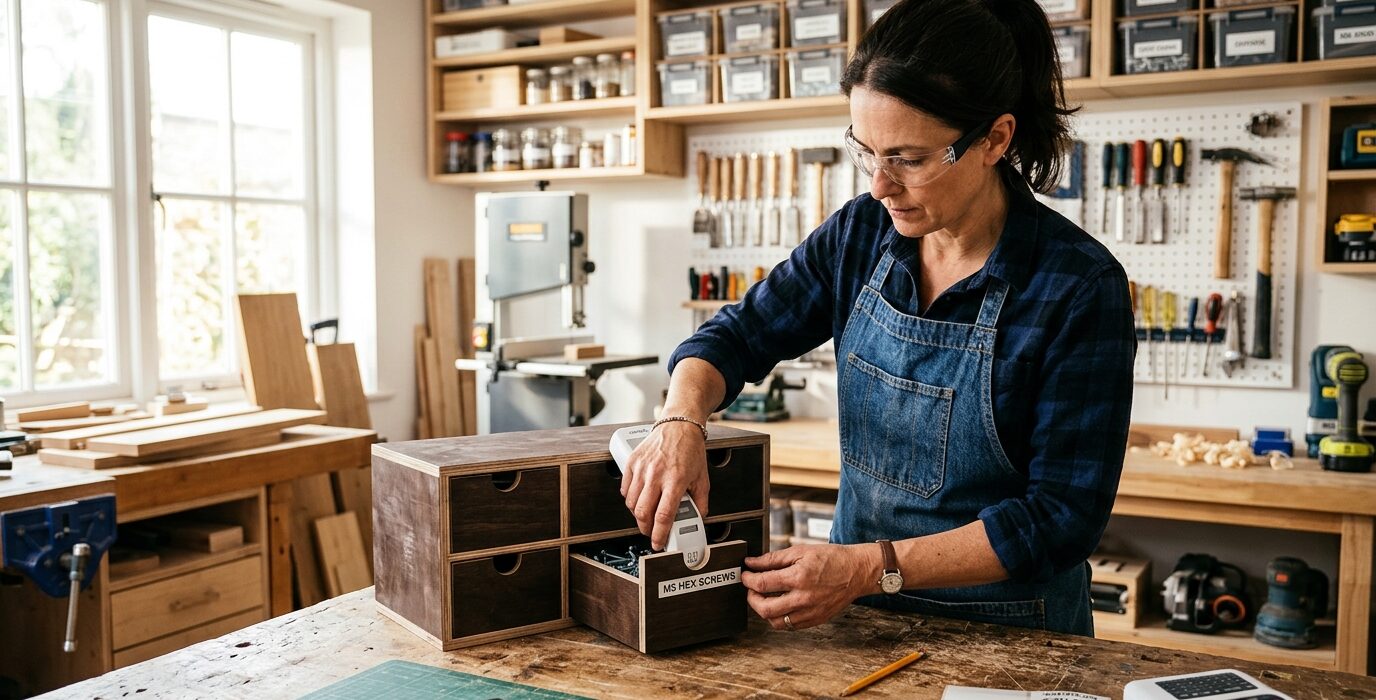
Label Everything in Your Shop
A labeled shop runs faster. When everything has a designated place with a visible label, finding tools takes seconds instead of minutes, returning tools becomes automatic rather than effortful, and anyone who helps in the shop can follow the system without instruction. Labeling is the smallest investment with one of the largest practical returns in any workspace.
What to Label
- Storage bins and drawers: Every bin, drawer, and shelf section gets a label describing its contents
- Tool outlines: Trace tool silhouettes on pegboard to show where each tool goes
- Electrical: Label every outlet and circuit breaker for its intended use
- Finishing supplies: Label every can, bottle, and jar with product name, sheen level, and date opened
- Lumber storage: Mark each rack level with the species and thickness stored there
- Cords and hoses: Label what machine each cord or hose belongs to
Labeling Systems
Three approaches work well in shop environments:
- Label maker (Brother P-Touch or similar): Crisp, professional labels that resist dust and moderate moisture. Ideal for permanent storage labels.
- Paint markers: Highly visible, permanent, fast. Mark directly on bin surfaces without adhesive labels that can peel in a dusty environment.
- Chalkboard paint + chalk: Applied to shelf sections or bin faces, allows labels to be changed easily when storage assignments change. Good for sections that evolve over time.
Step 1 – Start with Hardware Storage
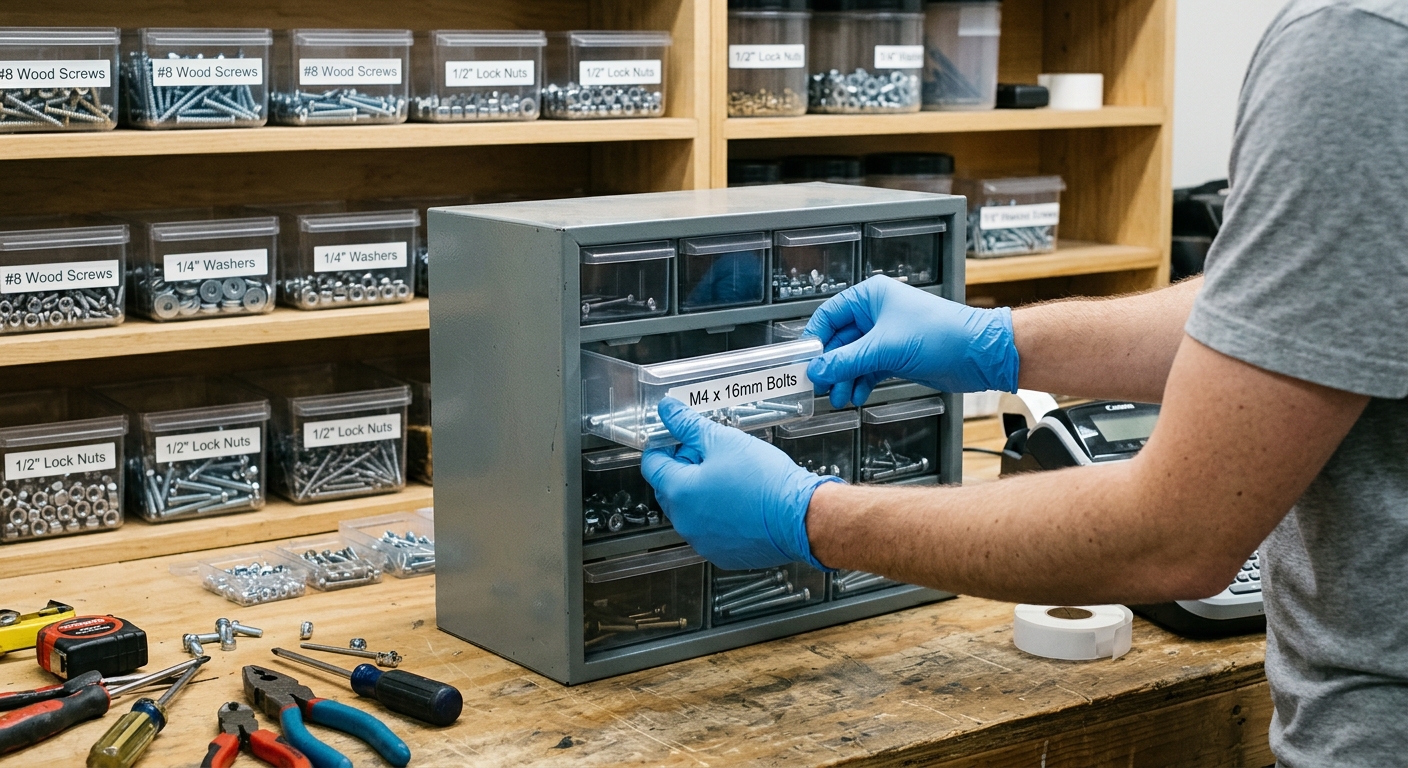
Hardware bins get first priority. Every bin of fasteners, connectors, and hardware gets a label with the exact size – not “short screws” but “#8 x 1.5-inch coarse thread.” This level of precision is what makes the system usable in the middle of a project when you’re looking for a specific size.
Step 2 – Label Circuits and Outlets
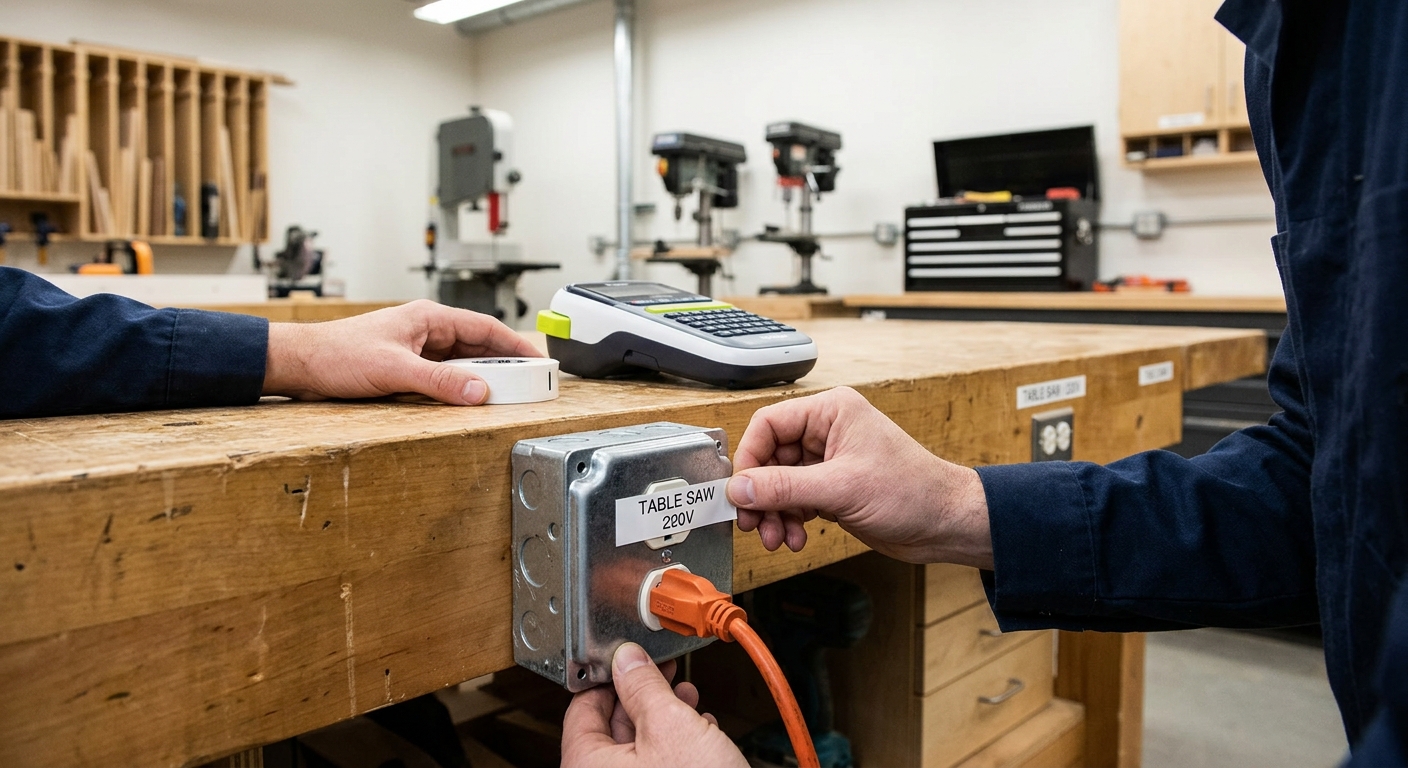
Stand at the electrical panel and label each breaker with the specific machine or area it serves. Then label each outlet or circuit in the shop with the same information. Knowing which outlet is on which circuit prevents overloading and speeds up troubleshooting when a breaker trips.
Step 3 – Mark Tool Outlines on Pegboard
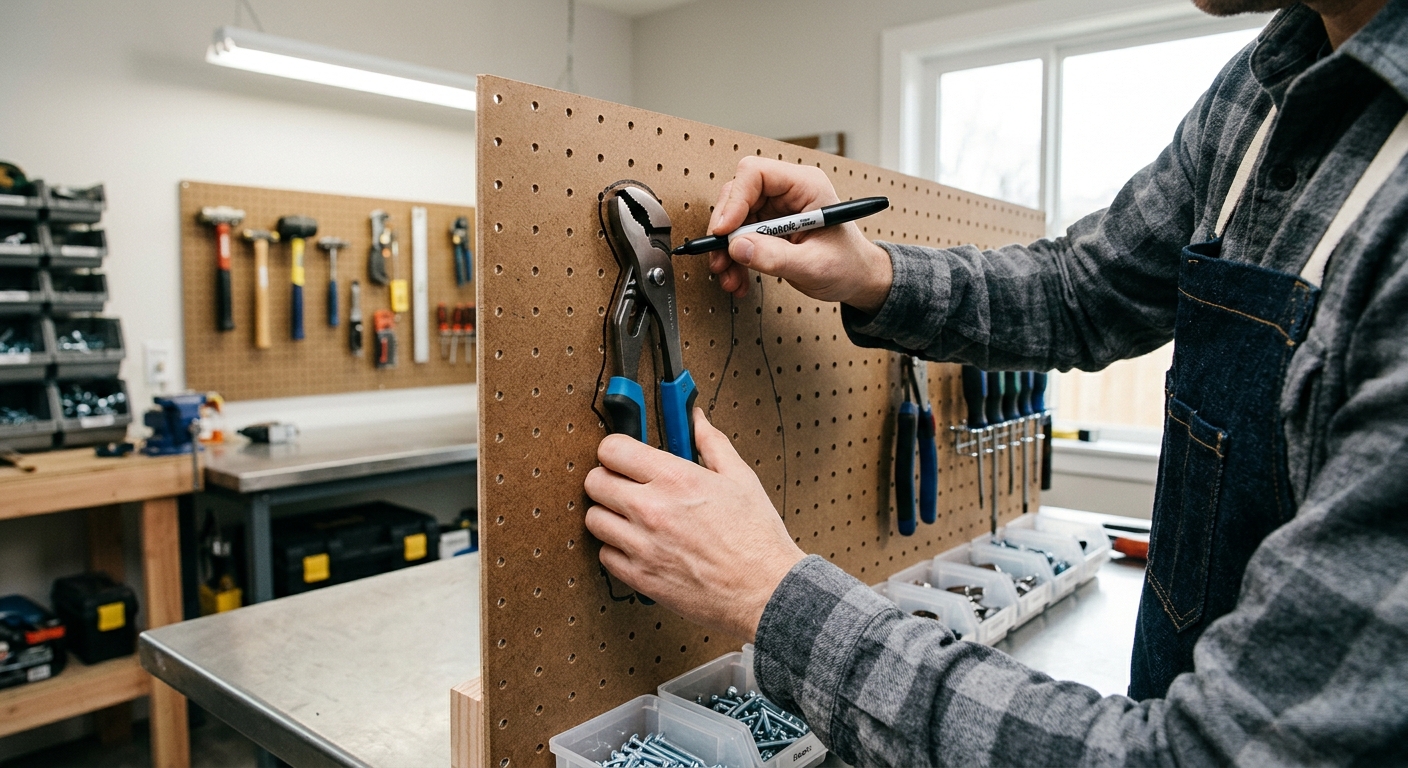
Hang each tool on the pegboard and trace its outline with a paint marker. The ghost outline tells you where the tool goes when you’re done and shows at a glance if a tool is missing. This system works without thinking – anyone in the shop can return tools correctly.
Step 4 – Label Finishing Cans Before First Use
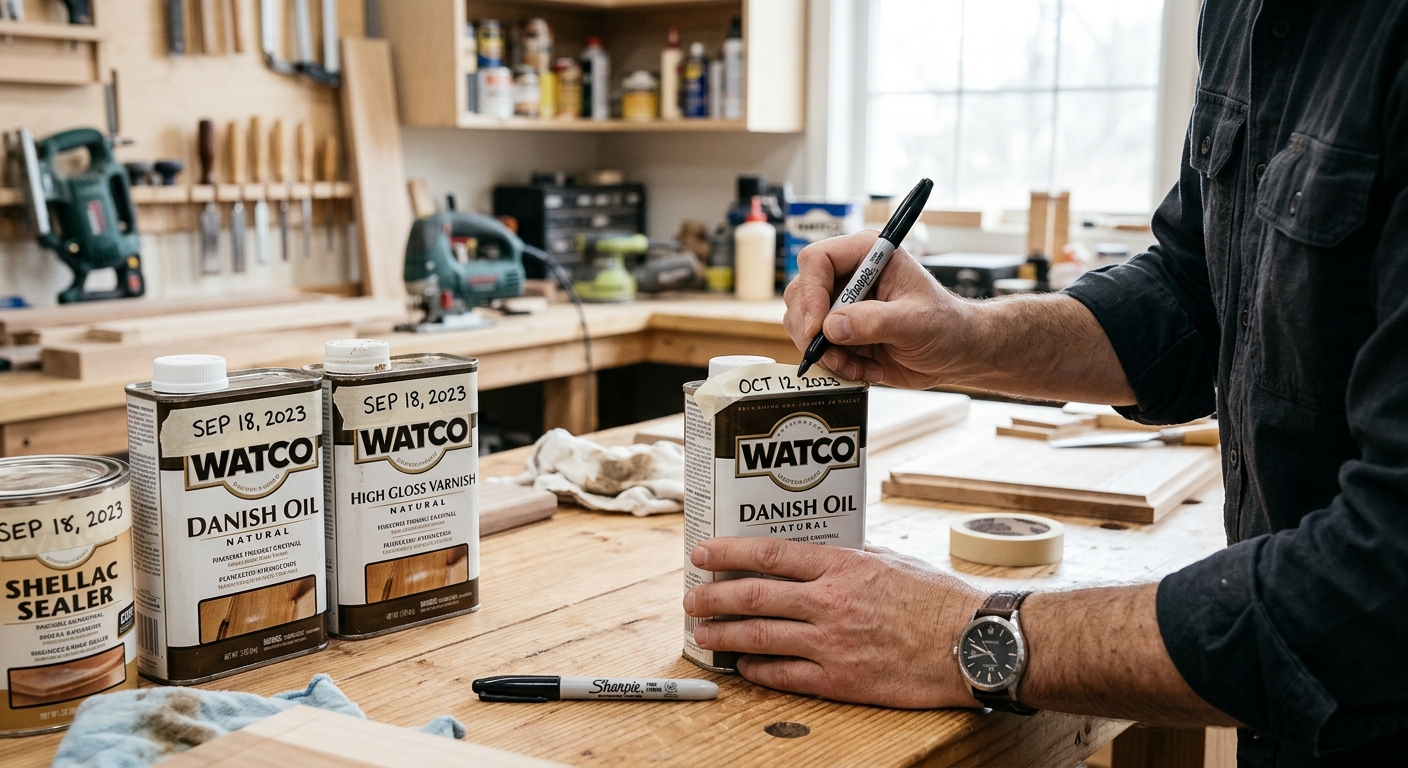
When you open any finishing product for the first time, write the date on the label with a marker. Many finishes have a shelf life of 2 to 3 years from opening – you’ll know without guessing whether a can is still good. Also write the sheen level clearly: “Gloss” vs “Satin” looks the same on a can of dried finish.
FAQ
What’s the best label material for a shop environment? Self-laminating labels from Brother or similar brands resist dust and moderate moisture. For outdoor or very damp environments, use polyester or polyolefin labels instead of paper. Paint markers directly on surfaces skip the adhesive problem entirely.
How often should I update the labels? When the contents of a space change significantly, update the label immediately. A label that no longer matches the contents is worse than no label – it creates confusion about whether the storage system is still in use.