
How to Make Wood Plugs and Cover Screw Holes Cleanly
Countersunk and plugged screws are the professional way to use wood screws in furniture – the head goes below the surface, a wood plug (a short cylinder of matching wood) covers the hole, and the screw is completely hidden. Done well, the plug is nearly invisible. Done poorly, the plug is the most obvious defect in the piece. This guide covers how to cut, fit, and finish wood plugs for invisible results.
How Plugs Work
A plug cutter – a specialized drill bit that cuts a short cylinder of wood – cuts plugs from scrap. The plug’s grain direction and figure determine how visible it will be. A plug cut from the same board as the workpiece, with grain running the same direction, becomes nearly invisible after finishing. A plug cut across the grain or from a different species will be obvious no matter how well it’s set.
Tools and Materials
- A plug cutter (Veritas and Lee Valley make excellent ones) – sized to match your countersink diameter
- A countersink bit that creates a hole exactly the plug diameter
- Matching scrap wood for the plugs – ideally from the same board as the workpiece
- A sharp chisel for trimming the plug flush
- Wood glue
Step 1 – Cut the Countersink Holes

Use a countersink bit to create the pocket for the plug. The hole must be exactly the diameter of your plug cutter’s output. Standard plug cutter sizes are 3/8 inch and 1/2 inch. Drill to a depth equal to the plug length (typically 1/2 inch). Drill the pilot hole for the screw through the center of the counterbore.
Step 2 – Drive the Screws

Drive the screws into position and check that the screw head is below the surface of the counterbore. The head must be fully below the surface so the plug can seat flat. If the head protrudes, drive the screw slightly deeper or re-drill the counterbore to a greater depth.
Step 3 – Cut the Plugs

Choose scrap wood that matches the workpiece as closely as possible – same species, similar figure and color, and most importantly grain running parallel to the workpiece grain direction. Use the plug cutter in the drill press to cut plugs about 1/2 inch deep. The plug pops free when you angle the piece slightly. Cut extra plugs – some will be better matches than others.
Step 4 – Select and Orient Each Plug

Hold each plug over its hole and rotate it to the orientation that best matches the surrounding grain. Mark the best orientation on the plug with a pencil mark on the top and a corresponding mark on the hole rim. The orientation matters enormously for the final appearance.
Step 5 – Glue and Set the Plugs
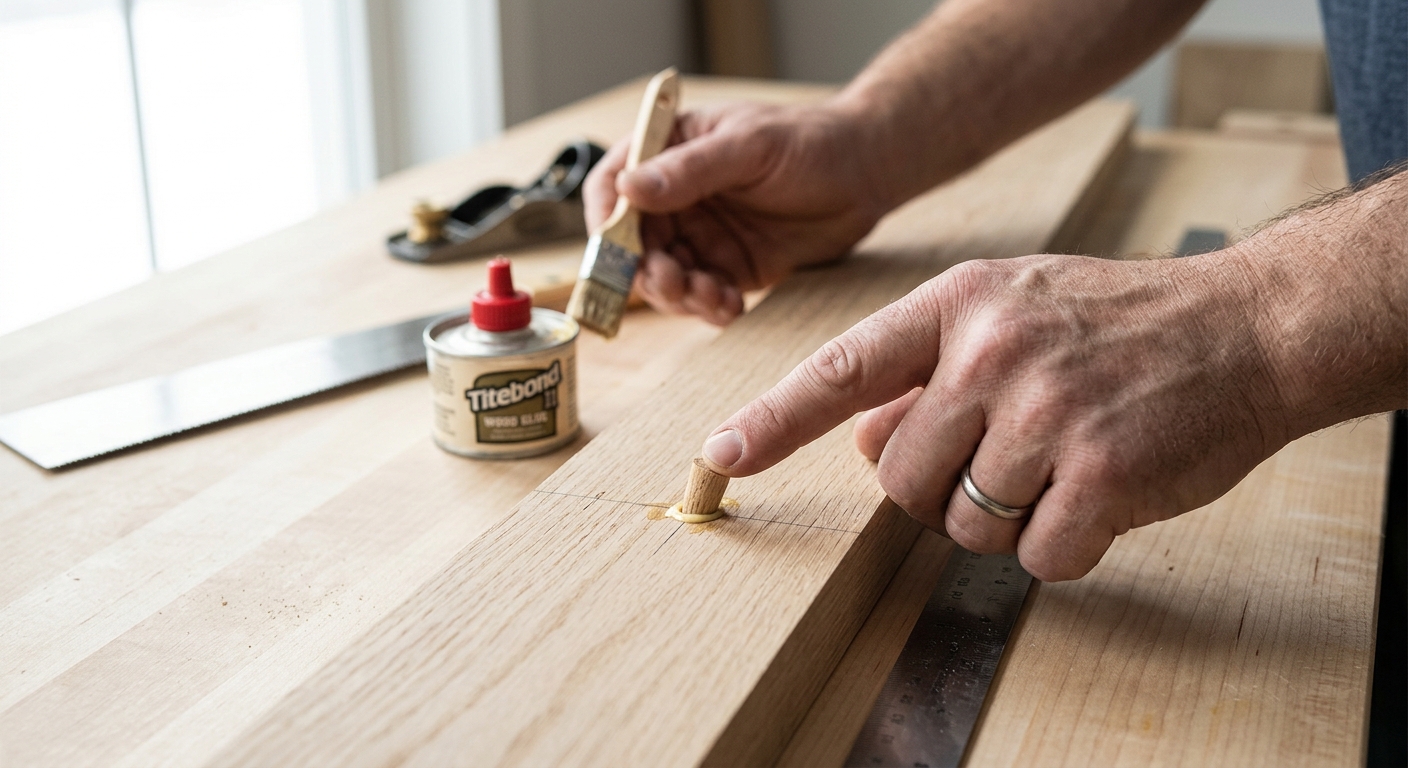
Apply a small amount of wood glue to the inside of the hole (not the plug itself – glue on the plug can prevent it from seating fully). Insert the plug at the marked orientation and tap it flush with a mallet. The plug should be slightly proud of the surface. Let the glue cure fully.
Step 6 – Trim and Sand Flush

After the glue cures, use a sharp chisel to pare the plug nearly flush with the surrounding surface. Hold the chisel flat and take thin slices parallel to the surface. Finish the trimming with a hand plane or sandpaper block. A sharp chisel leaves the plug surface cleaner than any sandpaper approach.
FAQ
What if the plug pops loose after trimming? The plug was not fully seated or not enough glue was used. Re-glue with a toothpick to work glue into the gap, then clamp or tape until cured.
Can I use dowels as plugs? Dowels have end grain showing when set as plugs – they’re far more visible than face-grain plugs cut with a plug cutter. Use cut plugs for invisible results.