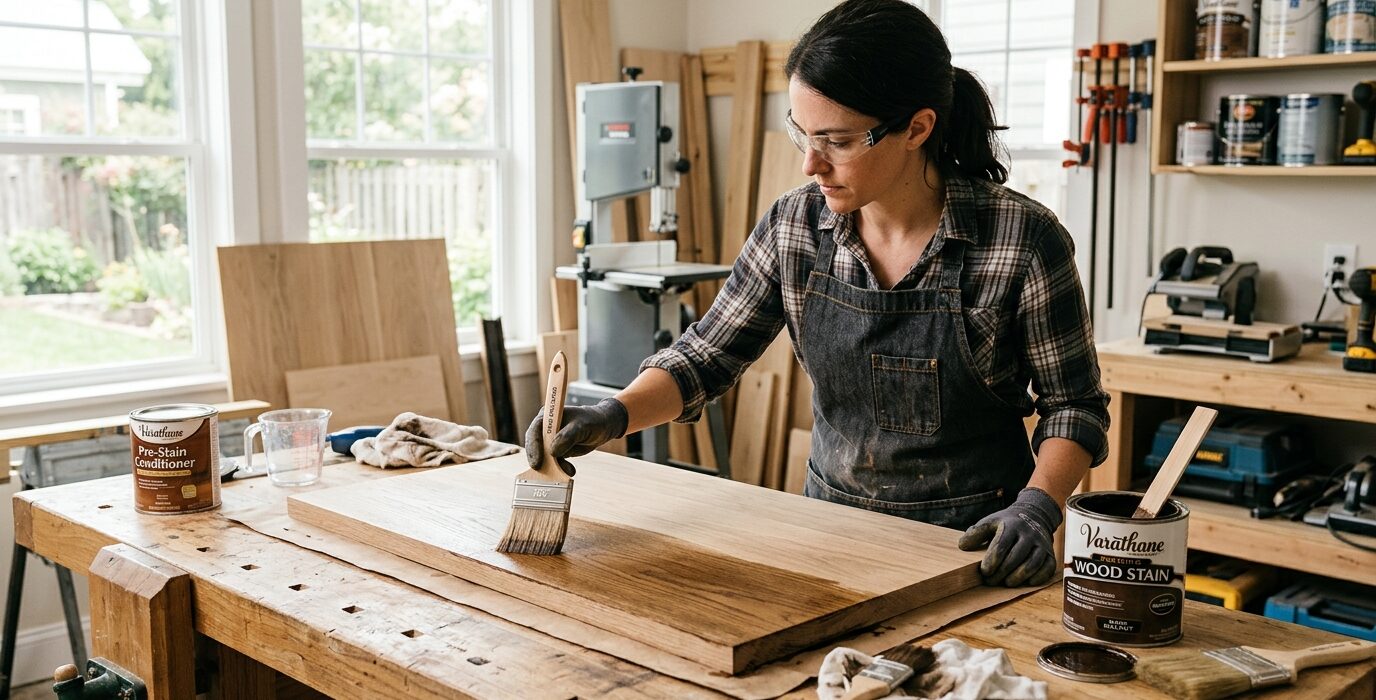
How to Mix and Apply Wood Stains for Even, Professional Results
Stain is the finishing step where most home woodworkers get frustrated – blotchy results on pine, color that’s darker than expected, lap marks that show through the topcoat. Every one of these problems is solvable, and every one comes down to preparation and application technique, not the stain itself. This guide covers the full staining workflow: surface preparation, choosing and testing stain, application method, and the pro techniques that produce even color on even the most difficult species.
Surface Preparation
Stain color and uniformity depend almost entirely on how the surface was prepared. Sand through grits systematically – 80, 120, 150, 180, and sometimes 220 for fine-pore hardwoods. Skip a grit and you leave deep scratches from the previous grit that stain makes dramatically more visible. Always sand the final grit in the direction of the grain. Never end on a grit coarser than 150 – stain trapped in deep cross-grain scratches produces dark lines that no amount of sanding through the stain will fix.
Raising the Grain
After sanding to final grit, wipe the surface with a damp cloth and let it dry completely. The water raises the wood fibers, producing a slightly rough surface. Lightly sand with the final grit to knock down the raised fibers. Now when your water-based stain or finish contacts the wood, the grain won’t raise further and leave a rough surface under your topcoat.
Testing Before Committing
Test stain on a scrap of the same wood, from the same board, prepared the same way as your project. A stain color card at the store shows the color on a generic wood species – it will look different on your white oak, pine, or walnut. Apply to the scrap, let it dry, and apply your planned topcoat. Colors shift when a topcoat goes over stain. Assess the final result in the light where the finished piece will live, not under the fluorescent lights of your shop.
Application Method
Apply oil-based stain with a rag or brush, working in the direction of the grain, making sure every surface is uniformly wet. Don’t let it dry before wiping – oil stain that flashes before you wipe it produces lap marks that can’t be sanded out without removing the stain and starting over. Wipe with a clean rag in the direction of the grain, using moderate pressure. Let dry 24 hours before topcoating.
Handling Blotch-Prone Species
Pine, cherry, maple, and birch are notorious for blotching – uneven stain absorption that produces dark patches in soft or porous areas. The solution is a pre-stain wood conditioner (for oil-based stain) or a washcoat of 1-pound-cut shellac (thin shellac). Either treatment partially seals the surface, reducing the difference in absorption between areas and producing more even color uptake. Apply conditioner, wait 15 minutes, apply stain, wipe within 5 minutes.
FAQ
Can I make stain lighter if it’s too dark?
Yes, if the stain is still wet. Wipe more aggressively with a clean rag immediately after application. If it’s already dry, you can sand back lightly with 220 grit and re-apply more lightly – but getting truly even results after a too-dark application requires stripping and starting over.
Should I use water-based or oil-based stain?
Oil-based gives you more working time, more penetration, and a warmer color. Water-based dries faster, cleans up with water, and is less toxic. For large pieces or complex assemblies where you need time to stain evenly before it flashes, oil-based is easier to work with. For small pieces, water-based is convenient and produces good results.