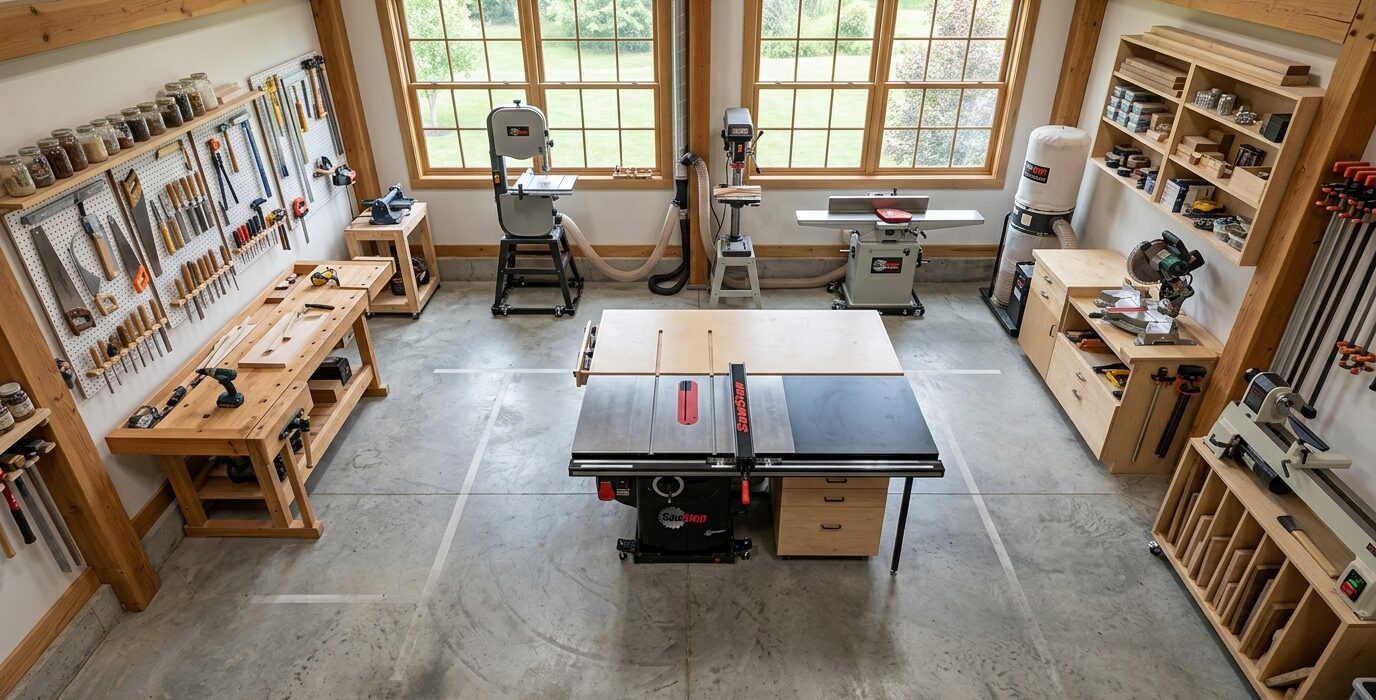
Hardware Organization Done Right
Hardware – screws, nails, bolts, washers, and fasteners – tends to accumulate in coffee cans and zip-lock bags until finding a 2-inch #8 screw requires 10 minutes of searching. A proper hardware organization system turns that 10-minute hunt into a 10-second grab. It’s one of the highest-ROI organization projects in the shop, and it doesn’t require much space to do well.
The Right Container System
Small plastic bins – the kind that mount on rails or hang from a panel – are the gold standard for hardware storage. The clear plastic lets you see the contents at a glance. The open front lets you grab what you need without opening anything. Bin systems from Akro-Mils, Stack-On, or similar brands are inexpensive and widely available. Budget for more bins than you think you’ll need – you’ll fill them.
Step 1 – Do a Full Hardware Inventory
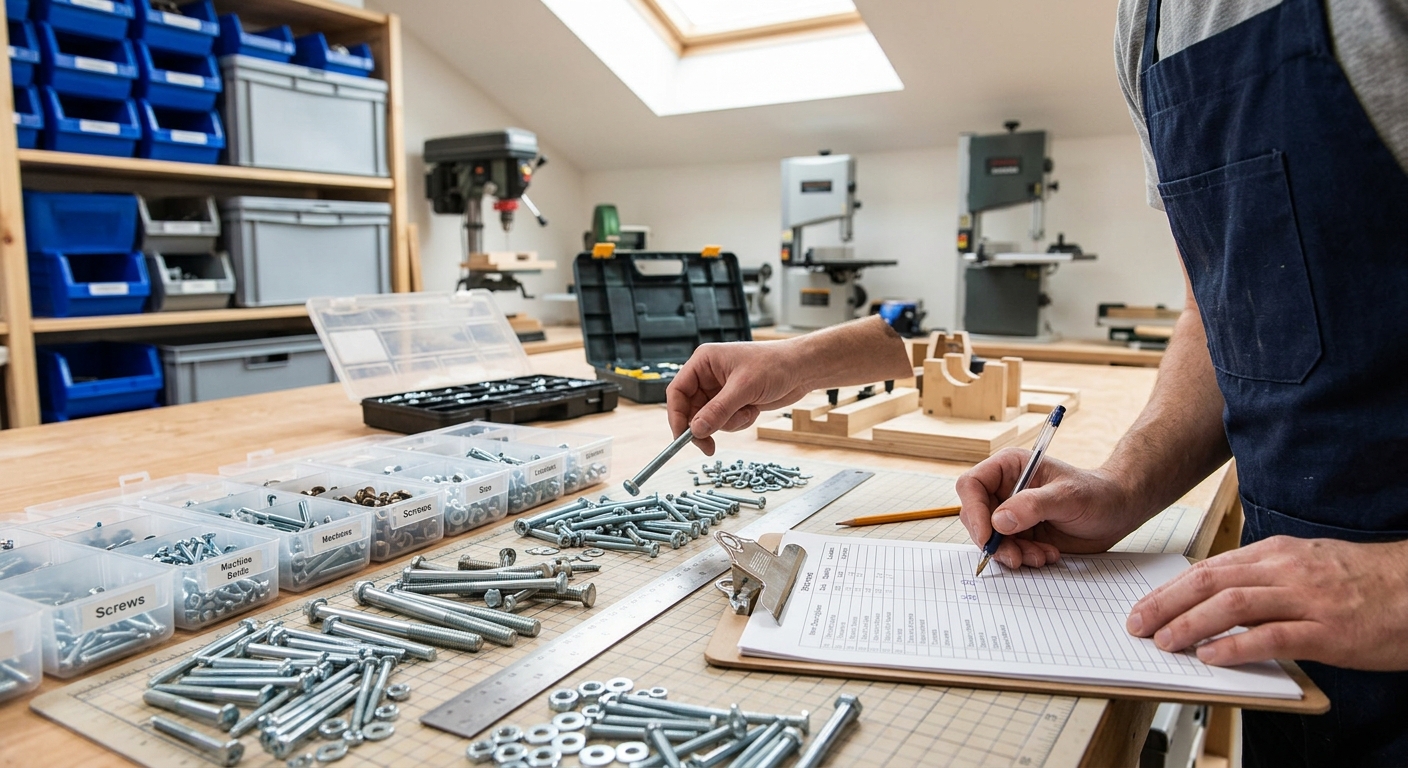
Before buying any storage, pull every piece of hardware from wherever it currently lives – the catch-all drawer, the coffee cans, the zip-lock bags. Spread it all out on the bench. Sort it by type and size. This inventory step is uncomfortable but essential – you’ll discover what you actually have versus what you thought you had, and it informs how many bins of each size you need.
Step 2 – Sort by Size Within Type
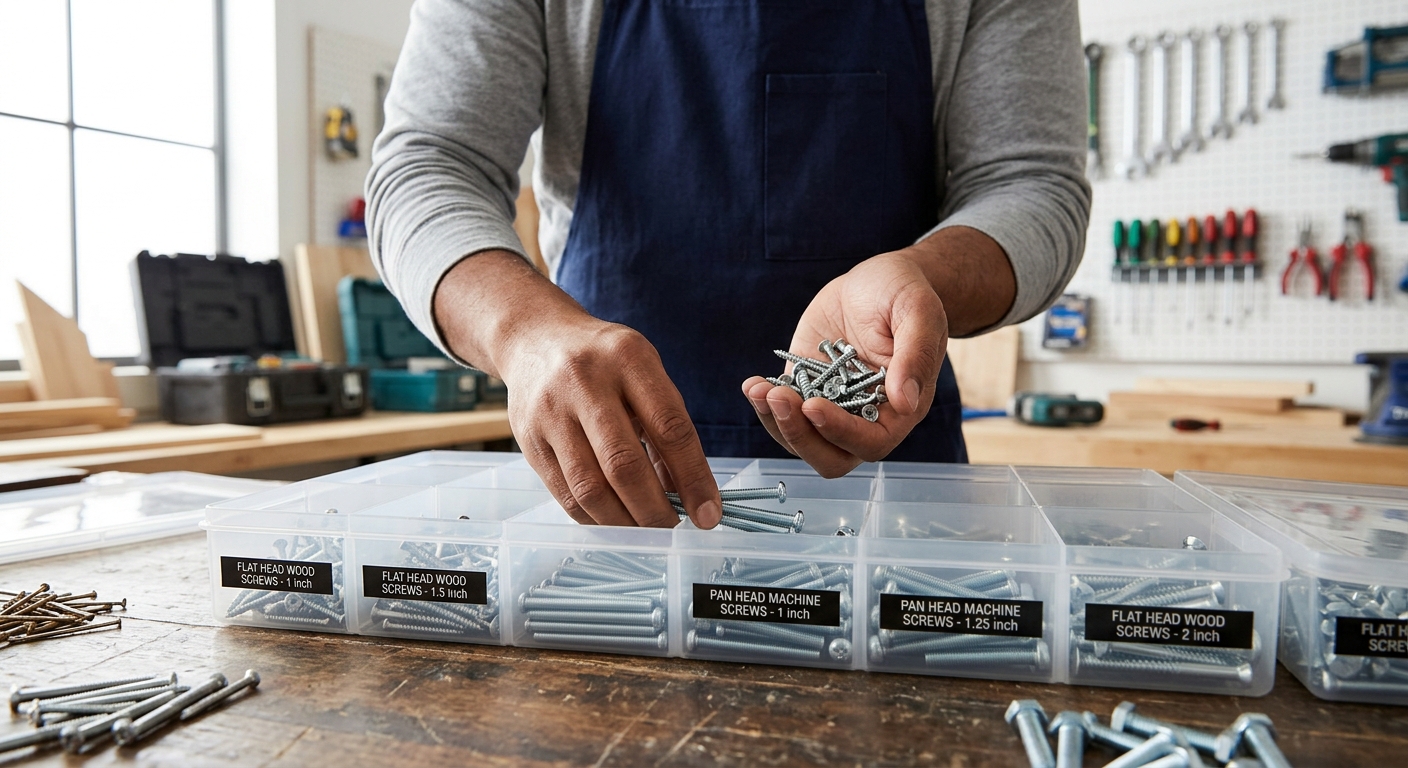
The most useful sorting hierarchy is: type first (screws, bolts, nails, washers), then size within type. For screws: sort by length first (#6 x 1 inch, #6 x 1.25 inch, #8 x 1.5 inch, etc.), then by head type. For bolts: sort by diameter and thread pitch. Label each bin with the exact size – not just “short screws” but “#8 x 1.5-inch coarse thread.”
Step 3 – Build or Mount the Storage System
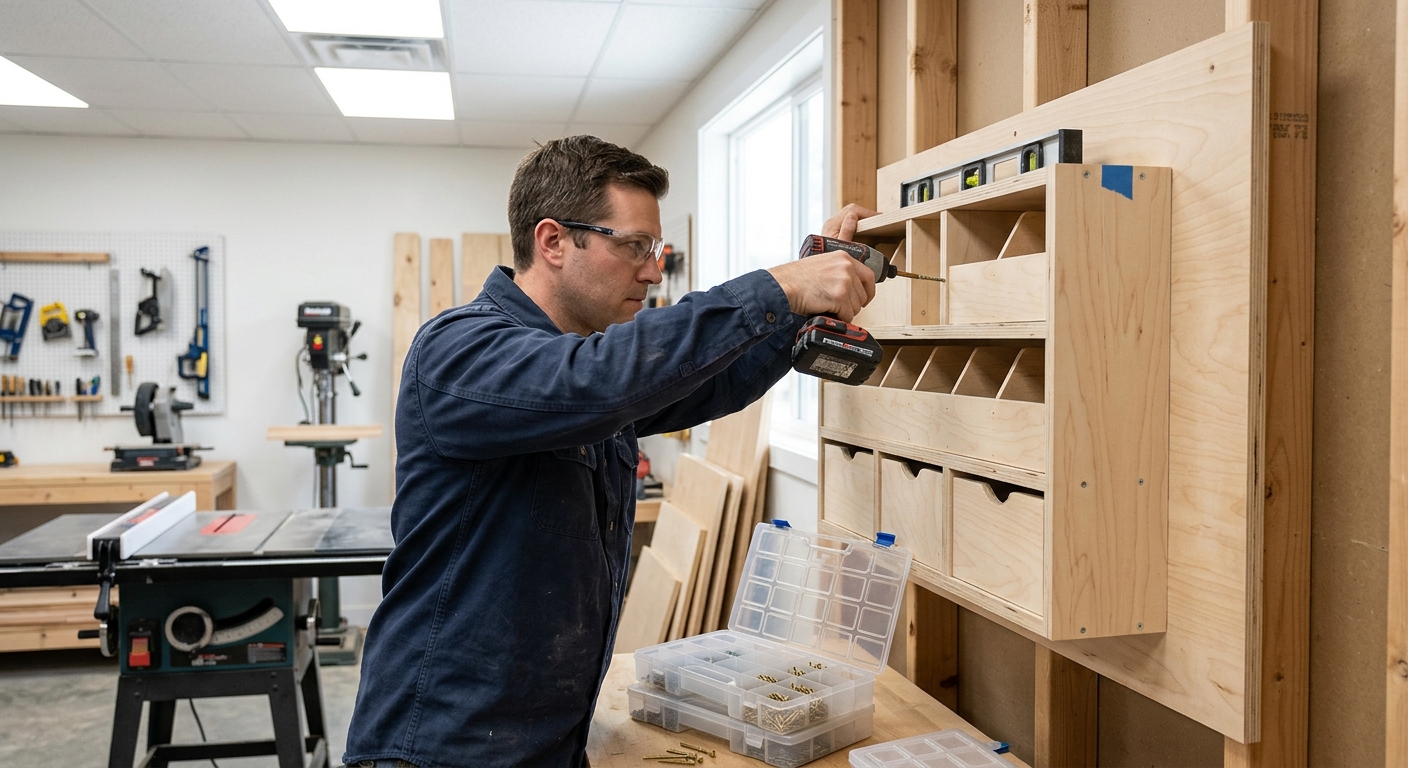
Wall-mounted bin rails are the most space-efficient system – mount horizontal rails to the wall and hang bins on the rail hooks. The bins can be rearranged or removed and carried to the work location easily. Alternatively, build a plywood cabinet with shallow shelves sized to hold several bins per shelf.
Step 4 – Label Everything Precisely
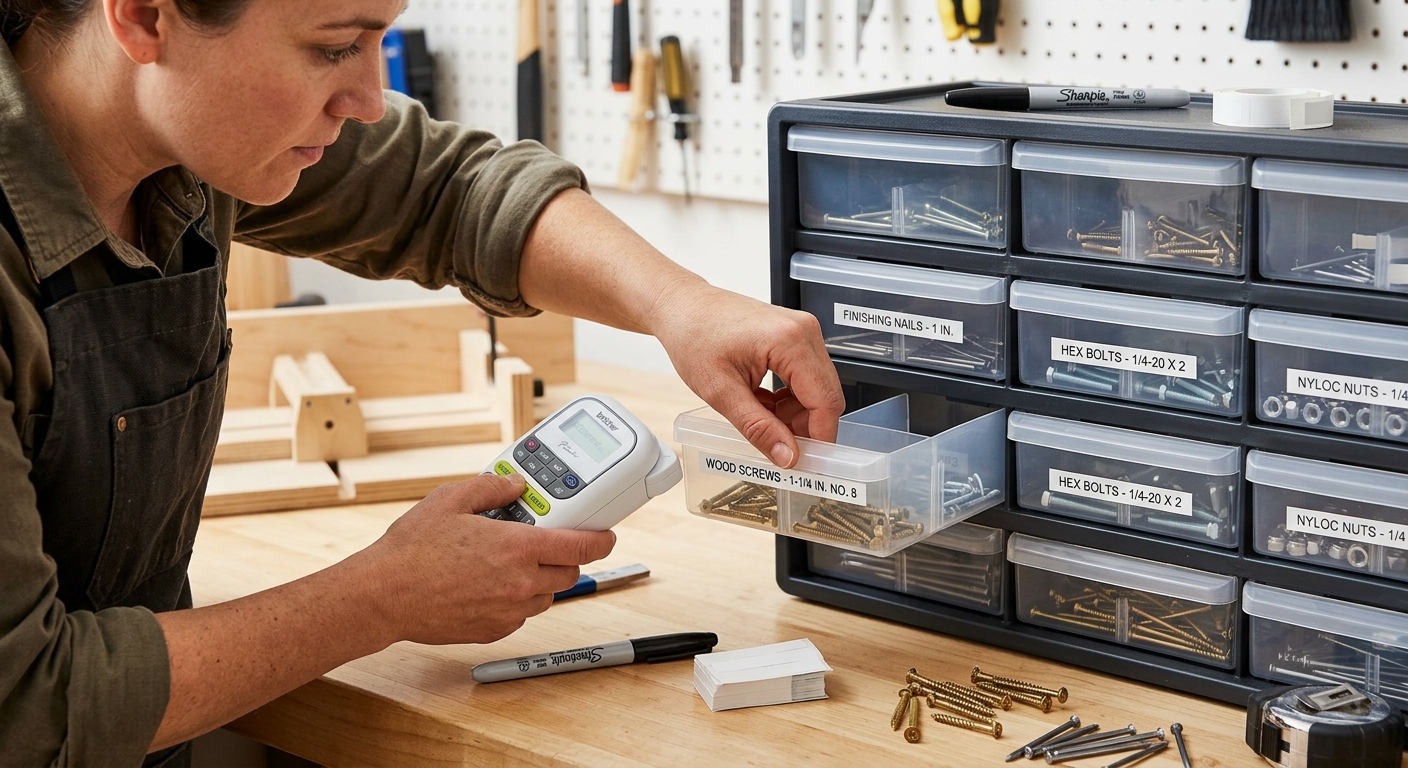
Write the size and type directly on the bin with a paint marker or use printed labels in a clear label holder. The label should be readable at a glance from 5 feet away. Include quantity minimums on the label – “Reorder below 20” – so you know when to restock.
Step 5 – Create a Restocking System
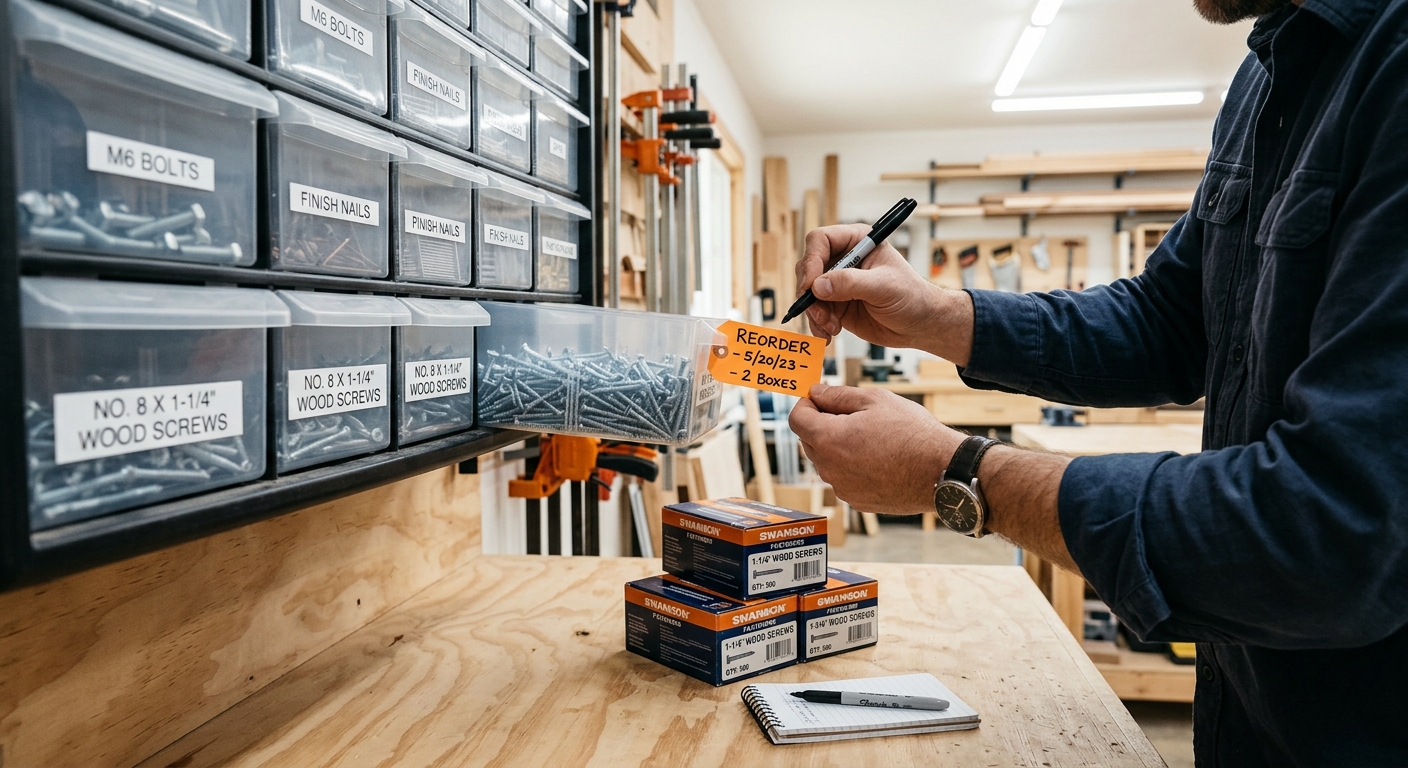
When you open the last box of a fastener size, write it on a shopping list that lives at the shop entrance. This ensures you reorder before running completely out rather than discovering the shortage mid-project.
FAQ
What about specialty fasteners – pocket screws, finish nails, biscuits? Give each specialty fastener its own dedicated bin or section. Pocket screws especially come in several lengths and the wrong length in the Kreg jig causes weak joints.
Should I keep a separate bin for hardware removed from projects? Yes – a single “salvage hardware” bin for bolts, screws, and hardware that came out of furniture or was left over from a kit. Sort it into the regular system when you have time, but having a place for it prevents it from spreading to random locations.