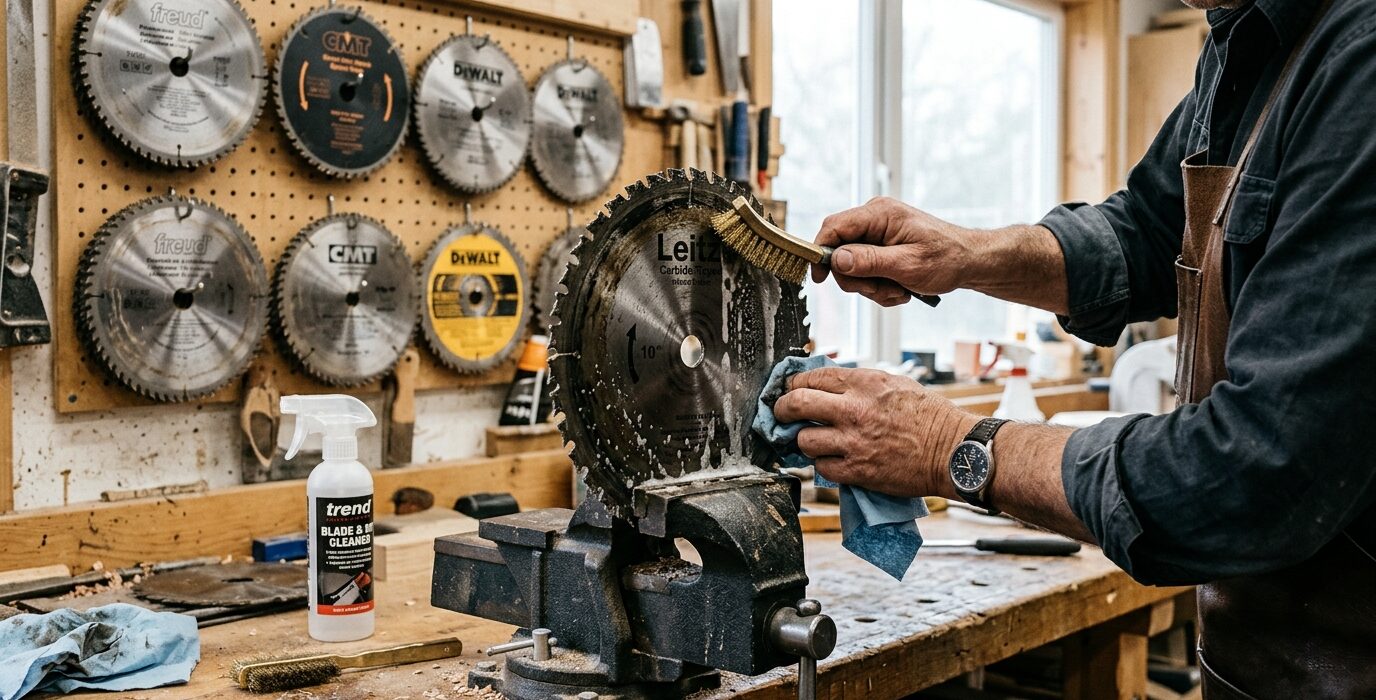
How to Properly Maintain Saw Blades
A dull saw blade is more dangerous than a sharp one. It requires more feed pressure, causes more kickback risk, produces rough cuts, and burns wood at the contact point. Most woodworkers replace blades too late – after they’ve already cost hours of cleanup work and potentially damaged expensive stock. This guide covers how to recognize when a blade needs maintenance, how to clean and store blades properly, and when to send them out for sharpening.
Signs a Table Saw Blade Needs Attention
- Burning at the cut: The blade is rubbing rather than cutting – teeth are dull
- Increased feed resistance: You need to push harder to maintain feed rate
- Rough cut surface: Splintering and tearout increase as teeth dull
- Motor laboring: Your table saw sounds like it’s working harder than usual
- Pitch buildup visible on teeth: Black resin on the teeth increases friction and heat
Step 1 – Regular Cleaning
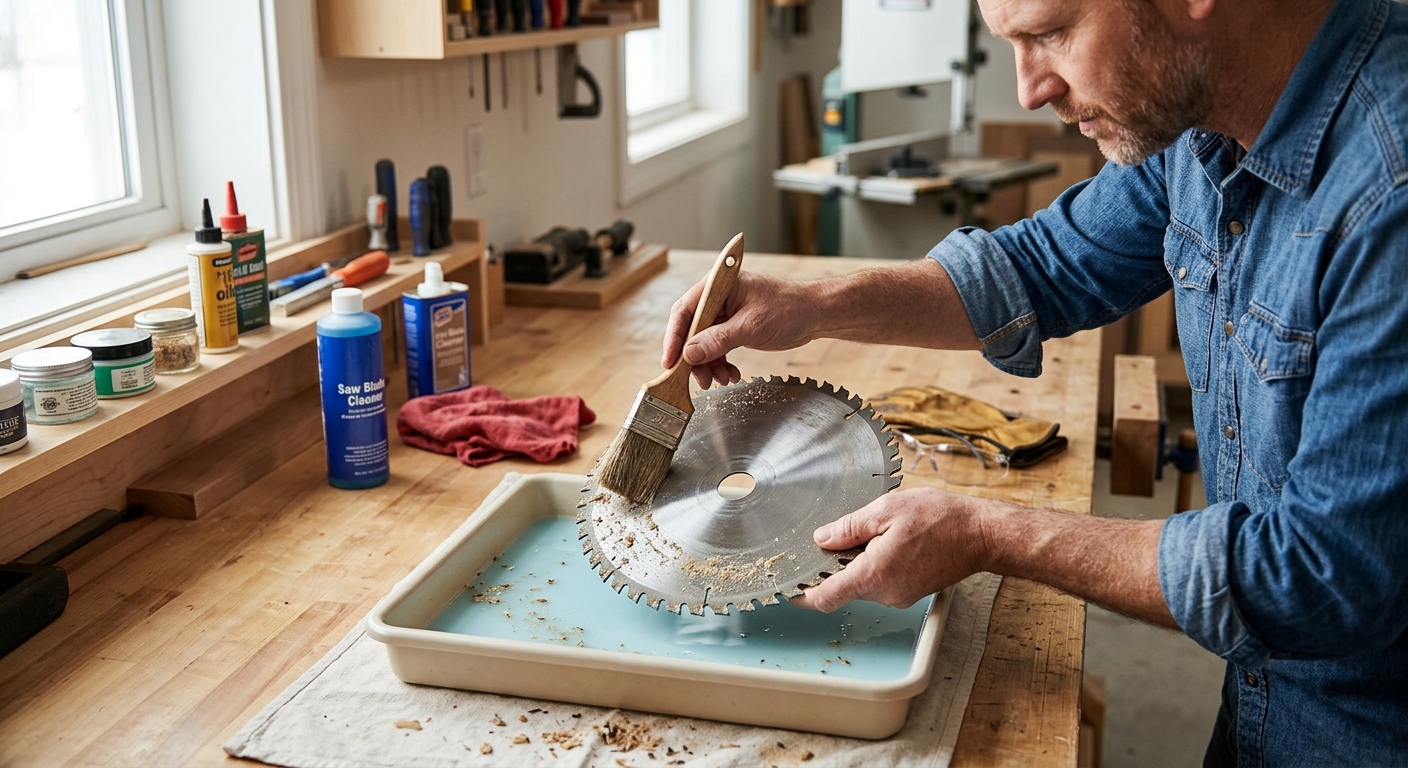
Pitch and resin buildup on carbide tips is the most common blade performance problem – and the most easily fixed. Spray the blade with a commercial blade and bit cleaner (Boeshield B-9 or similar) or simple orange-based cleaner. Let it soak for 5 minutes, then scrub with a stiff brass brush (never steel – steel scratches carbide). Rinse with water and dry immediately. A clean blade cuts noticeably better than a pitch-coated one of the same sharpness.
Step 2 – Visual Inspection After Cleaning
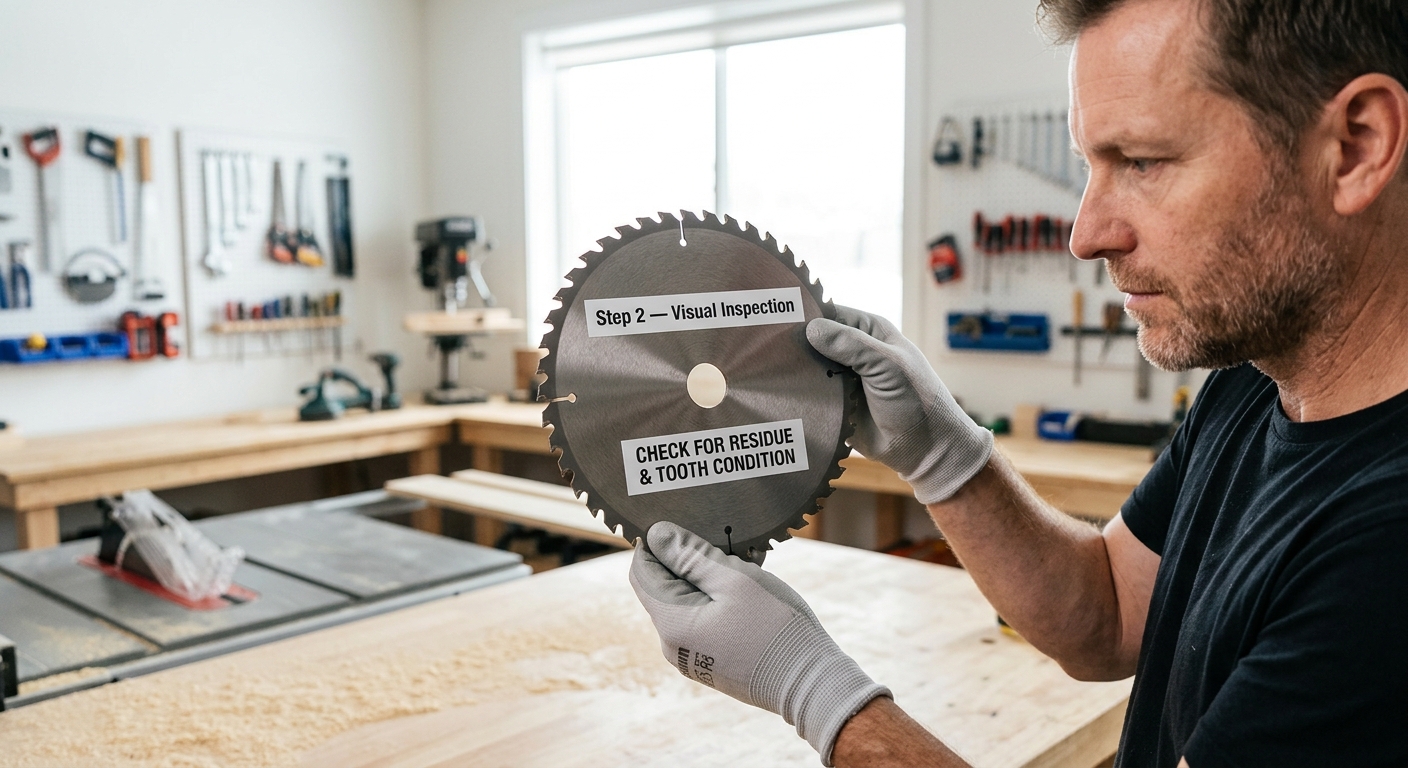
Once clean, inspect each carbide tip under a bright light. Look for: chipped or missing carbide (replace the blade), cracked carbide (replace the blade), bent or twisted teeth (replace the blade), and flat spots on the top and face of the carbide (sharpen the blade). Most professional sharpening services inspect for cracks as part of the sharpening process.
Step 3 – Check the Plate for Flatness
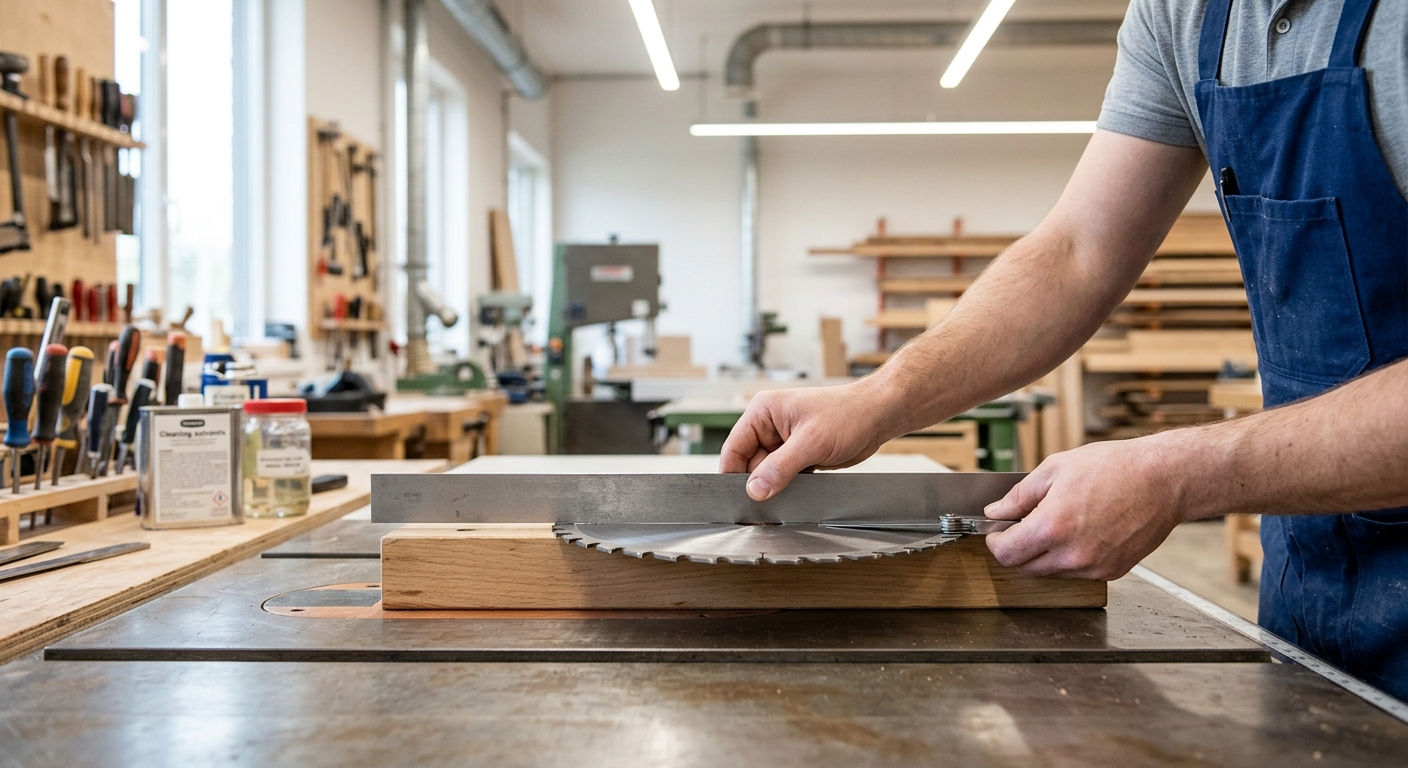
A bent or warped plate causes vibration and poor cuts regardless of tooth sharpness. Lay the blade flat on a known-flat surface (like a granite surface plate or a piece of flat glass). If it rocks, the plate is warped. Minor warping can be corrected by a professional saw smith; significant warping means the blade is scrap.
Step 4 – Professional Sharpening
Carbide saw blades should be sharpened by a professional saw sharpening service. The equipment for carbide sharpening (diamond grinding wheels, precise angle fixtures) is expensive and the technique requires training. A professional sharpening returns a blade to factory specification and costs $10 to $30 for a 40-tooth blade – a fraction of a new blade’s cost. Send blades out for sharpening 2 to 4 times before considering replacement.
Step 5 – Storage After Maintenance
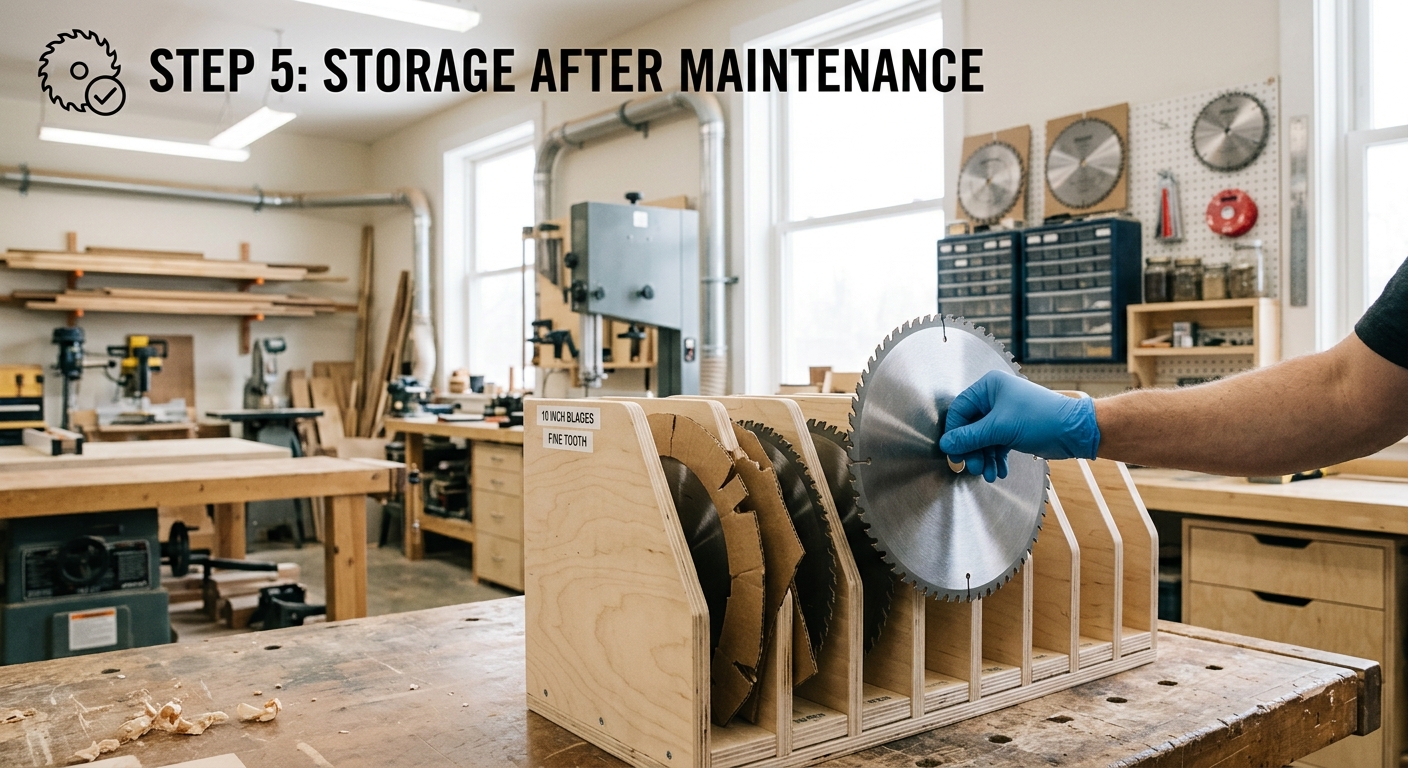
Clean blades should be lightly coated with a rust-preventing spray (Boeshield T-9 or paste wax) before returning to storage. Store in a blade case with foam separators between blades (see the blade storage case guide). A properly stored and maintained carbide blade should provide thousands of feet of cutting with multiple sharpenings before the carbide becomes too worn to sharpen effectively.
FAQ
Can I sharpen carbide blades myself? With a diamond file, you can touch up the face of each tooth to remove the flat spot from normal wear – this restores a degree of sharpness and is worth doing between professional sharpenings. True professional sharpening on a grinding machine produces far better results.
How many times can a carbide blade be sharpened? A typical 40 or 60-tooth carbide blade can be sharpened 3 to 5 times before the carbide tips are too small to maintain proper geometry. Higher-quality blades with more carbide brazing material on each tip can be sharpened more times.